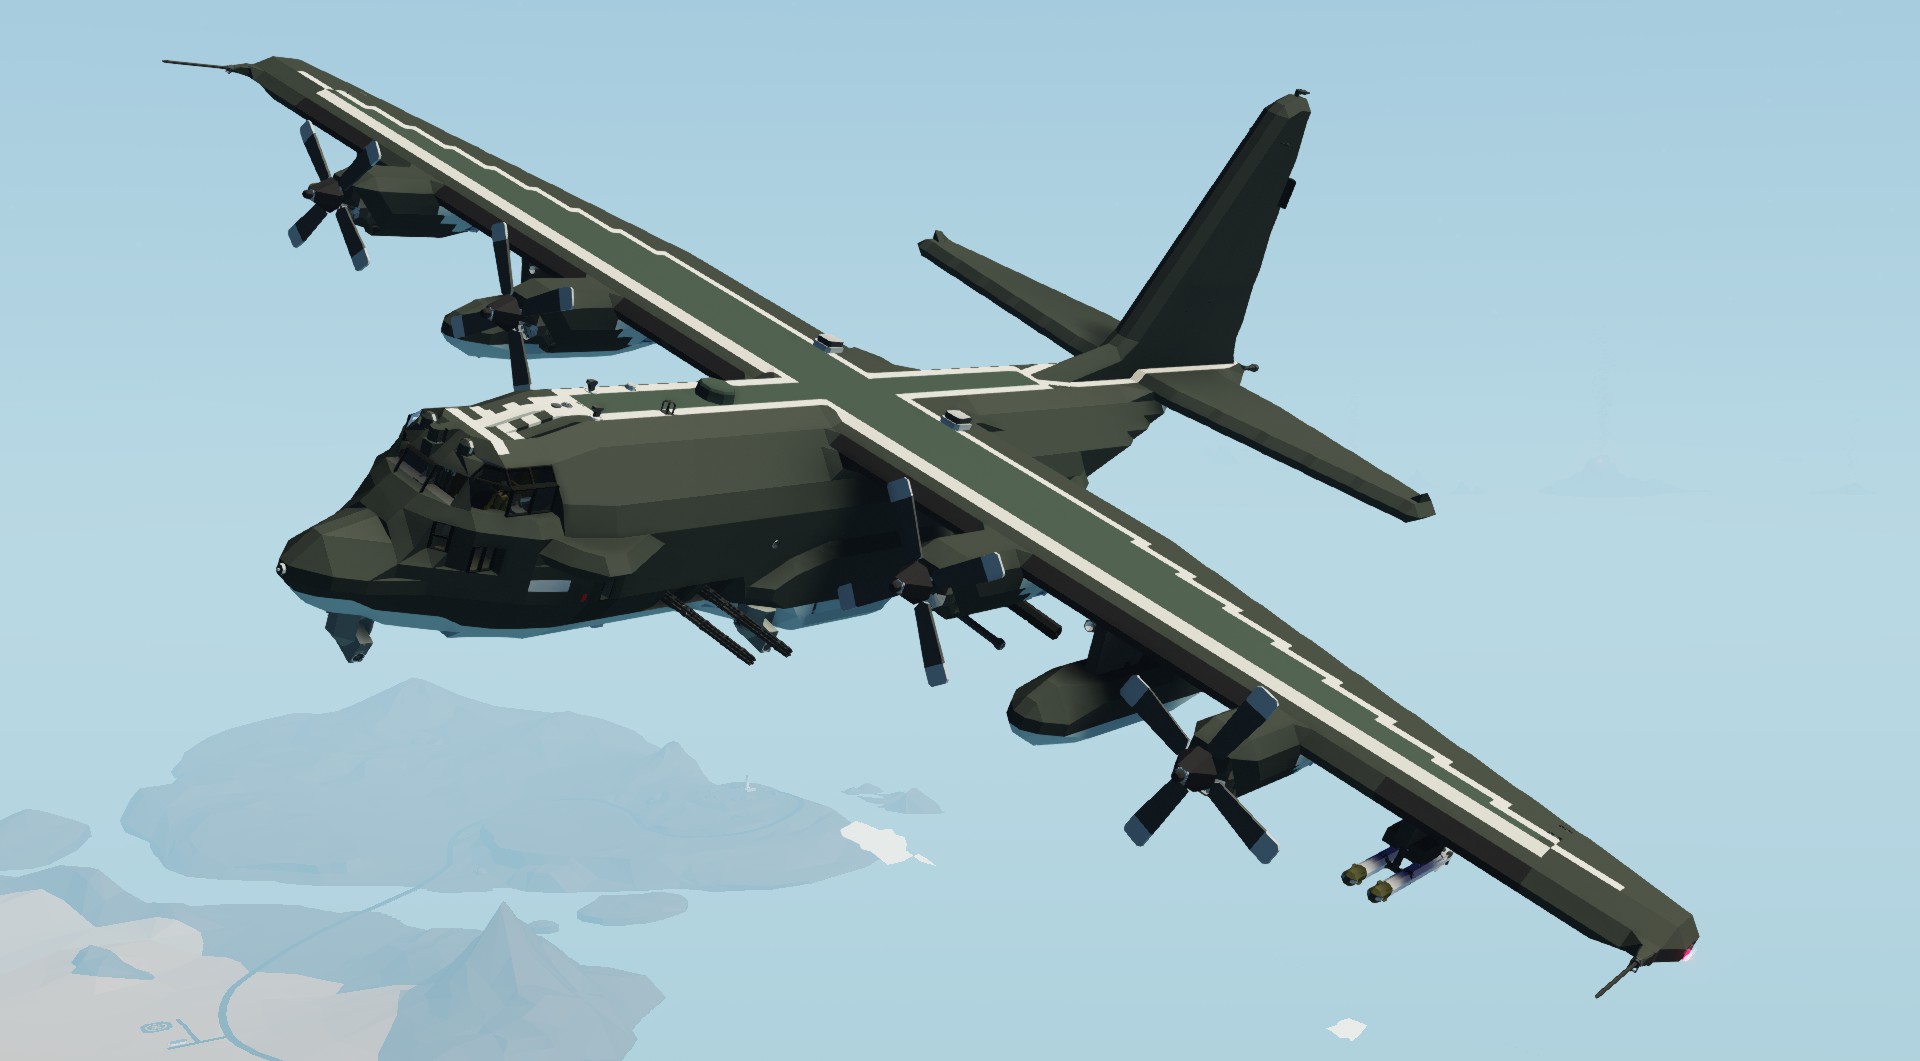

AC-130H Spectre(Latest armament)
Vehicle, Air, Advanced, Weapons, v1.8.8
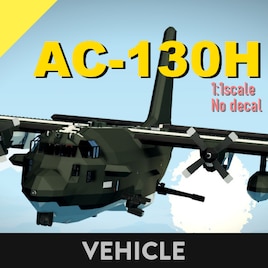
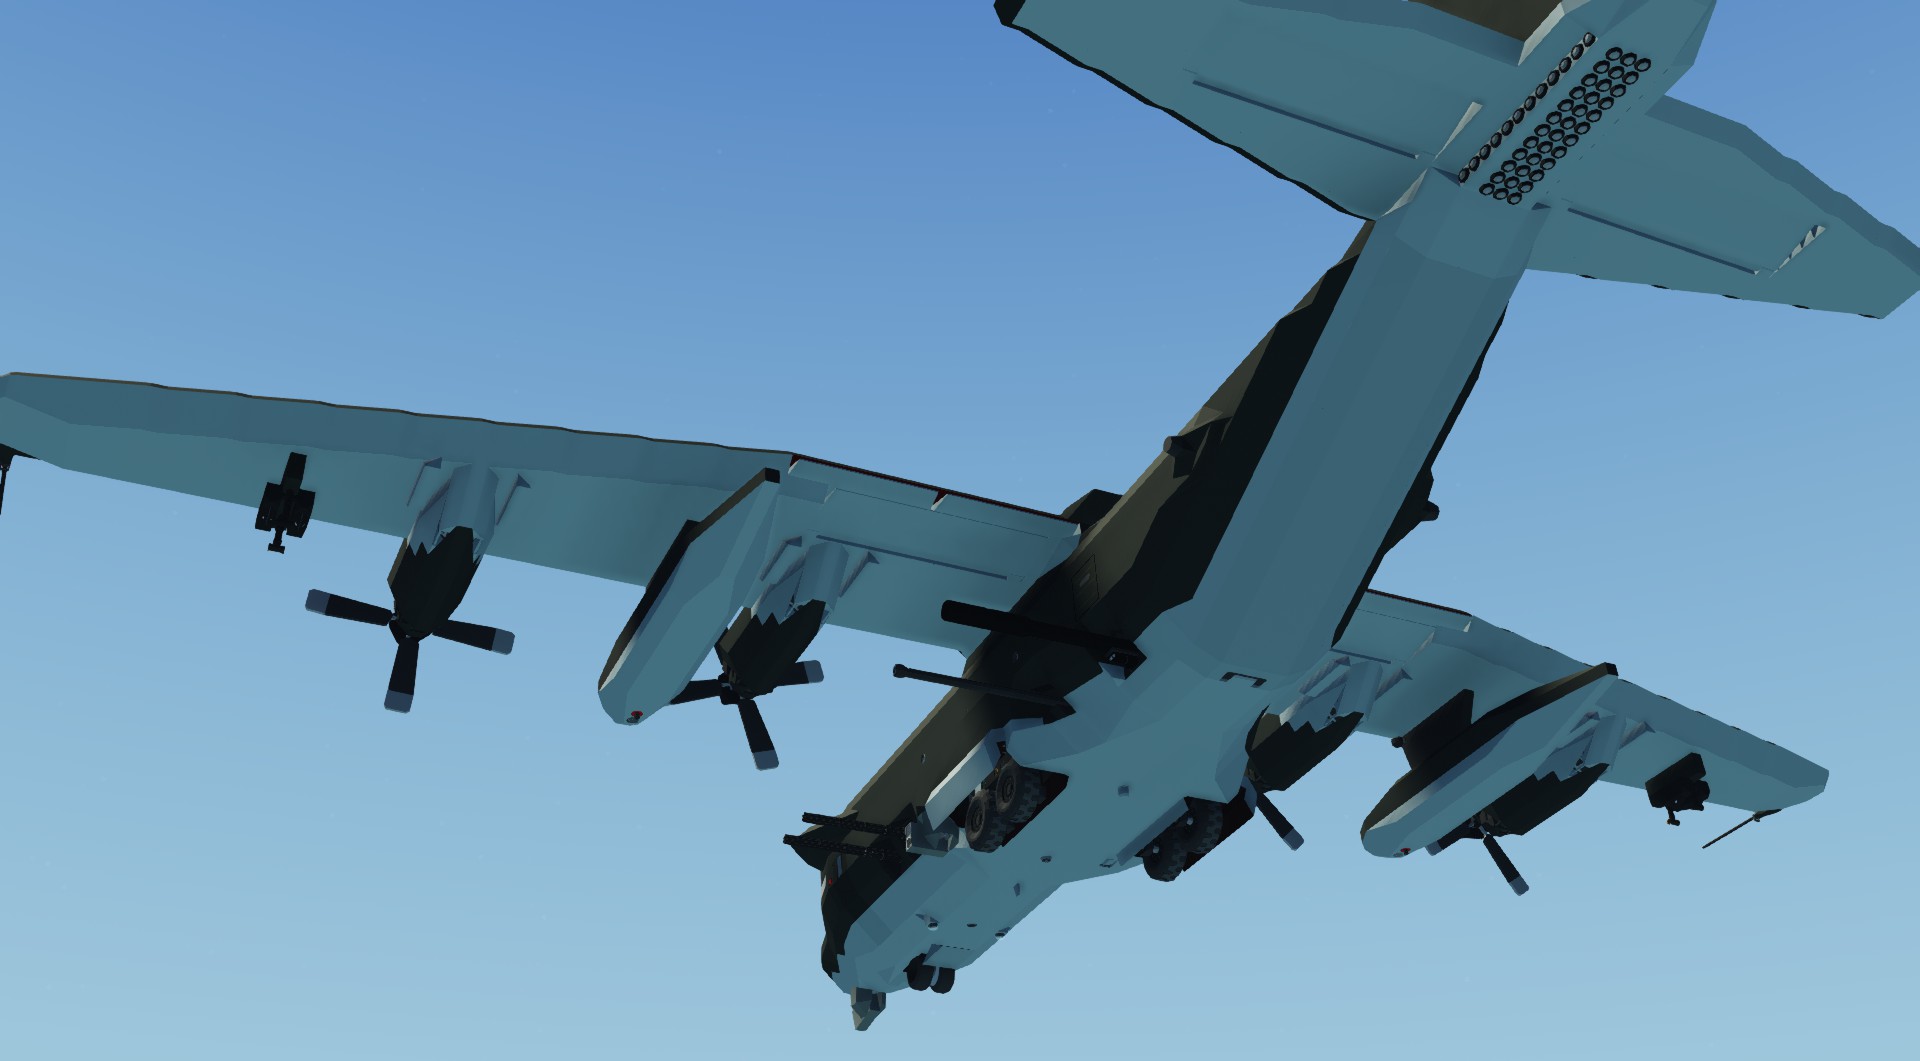
This is a full-scale reproduction of the AC-130H Spectre (last model) owned by the U.S. military.
It is called AC-130H, but it has AA missiles (AIM-9) under the wings for anti-AI etc. The accuracy is not so good due to Stowa mystery physics, garbage accuracy and my lack of knowledge.
The shooting accuracy is not so good due to stowa mystery physics, garbage accuracy and my lack of knowledge....
Author: 6lucky
Created: 24 Feb, 2023 @ 6:32pm
Updated: 5 Sep, 2023 @ 6:12am
Subscribers: 20257
Size (unpacked) : 2.734 MB
It is called AC-130H, but it has AA missiles (AIM-9) under the wings for anti-AI etc. The accuracy is not so good due to Stowa mystery physics, garbage accuracy and my lack of knowledge.
The shooting accuracy is not so good due to stowa mystery physics, garbage accuracy and my lack of knowledge.
It is not yet completed, but I am releasing it to the public to keep up my motivation.
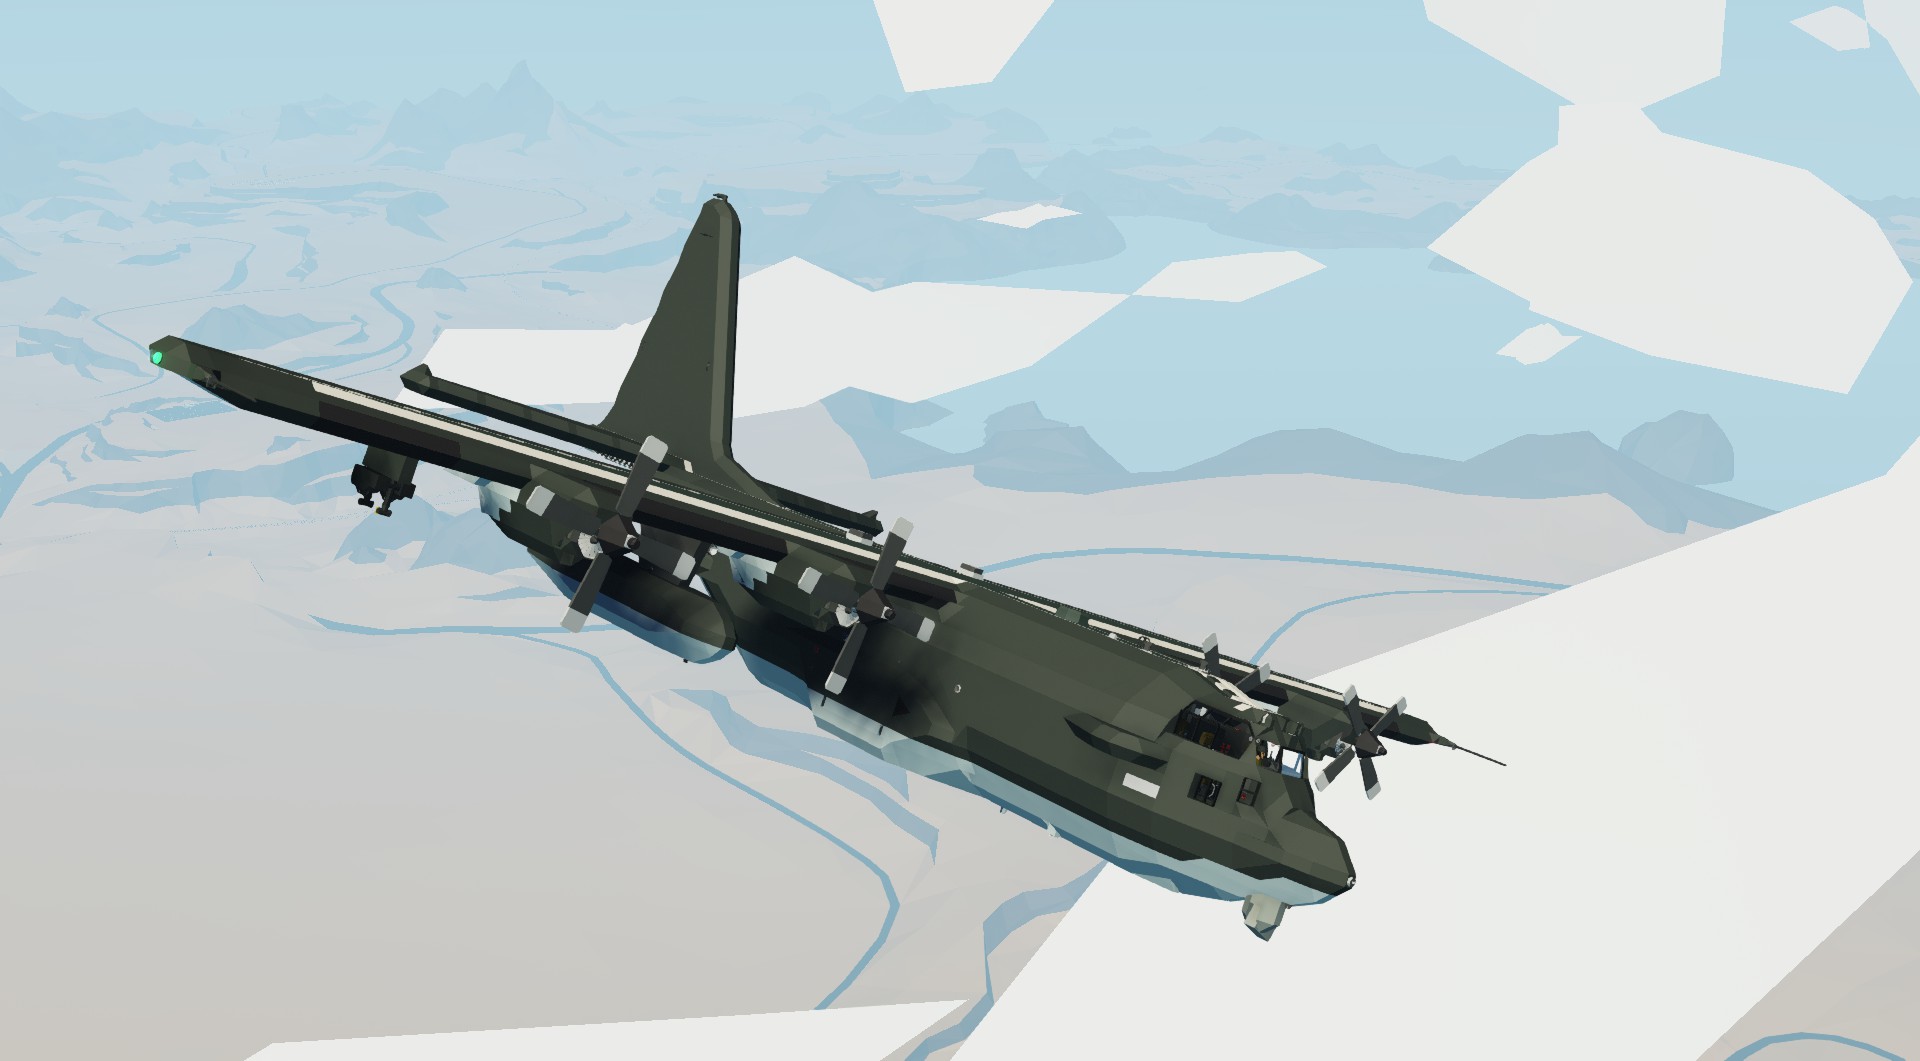
- Overall length: 29.5m(118 blocks)
- Overall height: 12.5m (50 blocks)
- Wingspan: 38.75 m (155 blocks)
- Weight: 21500mass
- Cost: $19000
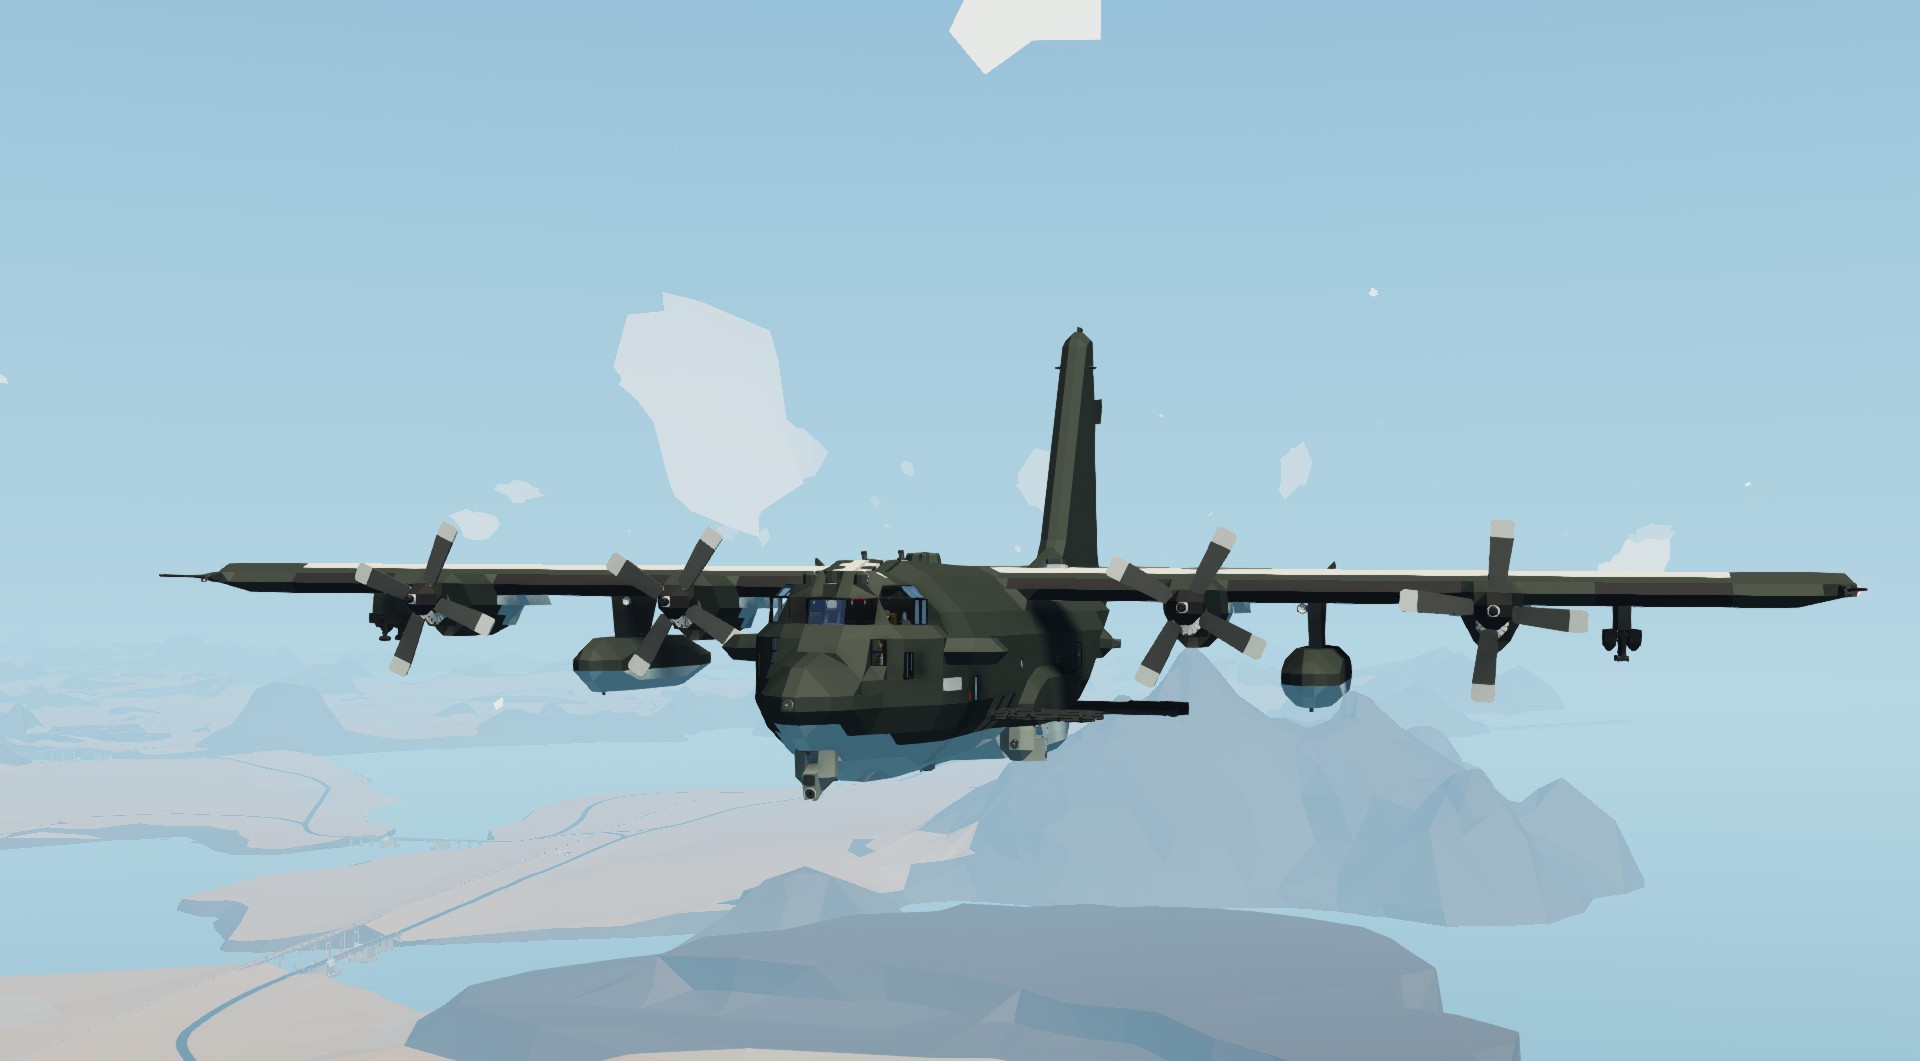
- Engine: JTMx2Jet x 4
- Maximum Speed: 280kts
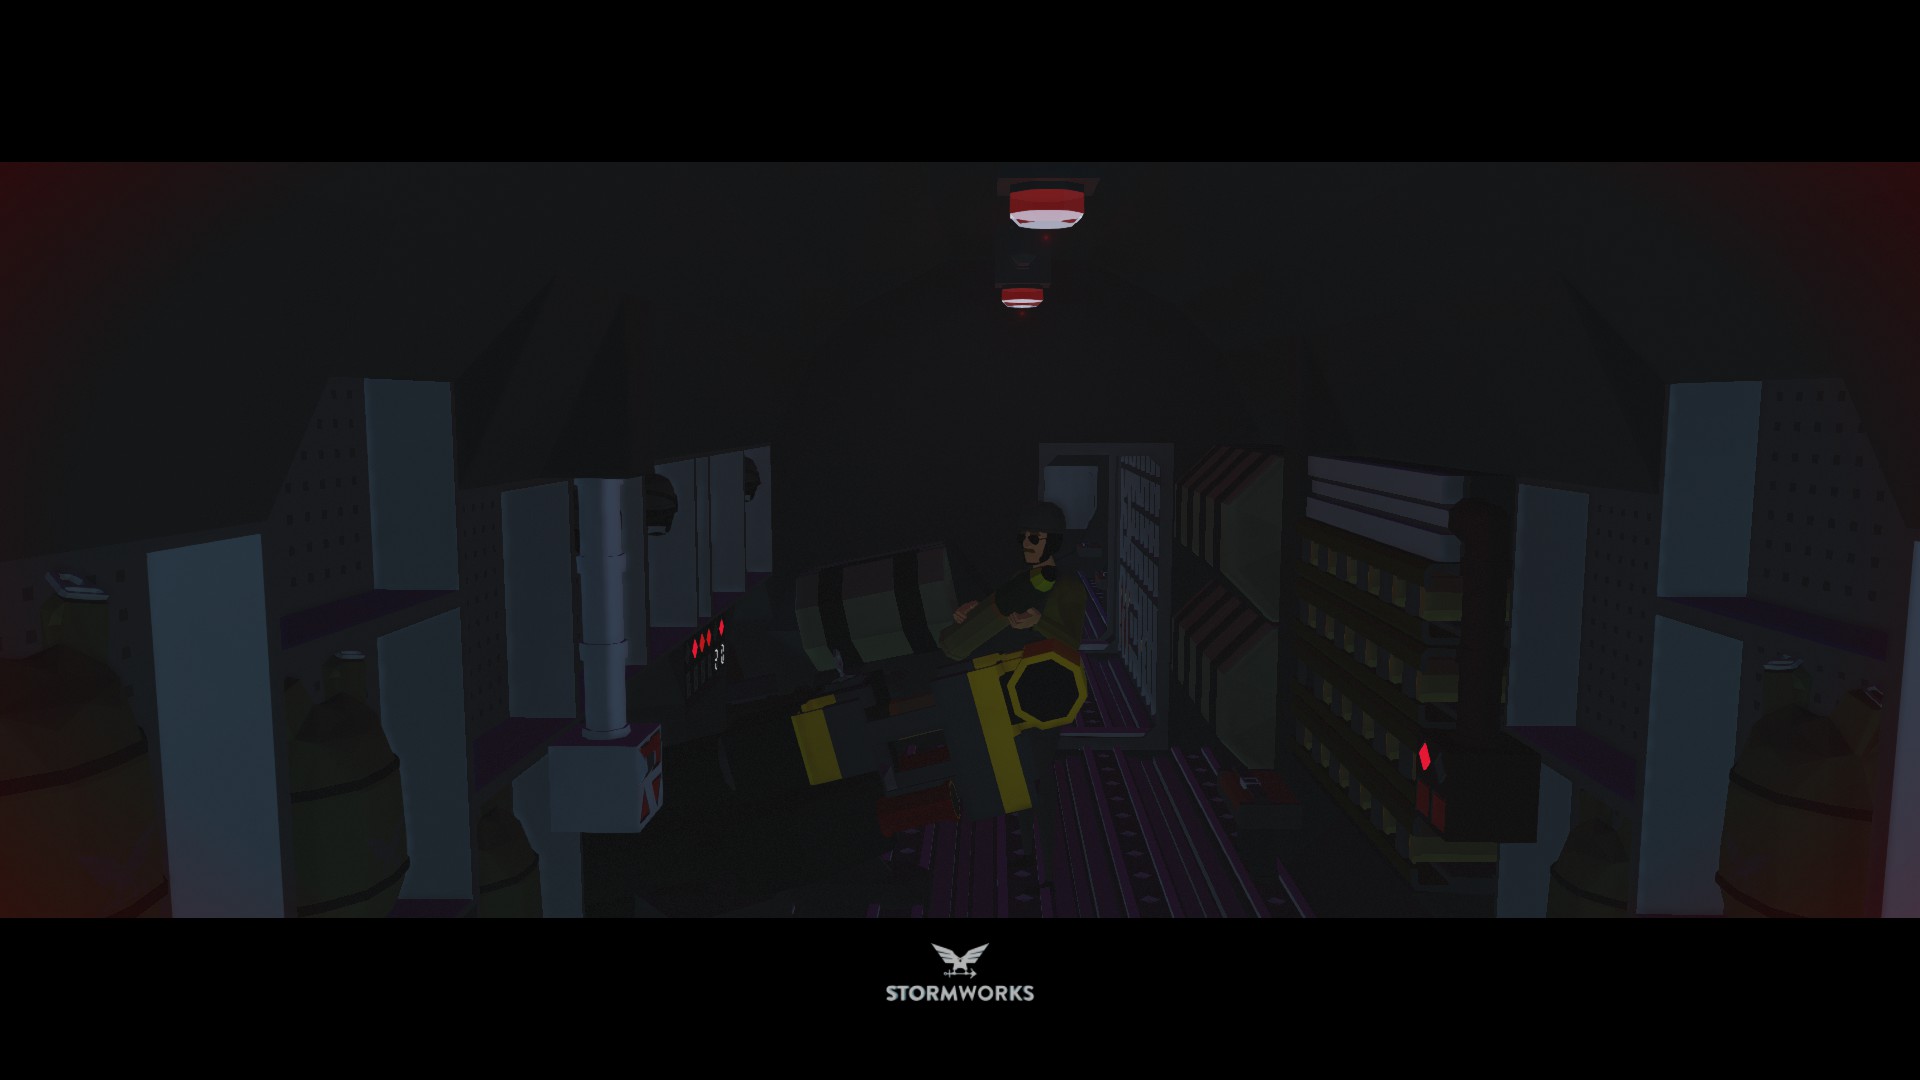
- Crew: 1~7 (Pilot,CO-Pilot,Navigator,Gunner,Loader x3)
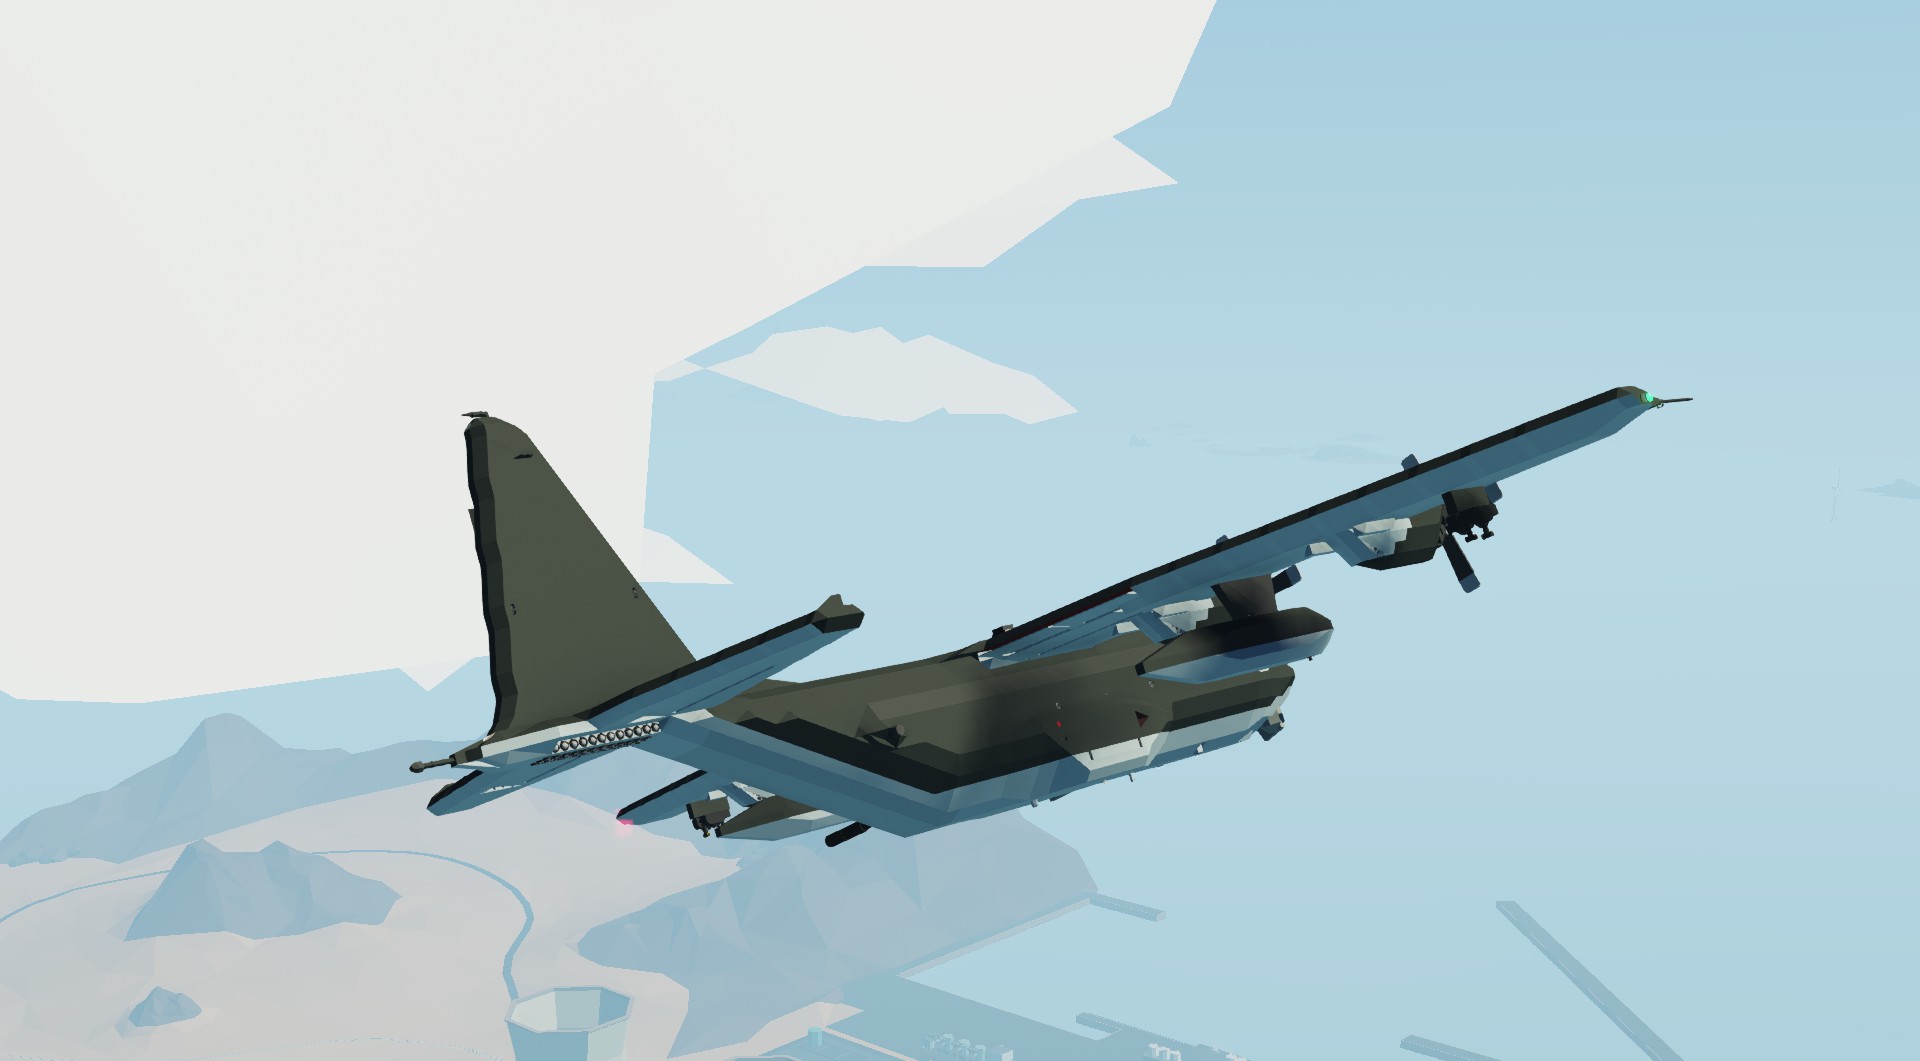
- 2× General Dynamics 25 mm GAU-12/U Equalizer 5-barreled rotary cannon (RotaryAutoCannon)
- 1× 40 mm L/60 Bofors cannon (HeavyAutoCannon)
- 1× 105 mm M102 howitzer (BattleCannon)
- Turn on "MainBreaker" in the dark yellow part of the top panel.
- Turn ON "No.1~4 FuelPump" of the KeyButton in the dark blue part of the top panel.
- Turn ON "Monitor&HUD" and "InternalLight" in the khaki color section of the top panel.
- Turn ON "No.1~4 EngineStart" in the dark red part of the top panel.
- Turn up the throttle to 0.10 using hotkey[1] and hotkey[2] or up/down. The throttle display is located in the yellow section of the lower panel. (Note: operate the throttle using the buttons on the lower panel, as the left and right throttles move separately.)
- When spawning in the hangar, the wingtips will touch the door, so turn on "FoldWing" on the KeyButton behind the CO-pilot.
- Turn ON "PropellerClutch" and "Collective Adcance" on the yellow part of the lower panel.
- Deactivate the "ParkingBrake" by pressing the triangular button on the black part of the front panel.
- Throttle up to 0.5 for takeoff.
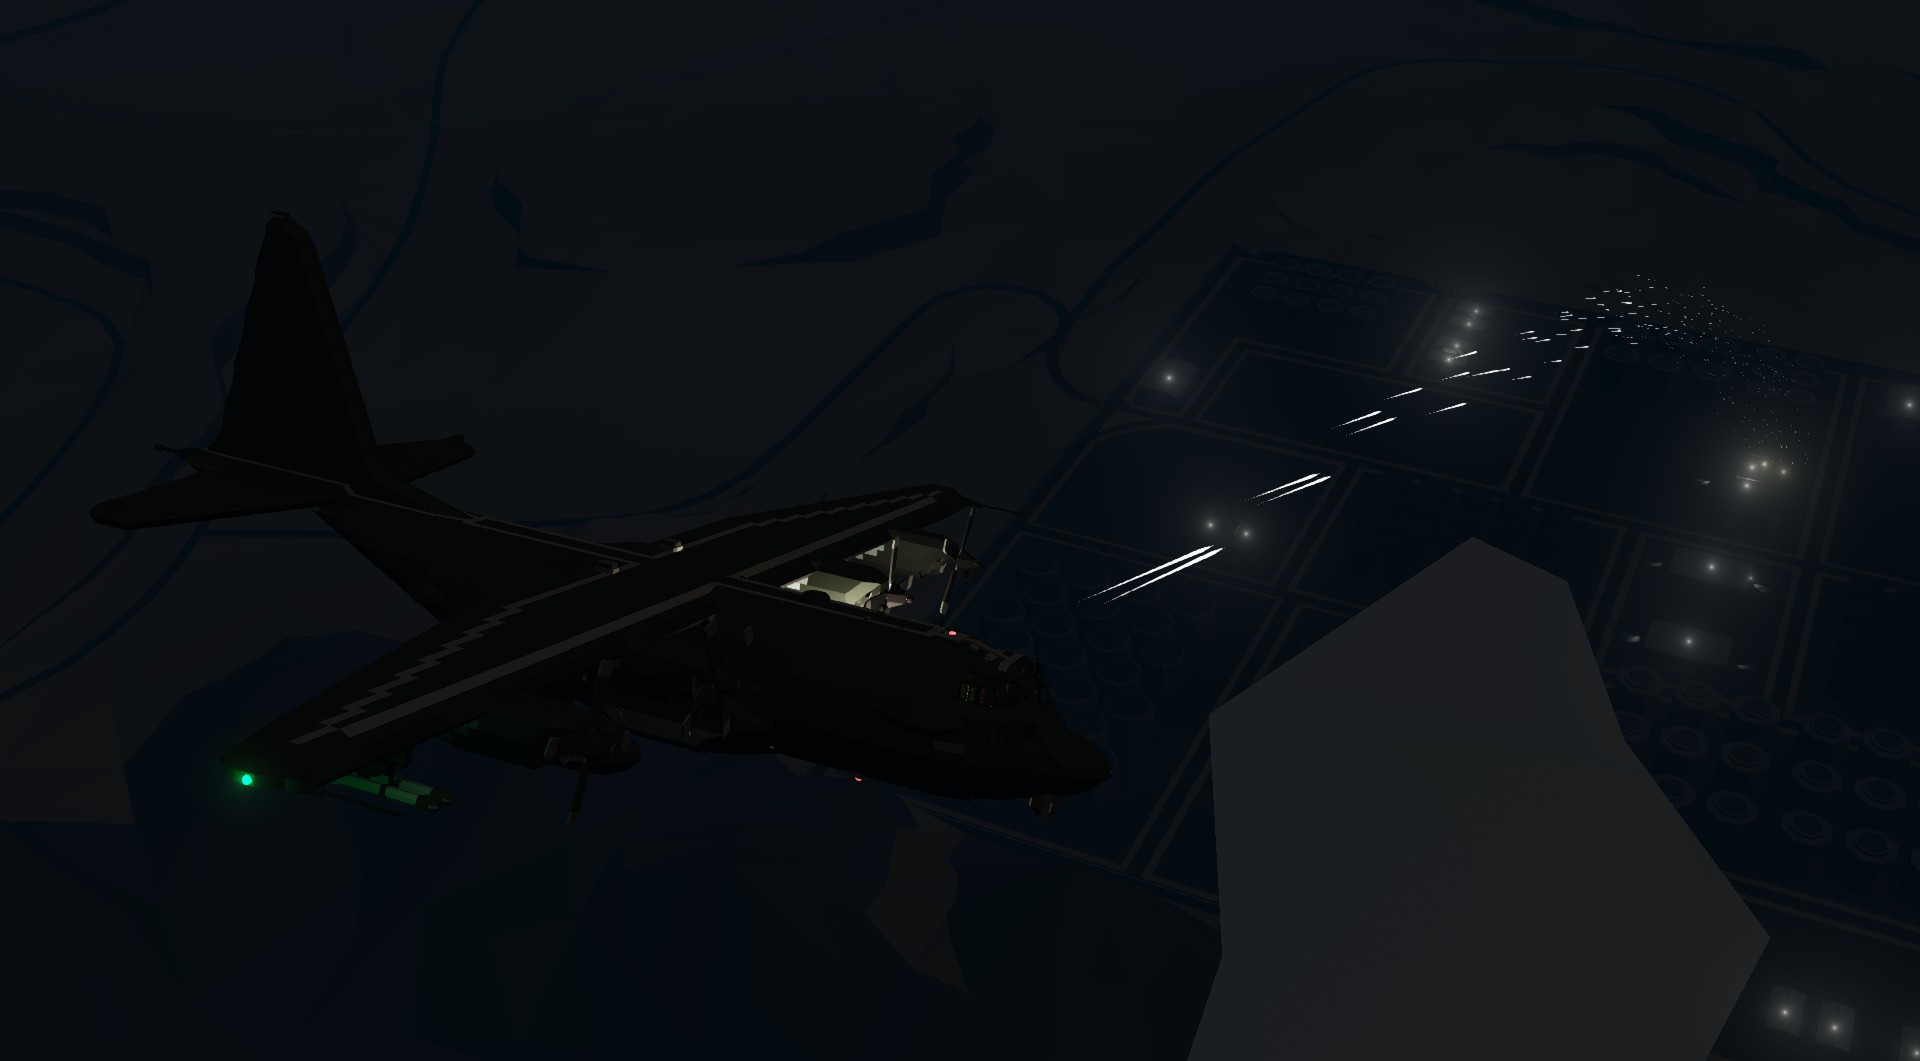
- The proper speed when shooting is 150knots.
- The flaps can be operated with the blue part of the upper panel, but you don't need to use them.
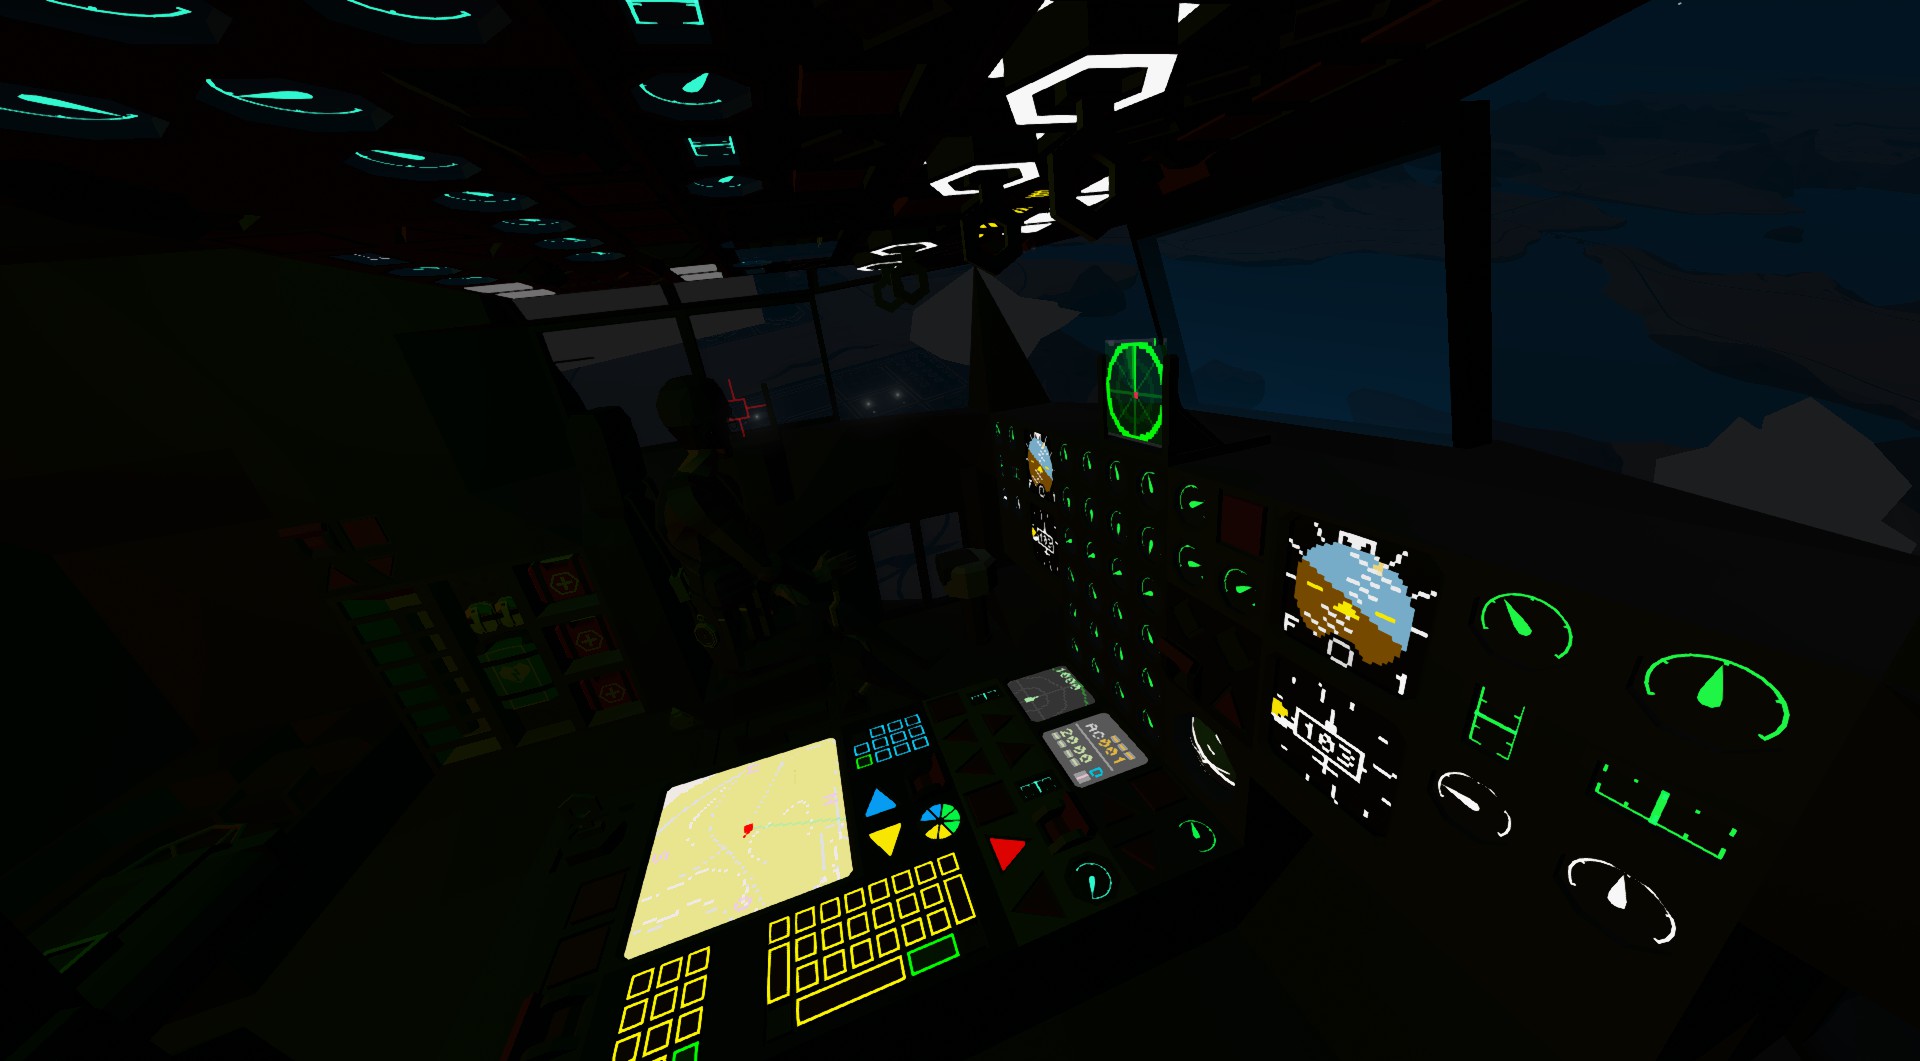
- Use the blue SmallKeypad to specify the altitude. The unit is feet.
- Specify coordinates with the yellow LargeKeypad.
- Specify the radius with the yellow SmallKeypad. The unit is meters. When shooting, 800m to 2000m is preferred.
- Turn on FlipSwitch "AP" to make the roll horizontal.
- Turn on "ALT hold" to adjust to the specified altitude.
- Turn on "WP Turning" to turn the roll around the specified coordinates with the specified radius. (Tip: If the specified radius is set to 0m, the aircraft will fly in a straight line to the specified coordinates.)
- If "AP" is turned off, all aids will be turned off.
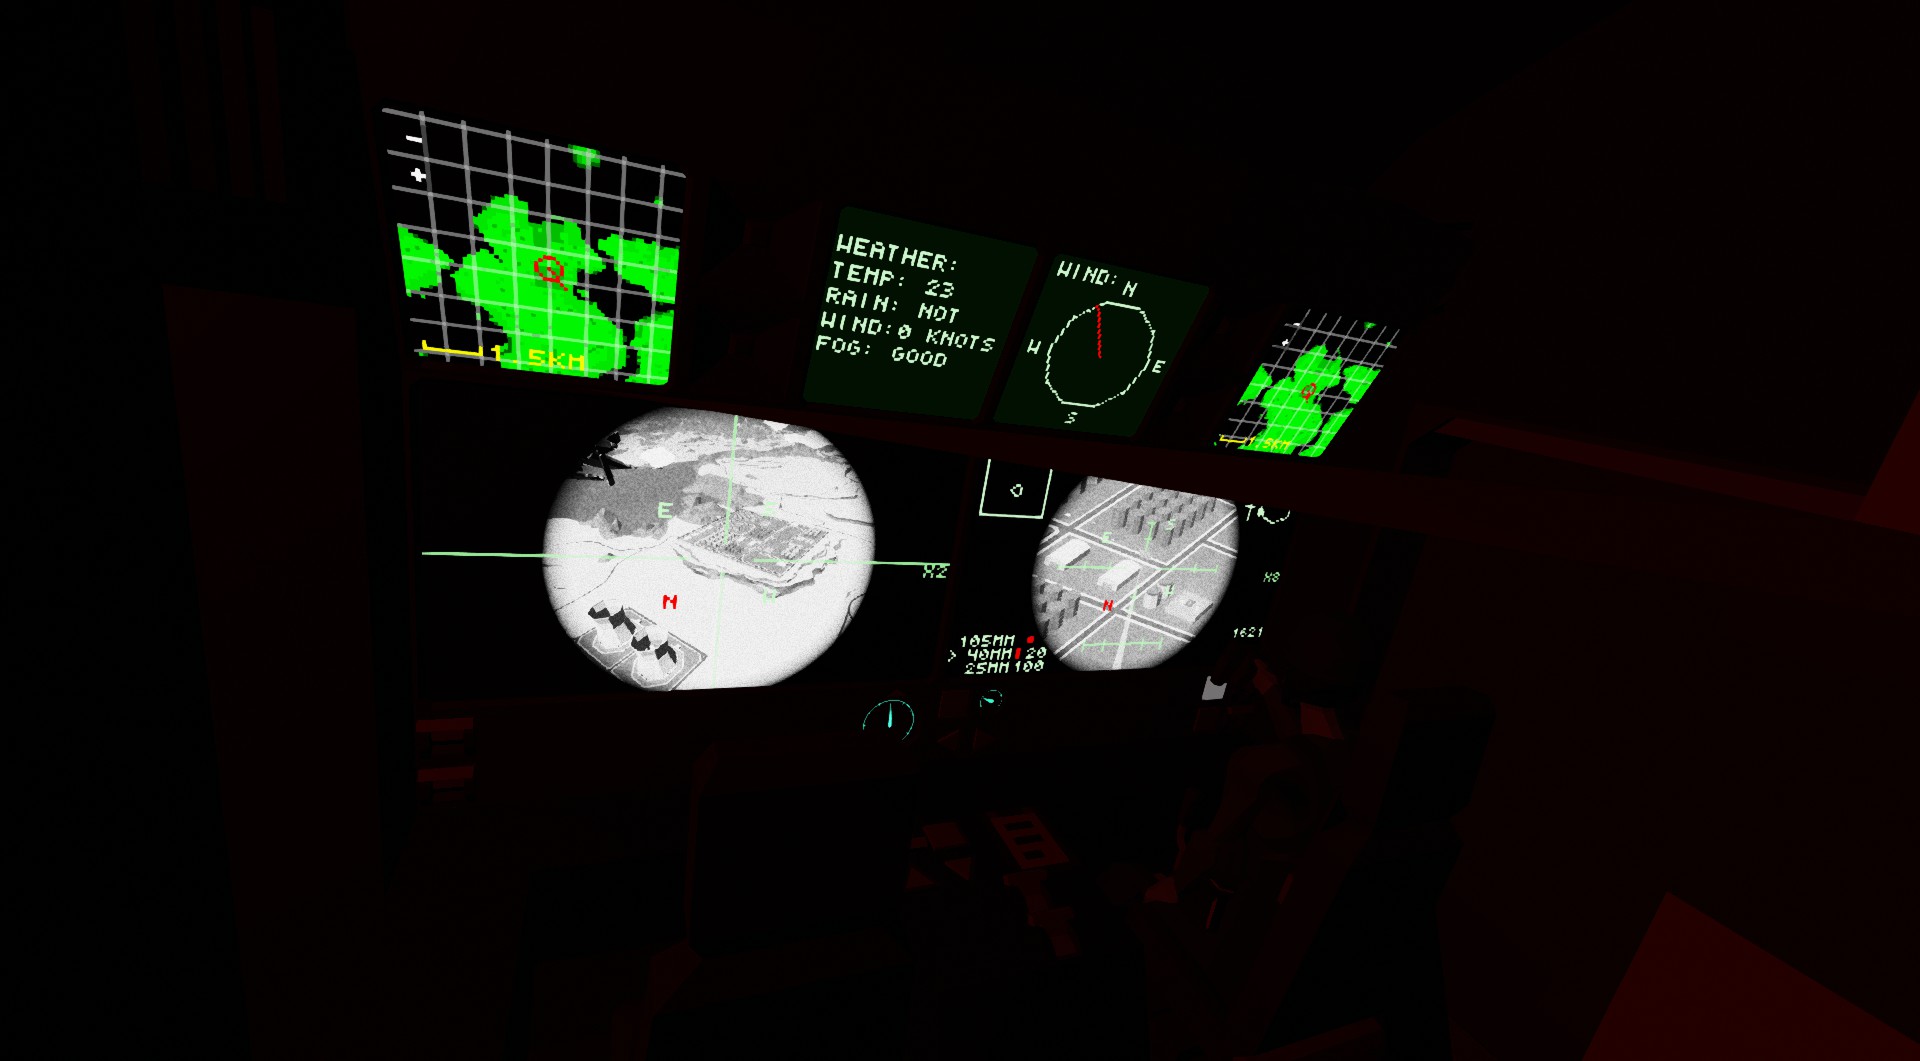
- Turn on the "COM Breaker" and "FCS Breaker" on the left side of the gunner's seat.
- Turn on the "Monitor&BackLight" in front.
- Use "Roll Tlim" so that the target is slightly below the center with the camera facing forward (this operation is confusing, so I will add something better later).
- Turn on "MasterArm" in front of the camera.
- The camera can be moved by w/s for elevation, a/d for rotation, or by touching the screen and moving the line of sight. The camera can also be moved by touching the screen and moving the line of sight. hotkey[1] and hotkey[2] can be used to select armament. hotkey[3] can be used to set the aiming coordinates to turning coordinates. hotkey[4] can be used to zoom. up/down and left/right can be used to adjust the sensitivity and FOV of the camera. up/down and left/right to adjust camera sensitivity and FOV, and Tigger to fire.
Incidentally, this piece was initially modeled after the AC-130H 696573( https://www.flickr.com/photos/collingwoodbarry/14117977757/in/photostream/ ) from the Transformers movie.
The actual model has the Decepticon kill mark. It is not supposed to be a kill in the movie, but this kind of playfulness is very good and cool anyway.
However, it has become a problem to reproduce 696573, so we are releasing it as a plain plane. Everyone is welcome to operate it with your own favorite decals. Private military companies are also OK. However, do not betray your allies by diverting missiles to Iran.
- Multi Function Map v4
https://steamcommunity.com/sharedfiles/filedetails/?id=2962217773 - AIM-9L sidewinder
https://steamcommunity.com/sharedfiles/filedetails/?id=2786555057 - Ballistic Calculator Sample
https://steamcommunity.com/sharedfiles/filedetails/?id=2628490430 - HEC-TCAS Receiver v1.3 / Version "Tango Delta"
https://steamcommunity.com/sharedfiles/filedetails/?id=2464725446 - HEC-XPDR v3.3 / Transponder - Version "Tree Delta"
https://steamcommunity.com/sharedfiles/filedetails/?id=1936434479 - Computer Graphic Horizon T v3
https://steamcommunity.com/sharedfiles/filedetails/?id=1766907221 - Radar Projection Map
https://steamcommunity.com/sharedfiles/filedetails/?id=2251639045
Translated with www.DeepL.com/Translator (free version)
How do I download and install mods?
Simply click the blue button above. It will open the file hosting page with the mod repacked by us from the official source.How do I install this mod?
See the 'How to install' tab.Is this mod safe to use?
The mods are repacked as is, without any additional software, malware, or bloatware added. To check for viruses, use a reliable antivirus or upload the archive to a website like virustotal.com. Anyway, It's always a good practice to keep backups of your saves in case of mod incompatibility .
For vehicle mods
- Download the .zip archive containing the vehicle mod files.
- Locate your game's root folder.
- Navigate to
rom\data\preset_vehicles_advancedand extract the files there. - Rename both files to something recognizable, ensuring they share the same base name but different extensions.
- Launch the game and go to the Workbench's Presets tab to see the new vehicle mod.