

AW189-SW SICG SAR | Rescue Helicopter
Vehicle, Air, Rescue, Advanced, v1.7.6
Used workshop for WIP backups, actually published 1st July (why so many change notes)
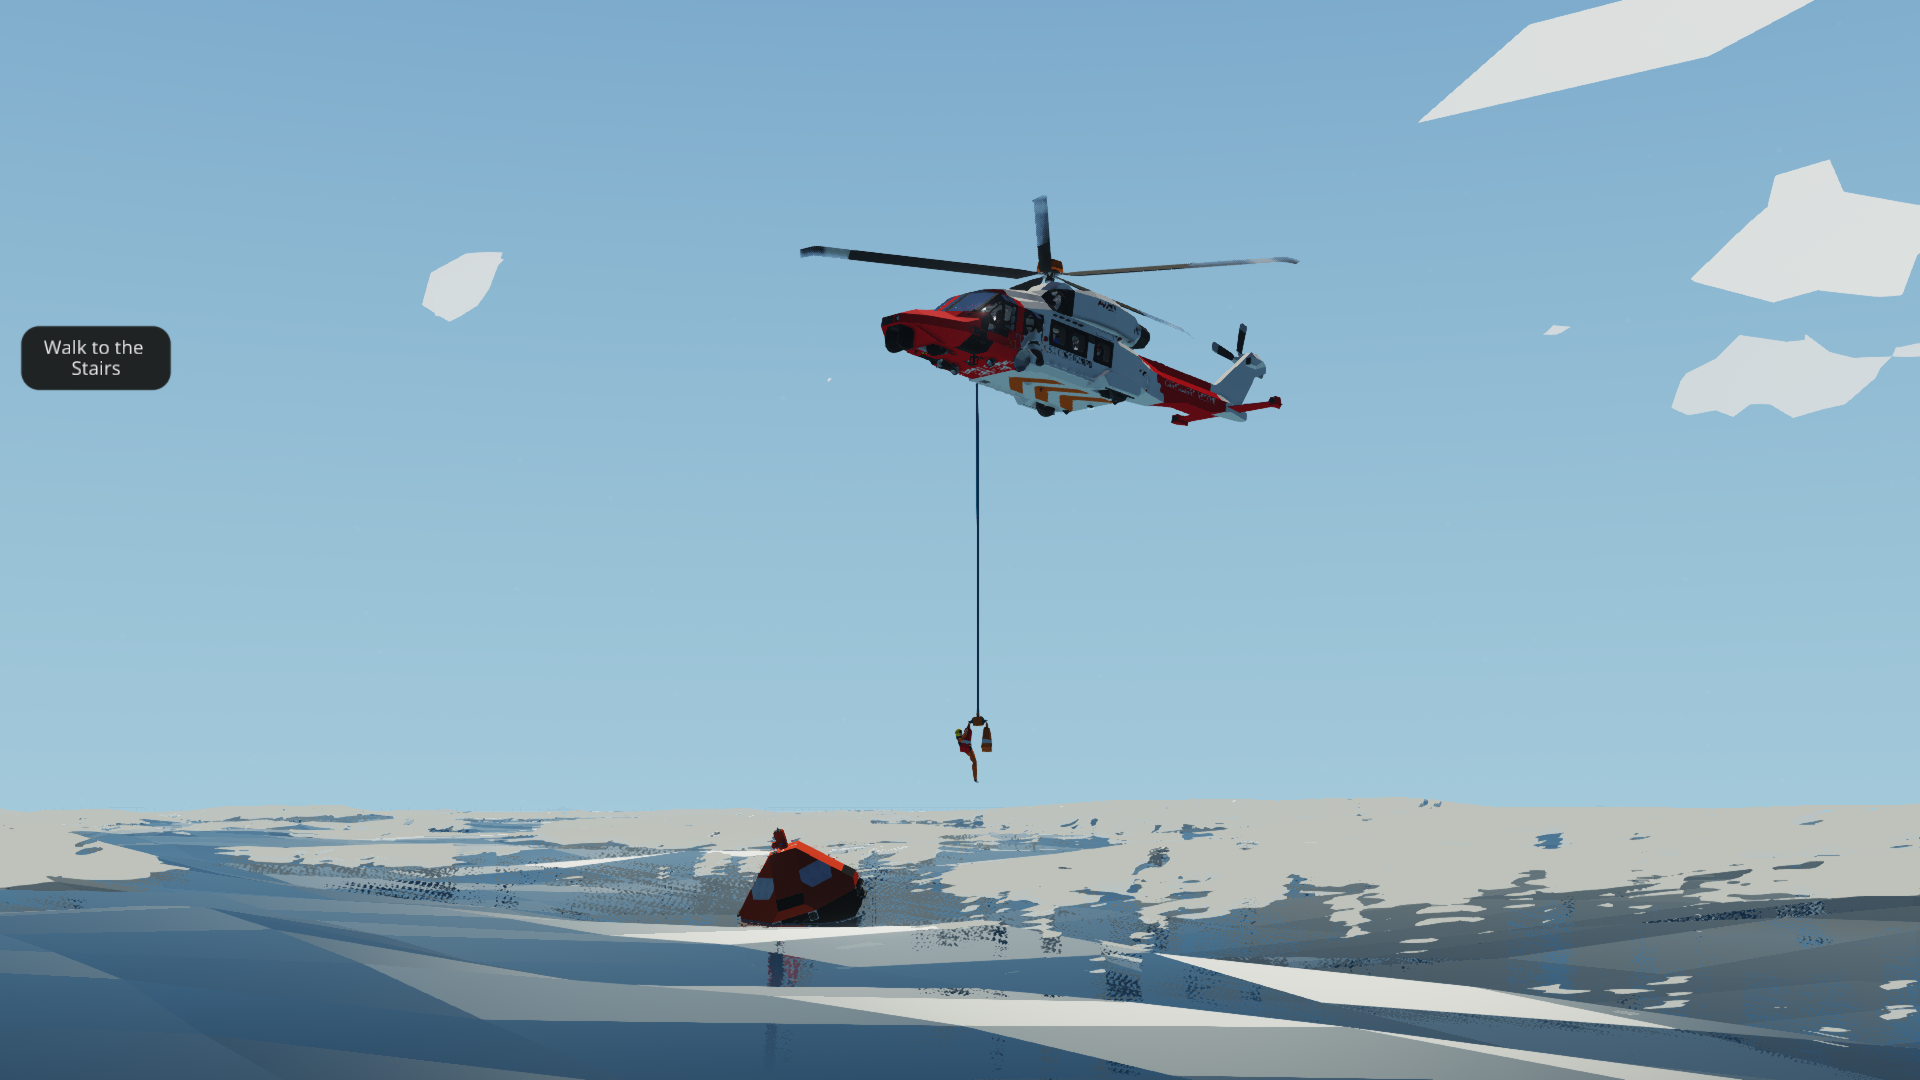
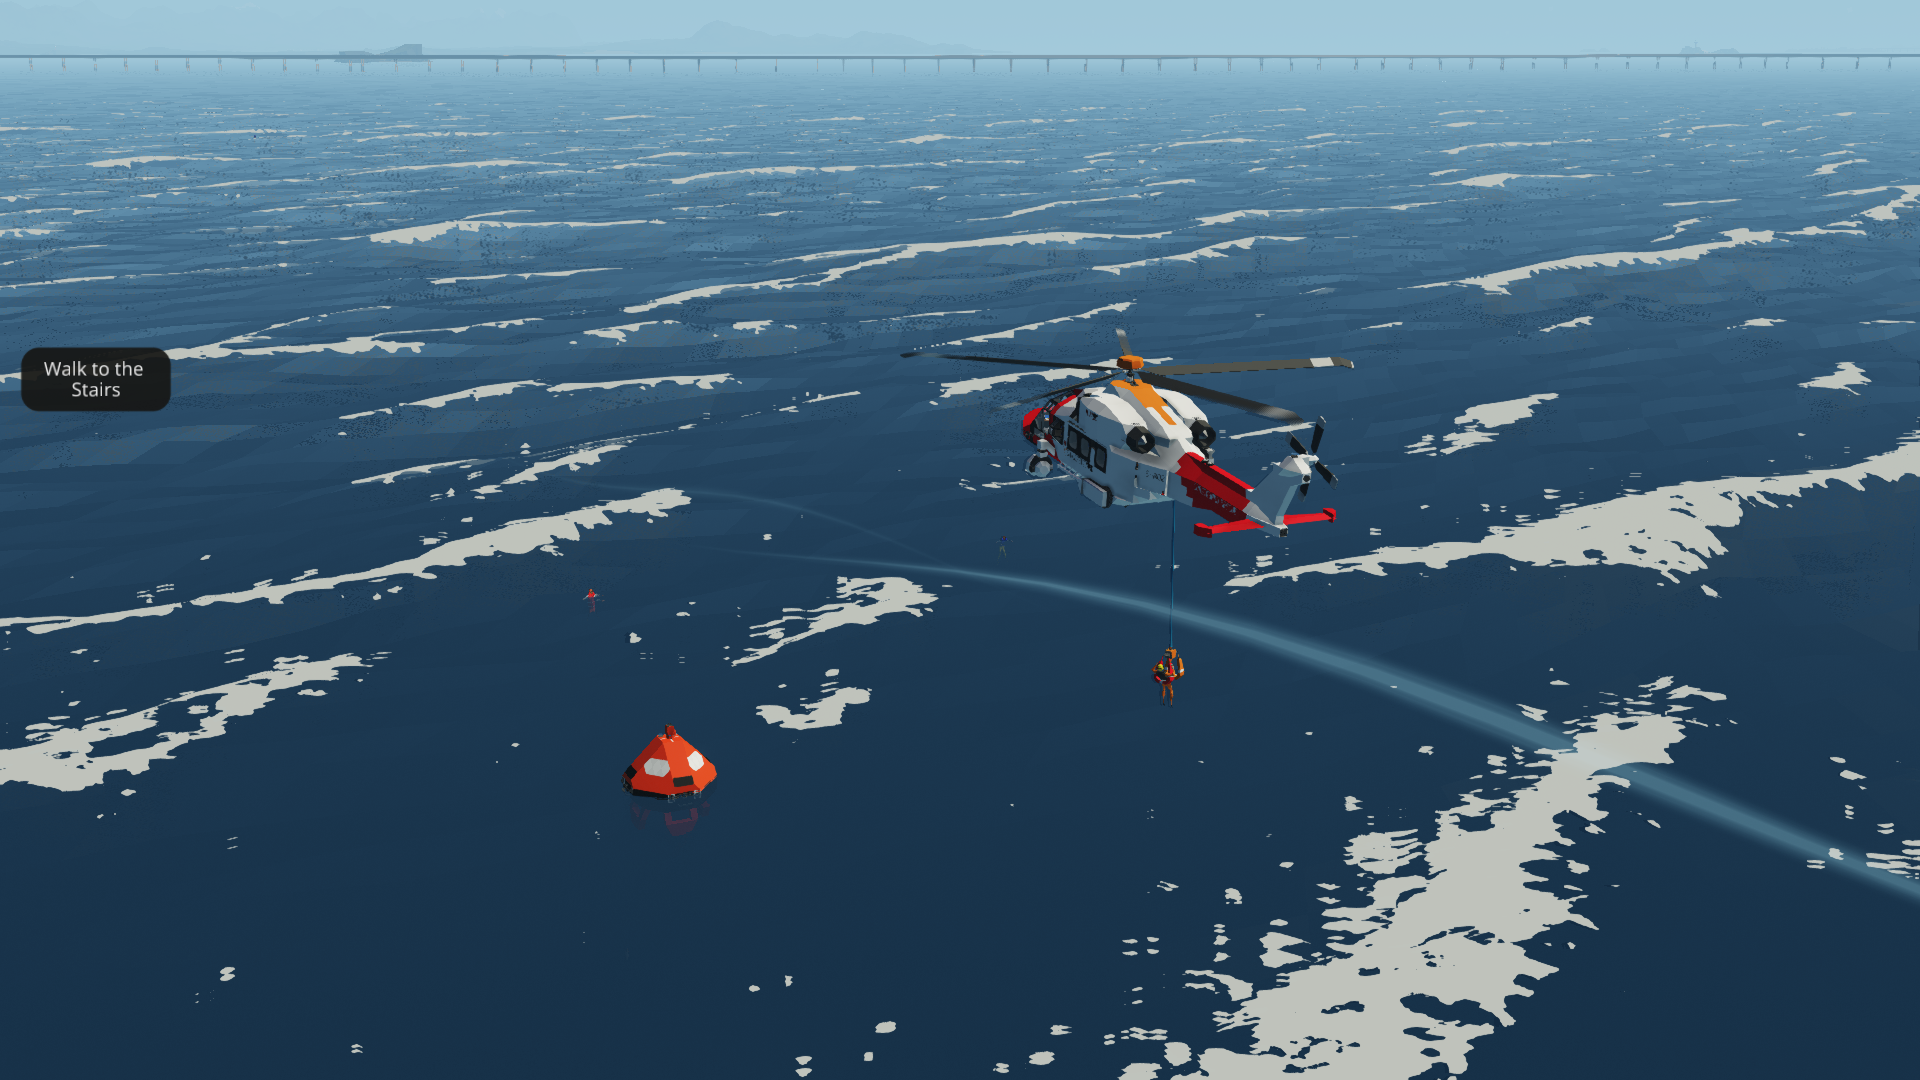
A helicopter for late-game career and roleplay.The Merlin had faults. Career needs higher standards
This is a ‘stormworksified’ AW189 HMCG (hense -SW and SICG), It is modelled off reality, but not at the expense of playability. A Stormworks heli first, a replica second. Every interface in the cockpi...
Author: TomDRV
Created: 30 Apr, 2021 @ 11:01am
Updated: 20 May, 2023 @ 10:15am
Subscribers: 19348
Size (unpacked) : 0.831 MB
Used workshop for WIP backups, actually published 1st July (why so many change notes)
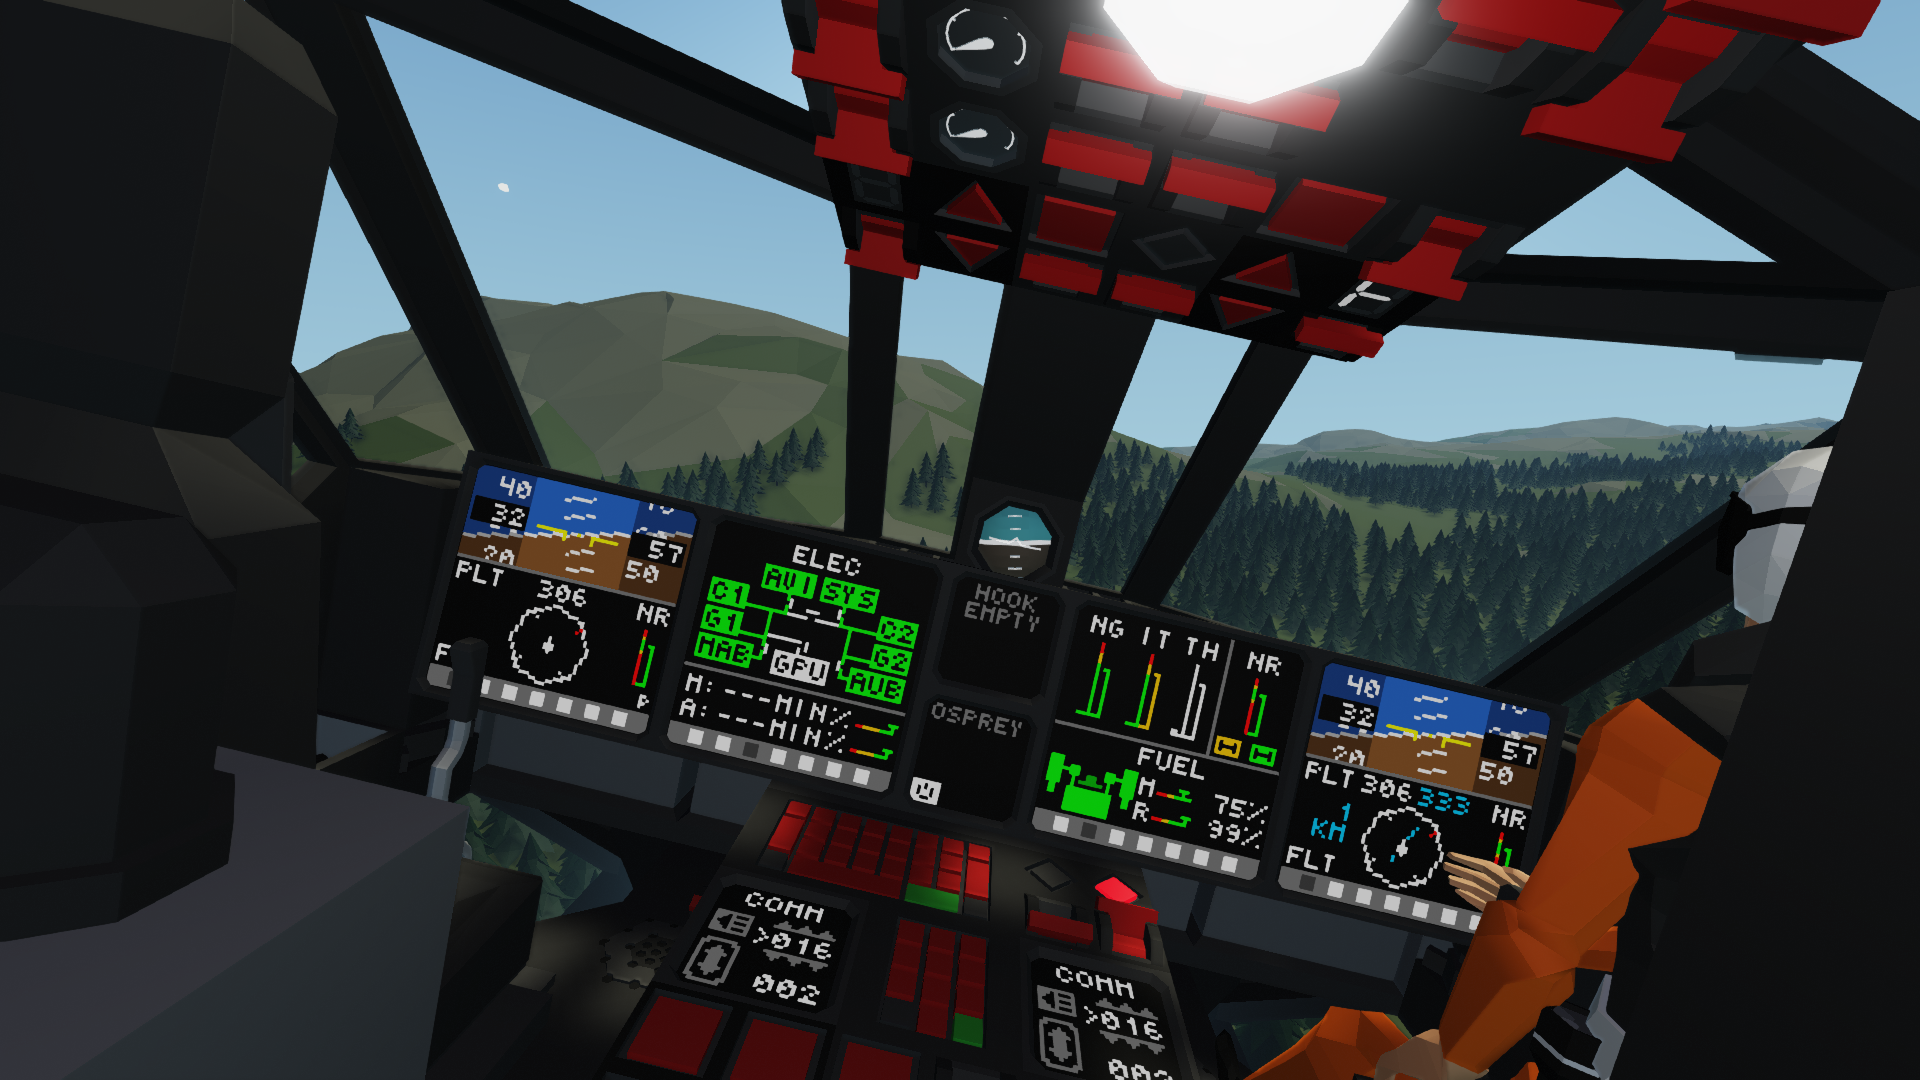
This is a ‘stormworksified’ AW189 HMCG (hense -SW and SICG), It is modelled off reality, but not at the expense of playability. A Stormworks heli first, a replica second. Every interface in the cockpit links to functional stormworks blocks, there are no ‘simulated’ systems (hydraulics etc). The cockpit is however styled from reality, See AW189-SW annotated screenshots for full cockpit guide and instructions.
Career-standard safety
See AW189-SW annotated screenshots for full cockpit guide and instructions.
1. Main & Aux batt: ON - roof panel
2. Avionic & System buses: ON - roof panel
3. ENG 1 & ENG 2 Fuel Pumps: ON - roof panel
4. ENG 1 & ENG 2 FADEC’s: ON - roof panel
5. ENG 1 & ENG 2 state: FLIGHT (press up arrows twice) - roof panel
6.Note: Crew should equip an oxygen mask (in case of ditching) before flight. Pilots' equipment beside cockpit doors, SAR techs' in cabin roof. Water Escape system should also be armed if flying over open ocean. -- roof panel
7. Wait for Rotor RPS (NR) to reach green zone (~40 secs - immersive startup :D) -- PFD
8. Take control (hotkey 1) & takeoff.
9.Turn off one of the engines if not carrying significant weight
Ground power connector behind pilot door (right side), fuel connector under right engine.
Top 5 need-to-knows
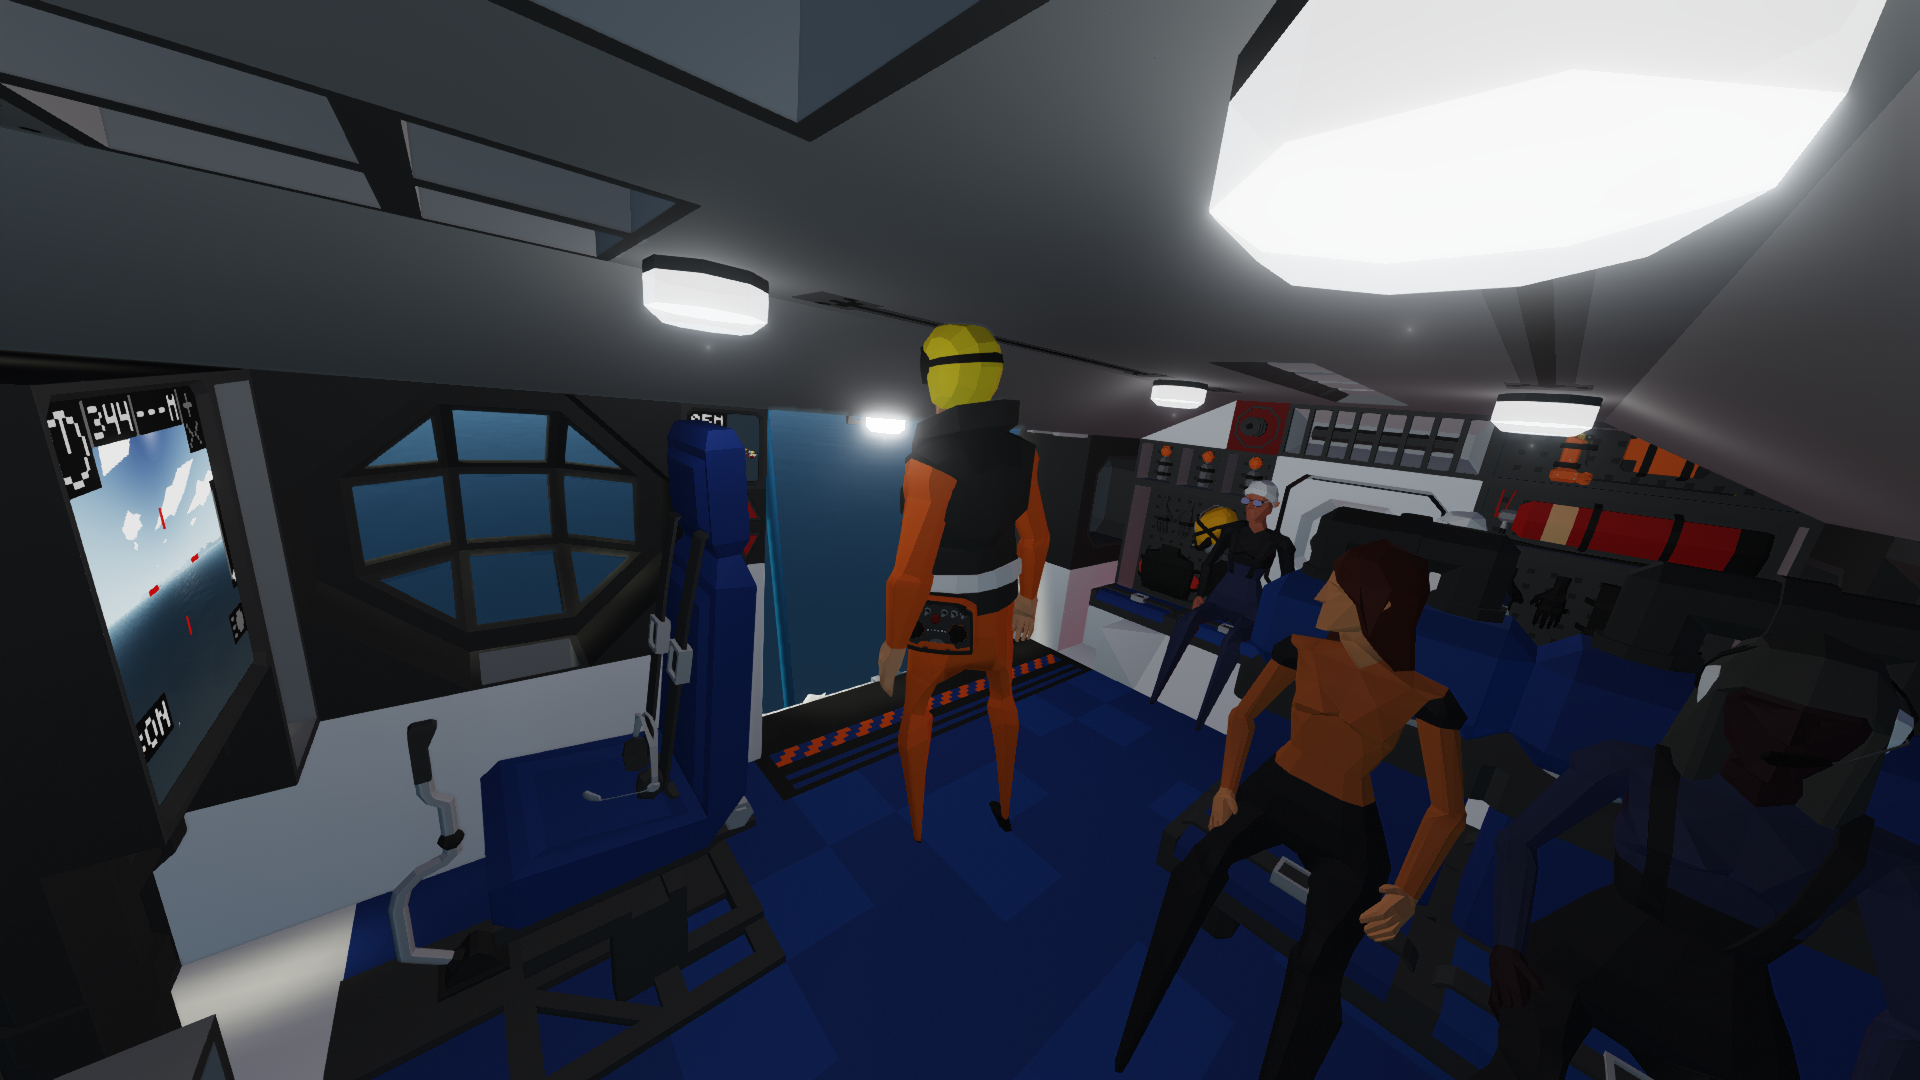
- *LOW CEILING* Crouch to get through cabin doors. To enter the cabin from the winch: Grab a handle, exit the harness, hold crouch & move yourself into the cabin, then let go of the handle. Very quick & safe once you get the hang of handles (ba-dum-tiss)
- Position hold enables when below 3 knots and no WASD/arrow keys are pressed (pilots must slow the aircraft to a hover themselves). The POShold is rated to 70% wind but aircraft must be nose-in to the wind.. Be aware, the COM shifts of mounting/dismounting winch will cause temporary drift backwards of ~5m but it will return to the original position, wait in the partially-lowered harness for it to do so, then drop onto the target.
- When engines are off but still using systems, disable one battery to conserve it’s charge for start-up. Use X-tie to power all systems from a single battery.
- First two seat hotkeys have dual functions. One for when tapped/press (P), the other for when held down/long press (H).
- If playing solo, carry the remote at all times. There is no deadman’s switch, I can’t make it adaptable enough to different terrains and with this being a career-orientated creation, I didn't want to make a system that wasn't dependable.
Crew: 1 useable, 2-4 ideal
-Pilot
-Co-Pilot
-SAR technician (x2) (Winch controllable from cockpit so both techs can deploy off the aircraft)
Person capacity: 2 Pilots, 10 passengers (incl. 2x SAR techs)
Max Payload:
Length (excl. rotors): 15m (14.6 m)
Width (excl. rotors): 3.75m (3.02m)
Height: 4.25m (4.04m)
Rotor diameter: 14.5m (14.60m)
Max speed (0 wind):95knots (169knots)
Range: 152km (907km)
Total endurance: 62mins (5hrs)
Main Fuel tank:52mins
Reserve Fuel tank: 10mins
All values under single engine eco-cruise.
ZE Flight Controller & tuning by Uran_wind
SkyBlaze Search System
- Anyone can modify/reskin and reupload from this or the airframe as they please if they give credit and link to one of the original versions in their item description.
A helicopter for late-game career and roleplay.
The Merlin had faults. Career needs higher standardsThis is a ‘stormworksified’ AW189 HMCG (hense -SW and SICG), It is modelled off reality, but not at the expense of playability. A Stormworks heli first, a replica second. Every interface in the cockpit links to functional stormworks blocks, there are no ‘simulated’ systems (hydraulics etc). The cockpit is however styled from reality, See AW189-SW annotated screenshots for full cockpit guide and instructions.
Career-standard safety
-Flight, camera and winch control by both pilot seats and remote (yes it works!)
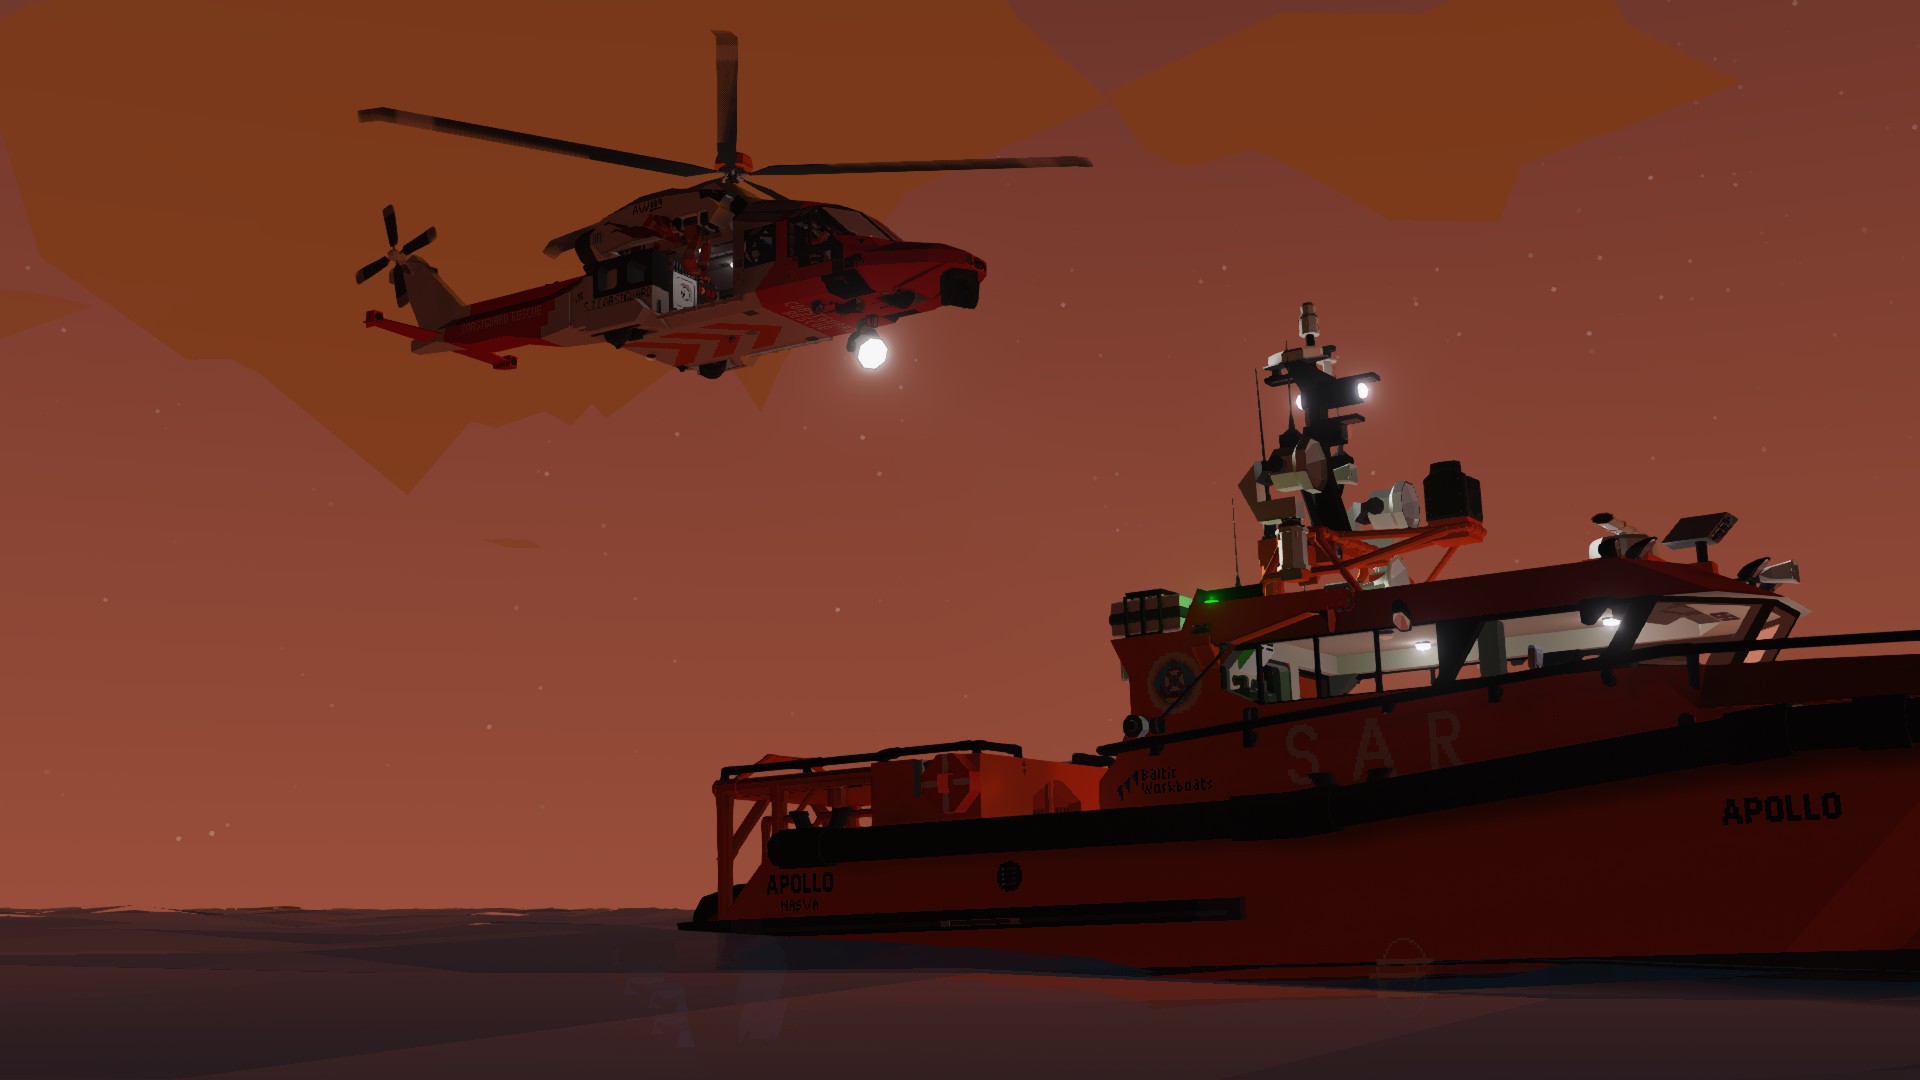
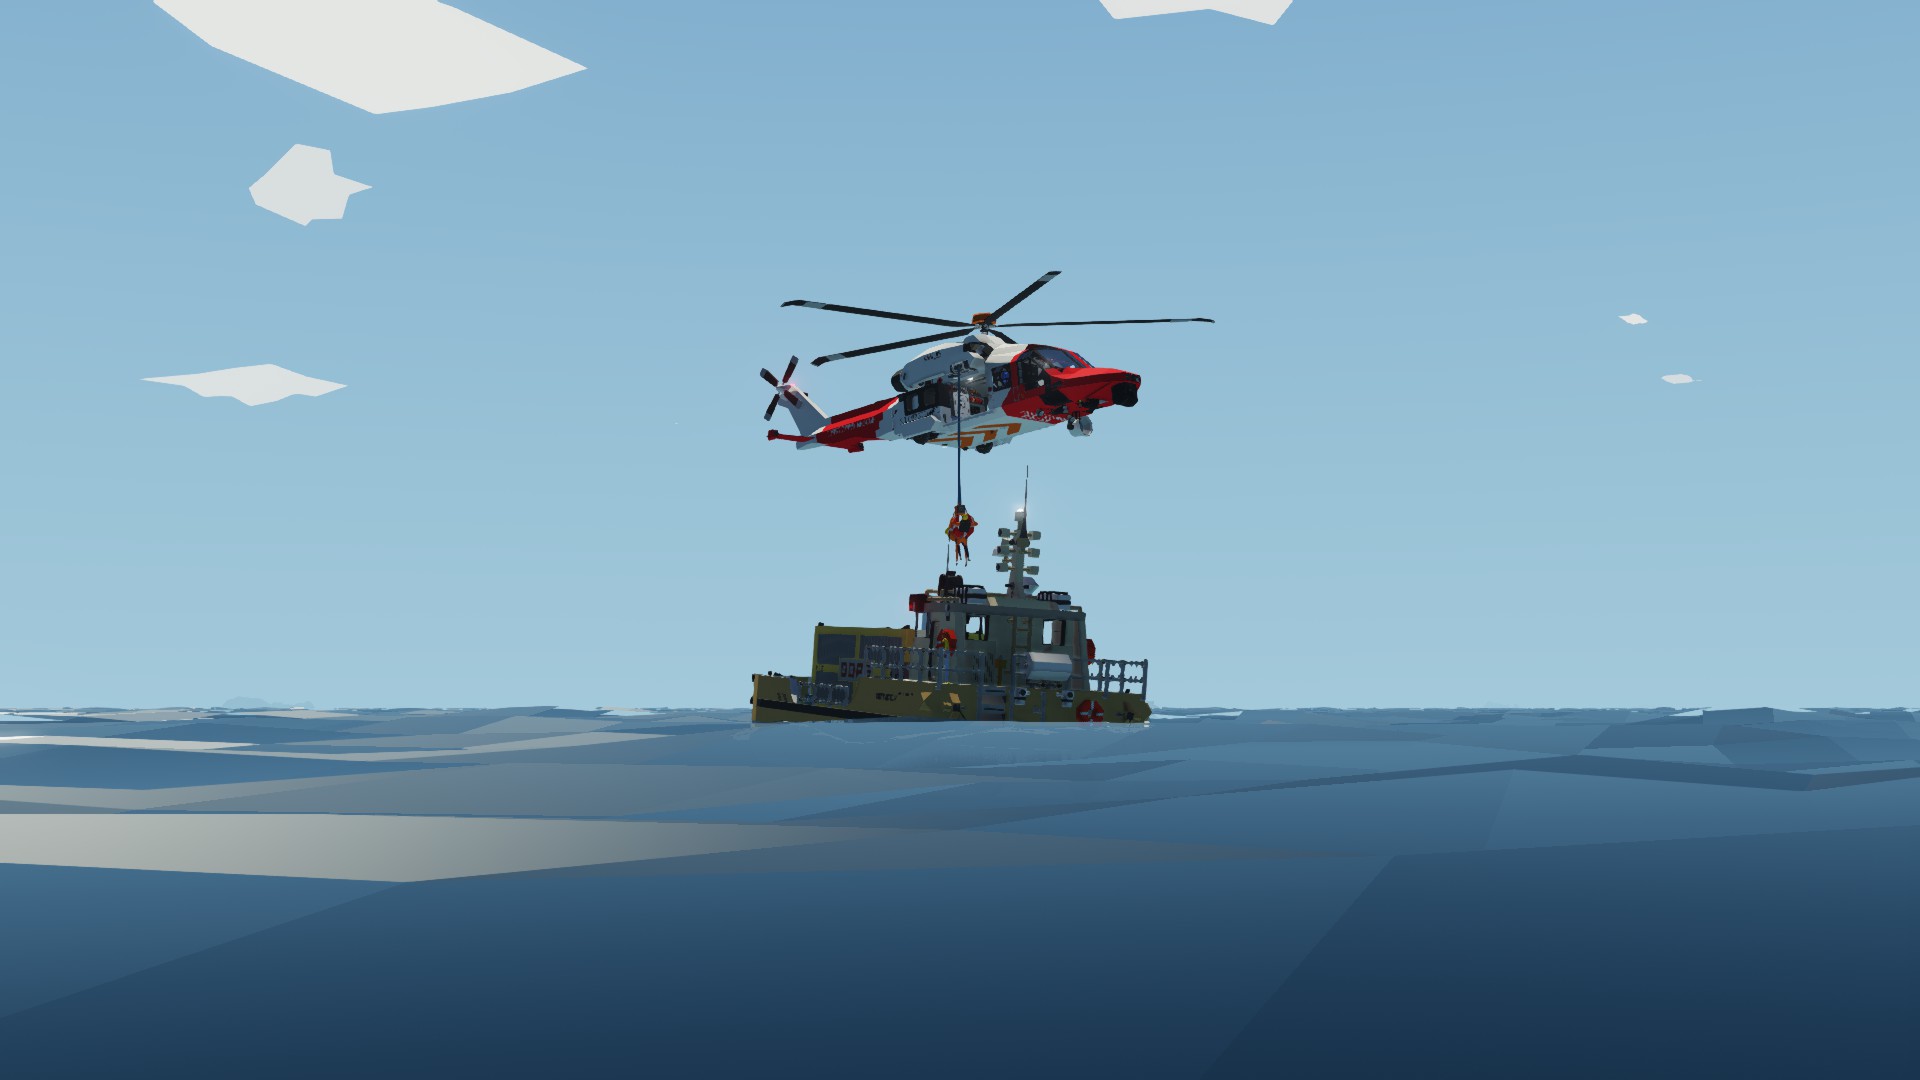
- Speed hold for easy winching to/landing on hospital ship
-Reserve fuel tank
-Water escape system (when submerged, all doors open, illumination and smoke flares are fired automatically and the emergency beacon activates) and oxygen masks for crew
-Flightworthy on a single engine/eco-cruise (if no underslung load)
-Hover in-flight refuelling (HIFR) connection
-Batteries don’t drain when powered off, but doors still open.
-4+ hours of idle battery power (when radar off)
- Independently controllable batteries for charge conservation
-Handles reachable from winch harness in any orientation (no getting stuck hanging)
-Big wheels so won’t slide about (not coasters)
-All Flight control MCs forward of the main rotor, best protected from damage and fire. If you’re hit there it’s probably gone through the rotor disk or cockpit so you’re a flying brick regardless.
-All system status/diagnostic MCs in nose cone
-Cabin/Door MC and electric relays accessible from cabin + underwater welder in cabin (so you can fix to open doors)
-Fits on game-world helipads
Quick-Start Checklist
See AW189-SW annotated screenshots for full cockpit guide and instructions.
1. Main & Aux batt: ON - roof panel
2. Avionic & System buses: ON - roof panel
3. ENG 1 & ENG 2 Fuel Pumps: ON - roof panel
4. ENG 1 & ENG 2 FADEC’s: ON - roof panel
5. ENG 1 & ENG 2 state: FLIGHT (press up arrows twice) - roof panel
6.Note: Crew should equip an oxygen mask (in case of ditching) before flight. Pilots' equipment beside cockpit doors, SAR techs' in cabin roof. Water Escape system should also be armed if flying over open ocean. -- roof panel
7. Wait for Rotor RPS (NR) to reach green zone (~40 secs - immersive startup :D) -- PFD
8. Take control (hotkey 1) & takeoff.
9.Turn off one of the engines if not carrying significant weight
Ground power connector behind pilot door (right side), fuel connector under right engine.
Top 5 need-to-knows
- *LOW CEILING* Crouch to get through cabin doors. To enter the cabin from the winch: Grab a handle, exit the harness, hold crouch & move yourself into the cabin, then let go of the handle. Very quick & safe once you get the hang of handles (ba-dum-tiss)
- Position hold enables when below 3 knots and no WASD/arrow keys are pressed (pilots must slow the aircraft to a hover themselves). The POShold is rated to 70% wind but aircraft must be nose-in to the wind.. Be aware, the COM shifts of mounting/dismounting winch will cause temporary drift backwards of ~5m but it will return to the original position, wait in the partially-lowered harness for it to do so, then drop onto the target.
- When engines are off but still using systems, disable one battery to conserve it’s charge for start-up. Use X-tie to power all systems from a single battery.
- First two seat hotkeys have dual functions. One for when tapped/press (P), the other for when held down/long press (H).
- If playing solo, carry the remote at all times. There is no deadman’s switch, I can’t make it adaptable enough to different terrains and with this being a career-orientated creation, I didn't want to make a system that wasn't dependable.
Stats (SICG SAR variant) (brackets is IRL HMCG SAR)
Crew: 1 useable, 2-4 ideal
-Pilot
-Co-Pilot
-SAR technician (x2) (Winch controllable from cockpit so both techs can deploy off the aircraft)
Person capacity: 2 Pilots, 10 passengers (incl. 2x SAR techs)
Max Payload:
Length (excl. rotors): 15m (14.6 m)
Width (excl. rotors): 3.75m (3.02m)
Height: 4.25m (4.04m)
Rotor diameter: 14.5m (14.60m)
Max speed (0 wind):95knots (169knots)
Range: 152km (907km)
Total endurance: 62mins (5hrs)
Main Fuel tank:52mins
Reserve Fuel tank: 10mins
All values under single engine eco-cruise.
Credits & published MCs
Markers622’s artificial horizonZE Flight Controller & tuning by Uran_wind
SkyBlaze Search System
Permissions
- You can use or modify any controller for your own creations without specifically asking me, but if you upload you please give credit and link to this in your item's description- Anyone can modify/reskin and reupload from this or the airframe as they please if they give credit and link to one of the original versions in their item description.
How do I download and install mods?
Simply click the blue button above. It will open the file hosting page with the mod repacked by us from the official source.How do I install this mod?
See the 'How to install' tab.Is this mod safe to use?
The mods are repacked as is, without any additional software, malware, or bloatware added. To check for viruses, use a reliable antivirus or upload the archive to a website like virustotal.com. Anyway, It's always a good practice to keep backups of your saves in case of mod incompatibility .
For vehicle mods
- Download the .zip archive containing the vehicle mod files.
- Locate your game's root folder.
- Navigate to
rom\data\preset_vehicles_advancedand extract the files there. - Rename both files to something recognizable, ensuring they share the same base name but different extensions.
- Launch the game and go to the Workbench's Presets tab to see the new vehicle mod.