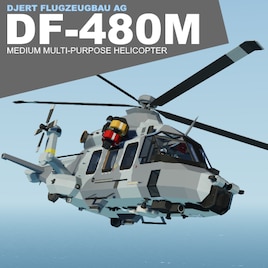
DF-480M - Multipurpose Medium Helicopter
Vehicle, Air, Rescue, Exploration, Advanced, Weapons, v1.6.2
Make sure infinite electricity is off! Read the description on how to use weapons and systems!
Weapon Pack
Introduction:
The DF-480M is a multipurpose medium helicopter built by Djert Flugzeugbau AG. It was developed to operate in a naval environment and is capable of performing transport and rescue tasks, as well as surface and subsurface attack missions using various weapo...
Author: Djert
Created: 18 Oct, 2022 @ 4:47am
Updated: 20 Oct, 2022 @ 10:44am
Subscribers: 20700
Size (unpacked) : 0.877 MB
Weapon Pack
Introduction:
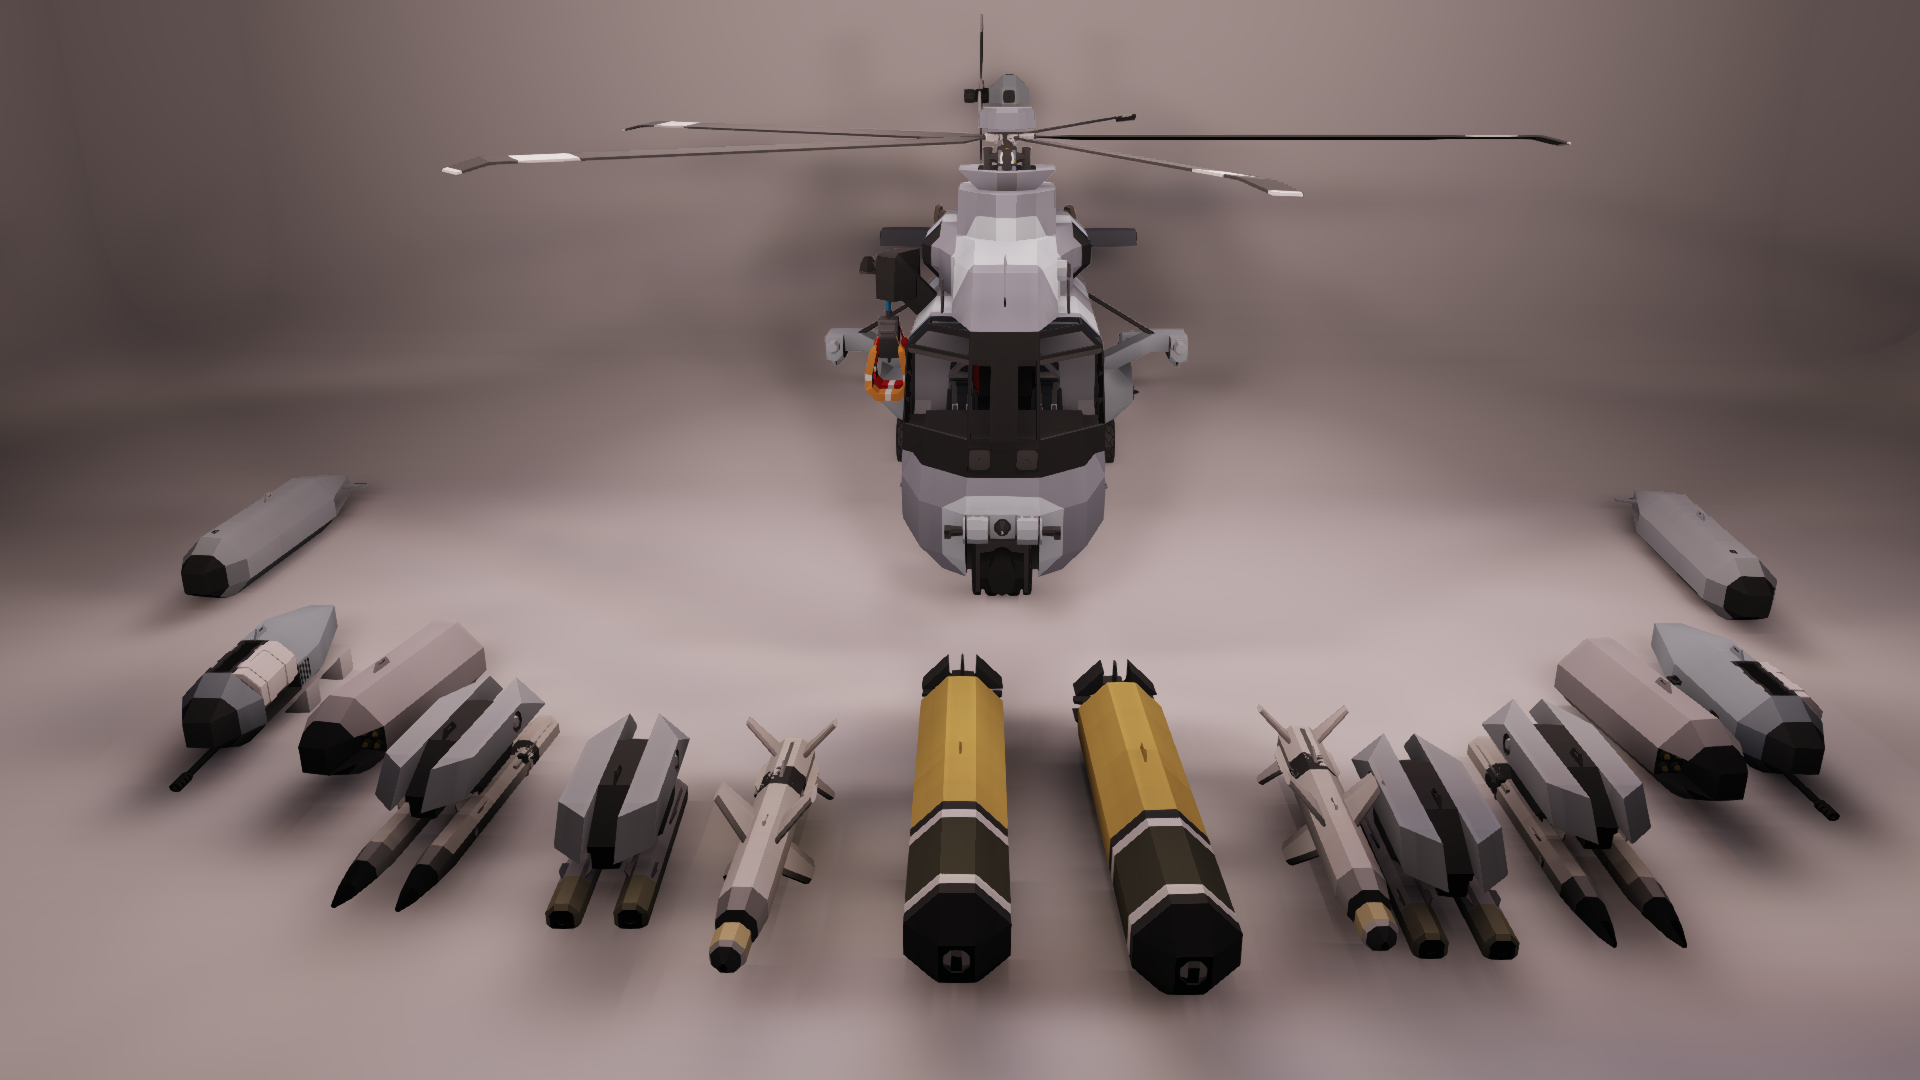
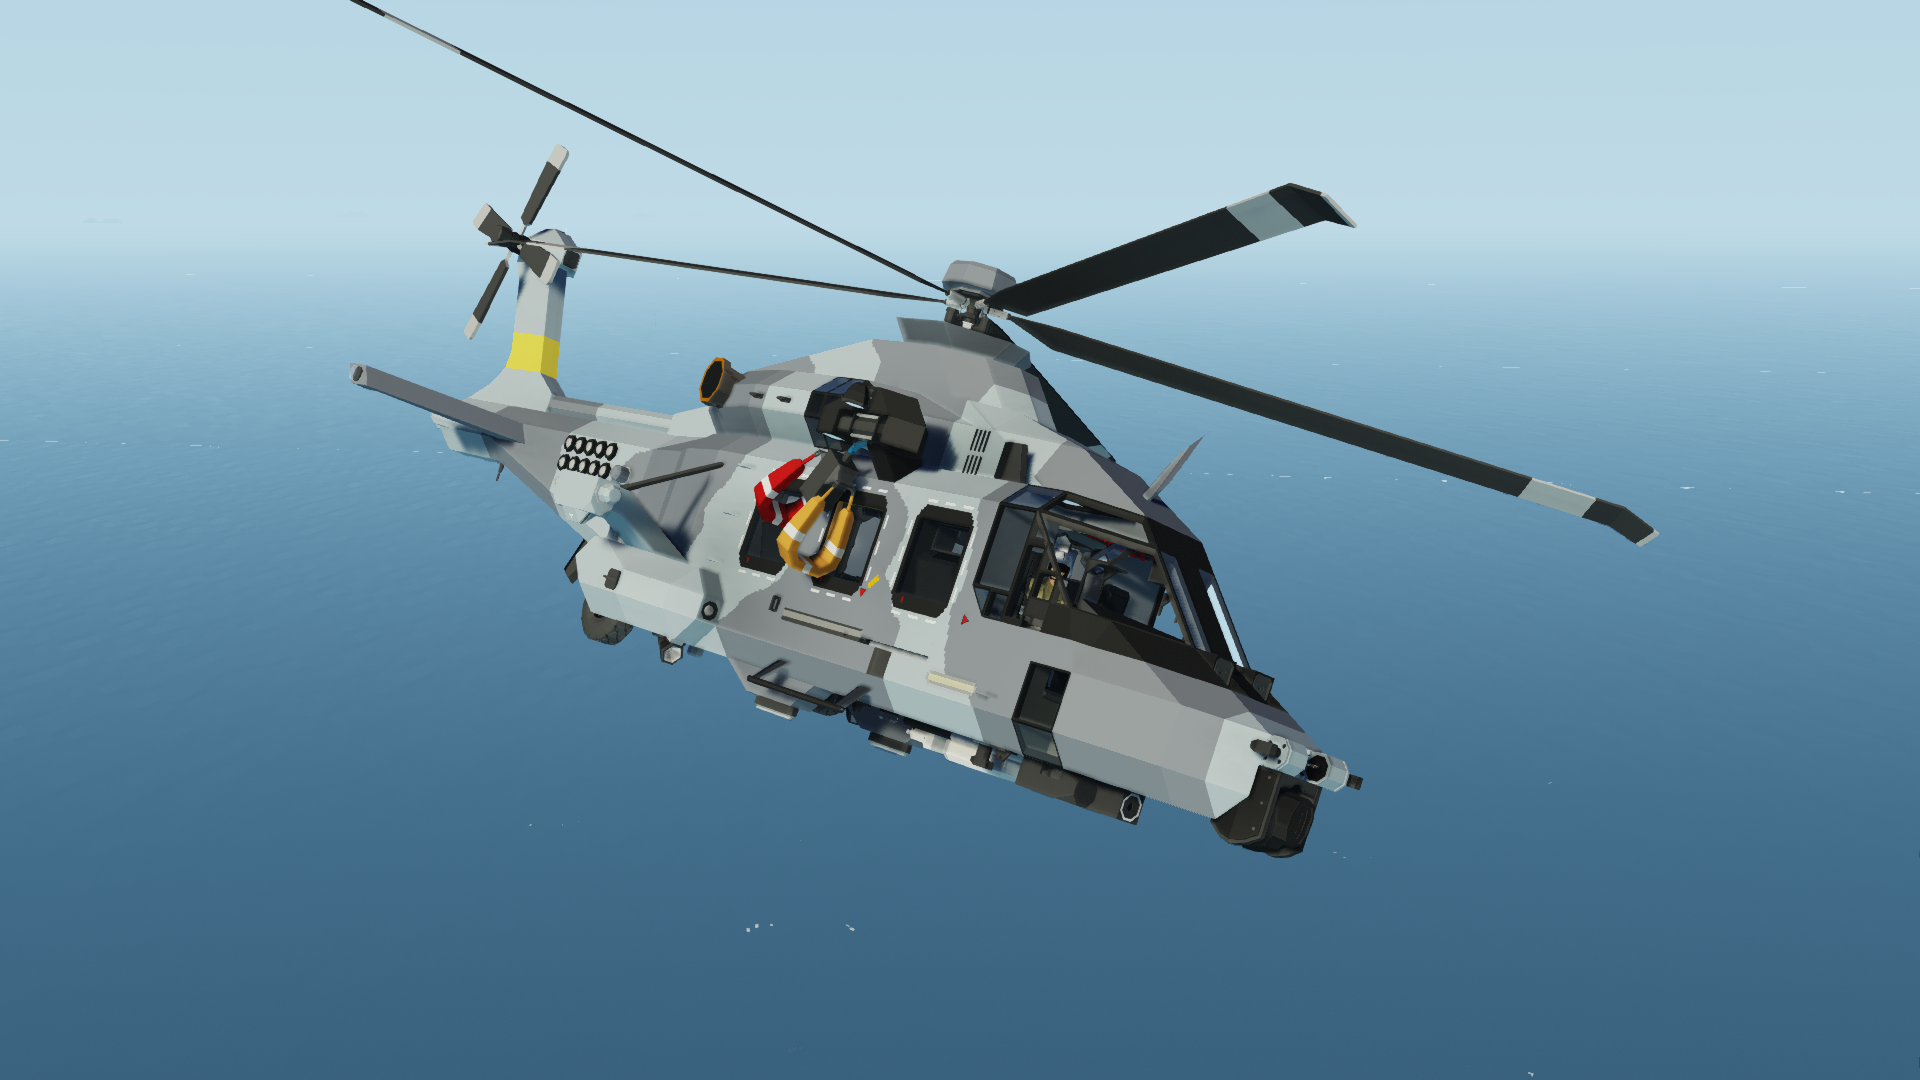
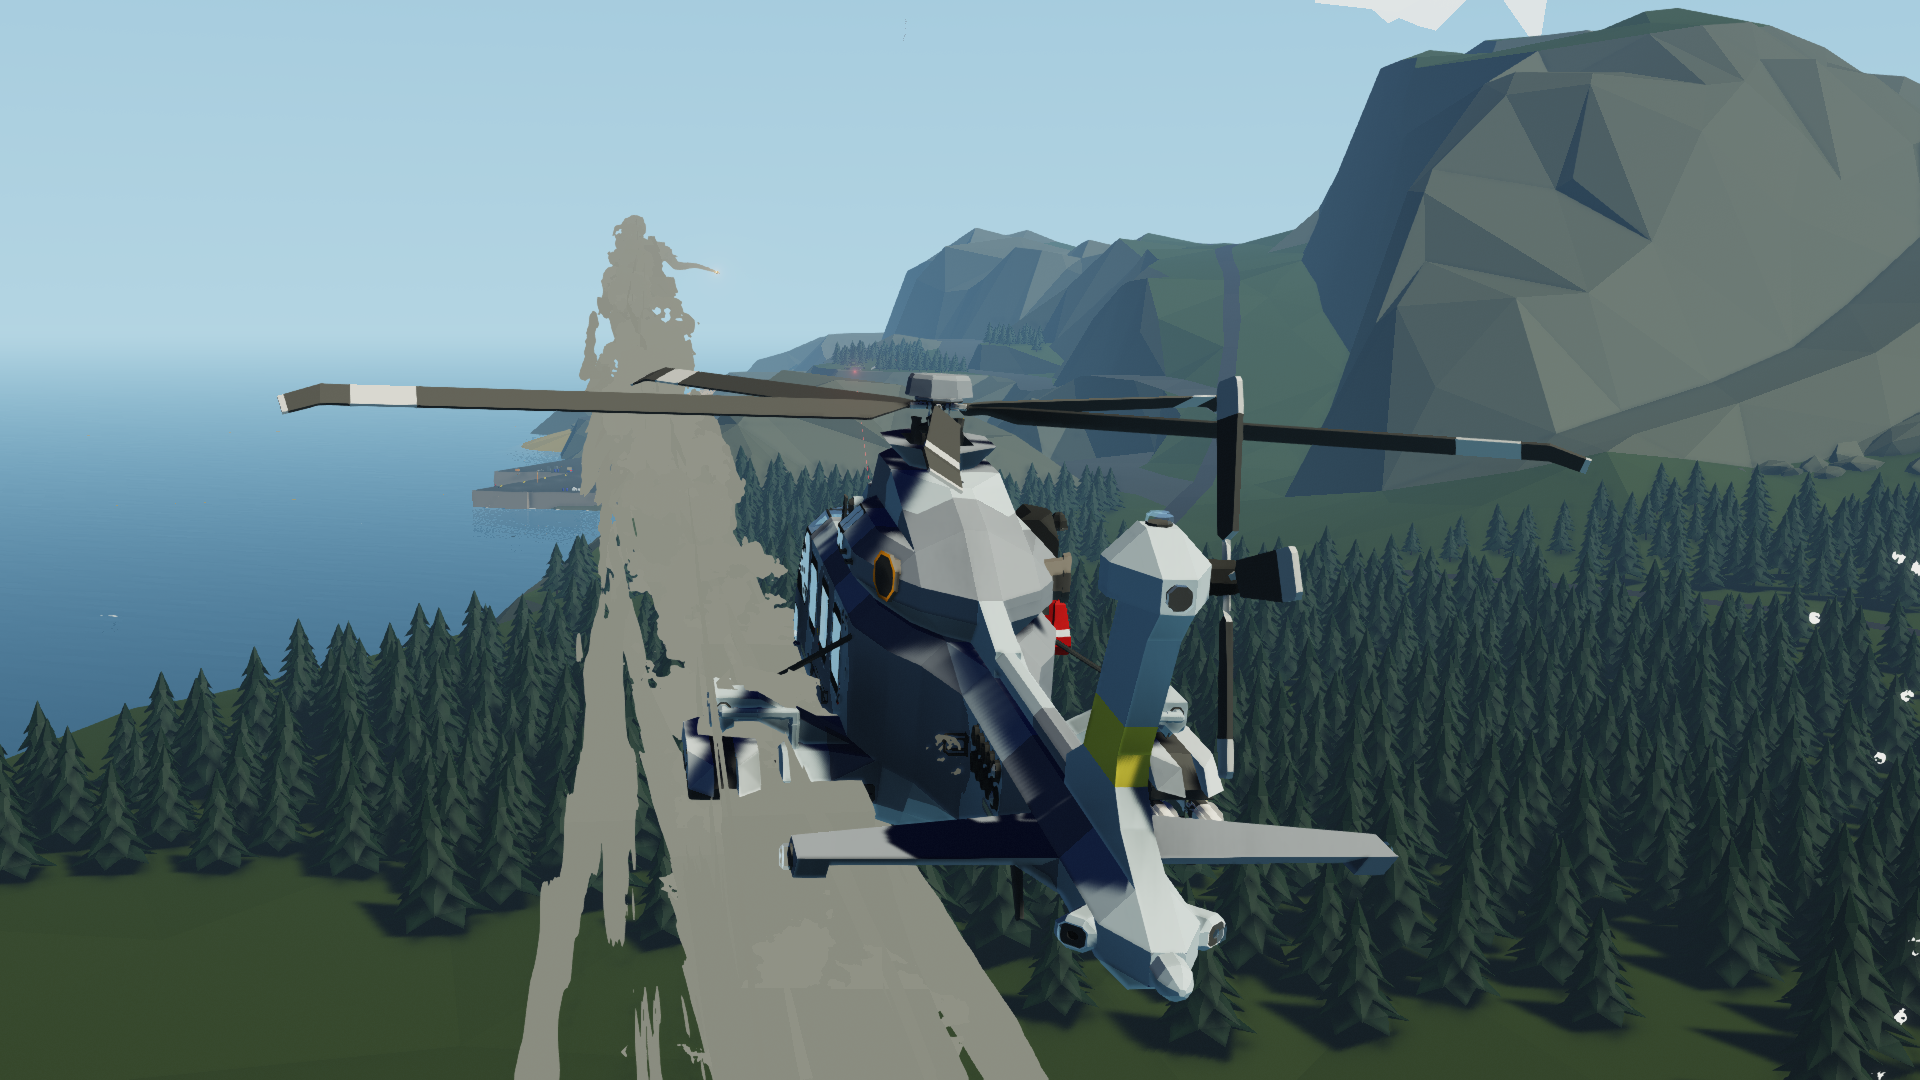
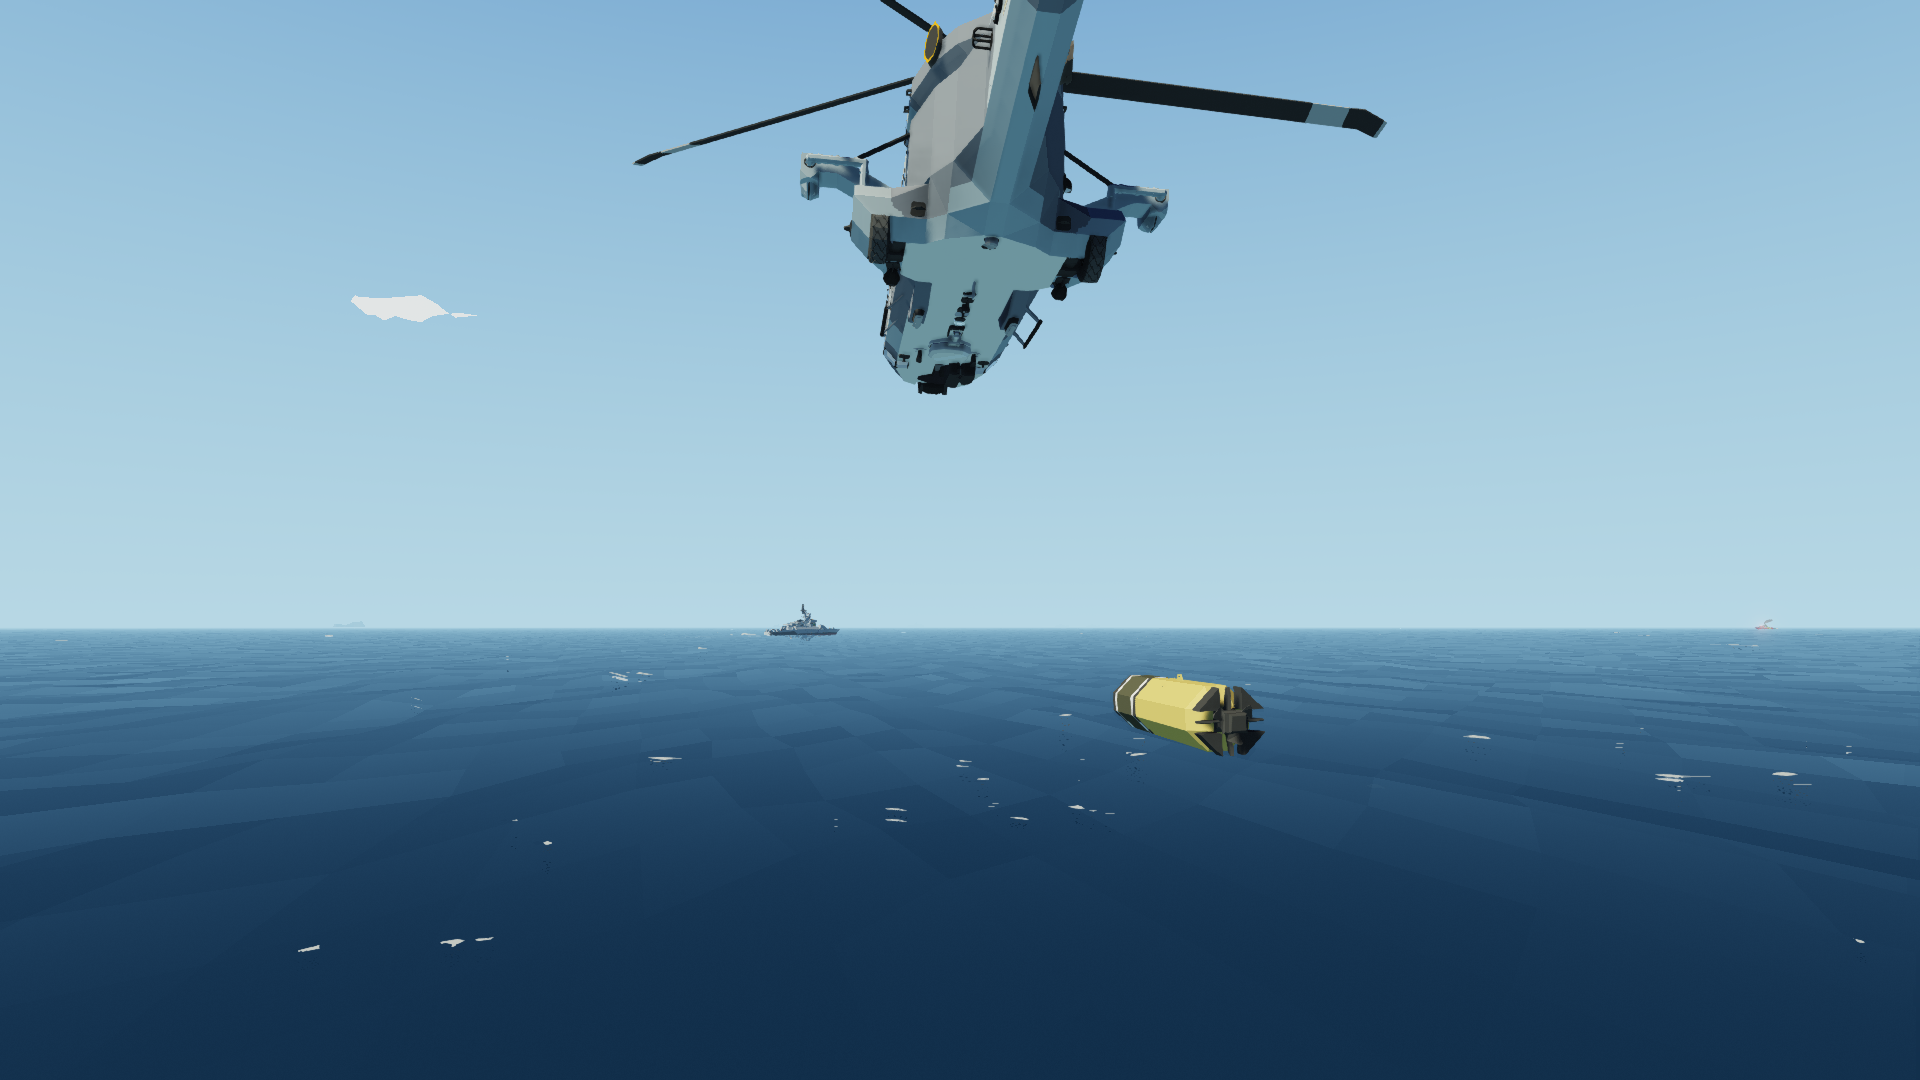
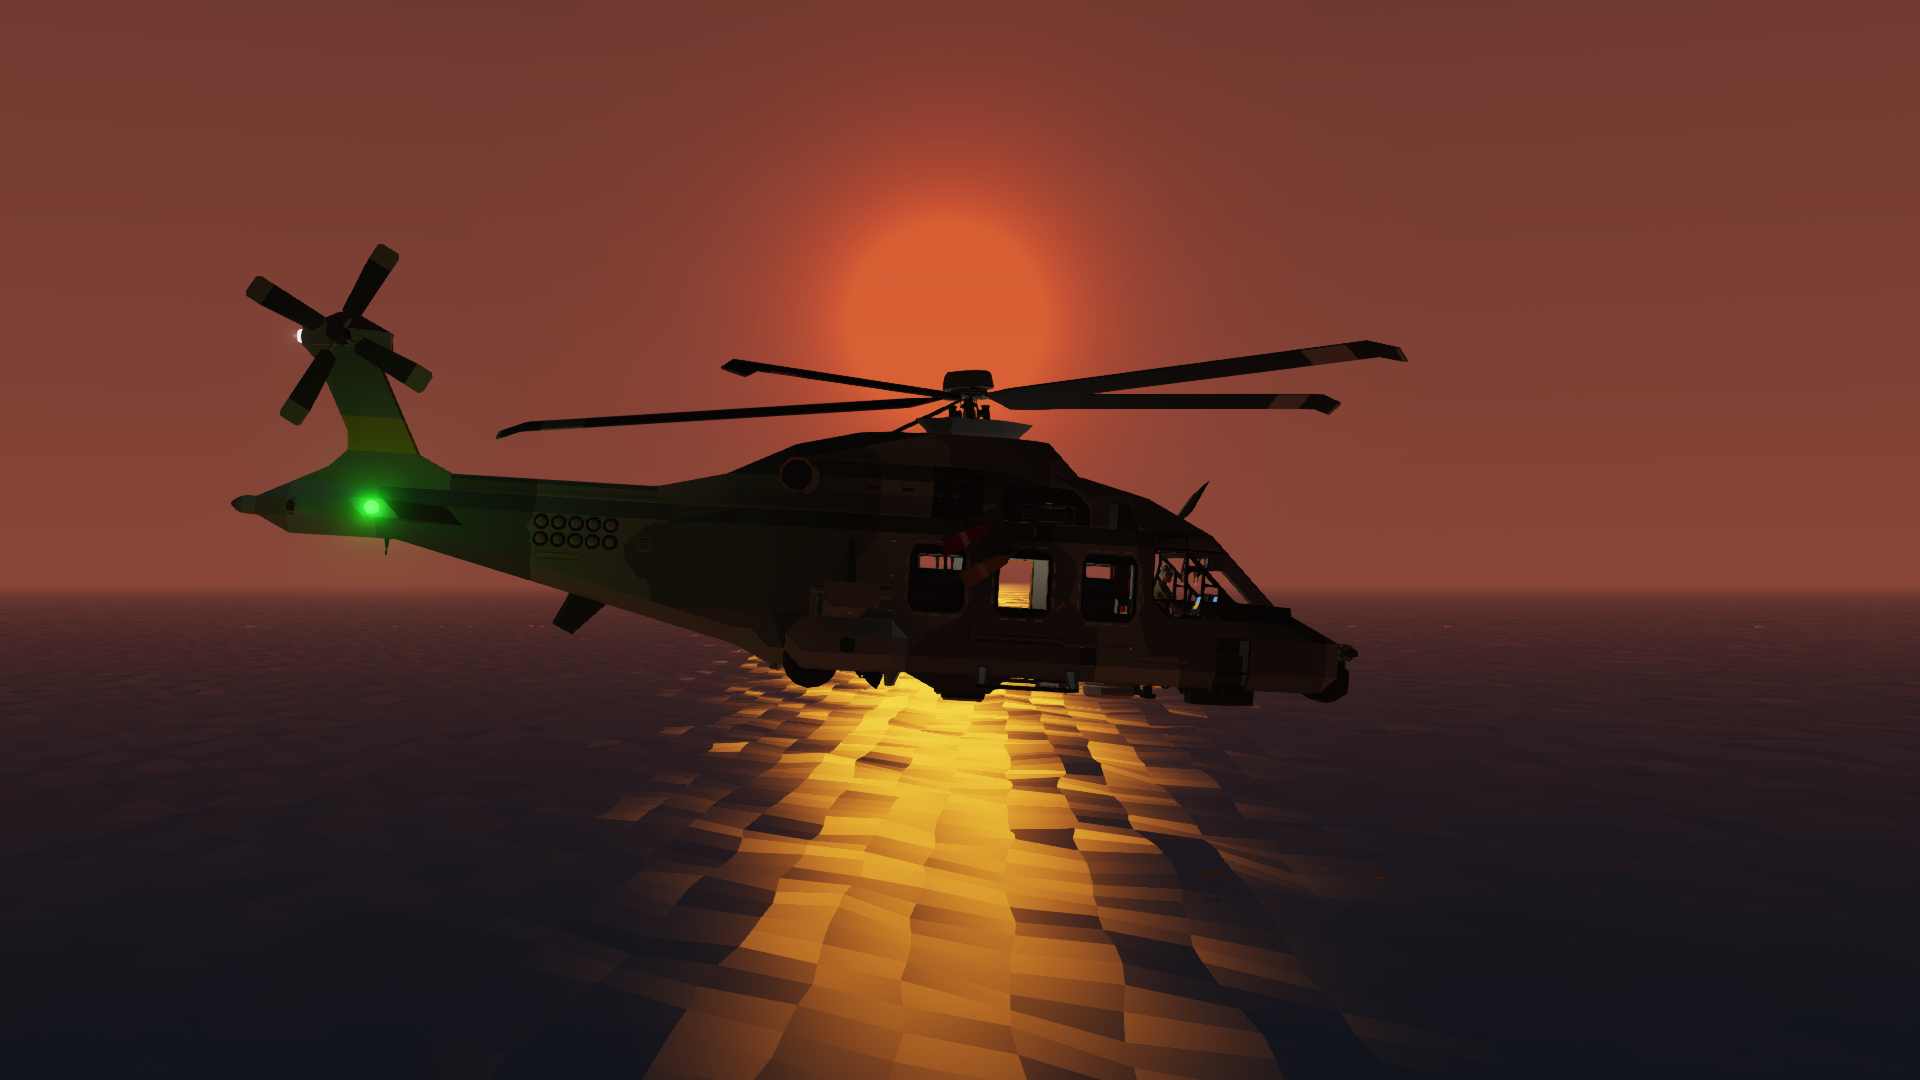
The DF-480M is a multipurpose medium helicopter built by Djert Flugzeugbau AG. It was developed to operate in a naval environment and is capable of performing transport and rescue tasks, as well as surface and subsurface attack missions using various weapons that can be mounted under the two hardpoints.
Specifications:
Top speed: 165 knots in normal cruise, 230 knots in high performance mode
Fuel: 10000+
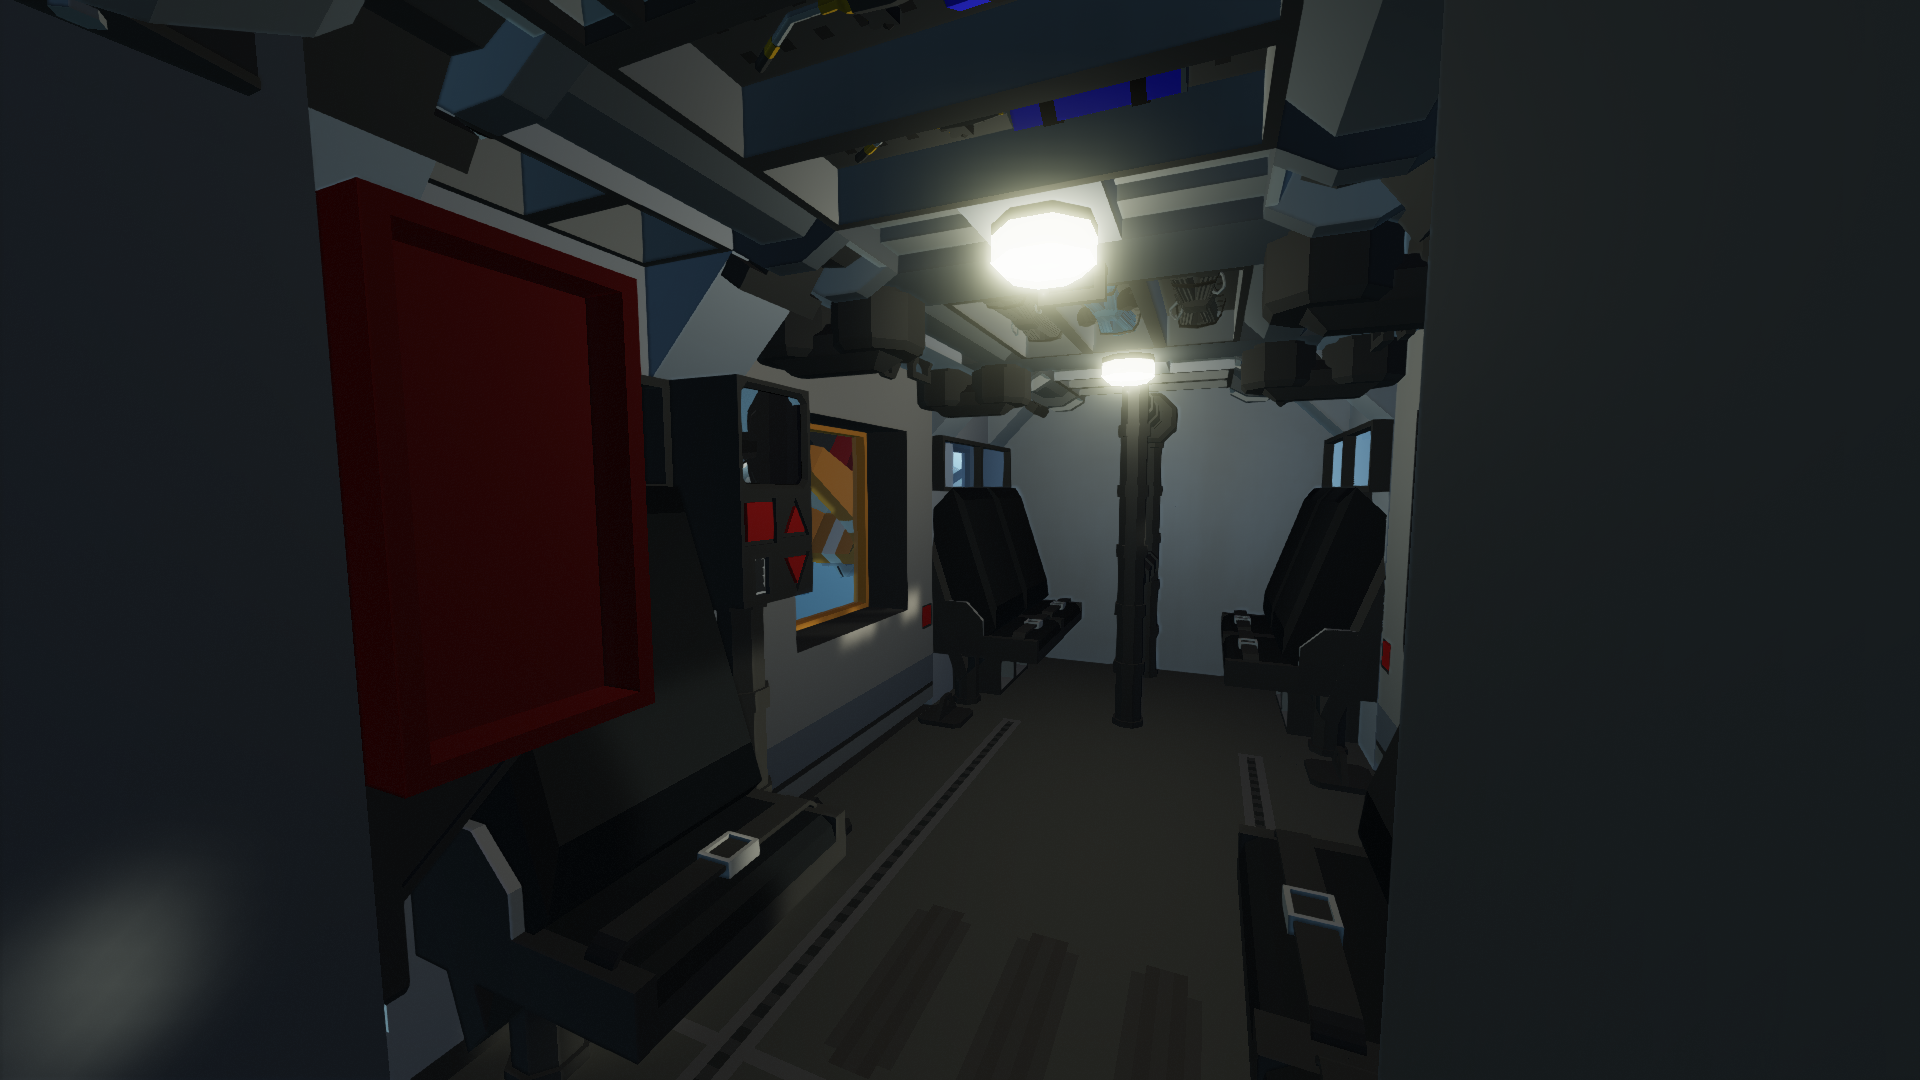
Capacity: 2 pilots + 7 pax
Endurance: 2hr+
Features:
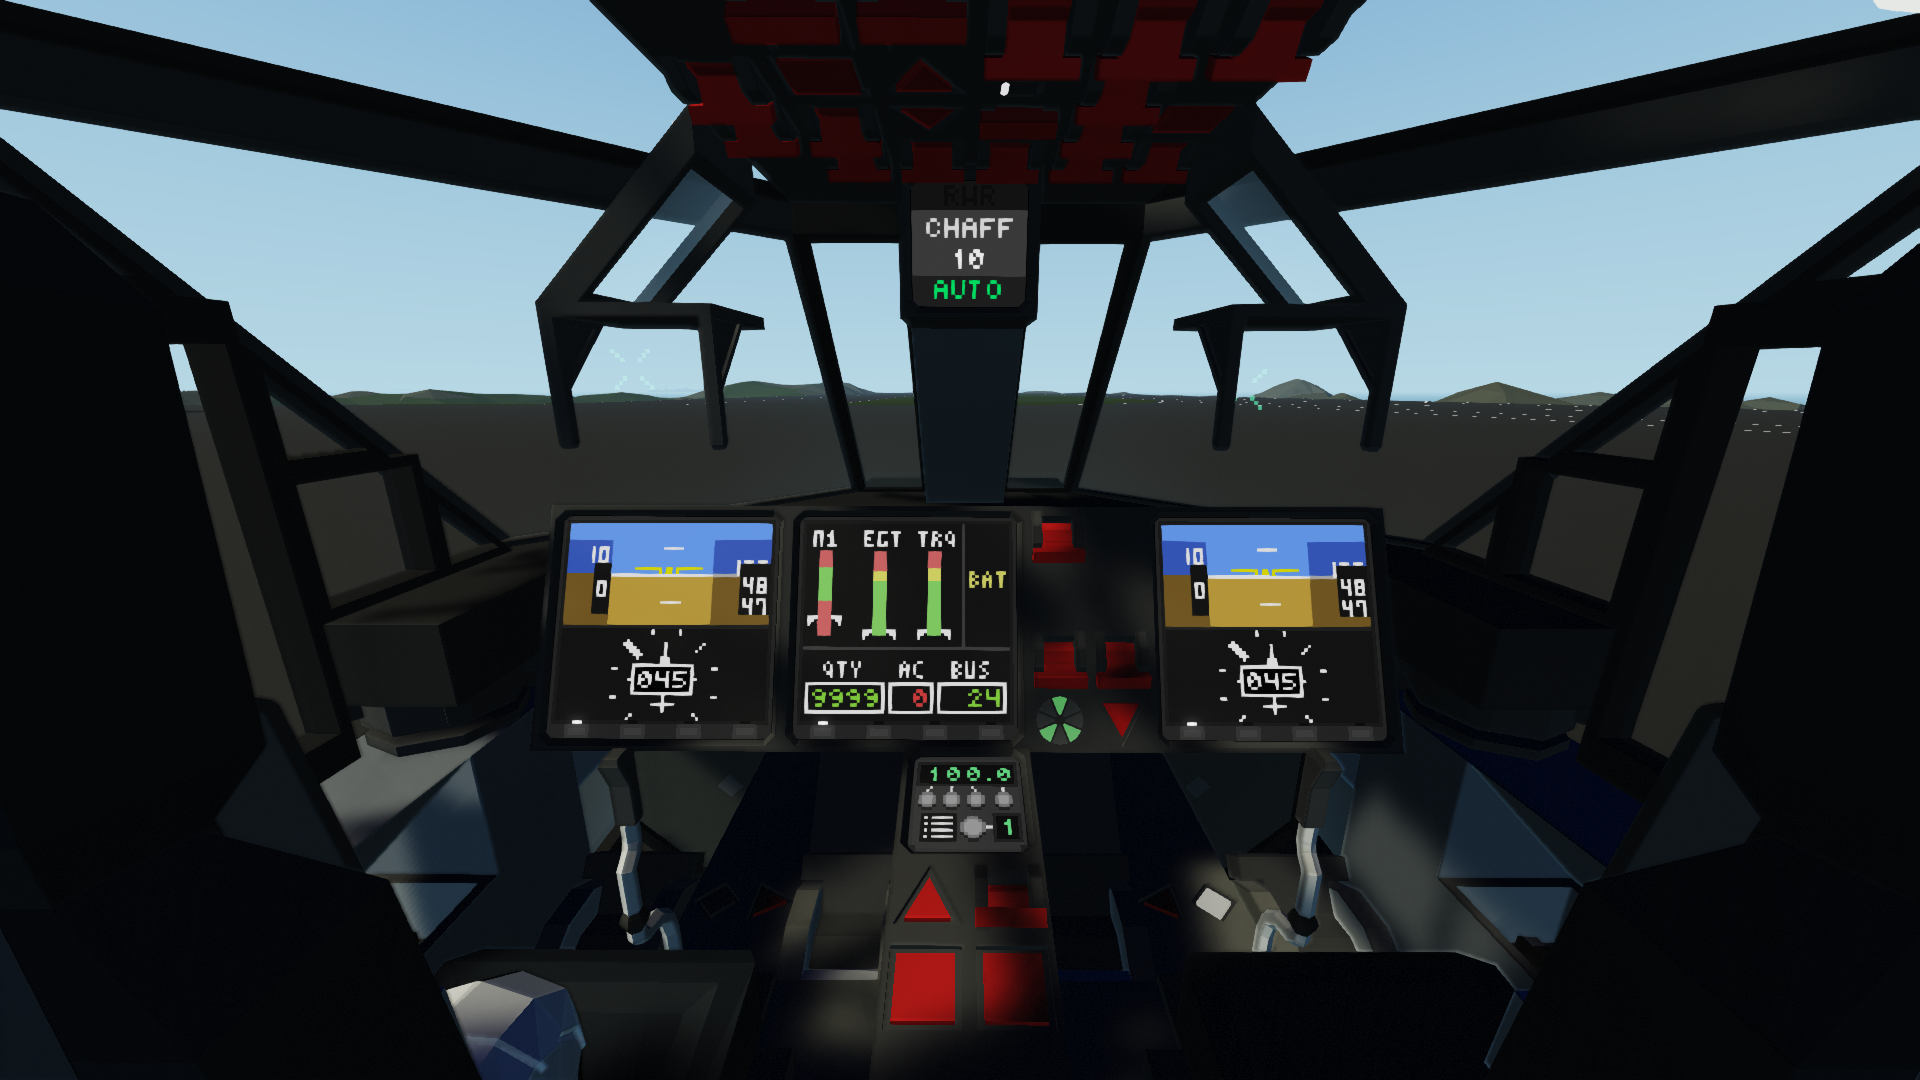
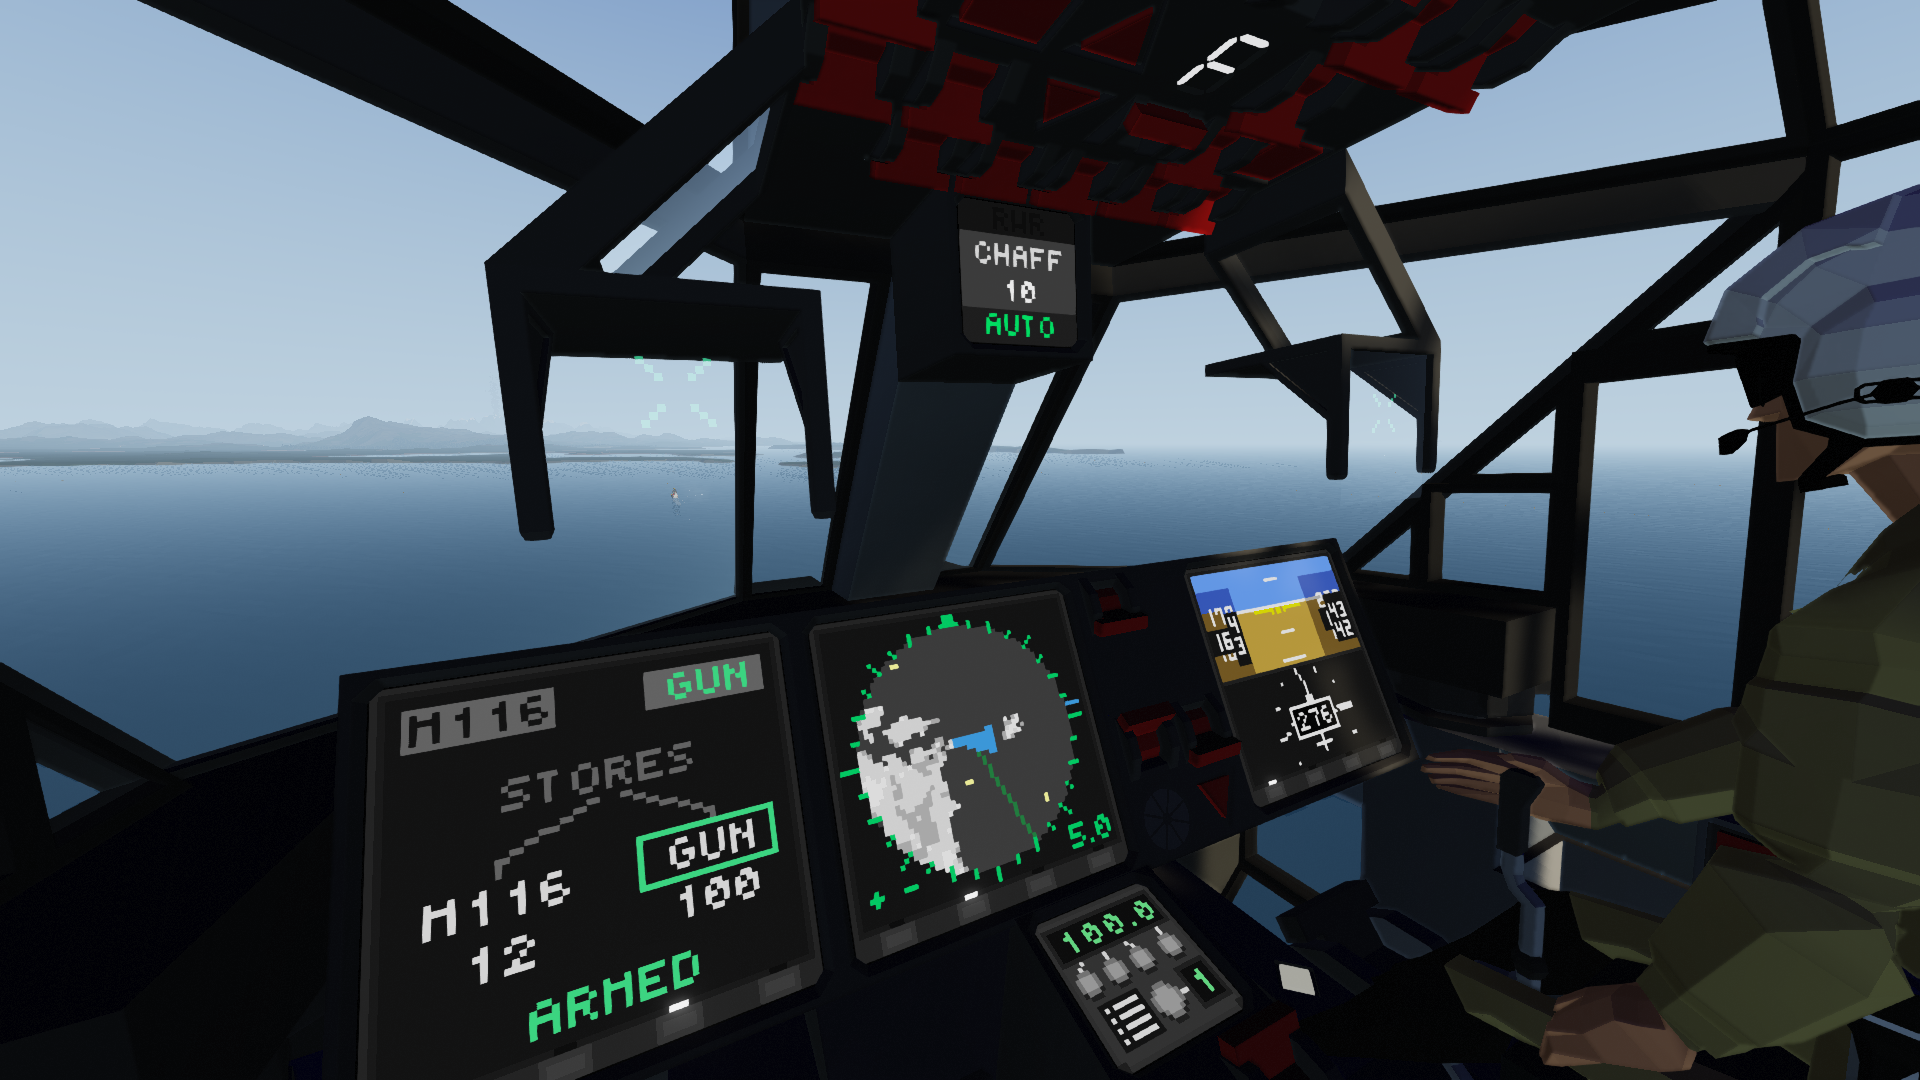
Digital cockpit with easy FADEC engine controls and touchscreen MFD's
Advanced sensor suite with stabilized camera and FLIR imaging
Radar capable of detecting air and ground targets
Collimated targeting sight
Helmet mounted laser designator
Radar warning receiver and chaff countermeasures
Autopilot
Full remote control capability
Winch
Cargohooks for slingloading
Startup:
1. Battery master - ON
2. Avionics master - ON
3. Nav + Anti-Collision lights - ON
4. Engine master switch - ON - Check I on mode indicator
5. Wait for engine RPM to stabilize
6. Gen Bus - ON
7. Engine mode switch - PRESS UP ONCE - Check F on mode indicator
8. Wait for RPM to stabilize and LOW RPM warning to be out
9. Check all warning lights OFF
10. Strobe lights - ON
11. Landing lights - AS DESIRED
12. Ready for takeoff.
Shutdown:
1. Engine mode switch - PRESS DOWN ONCE - Check I on mode indicator
----------FOR TOTAL SHUTDOWN---------
2. Engine master switch - OFF
3. Wait for RPM to drop or apply rotor brake
4. All lights - OFF
5. Gen Bus - OFF
6. Avionics master - OFF
7. Battery master - OFF
8. Shutdown complete
Tactical systems:
Weapons:
1. Press Pushbutton 3 on any MFD to open the Stores Management Page.
2. Select the desired weapon by pressing the name in the top of the screen. The selected hardpoints will be boxed.
3. Switch Master arm switch to ON.
4. Press TRIGGER to fire the selected weapon.
Laser Designator:
1. Select Laser Guided missiles (AGM-218L)
2. Use the camera (MFD page 4) and press the "LSD" button to laze a target, or:
3. Press 4 to use the Helmet mounted designator (can only be used with the landing gear UP!), and simply look at the target to aim the laser.
4. When using the HMD the camera designator will be inactive.
5. Use the keypad on the overhead panel to set the laser code, and press the "send laser code to weapons" switch on the centre console to send the code to the missile.
Radar:
1. Press Pushbutton 2 on any MFD to open the radar page
2. Press the "+" and "-" buttons to adjust the range.
3. Use the "RADAR SILENCE" button to stop transmitting, "SIL" will appear in the radar screen.
Countermeasures:
1. To change the mode of the countermeasure system press the "AUTO" or "MAN" indication on the countermeasure system display.
2. When a radar signal is detected the "RWR" warning will show along with a low beep. This indicates the presence of a search radar.
3. If the radar warning receiver is continuously detecting a radar signal a high contious beep will sound. This indicates the presence of a tracking/targeting radar and the possibility of an incoming missile.
4. If the countermeasure mode is set to "AUTO", chaff will be deployed after 6 seconds of continuous radar illumination.
5. Press 2 to manually deploy chaff.
RC controls:
1. Make sure disable RC on the overhead panel is OFF
2. Equip the RC and switch to channel 4
3. Pressing 1 and 2 controls the winch (helpful when you've fallen out)
4. Pressing 6 enables remote flight control (use normal flight control inputs)
Radio:
1.Press the smaller butons to select the desired frequency.
2. Press and hold the channel button until it flashes "S" to save the selected frequency to the selected channel.
3. Short press the channel button to cycle between channels.
Credits:
Flight Controller (modified): https://steamcommunity.com/sharedfiles/filedetails/?id=213297780
Radar (modified): https://steamcommunity.com/sharedfiles/filedetails/?id=2731413960
Artificial horizon (modified): https://steamcommunity.com/sharedfiles/filedetails/?id=2312093019
Heading indicator (modified): https://steamcommunity.com/sharedfiles/filedetails/?id=1766905416
Gunsight (modified): https://steamcommunity.com/sharedfiles/filedetails/?id=2633425909
How do I download and install mods?
Simply click the blue button above. It will open the file hosting page with the mod repacked by us from the official source.How do I install this mod?
See the 'How to install' tab.Is this mod safe to use?
The mods are repacked as is, without any additional software, malware, or bloatware added. To check for viruses, use a reliable antivirus or upload the archive to a website like virustotal.com. Anyway, It's always a good practice to keep backups of your saves in case of mod incompatibility .
For vehicle mods
- Download the .zip archive containing the vehicle mod files.
- Locate your game's root folder.
- Navigate to
rom\data\preset_vehicles_advancedand extract the files there. - Rename both files to something recognizable, ensuring they share the same base name but different extensions.
- Launch the game and go to the Workbench's Presets tab to see the new vehicle mod.