


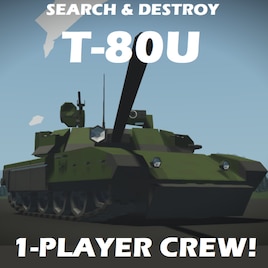
[DLC] T-80U
Vehicle, Land, Advanced, Weapons, v1.6.13
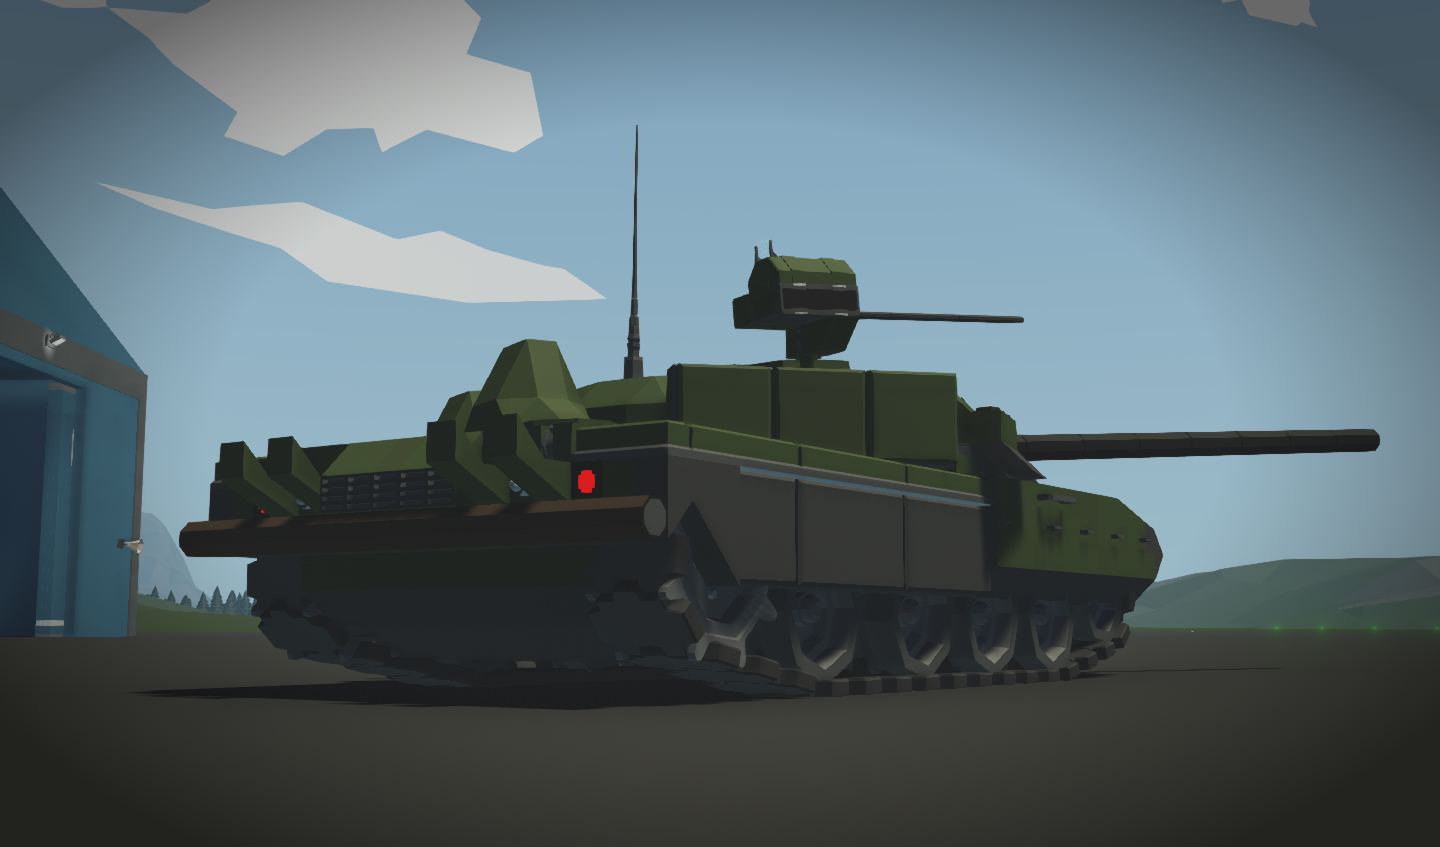
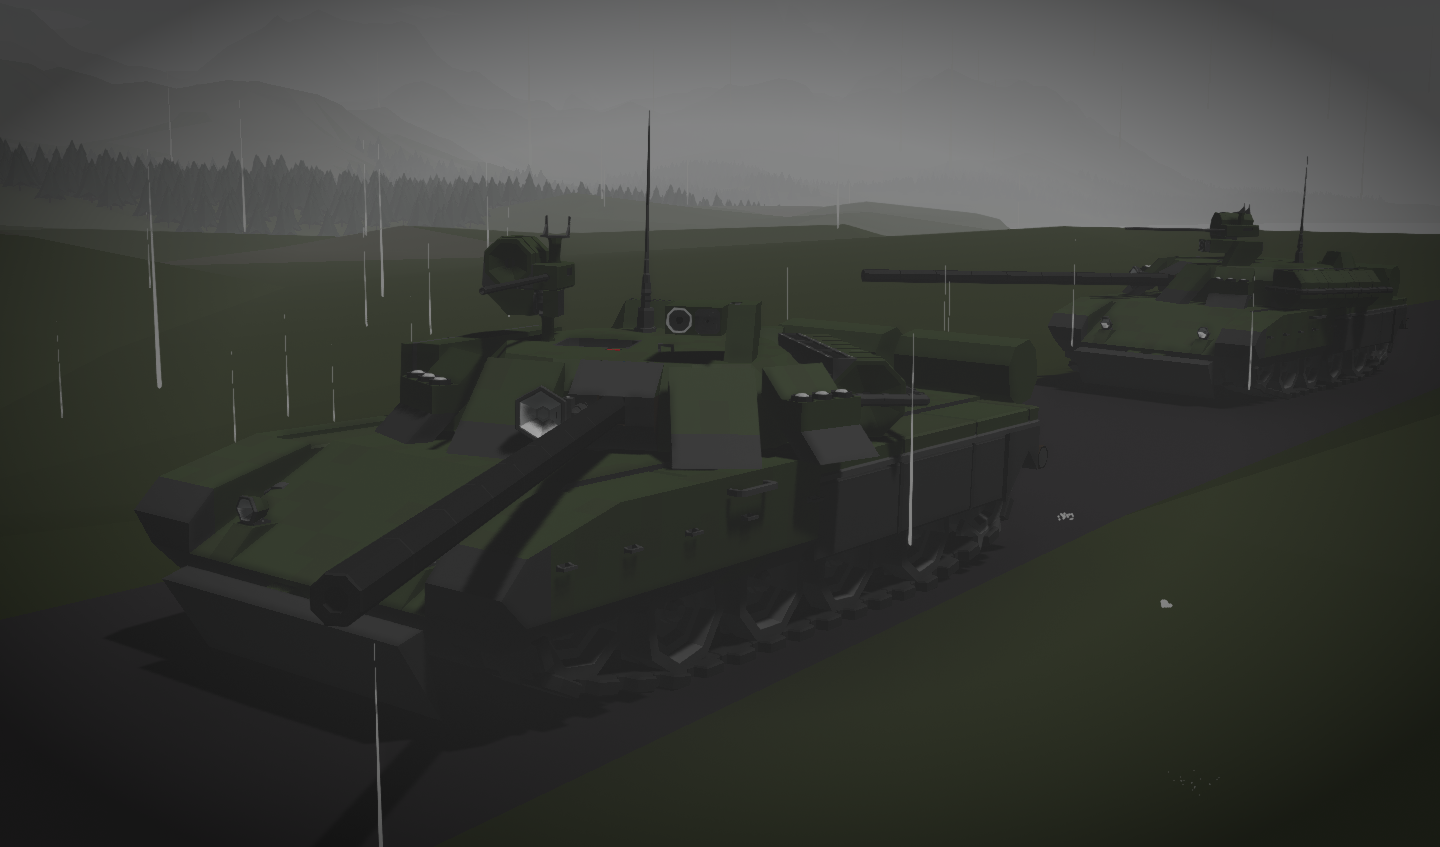
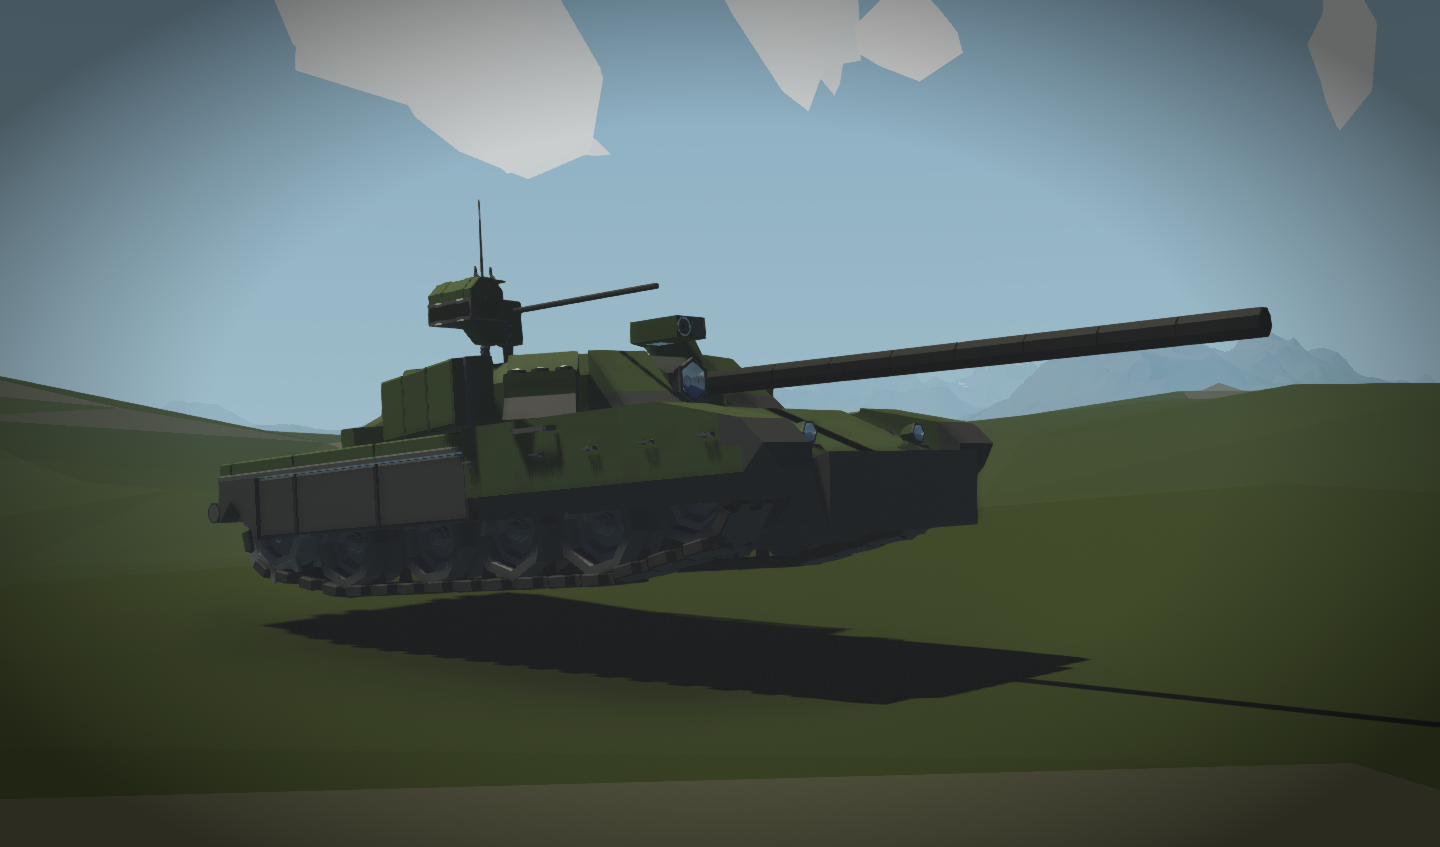
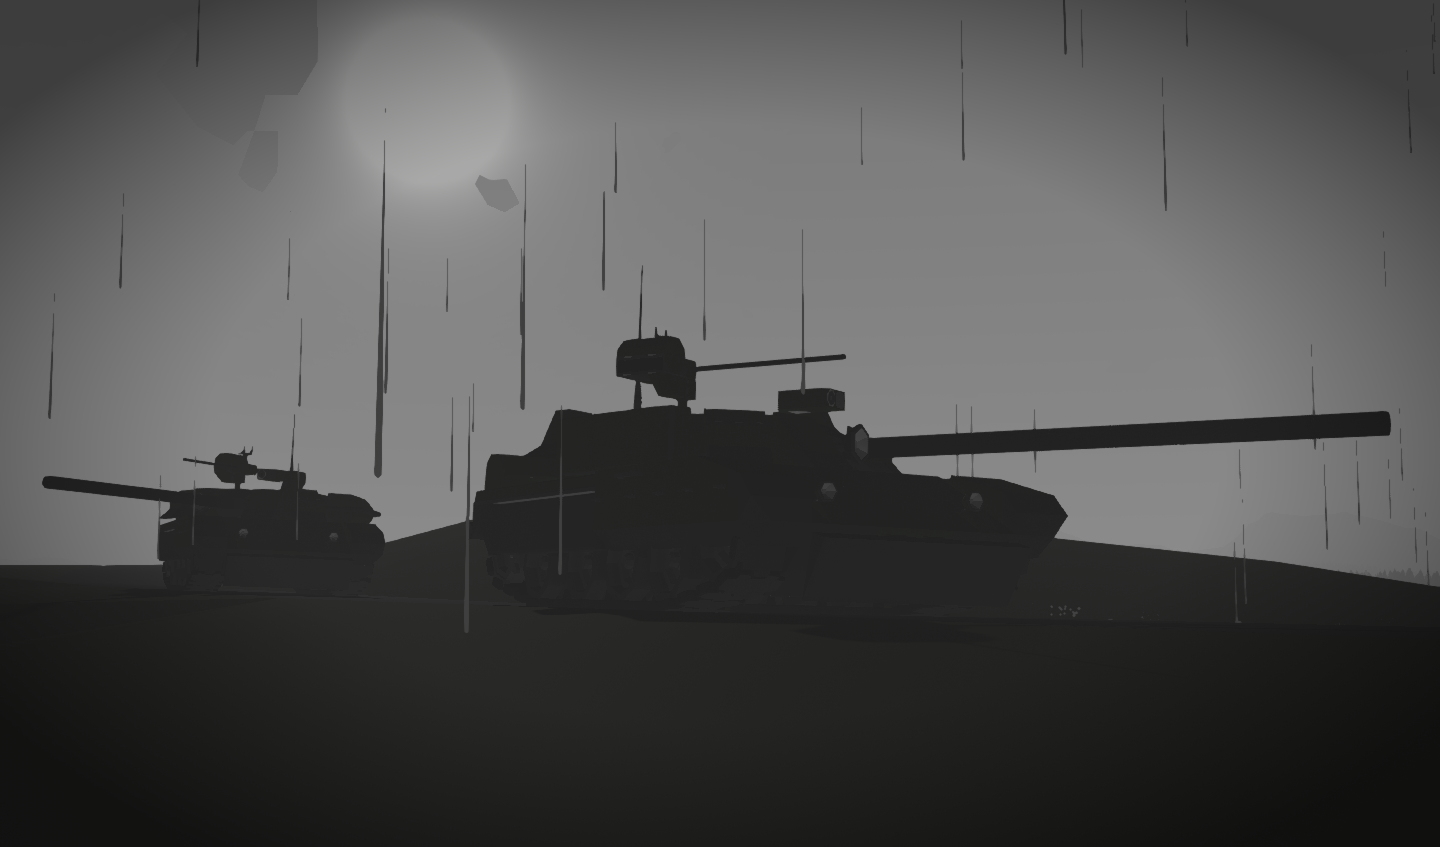
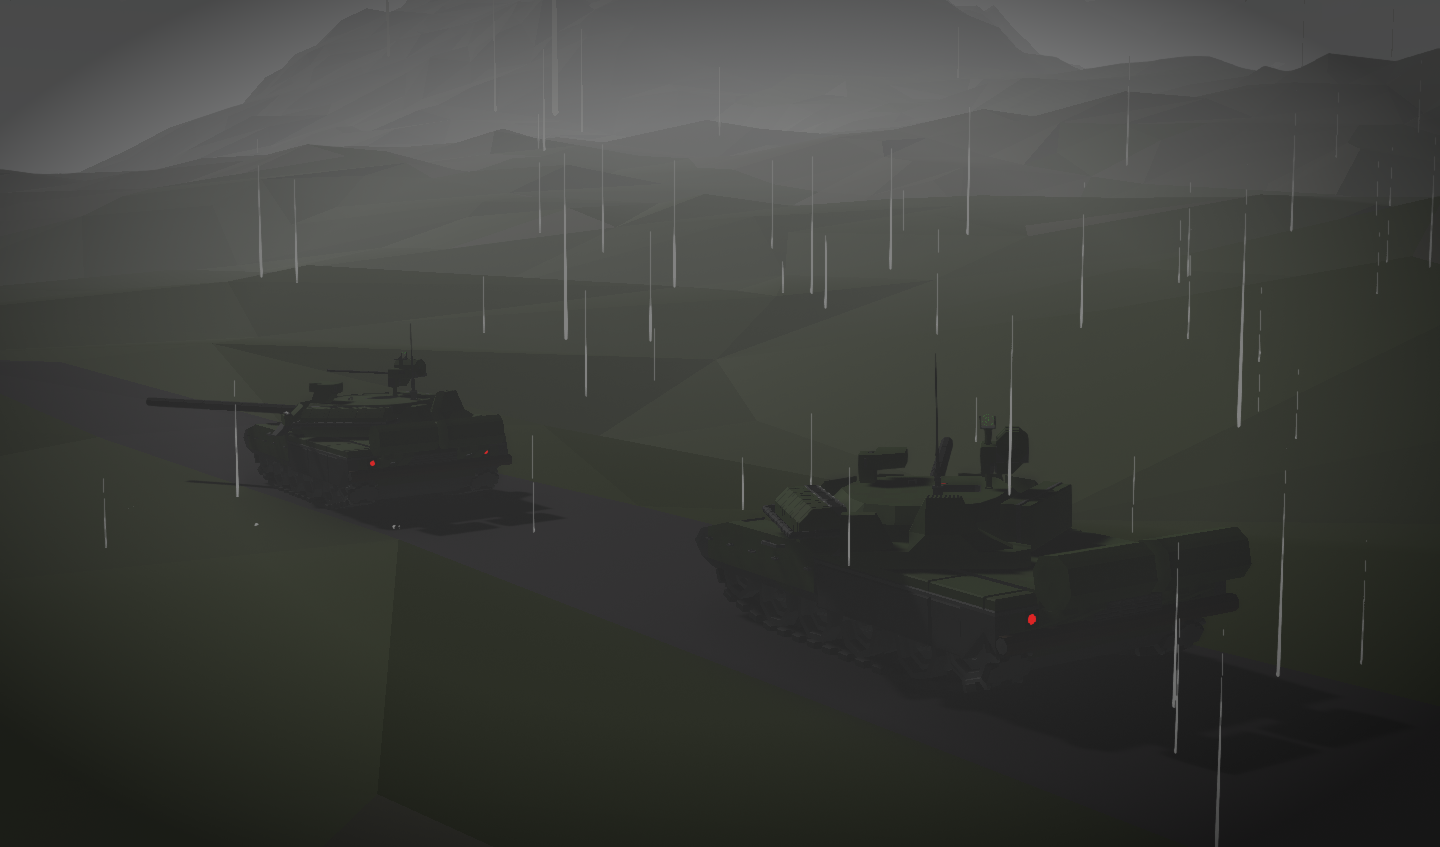
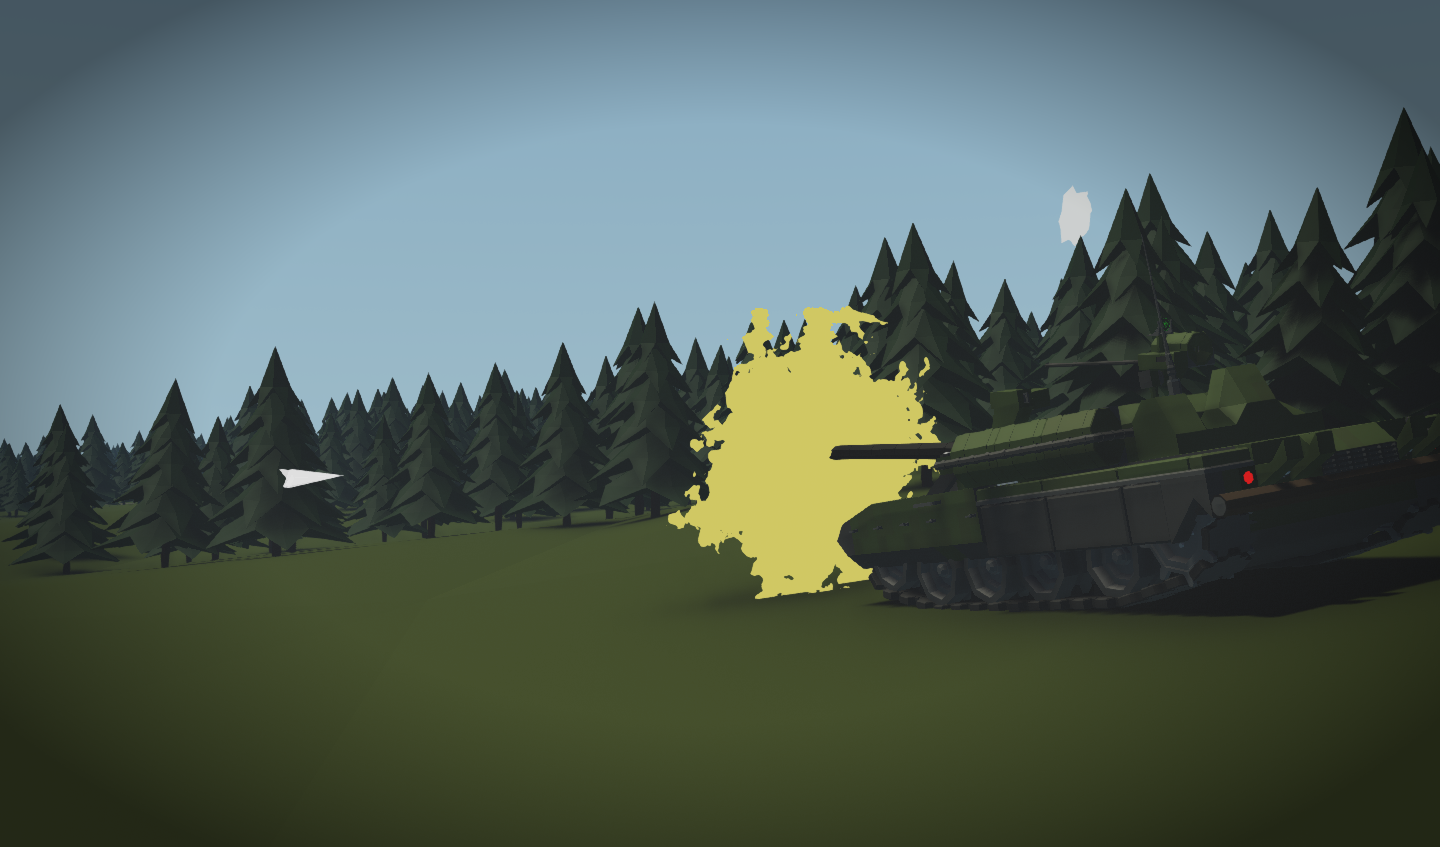
My first dwelling into the MBT world, this time recreating one of my favourite tanks: the T-80U
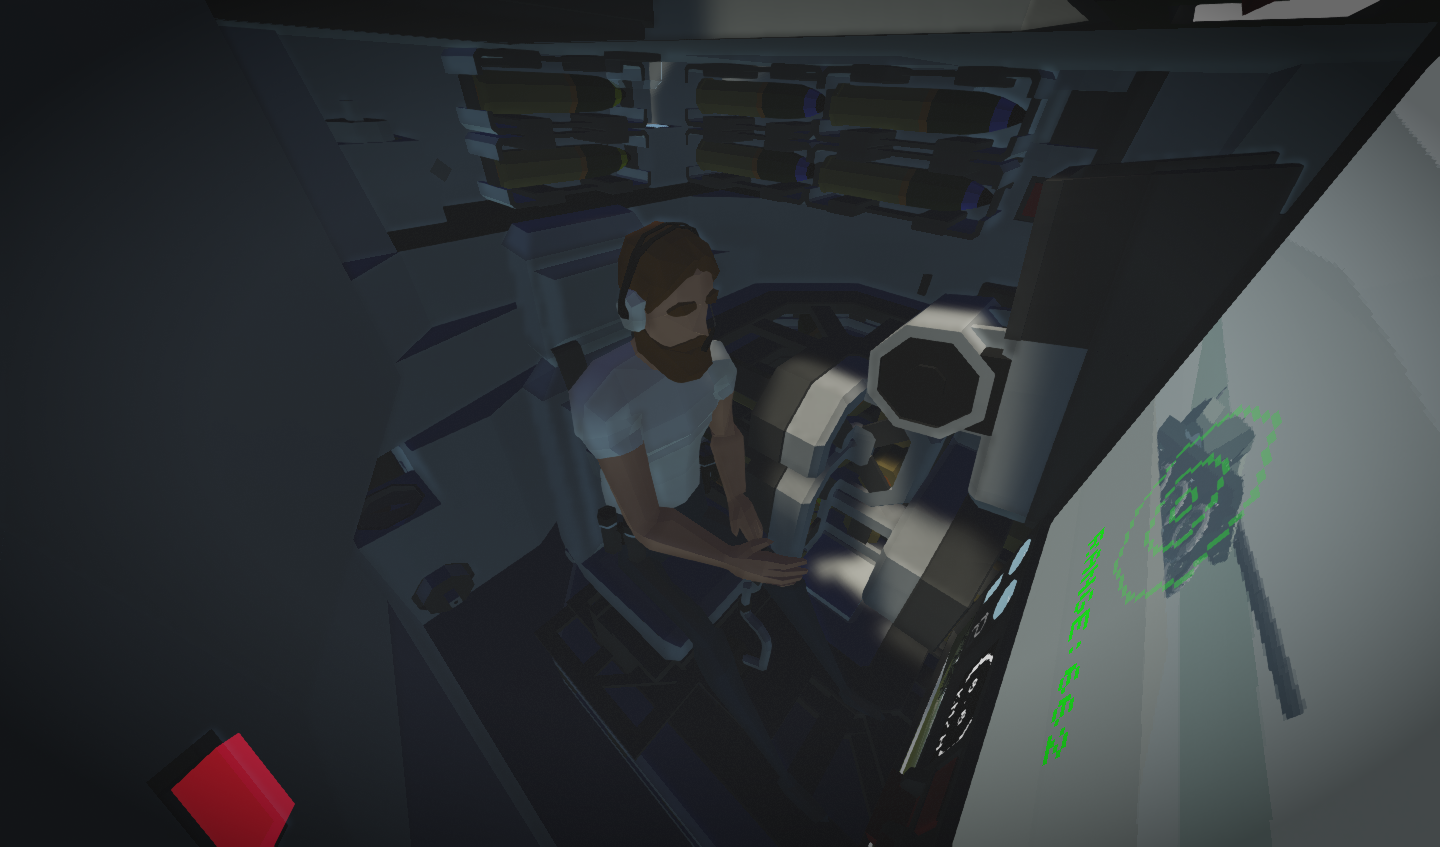
This tank is simplified for the purposes of allowing a single player to fend off most ground vehicles (especially AI), hence the 1-crew setup. Though the exterior was recreated with the intention of resembling the IRL vehicle, the interior not at all.
Information Vehicle type: Main Batt...
Author: Kobra
Created: 8 Oct, 2021 @ 4:29pm
Updated: 12 Feb, 2023 @ 4:17pm
Subscribers: 25499
Size (unpacked) : 0.516 MB
My first dwelling into the MBT world, this time recreating one of my favourite tanks: the T-80U
This tank is simplified for the purposes of allowing a single player to fend off most ground vehicles (especially AI), hence the 1-crew setup. Though the exterior was recreated with the intention of resembling the IRL vehicle, the interior not at all.
Since a single player will act as a driver, gunner and commander, here's a small breakdown of the controls (Also available in-game) and my suggestions on how to use this.
This tank was designed to minimize mouse usage whenever possible.
My suggestion is that you use your left hand to drive and control the zoom level, and your right hand to aim the turret and fire (I recommend setting either spacebar or 0 in the numpad as your trigger).
Once the ammo carousel is depleted, an alarm will sound and an indicator will light up.
if you want to keep using the tank, reload the carousel with the rounds in the ready racks in the turret except for one.
Grab that last round, open the breech ( 6 ) and load it in. Close the breech ( 6 ). The autoloader will engage and you will be able to use those last 10 rounds without any issues.
Any problems, comments and suggestions are welcome. Have fun!
*No reuploading!*
This was possible thanks to these MC's from the community:
Ballistic Computer by Captain Blaue Wolke
Customizable Compass Module by WH1T3_NoiSE
Radial Gauge v2 by Fiyrst
2-Plane Stabilizer by Lazakamikaza
This tank is simplified for the purposes of allowing a single player to fend off most ground vehicles (especially AI), hence the 1-crew setup. Though the exterior was recreated with the intention of resembling the IRL vehicle, the interior not at all.
Information
- Vehicle type: Main Battle Tank
- Top speed: 80km/h!
- Fuel tank: 3900L + 840L on external tanks.
- Range: About 90km.
- Power plant: Turbine Engine
- Seats: 1 (Operator)
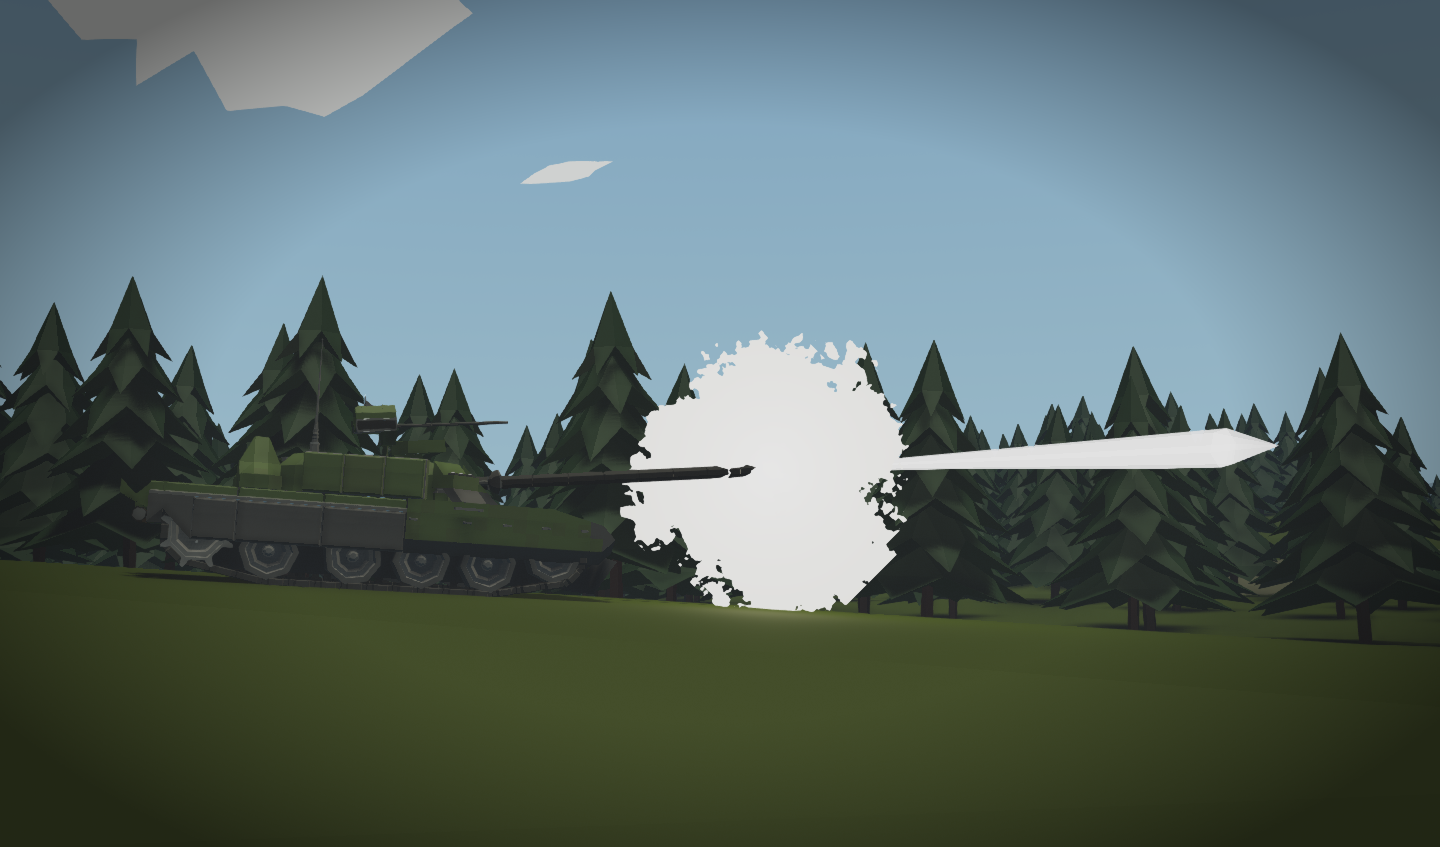
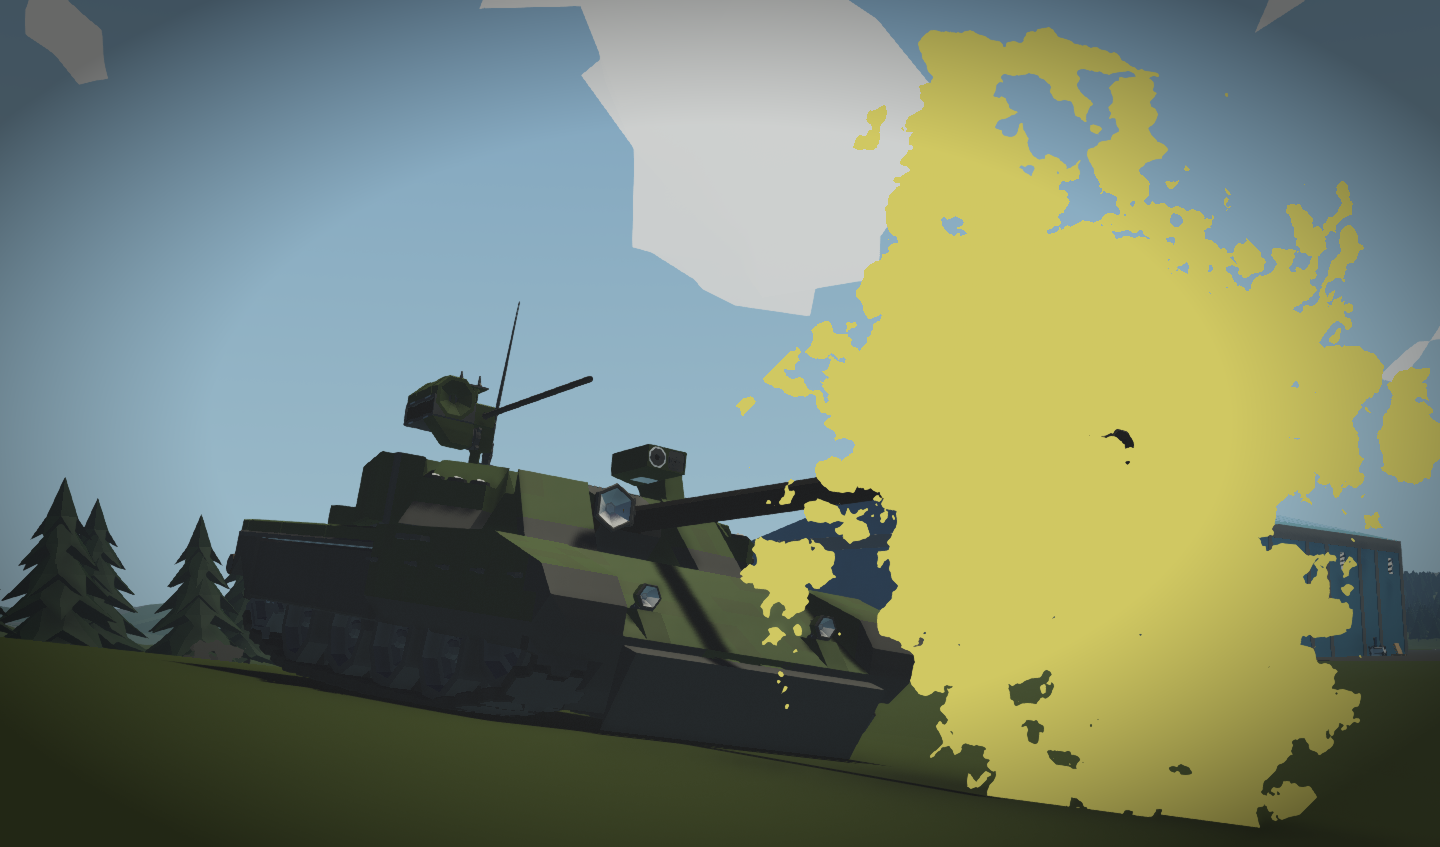
- Armament: Battle Cannon (Autoloaded) + Light Autocannon (Manual drum reload) as secondary.
Features
- Powerful engine with decent acceleration and top speed!
- All in one fire control system with integrated compass, rangefinder, sight, ammunition count and other functions.
- 33-round autoloading mechanism with visual and auditive indicators, allowing about 13 rounds per minute.
- Ballistic Computer with Laser Rangefinder, allows for decent accuracy up to 2200m. Thanks to Captain Blau Wolke!
- Plenty of other stuff!
Single-Crew Control!
Since a single player will act as a driver, gunner and commander, here's a small breakdown of the controls (Also available in-game) and my suggestions on how to use this.
- W/S: Engine Throttle / Brakes axis.
- A/D: Track Steering axis.
- Up/Down: Cannon Elevation / Depression
- Left/Right: Horizontal Turret Traverse
- Trigger keybind: Fire Main Gun
HOTKEYS: - 1: Camera Zoom Increase
- 2: Camera Zoom Decrease (Both 1 and 2 can be replicated using the provided lever)
- 3: Rangefinder. (Pressing this key will get the distance at the point of aiming and feed it into the ballistic controller)
- 4: Fire Secondary Gun
- 5: Heading Stabilizer On / Off (OFF by default)
- 6: Manual Breech Operation (This should only be used when the 33-round Autoloader is depleted)
This tank was designed to minimize mouse usage whenever possible.
My suggestion is that you use your left hand to drive and control the zoom level, and your right hand to aim the turret and fire (I recommend setting either spacebar or 0 in the numpad as your trigger).
Once the ammo carousel is depleted, an alarm will sound and an indicator will light up.
if you want to keep using the tank, reload the carousel with the rounds in the ready racks in the turret except for one.
Grab that last round, open the breech ( 6 ) and load it in. Close the breech ( 6 ). The autoloader will engage and you will be able to use those last 10 rounds without any issues.
Any problems, comments and suggestions are welcome. Have fun!
*No reuploading!*
This was possible thanks to these MC's from the community:
Ballistic Computer by Captain Blaue Wolke
Customizable Compass Module by WH1T3_NoiSE
Radial Gauge v2 by Fiyrst
2-Plane Stabilizer by Lazakamikaza
How do I download and install mods?
Simply click the blue button above. It will open the file hosting page with the mod repacked by us from the official source.How do I install this mod?
See the 'How to install' tab.Is this mod safe to use?
The mods are repacked as is, without any additional software, malware, or bloatware added. To check for viruses, use a reliable antivirus or upload the archive to a website like virustotal.com. Anyway, It's always a good practice to keep backups of your saves in case of mod incompatibility .
For vehicle mods
- Download the .zip archive containing the vehicle mod files.
- Locate your game's root folder.
- Navigate to
rom\data\preset_vehicles_advancedand extract the files there. - Rename both files to something recognizable, ensuring they share the same base name but different extensions.
- Launch the game and go to the Workbench's Presets tab to see the new vehicle mod.