



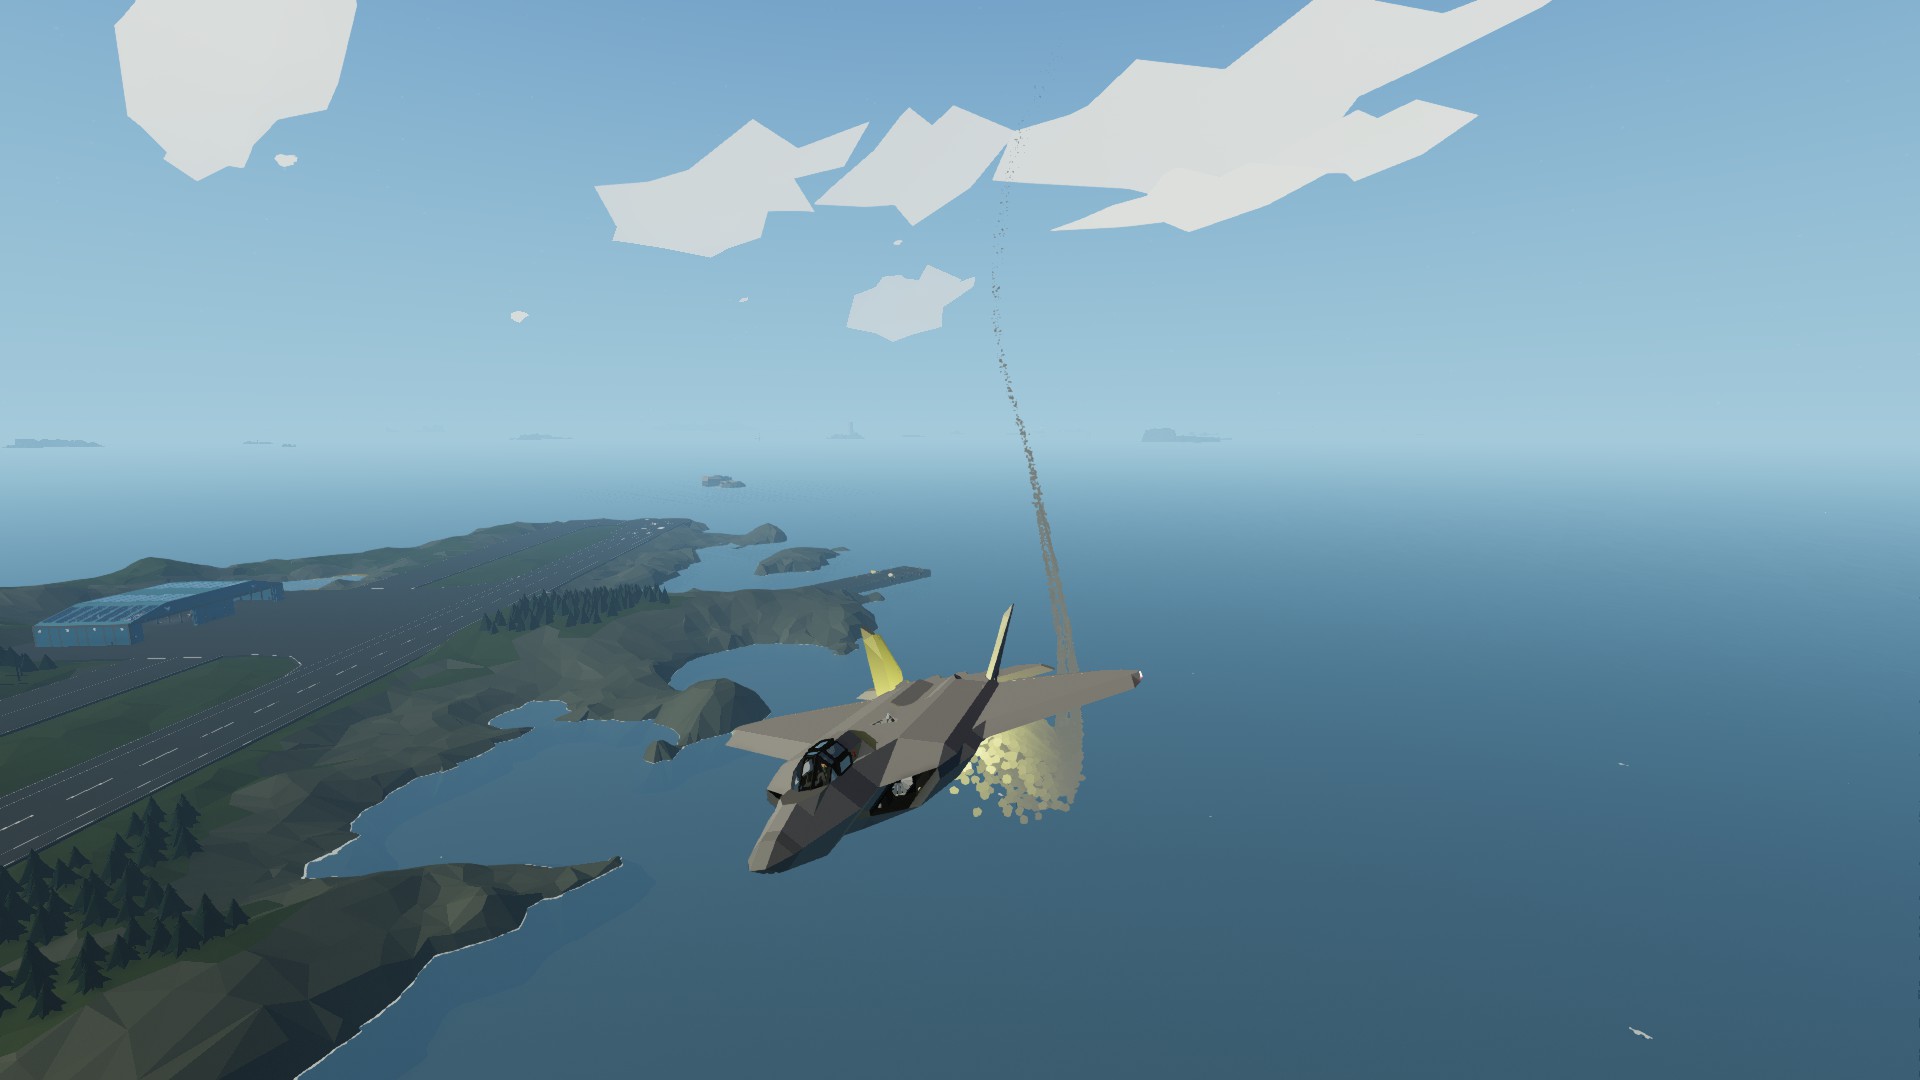
F-22 Raptor (Supersonic Jet)
Vehicle, Air, Exploration, Technical, Creative, Mechanical, Advanced, v0.10.12
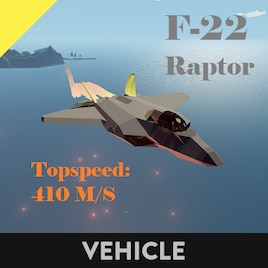
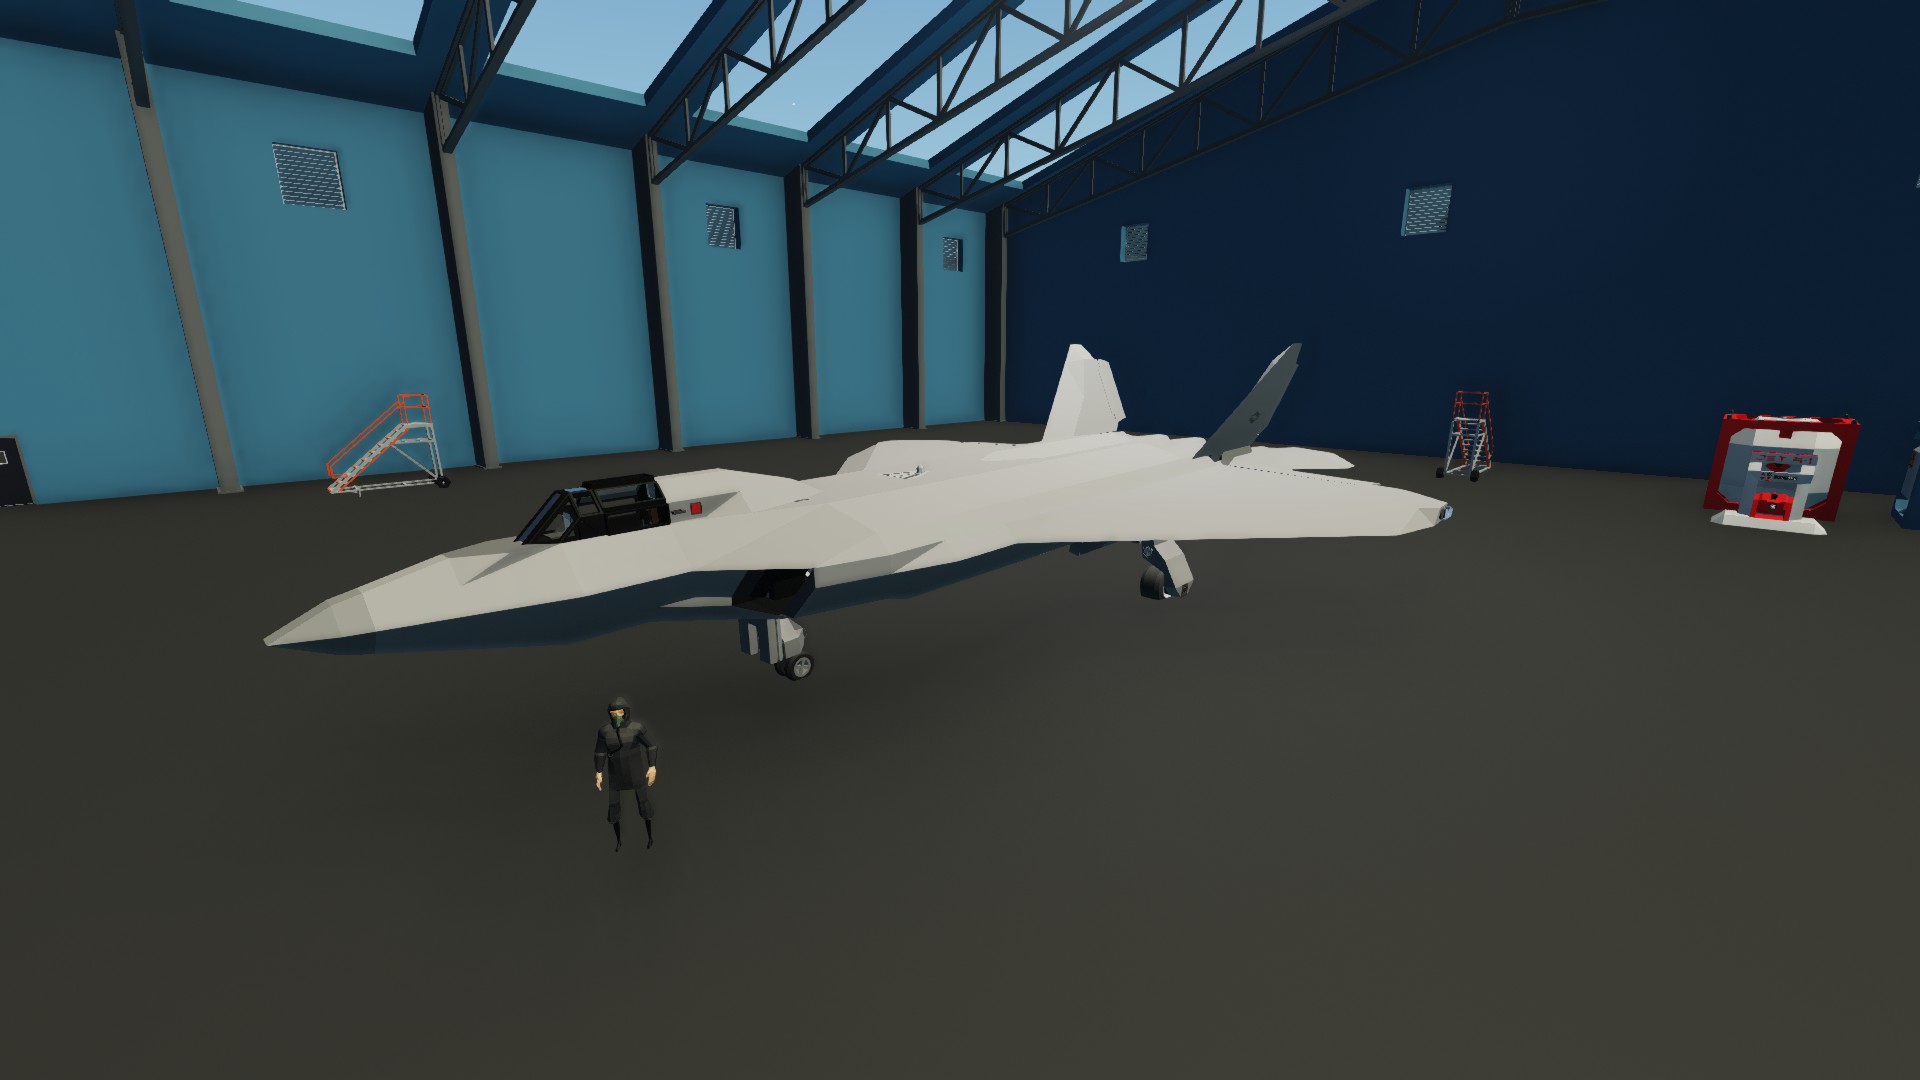
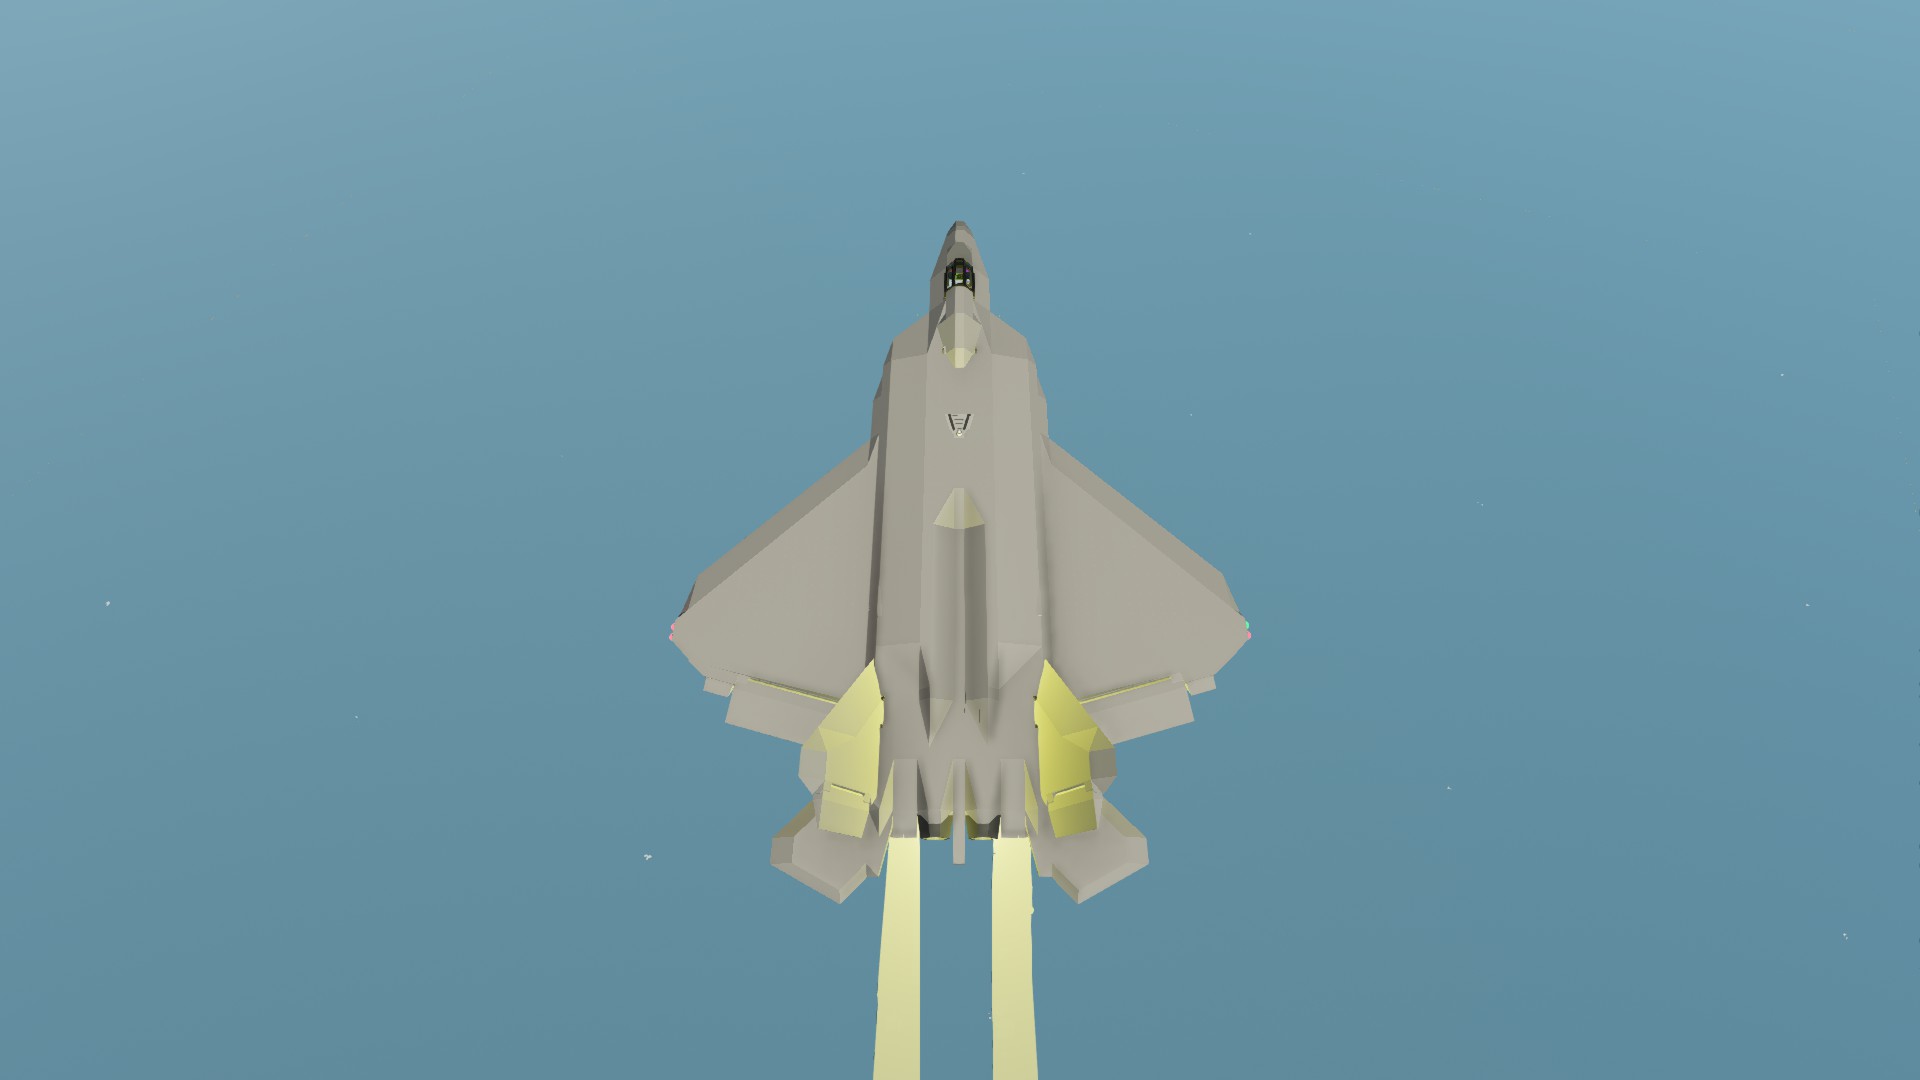
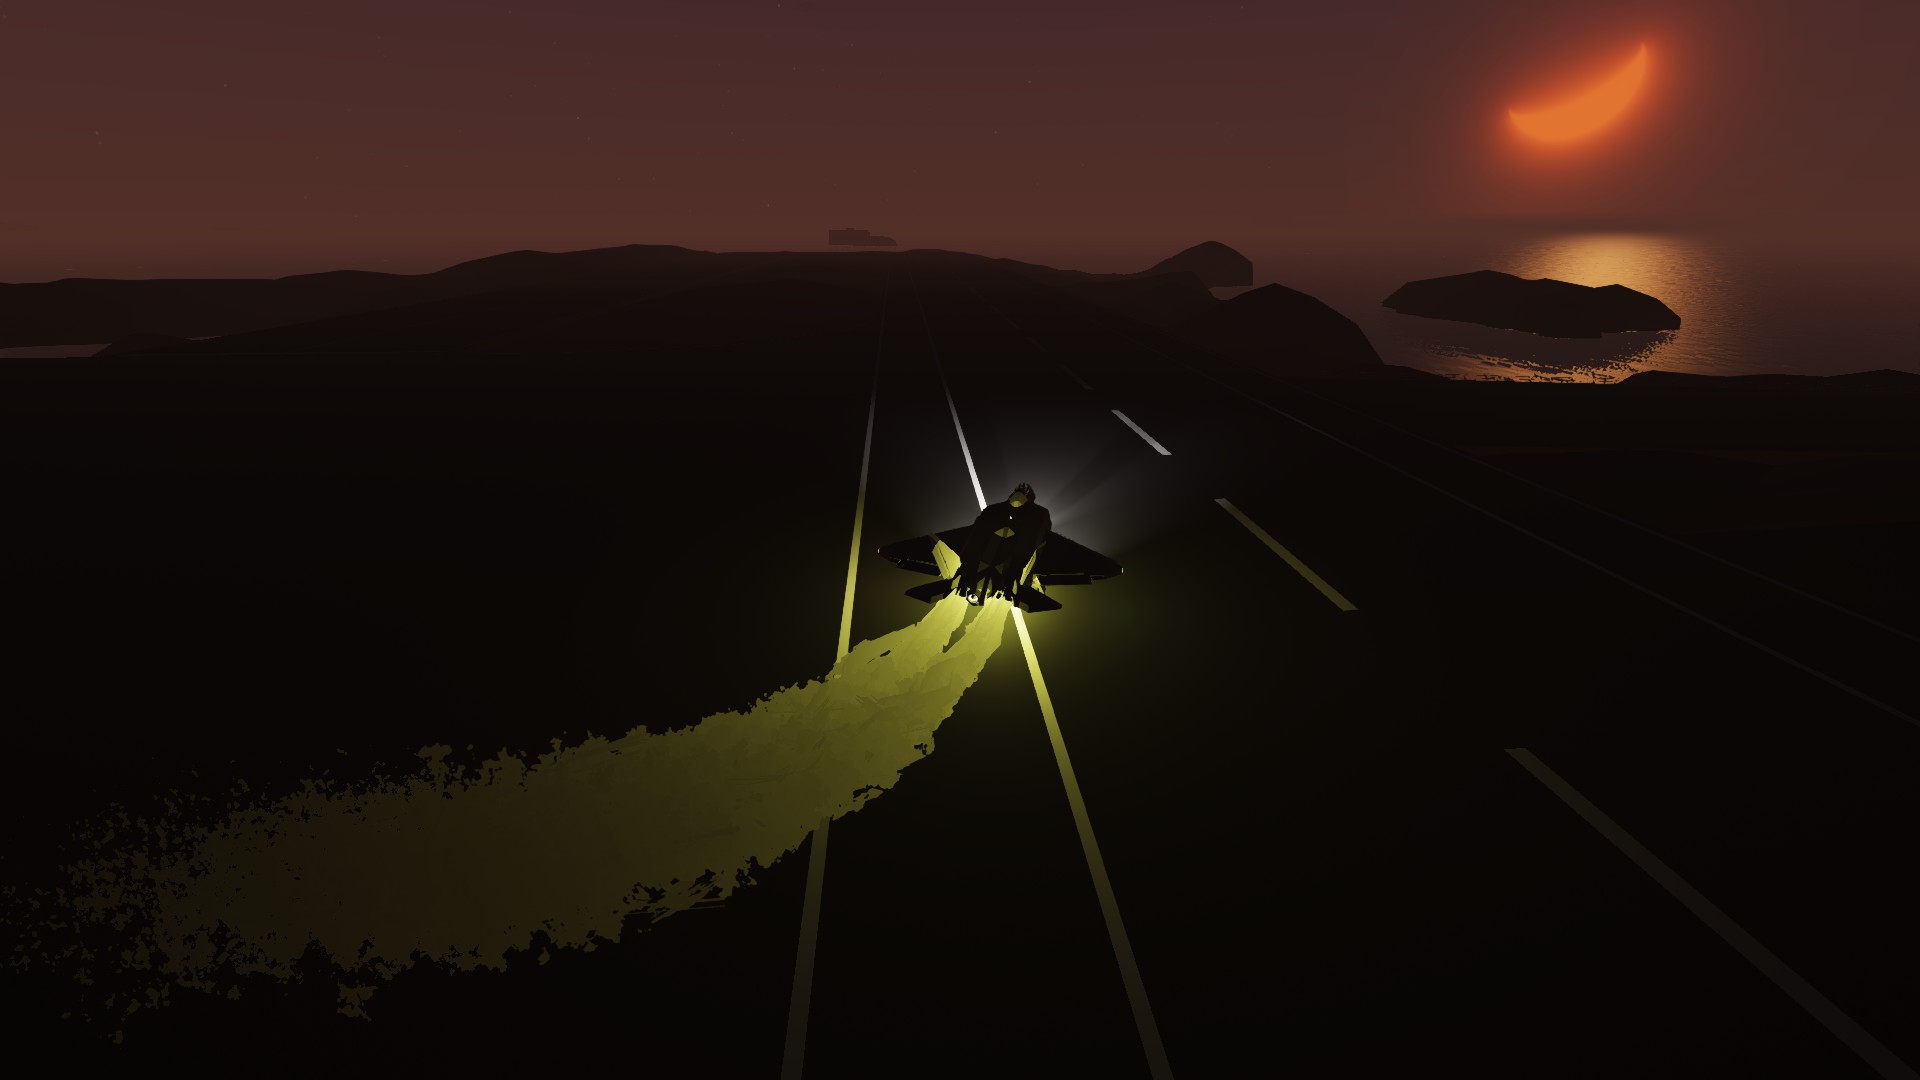
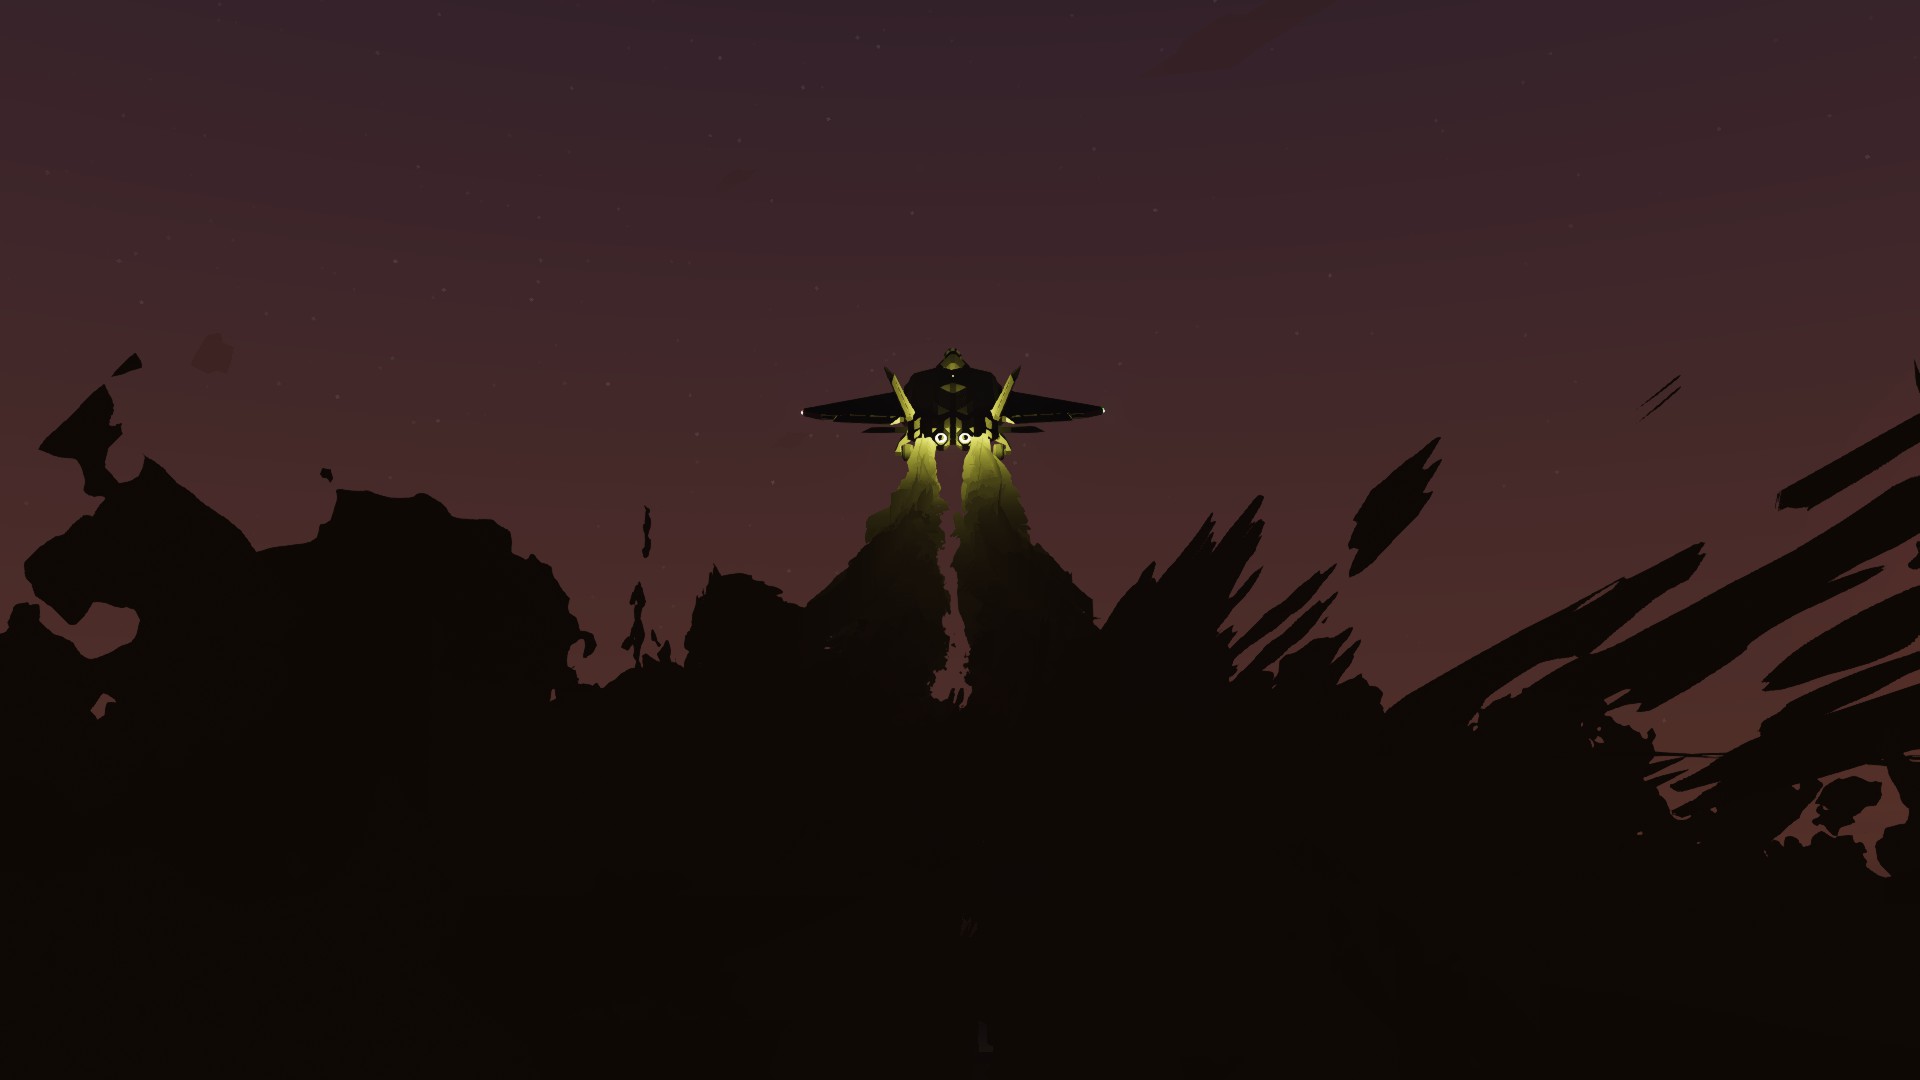
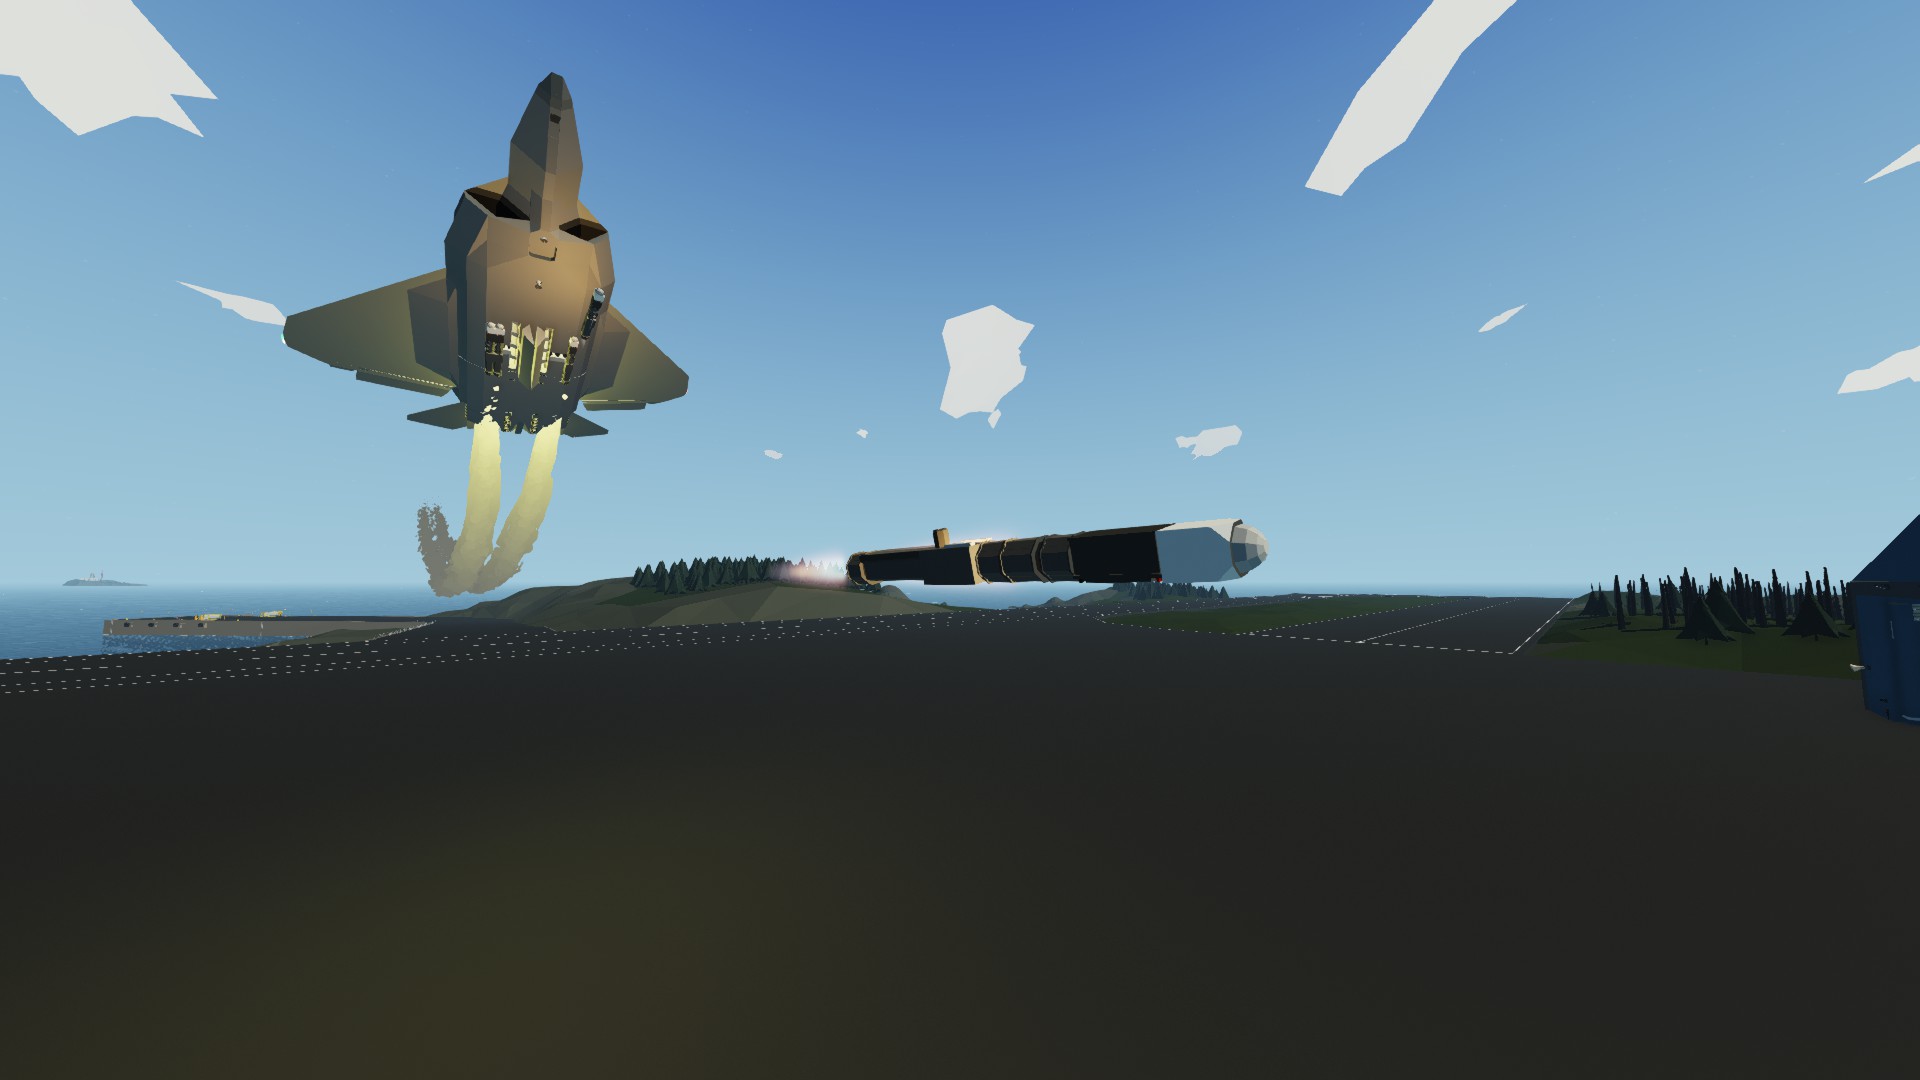
This is a maneuverable jet that can reach 420 m/s or mach 1.2. (Avg. Speed is ~405 m/s but with help of wind it can currently reach 420 m/s, tho I can make it go up by 20 RPS to reach 420 without wind, but 20 RPS for 15 m/s ain't worth it.) (Almost realistic scale)
Rate if you liked it and/or comment. :D
Constant 210 m/s or around 25 rps: ~110 min flight time, ~1240 km distance.
<...
Author: Jumper
Created: 15 Jan, 2020 @ 9:08am
Updated: 4 Apr, 2020 @ 7:42am
Subscribers: 34233
Size (unpacked) : 1.025 MB
Rate if you liked it and/or comment. :D
Constant 210 m/s or around 25 rps: ~110 min flight time, ~1240 km distance.
Max speed: ~13 min flight time, ~320 km distance.
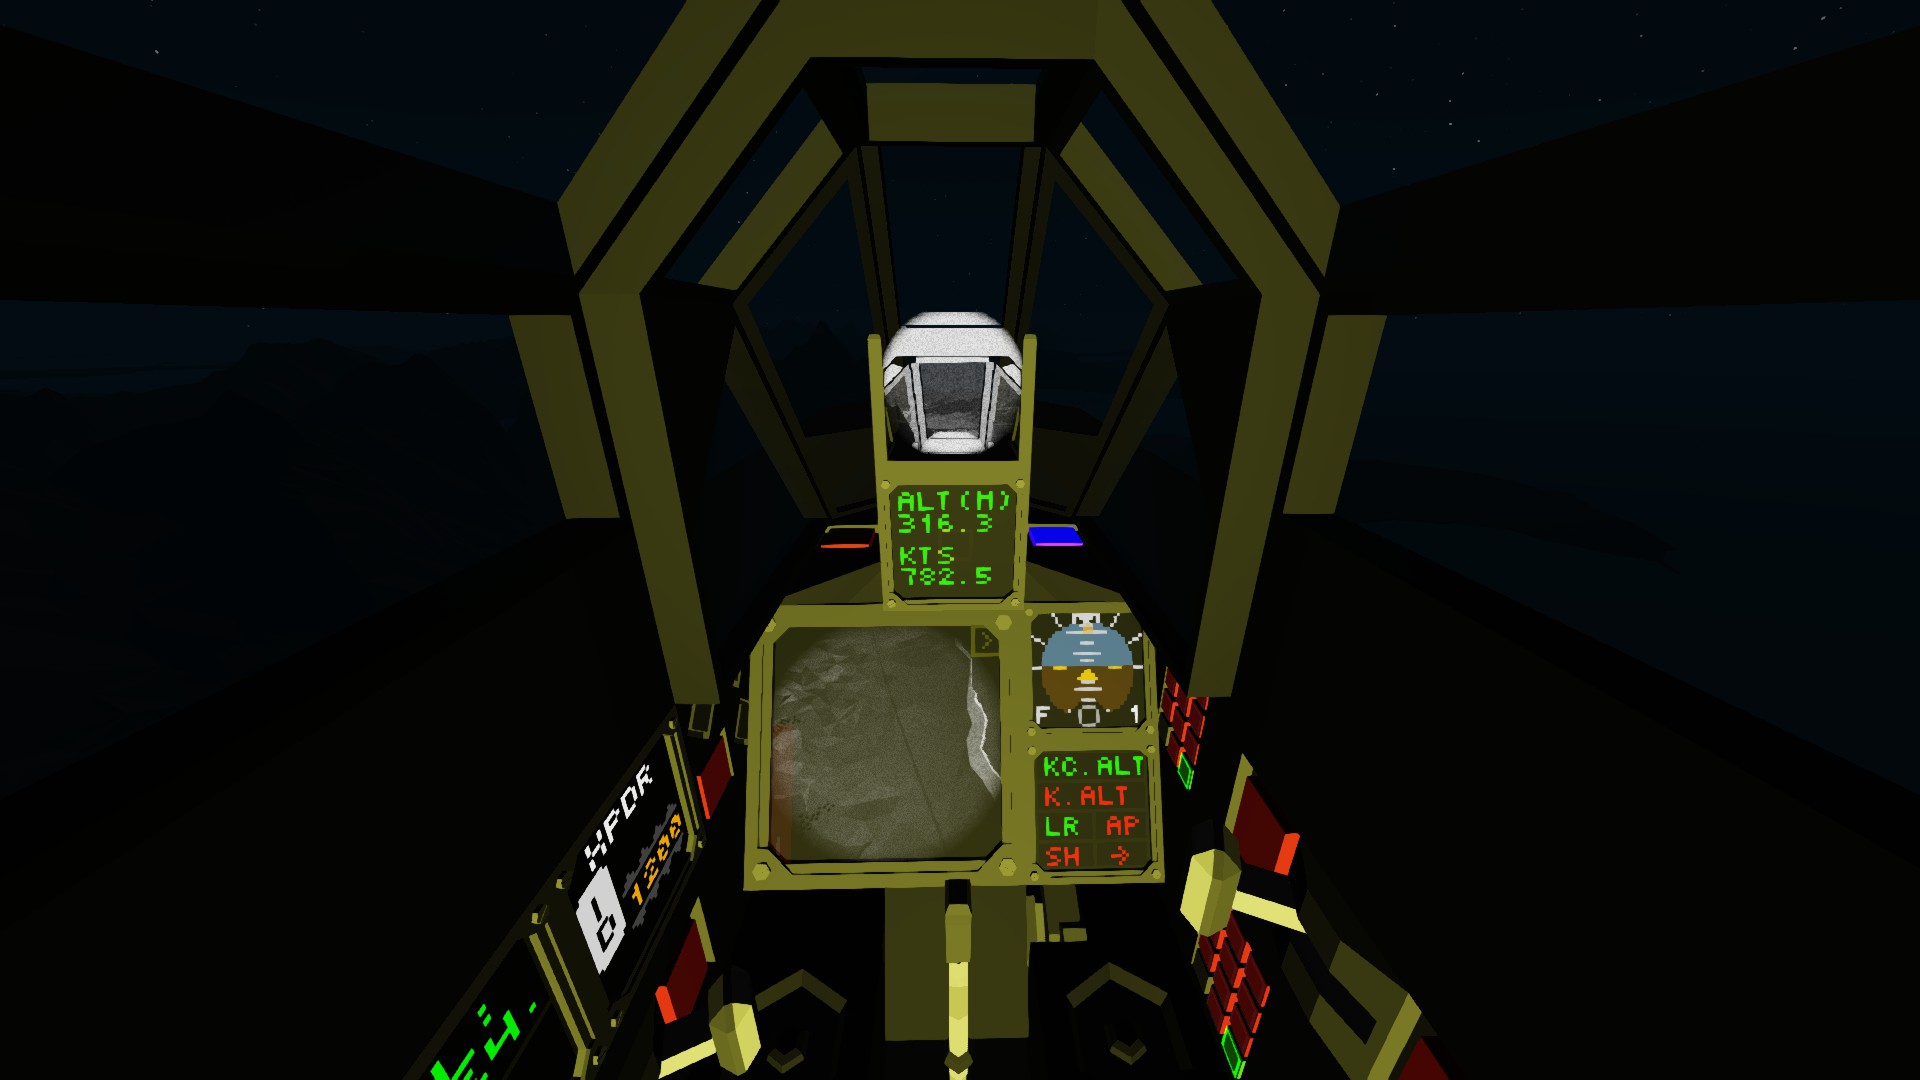
Switch the key on the right and flip the lever infront it. Use the spoiler on the left side to speed up.
You steer landing gears by yaw. Holding down the [-Collective] while spoiler is 0, will enable variable breaks to slow down.
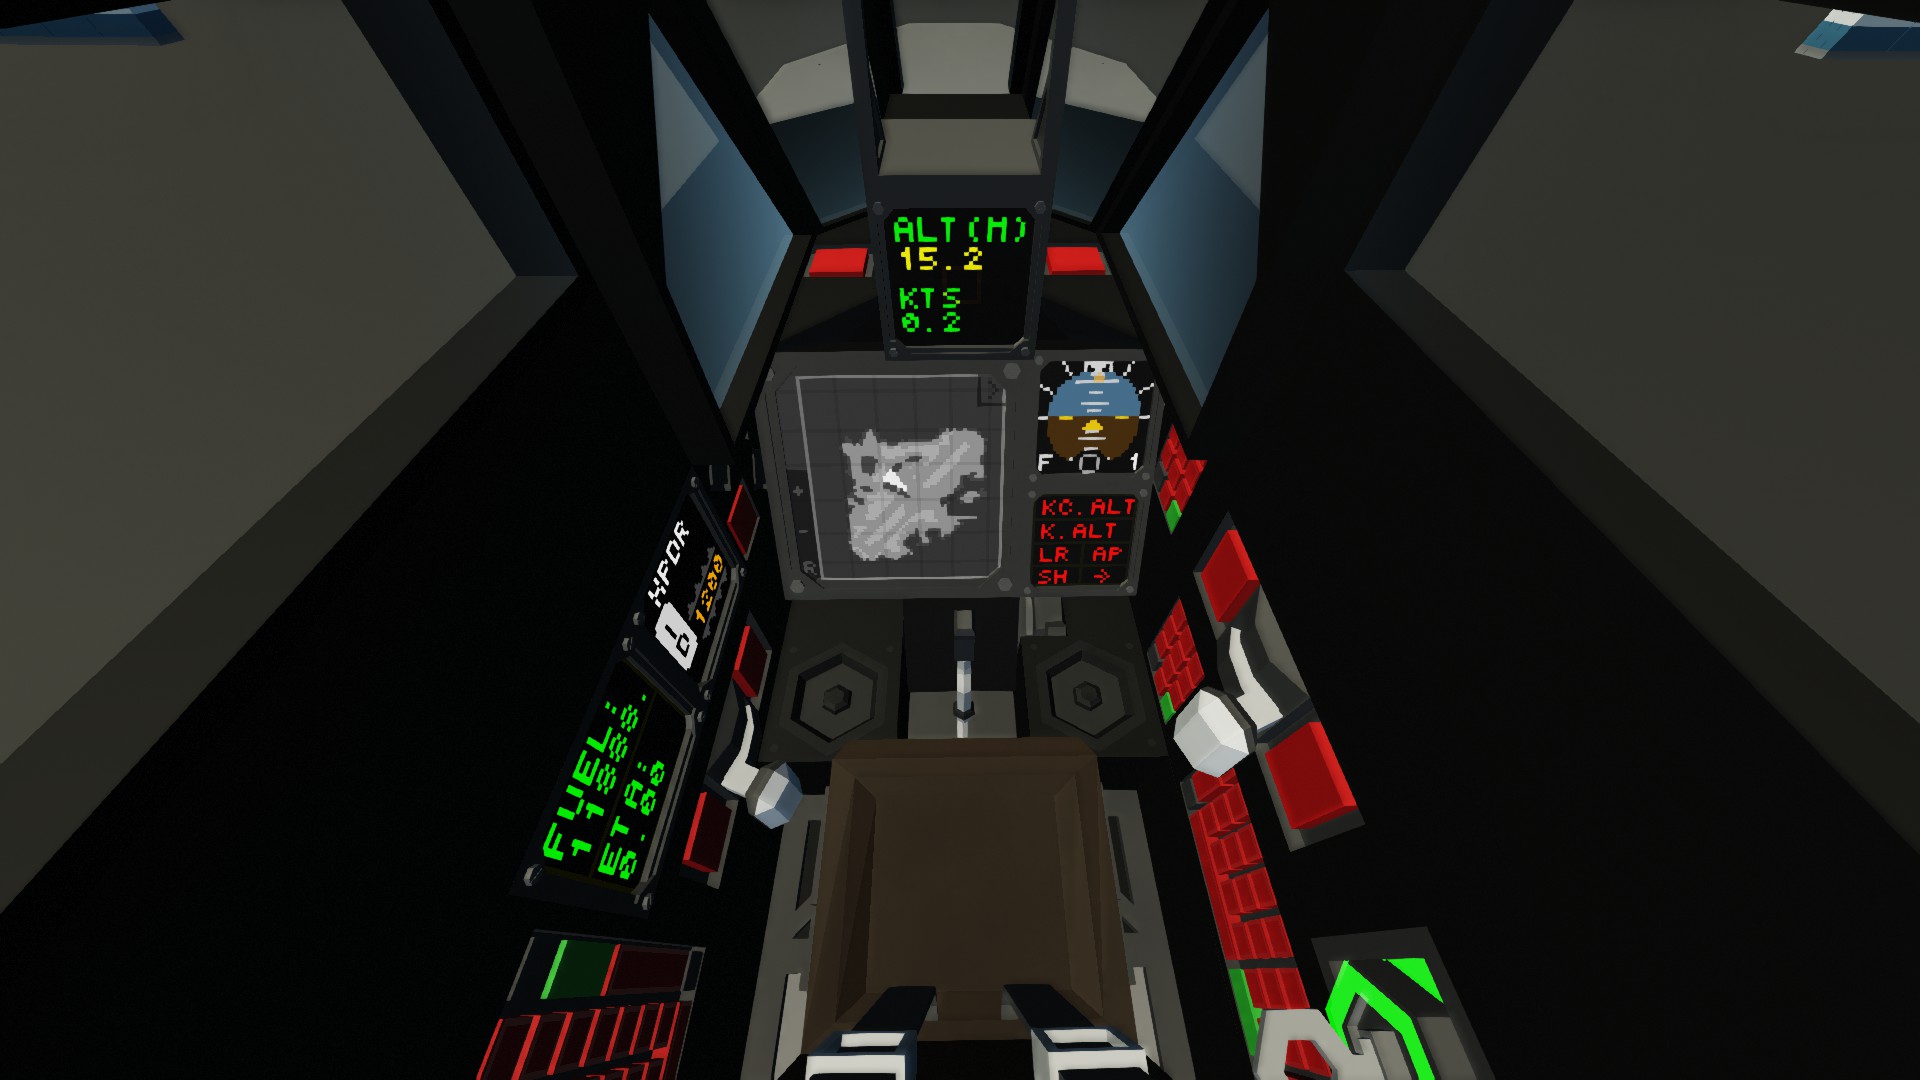
1x1 Upper Monitor: Shows your current ALT & by default your speed in kts, but if pressed you can switch between: M/S, Kmph, Mph & Kts. However if pressed in the middle where a slightly visible square is showed, you can switch to AirNav and the speed & ALT information will show on HUD if ON.
2x2 Monitor: Shows map by default and buttons to -/+ zoom or switch to nose camera, as well as settings for the CAM.
1x1 Left Monitor: Shows Current Fuel & ETA from autopilot. Click anywhere on the monitor will switch it to show RPS & Battery. (ETA is shown in minutes and after the decimal in seconds.)
1x1 Lower Monitor: Shows buttons. Red = OFF, Green = ON.
KC.ALT: (Keep Current ALT) When pressed it takes current ALT as setpoint to keep.
K.ALT: (Keep ALT) When ON it takes the keypad coordinate as setpoint to keep.
LR: (Level Roll) Automaticly stablelizes roll.
AP: (Autopilot) Enables autopilot. (Remember to input coordinate on to the right side)
SH: (Speed Hold) Not currently working!
->: Switches the monitor to another page with other buttons.
R.BAY: (Rocket Bay) Opens the rocket bay under the jet, enabling firing of rockets.
L.B: (Landing Breaks) Enables breaks for Landing Gears.
L.L: (Landing Lights) If landing gears are out then it will light on spotlights.
NAV: Will light up green on right and red on the left of the wings with a white light behind them.
S.L: (Strobe Lights) The white light that is on by NAV will blink red every 1.3 sec.
RFC:(Release Fluid Connector) Releases the fluid connector under the jet aswell as the one for aerial refueling.
If the jet doesn't fly straight then use ALT on your keyboard to trim pitch and the landing gears are quite durable, so you can land without much worry for it breaking, if you flies around or below 100 m/s.
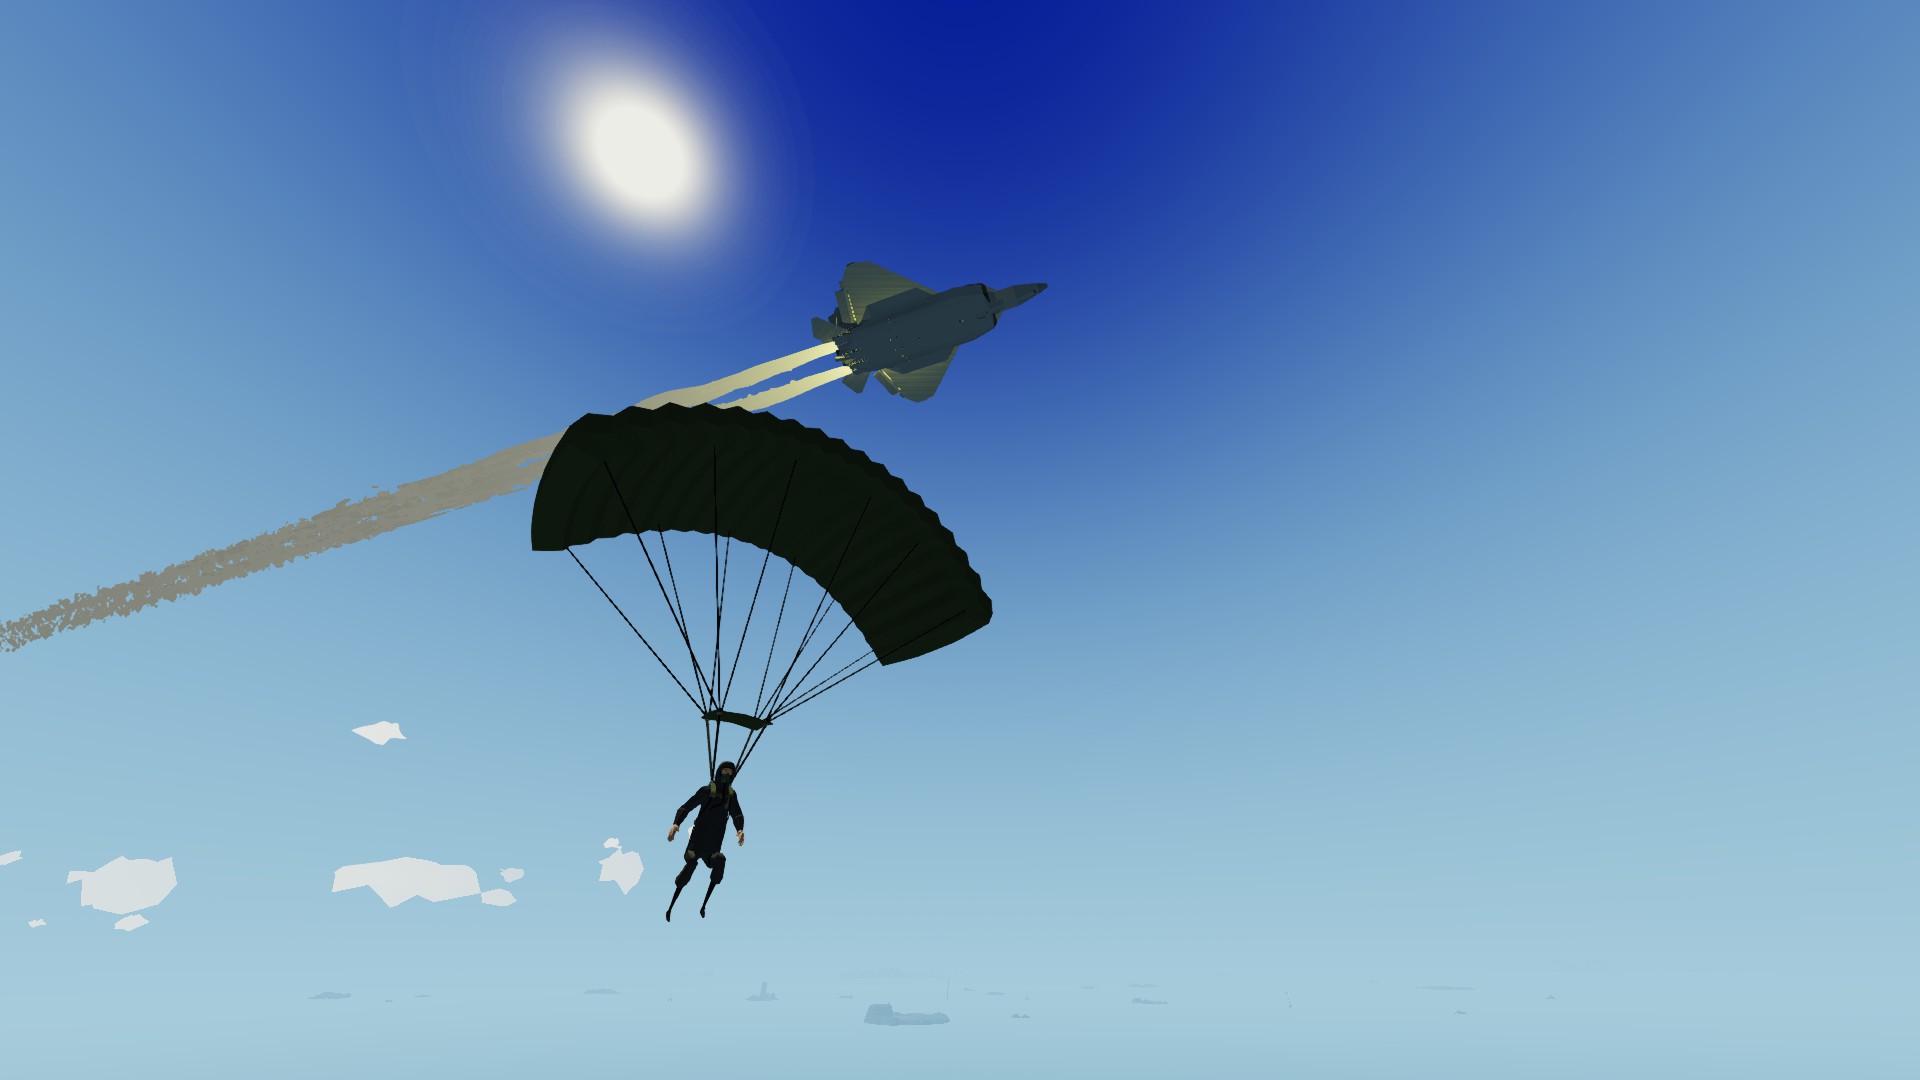
There's fluid connector behind the cockpit made for aerial refueling, also there's a parachute behind the seat.
Plane Altitude Hold
Tajin's Fully configurable GPS Autopilot (Helicopter Variant)
Computer Graphic Horizon T v3
AirNav Decoder v5.4
Magic Index Marker
Nav Radio for aircraft
XPDR Air Type Transponder v2.1
Also check out my other vehicles. :D
-=( ! )=-
You are not allowed to reupload this to take credit. However you are allowed to upload it, if you needed to modify it to your own use or it fits together with another creation, but you do need to credit me no matter what your reason is.
-=( ! )=-
How do I download and install mods?
Simply click the blue button above. It will open the file hosting page with the mod repacked by us from the official source.How do I install this mod?
See the 'How to install' tab.Is this mod safe to use?
The mods are repacked as is, without any additional software, malware, or bloatware added. To check for viruses, use a reliable antivirus or upload the archive to a website like virustotal.com. Anyway, It's always a good practice to keep backups of your saves in case of mod incompatibility .
For vehicle mods
- Download the .zip archive containing the vehicle mod files.
- Locate your game's root folder.
- Navigate to
rom\data\preset_vehicles_advancedand extract the files there. - Rename both files to something recognizable, ensuring they share the same base name but different extensions.
- Launch the game and go to the Workbench's Presets tab to see the new vehicle mod.