Rabbit OS | Working Computer
Vehicle, Exploration, Stationary, Advanced, v1.5.2
The most powerful, Rabbit OS Pro is out! Click here: https://steamcommunity.com/sharedfiles/filedetails/?id=2814864654
- Next Gen Computer in Stormworks -- Different screen size support (Recommanded: 5x3, also works for 3x3 & 9x5)
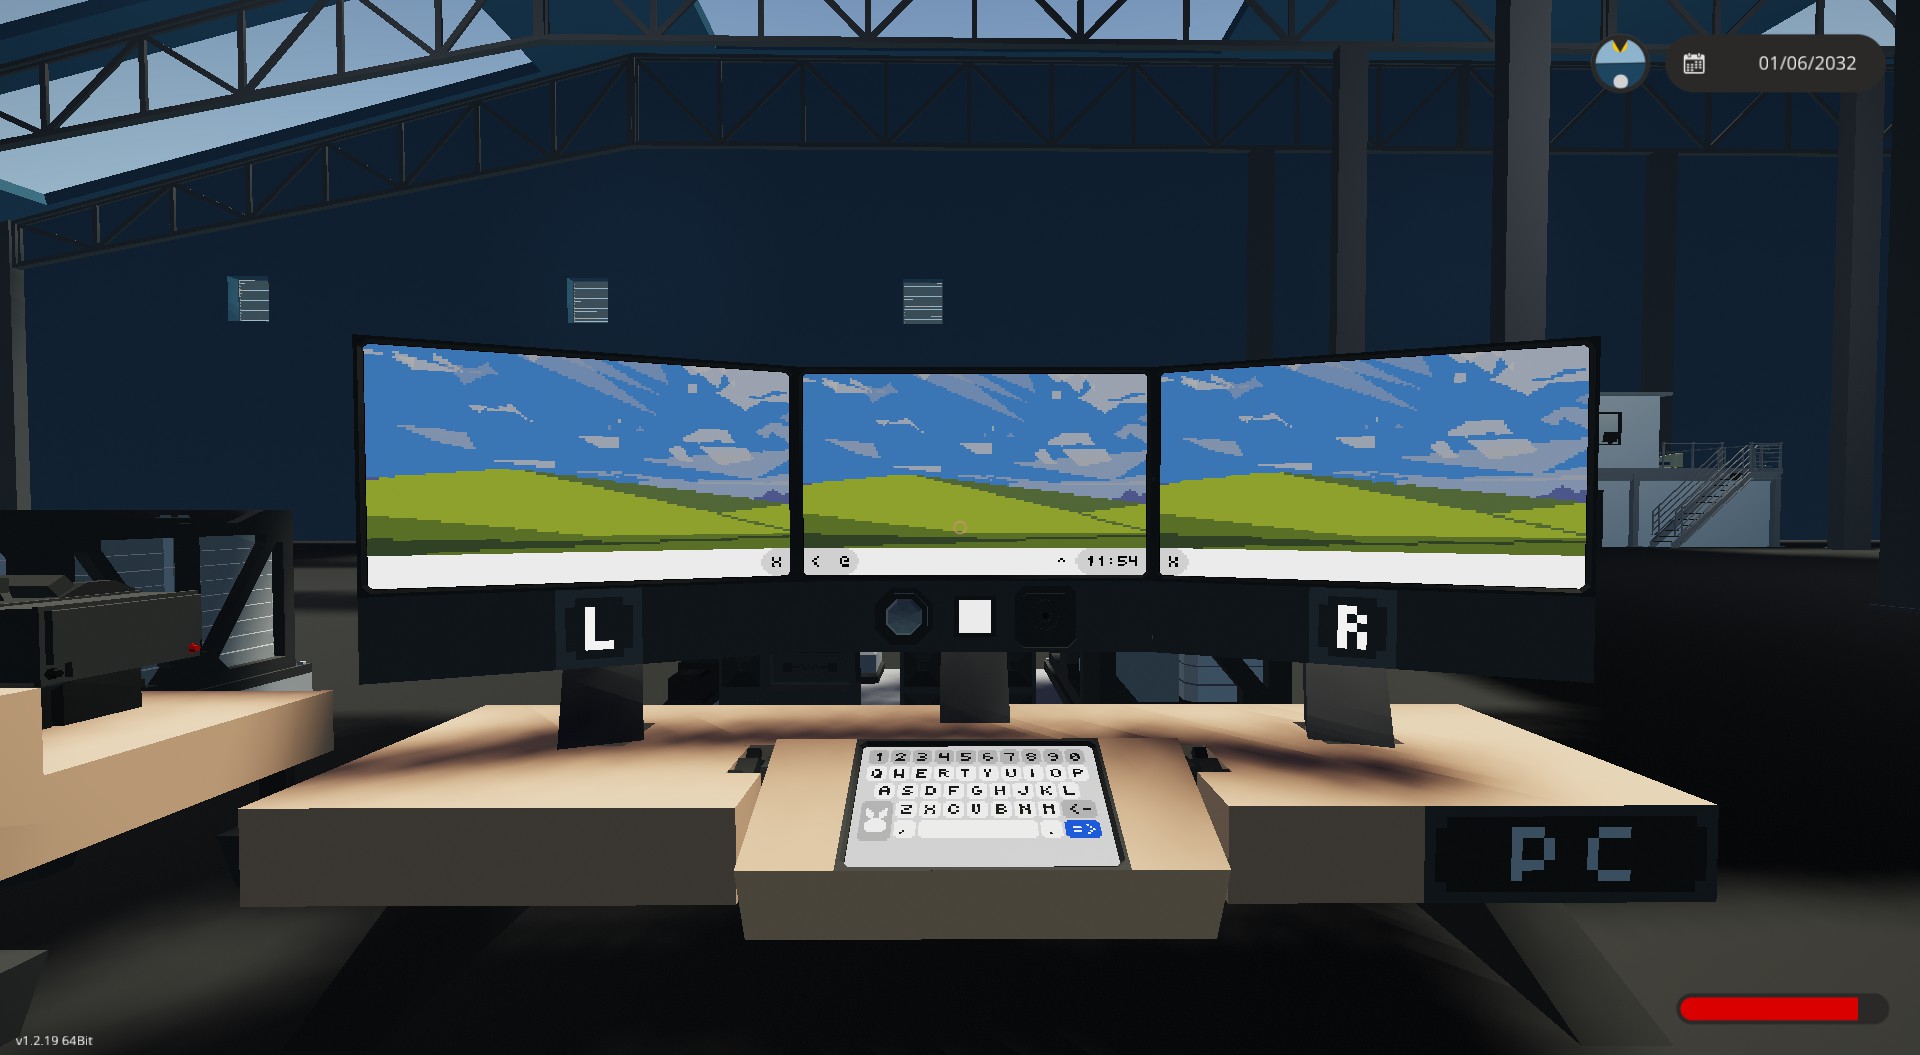
- Multi-monitor support for maximum 3 monitors
- Built-in apps
- Touch Control, or WASD Cursor Control
UPDATE:Ver 1.2:
- Keyboard renewed,...
Author: TEA™ ☕
Created: 12 Aug, 2021 @ 10:33am
Updated: 30 Jun, 2022 @ 6:42am
Subscribers: 22197
Size (unpacked) : 0.569 MB
The most powerful, Rabbit OS Pro is out!
Click here: https://steamcommunity.com/sharedfiles/filedetails/?id=2814864654- Next Gen Computer in Stormworks -
- Different screen size support (Recommanded: 5x3, also works for 3x3 & 9x5)- Multi-monitor support for maximum 3 monitors
- Built-in apps
- Touch Control, or WASD Cursor Control
UPDATE:
Ver 1.2:- Keyboard renewed, fixed bug where key aren't detecting correctly
- Working on screen Keyboard (Toggle in poverty toggle, ! wont sync across monitors)
Ver. 1.1:
- New wallpaper
- Minor UI changes
- Quick Toggle now require hardware management chip
- NEW Steam app
**Helpful Tip: To config different monitor setup, you can remove the monitor and its microcontroller which isn't needed. Its faster that way.**
- Taskbar Basic Control -
- Taskbar (Single Monitor, Main screen)- Back ( < ): Return to desktop
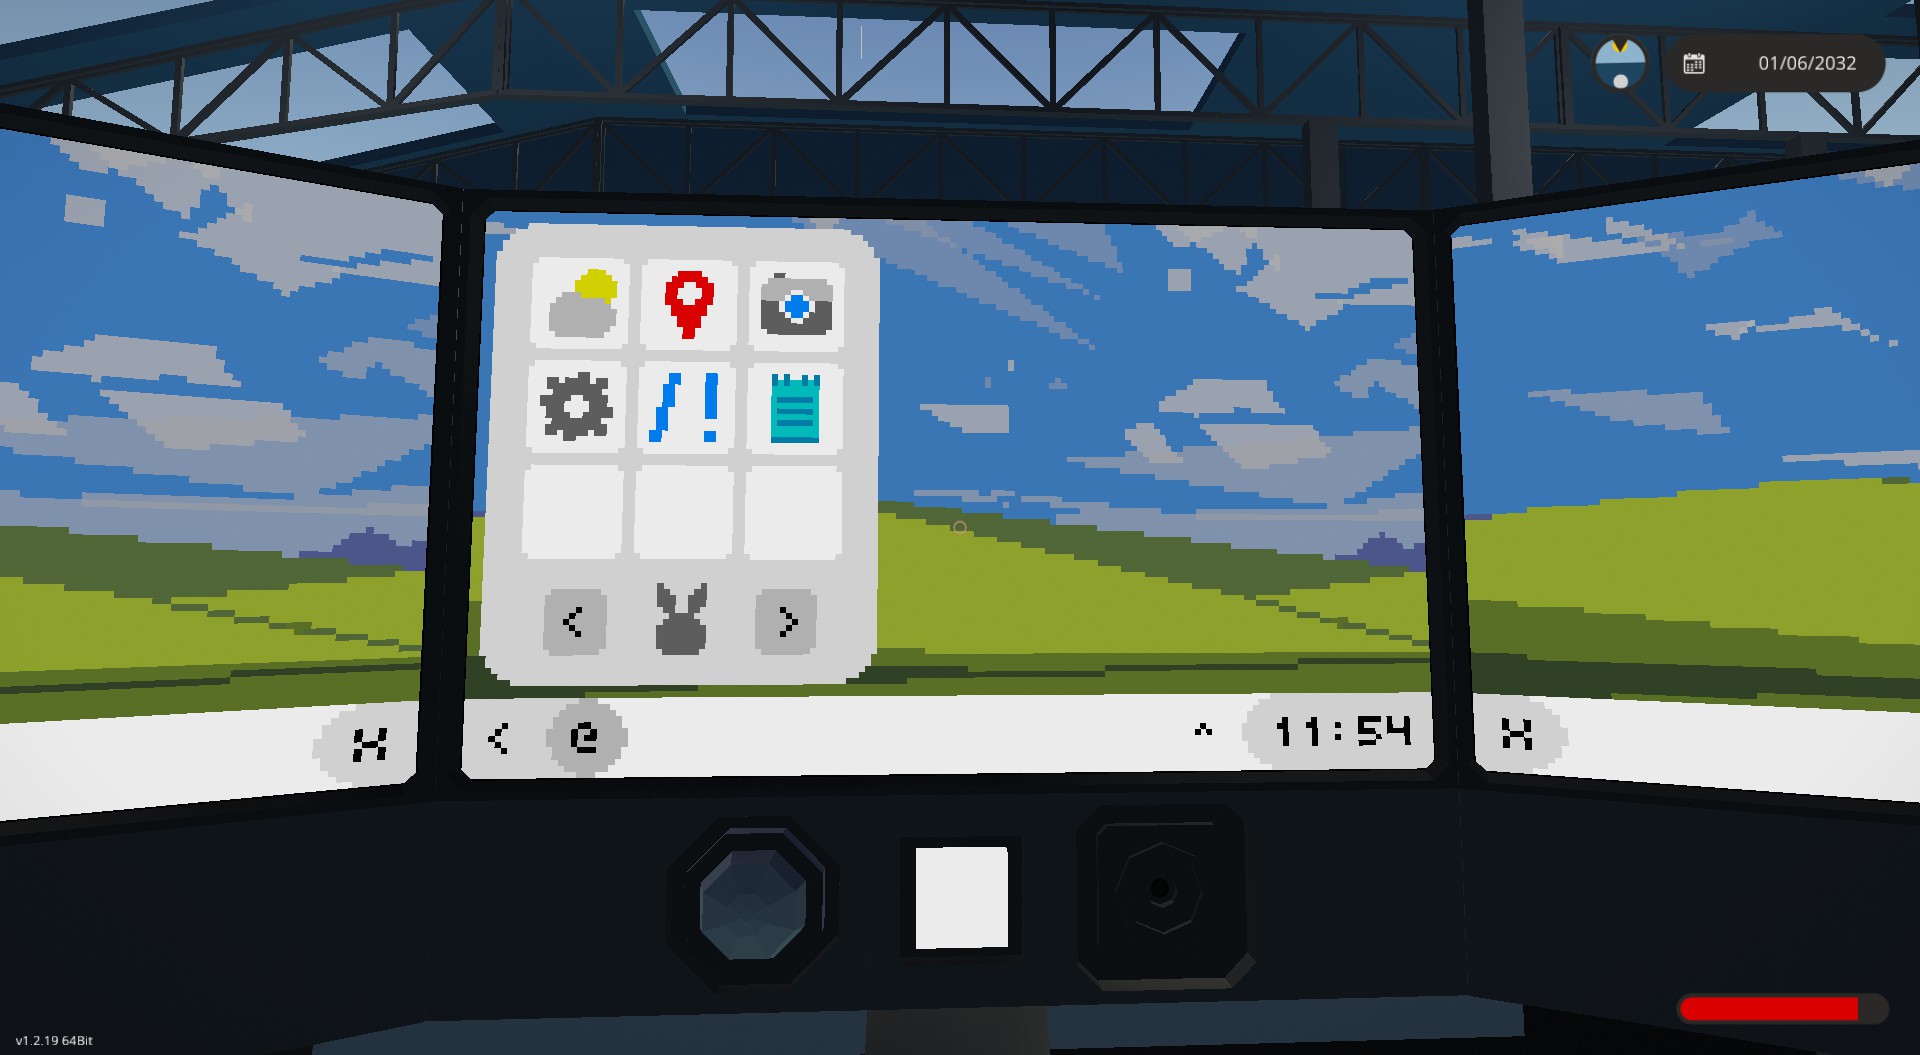
- App drawer ( @ ): Open the app drawer, duh
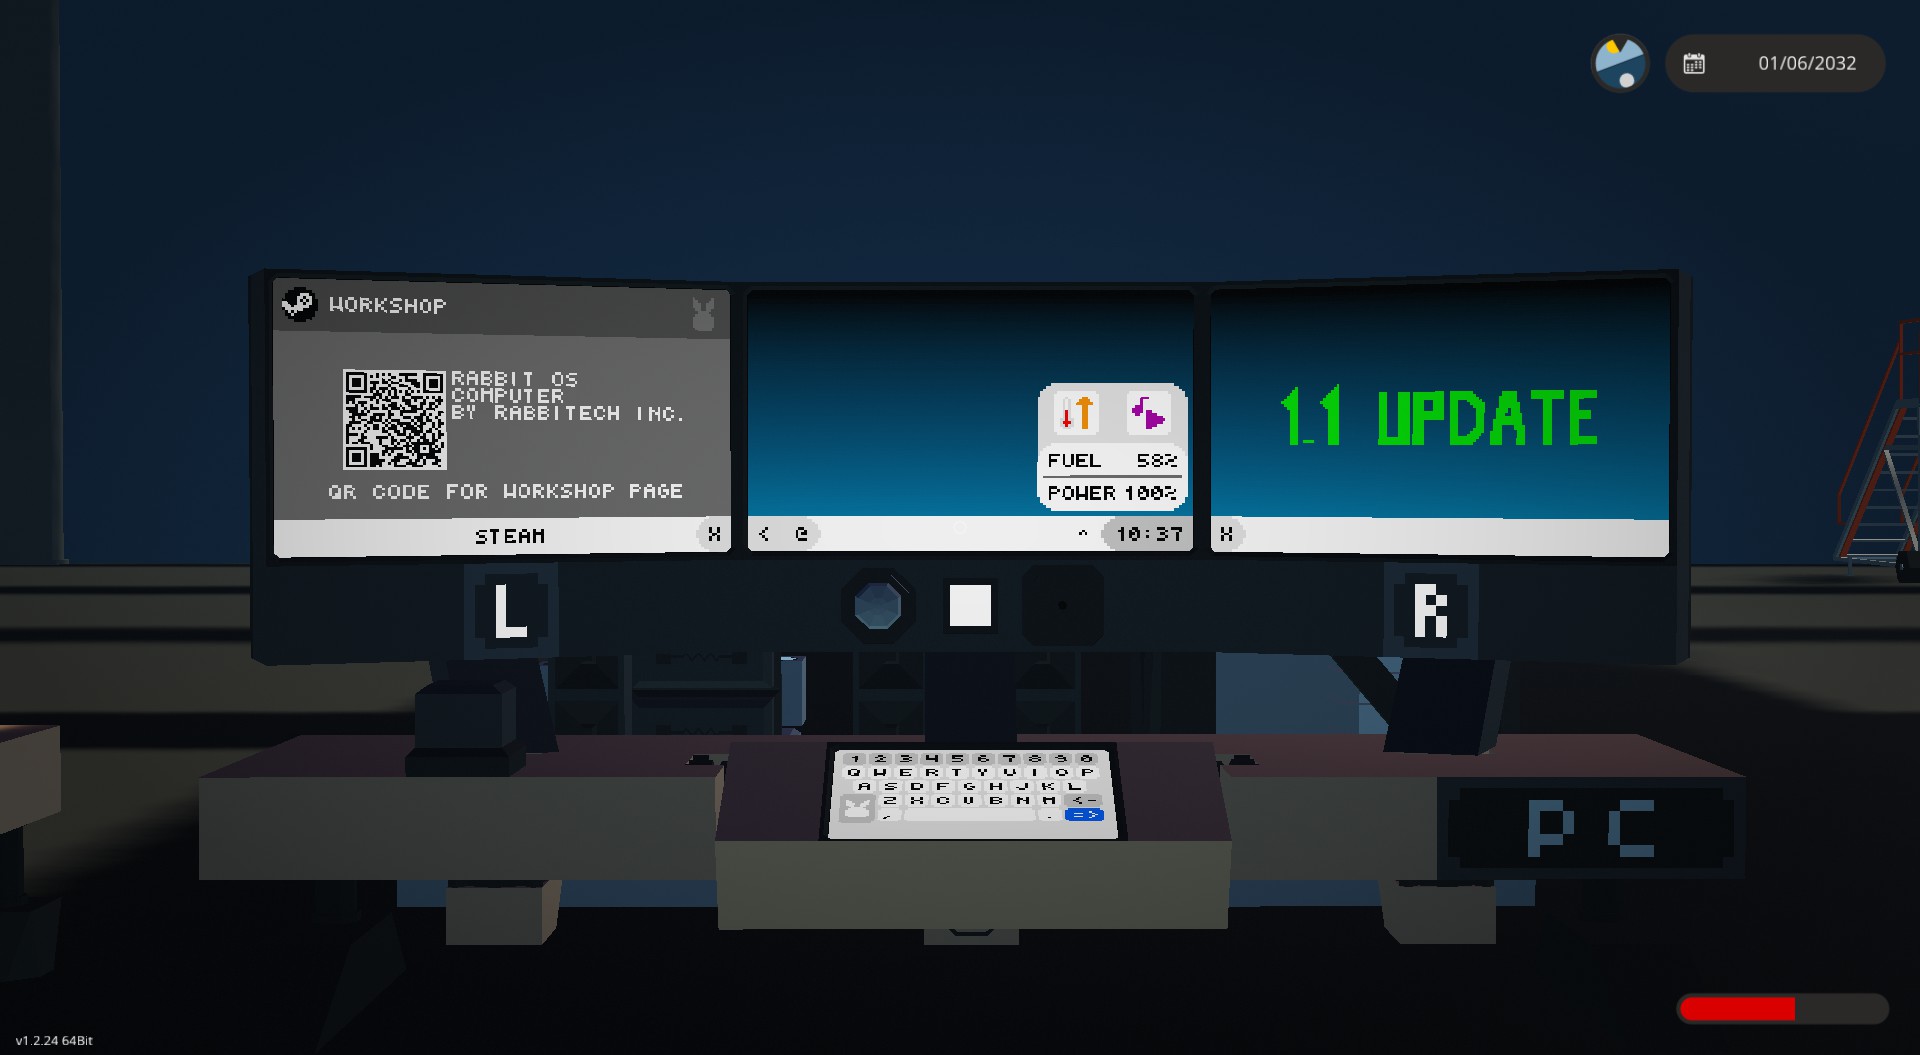
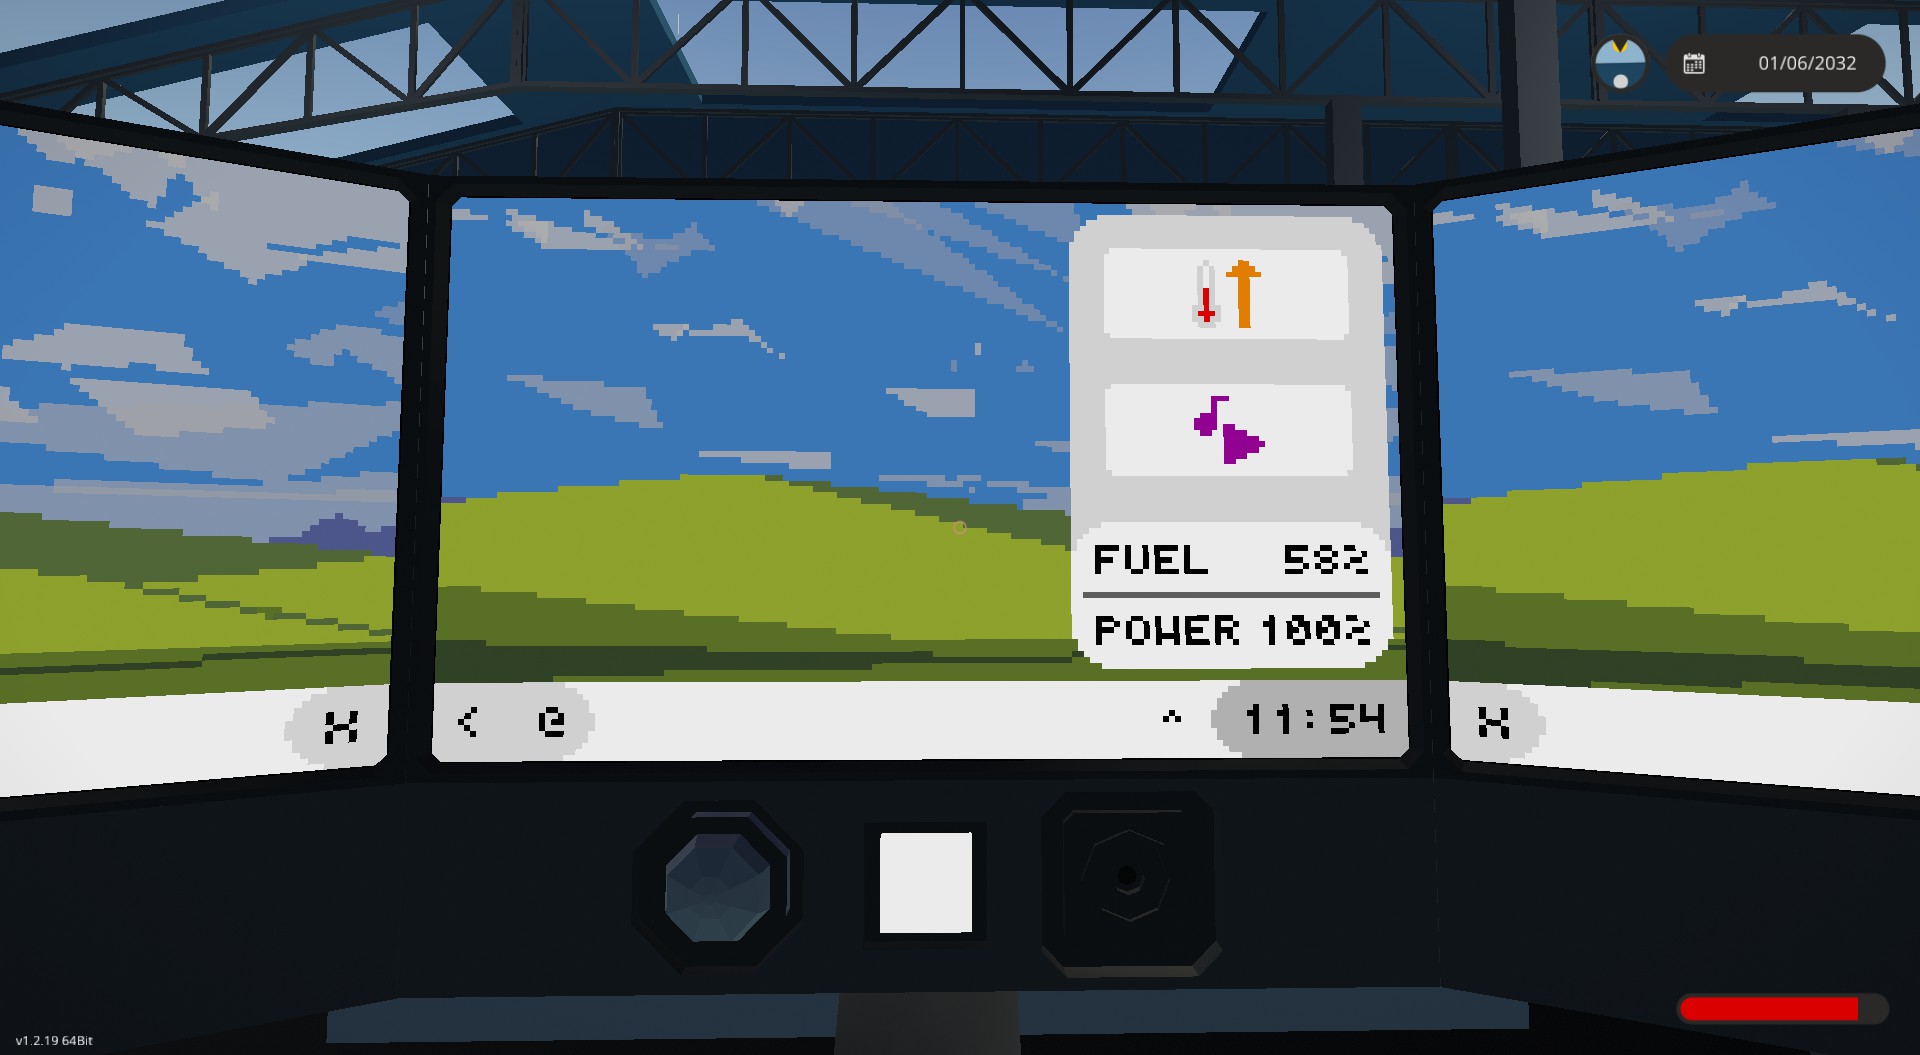
- Quick Panel (Time on the bottom right): Quick Device Control, Power & Fuel Status
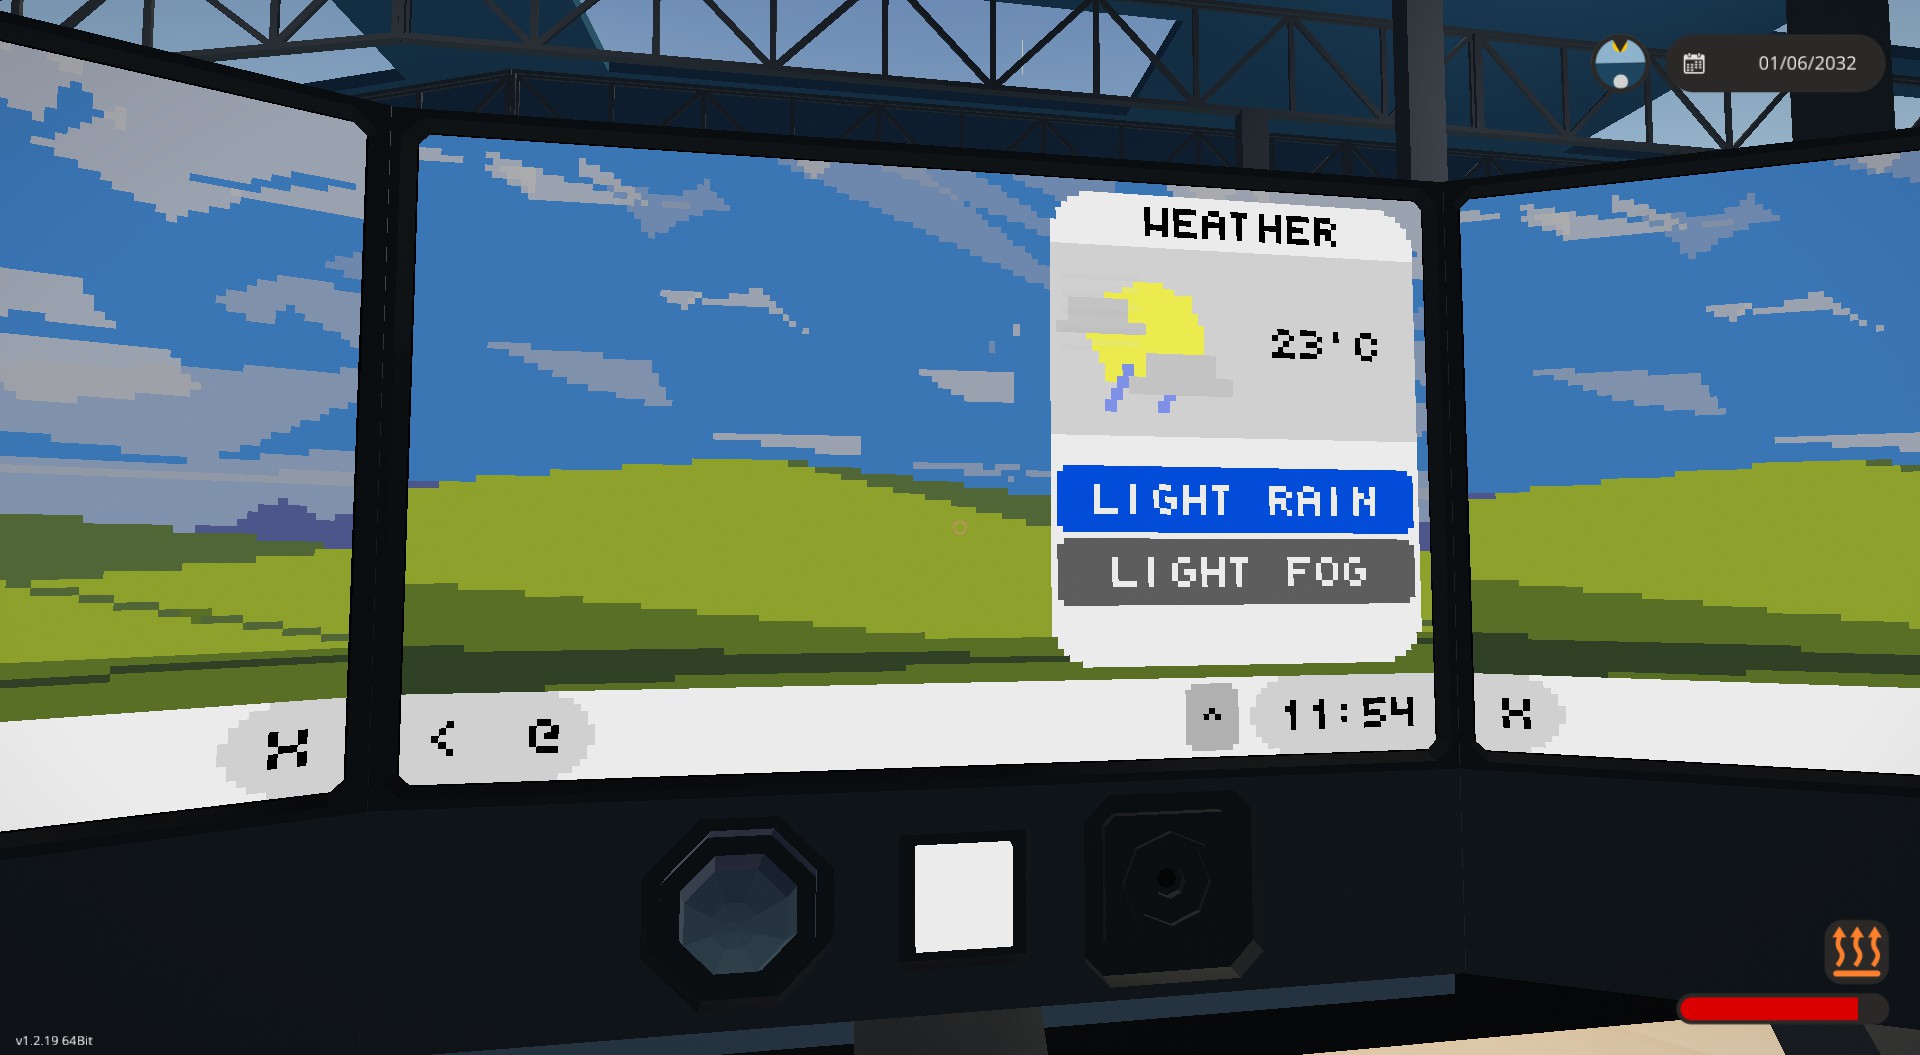
- Weather Widget (^): Brief weather at a glance
- Side monitors taskbar, in a multi-monitor setup. (Show when side monitors are connected)
- Snapping ( < / > ): Inside the app drawer, snap the currently opened app on the main screen to left/right monitors
- Close ( X ): Close app on the side monitors
- Apps -
- Weather: Detailed Weather Info with numbers- Map: A nice map with Follow, Zoom, Waypoint
- Camera: Support up to 5 cameras
- Steam: Show QR code to this page
- System: Device Info & OS version
- Notepad: Note-taking with Keyboard
- Configuration & Instruction -
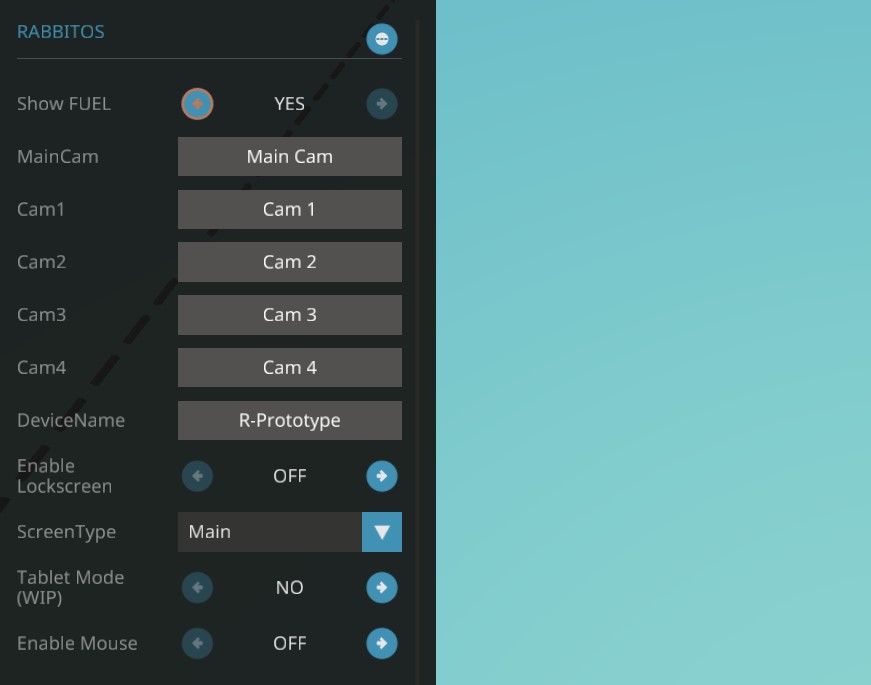
- Property setting in editor- Show Fuel: Show fuel or not in the Quick Panel
- Camera Label: For camera app, click on the [?] button to show
- Device Name: Name your device, appeared on the System app
- Enable Lockscreen: Hide screen content if player is too far away (uses player detector, range are determine by it)
- ScreenType: Determine its screen location
- Tablet Mode: WIP, currently only show a onscreen keyboard that doesn't work
- Enable Mouse: Uses WASD controling the cursor, Hotkey [1] to click, switch monitor using Hotkeys [2][3][4]
- Single monitor setup
- Connect Screen Video Out to the Monitor
- Connect Monitor Composite to Touchscreen controller
- Multi-monitor setup (Continue from Single monitor setup)
- You will need one controller for each screen. ( e.g. [Left] [Main] :2, [Left] [Main] [Right] :3 )
- Set ScreenType in property dropdown, "Main", "Left", "Right" mentioned below are ScreenType
- Connect "Main" Multi-Monitor Data Sent to Multi-Monitor Data Receive to "Left" / "Right"
- Connect "Left" / "Right" Multi-Monitor Data Sent to Left Screen or Right Screen according which side its on
- Setup individual monitor touch like how single monitor setup does it
- Starup
- Get a Button Toggle connected to the monitors and ON/OFF on the controller, also connect them on the side monitor controller
- Optional Start-Up Sound, Hook the button up to a music controller or some buzzers and delays to make some funny sounds.
- Data Module
- Apps needs data from Data Module to work
- Both Data Module are located at the back of the desk
- Connect them according the name of the nodes
- Keyboard (Optional, only for Notepad)
- Connect Keyboard Video Out to a 3x2 Monitor
- Connect 3x2 Monitor Composite to "ALL" screen's Keyboard Composite on the controller
- Mouse (For Mouse Control)
- Get a seat with composite output and connect to ALL mouse composite
- Turn on "Enable Mouse" in ALL property toggle
- Set the sensitivity of the WASD to 100% or else it will act funny (You don't want that)
- Set Hotkeys[1-4] to Push mode
- Camera (For Camera App)
- Connect the video input to the camera video nodes (Connect to the same node on side monitor node for consistency)
- Quick Toggles
- Music Player: Connect Music ON/OFF to External Music Player
- Heater: Connect Heater ON/OFF to Heater
Using in Your Creation
Go ahead, just credit me.You might tweak the code a little bit to fit your creation if you can read my spaghetti code, lol.
- Credits -
Windows XP wallpaper from Windows XP - Wallpaper by T-UerellSoviet Anthem from Soviet Anthem Radio by Padraig, Duke of Florida
Weather icons from Weather Widget by » p i x x e l «
Map are modified from *LUA* navigation map (touchcontrol) by Tajin
How do I download and install mods?
Simply click the blue button above. It will open the file hosting page with the mod repacked by us from the official source.How do I install this mod?
See the 'How to install' tab.Is this mod safe to use?
The mods are repacked as is, without any additional software, malware, or bloatware added. To check for viruses, use a reliable antivirus or upload the archive to a website like virustotal.com. Anyway, It's always a good practice to keep backups of your saves in case of mod incompatibility .
For vehicle mods
- Download the .zip archive containing the vehicle mod files.
- Locate your game's root folder.
- Navigate to
rom\data\preset_vehicles_advancedand extract the files there. - Rename both files to something recognizable, ensuring they share the same base name but different extensions.
- Launch the game and go to the Workbench's Presets tab to see the new vehicle mod.