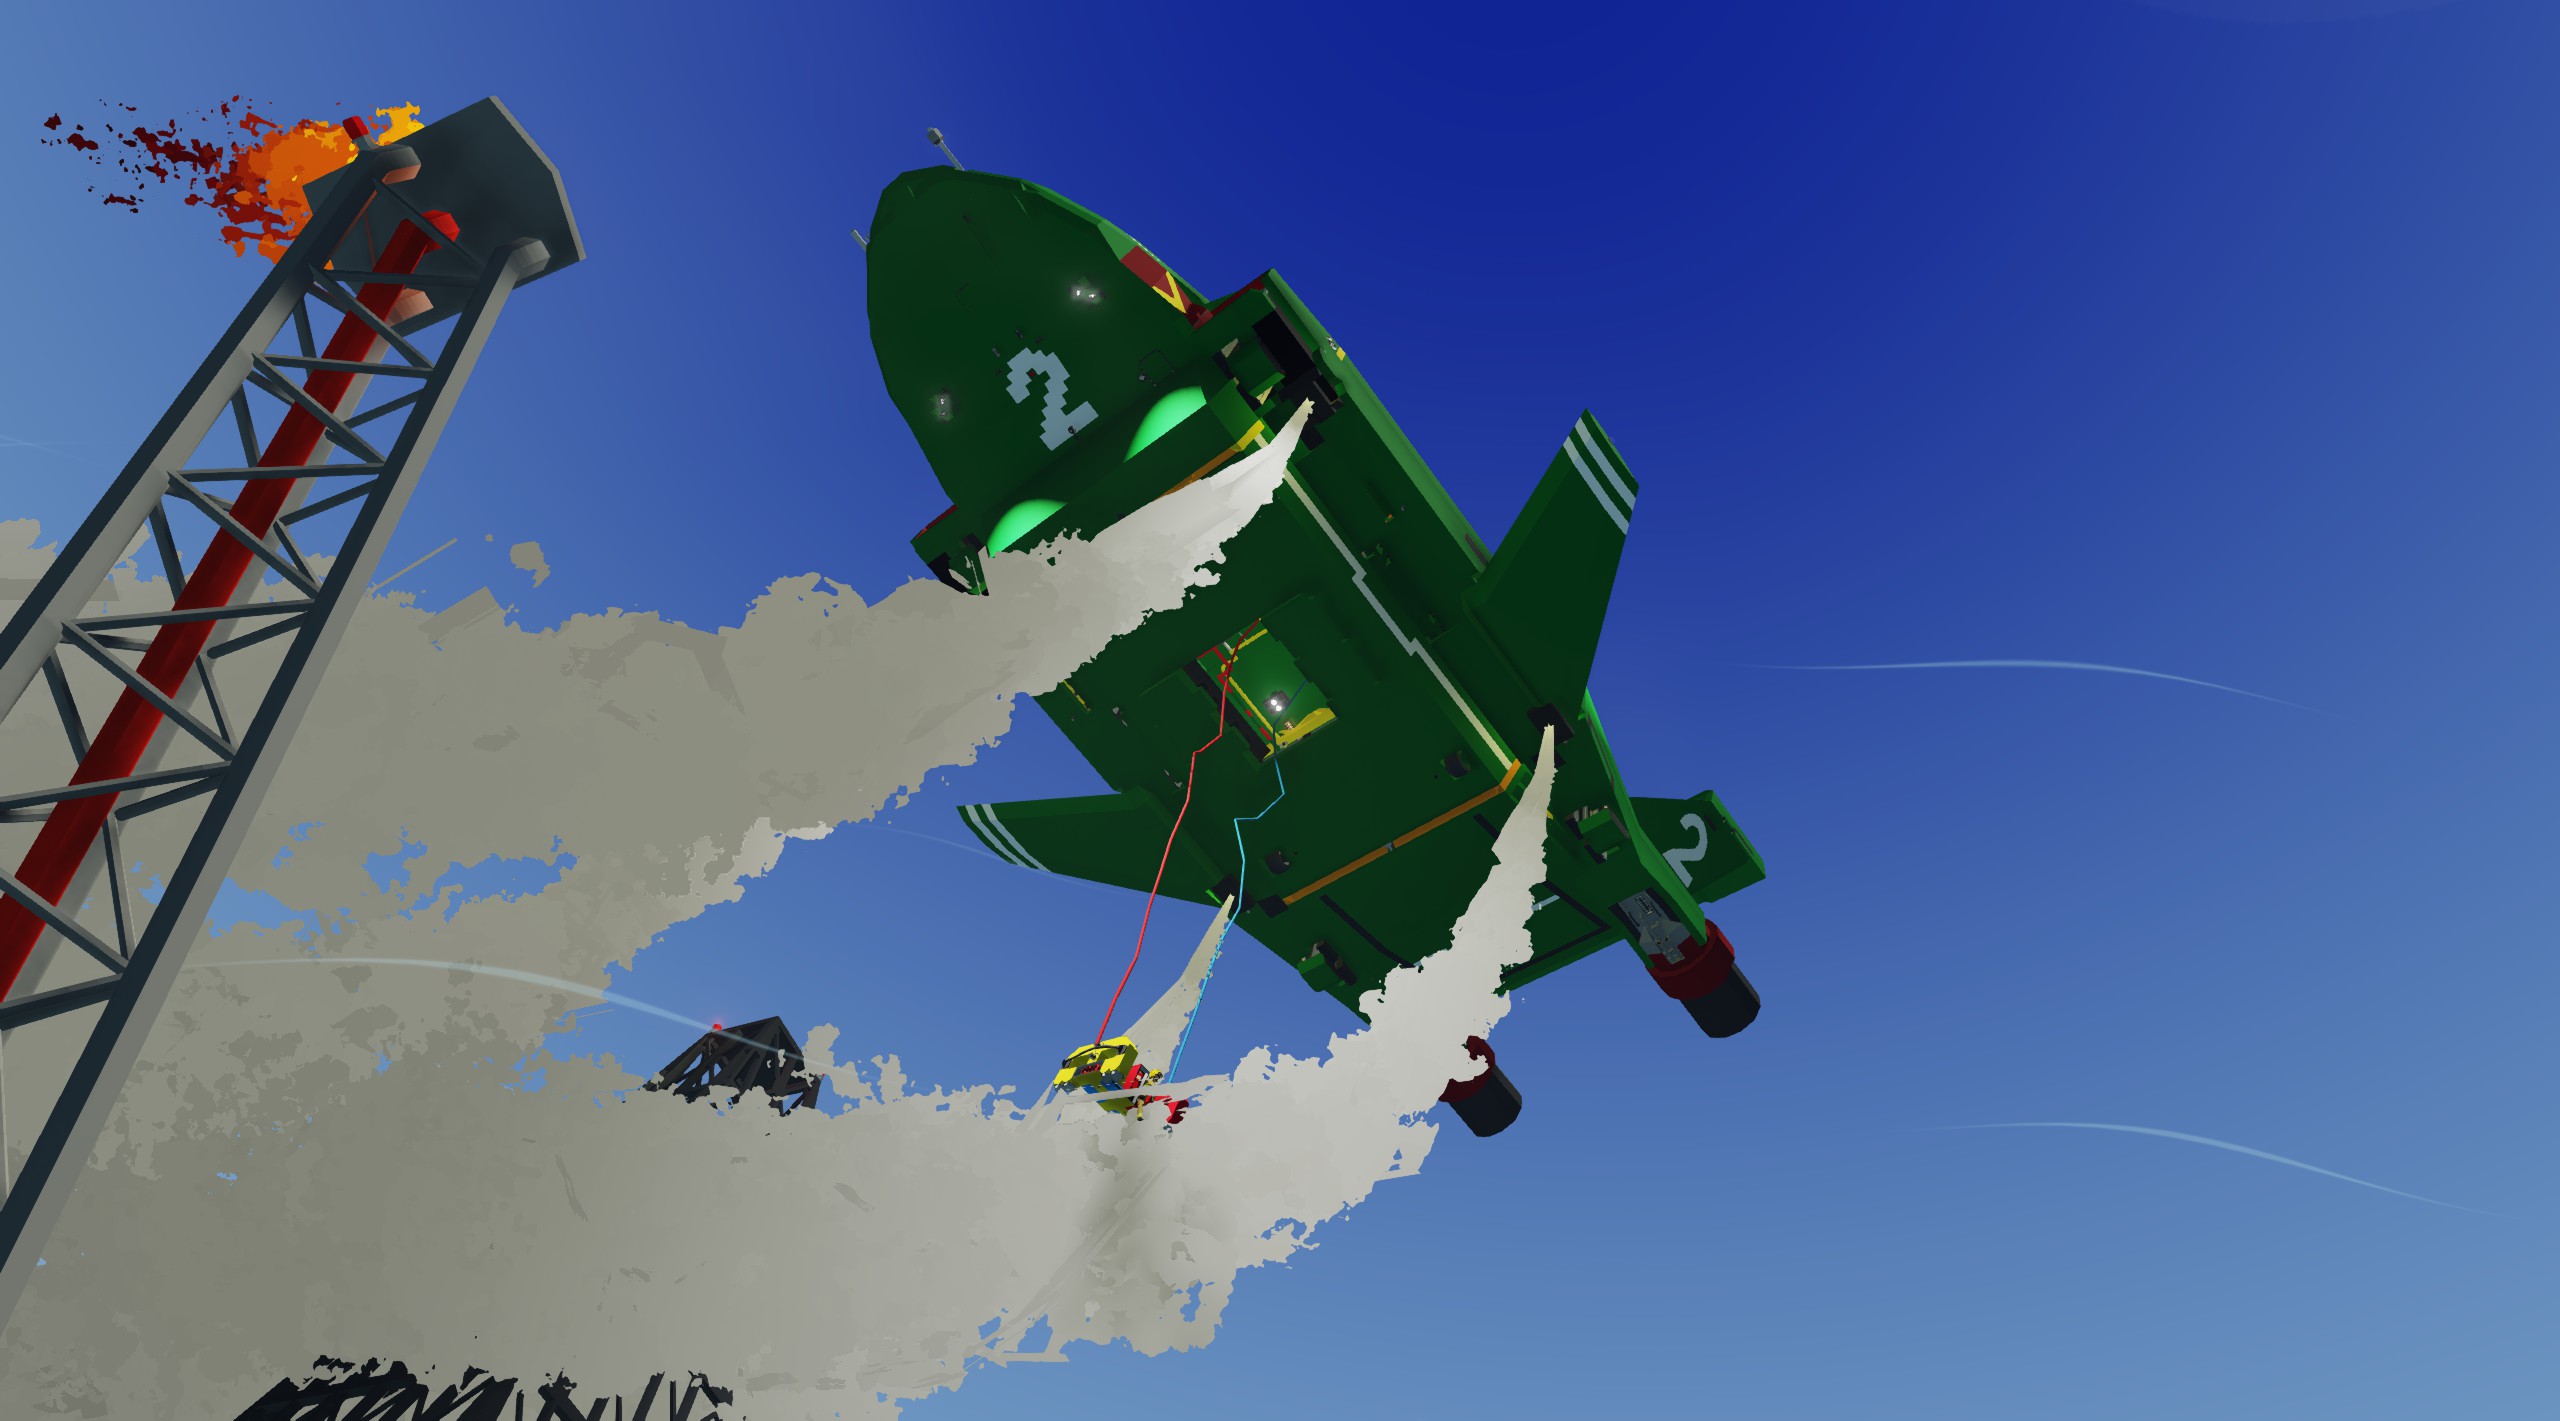

Thunderbird 2 (All Purpose Rescue Vehicle)
Vehicle, Air, Rescue, Sea, Multi-vehicle, Delivery, Technical, Creative, Land, Fire, Mechanical, Advanced, v1.6.14
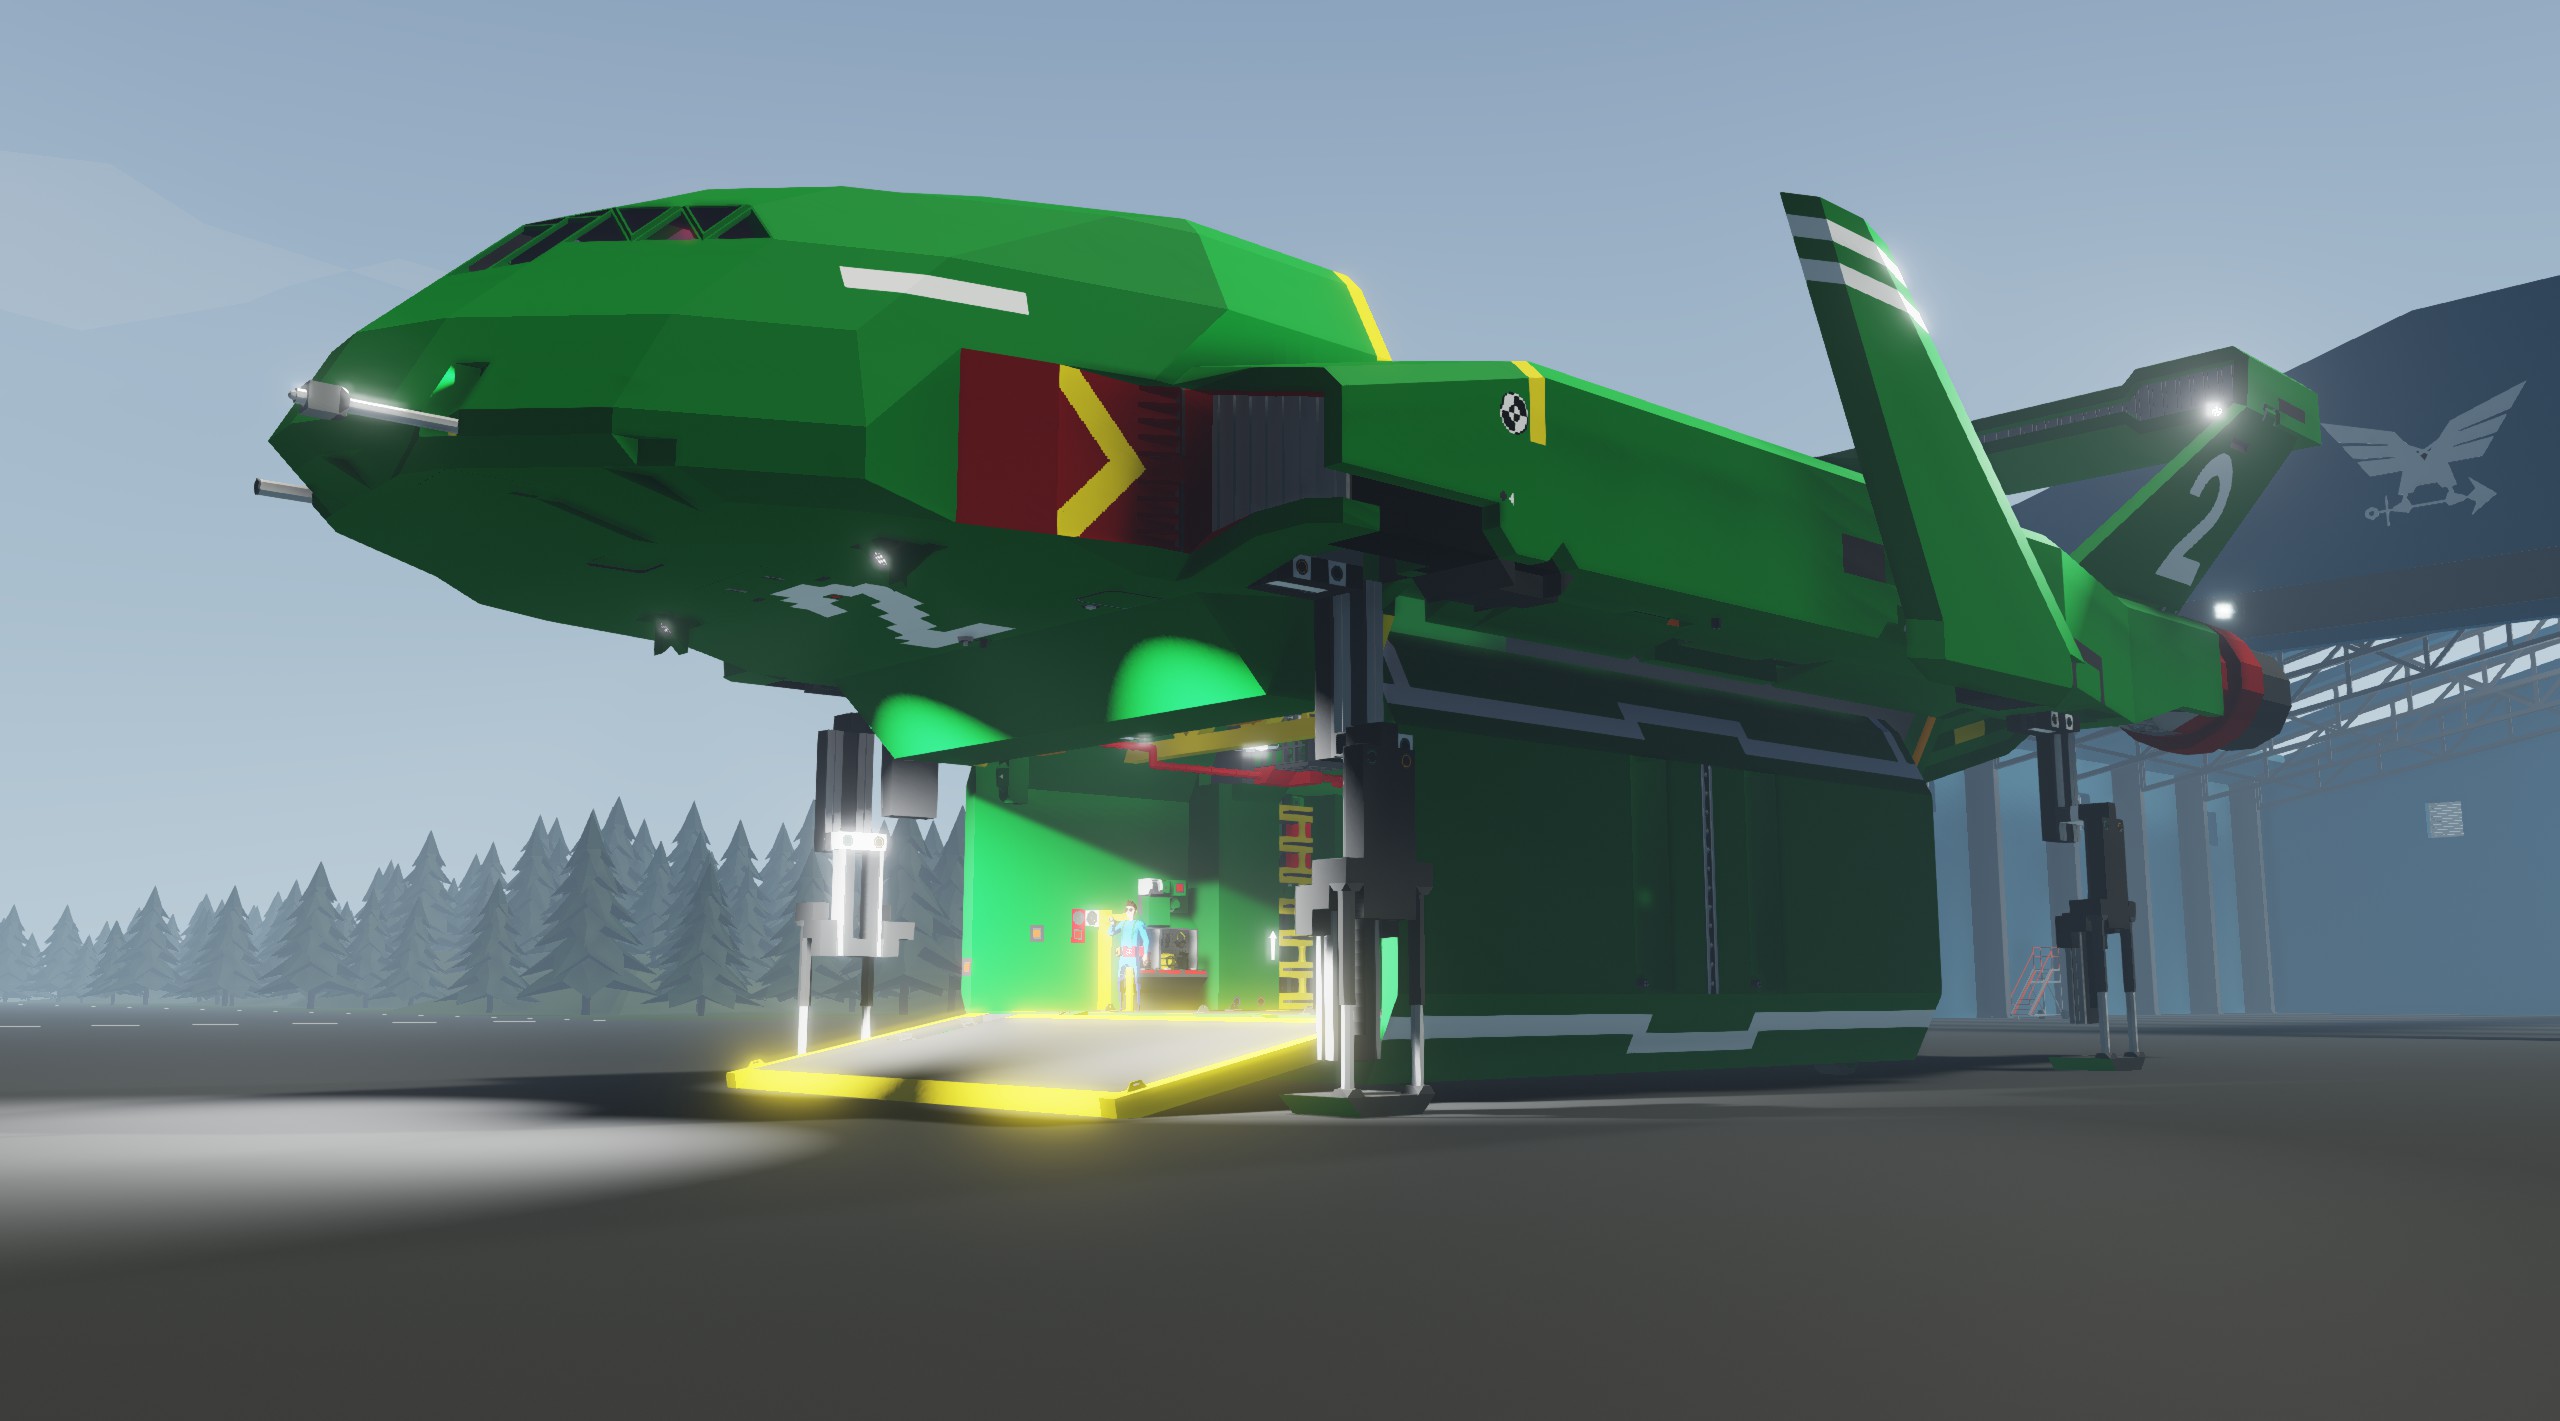
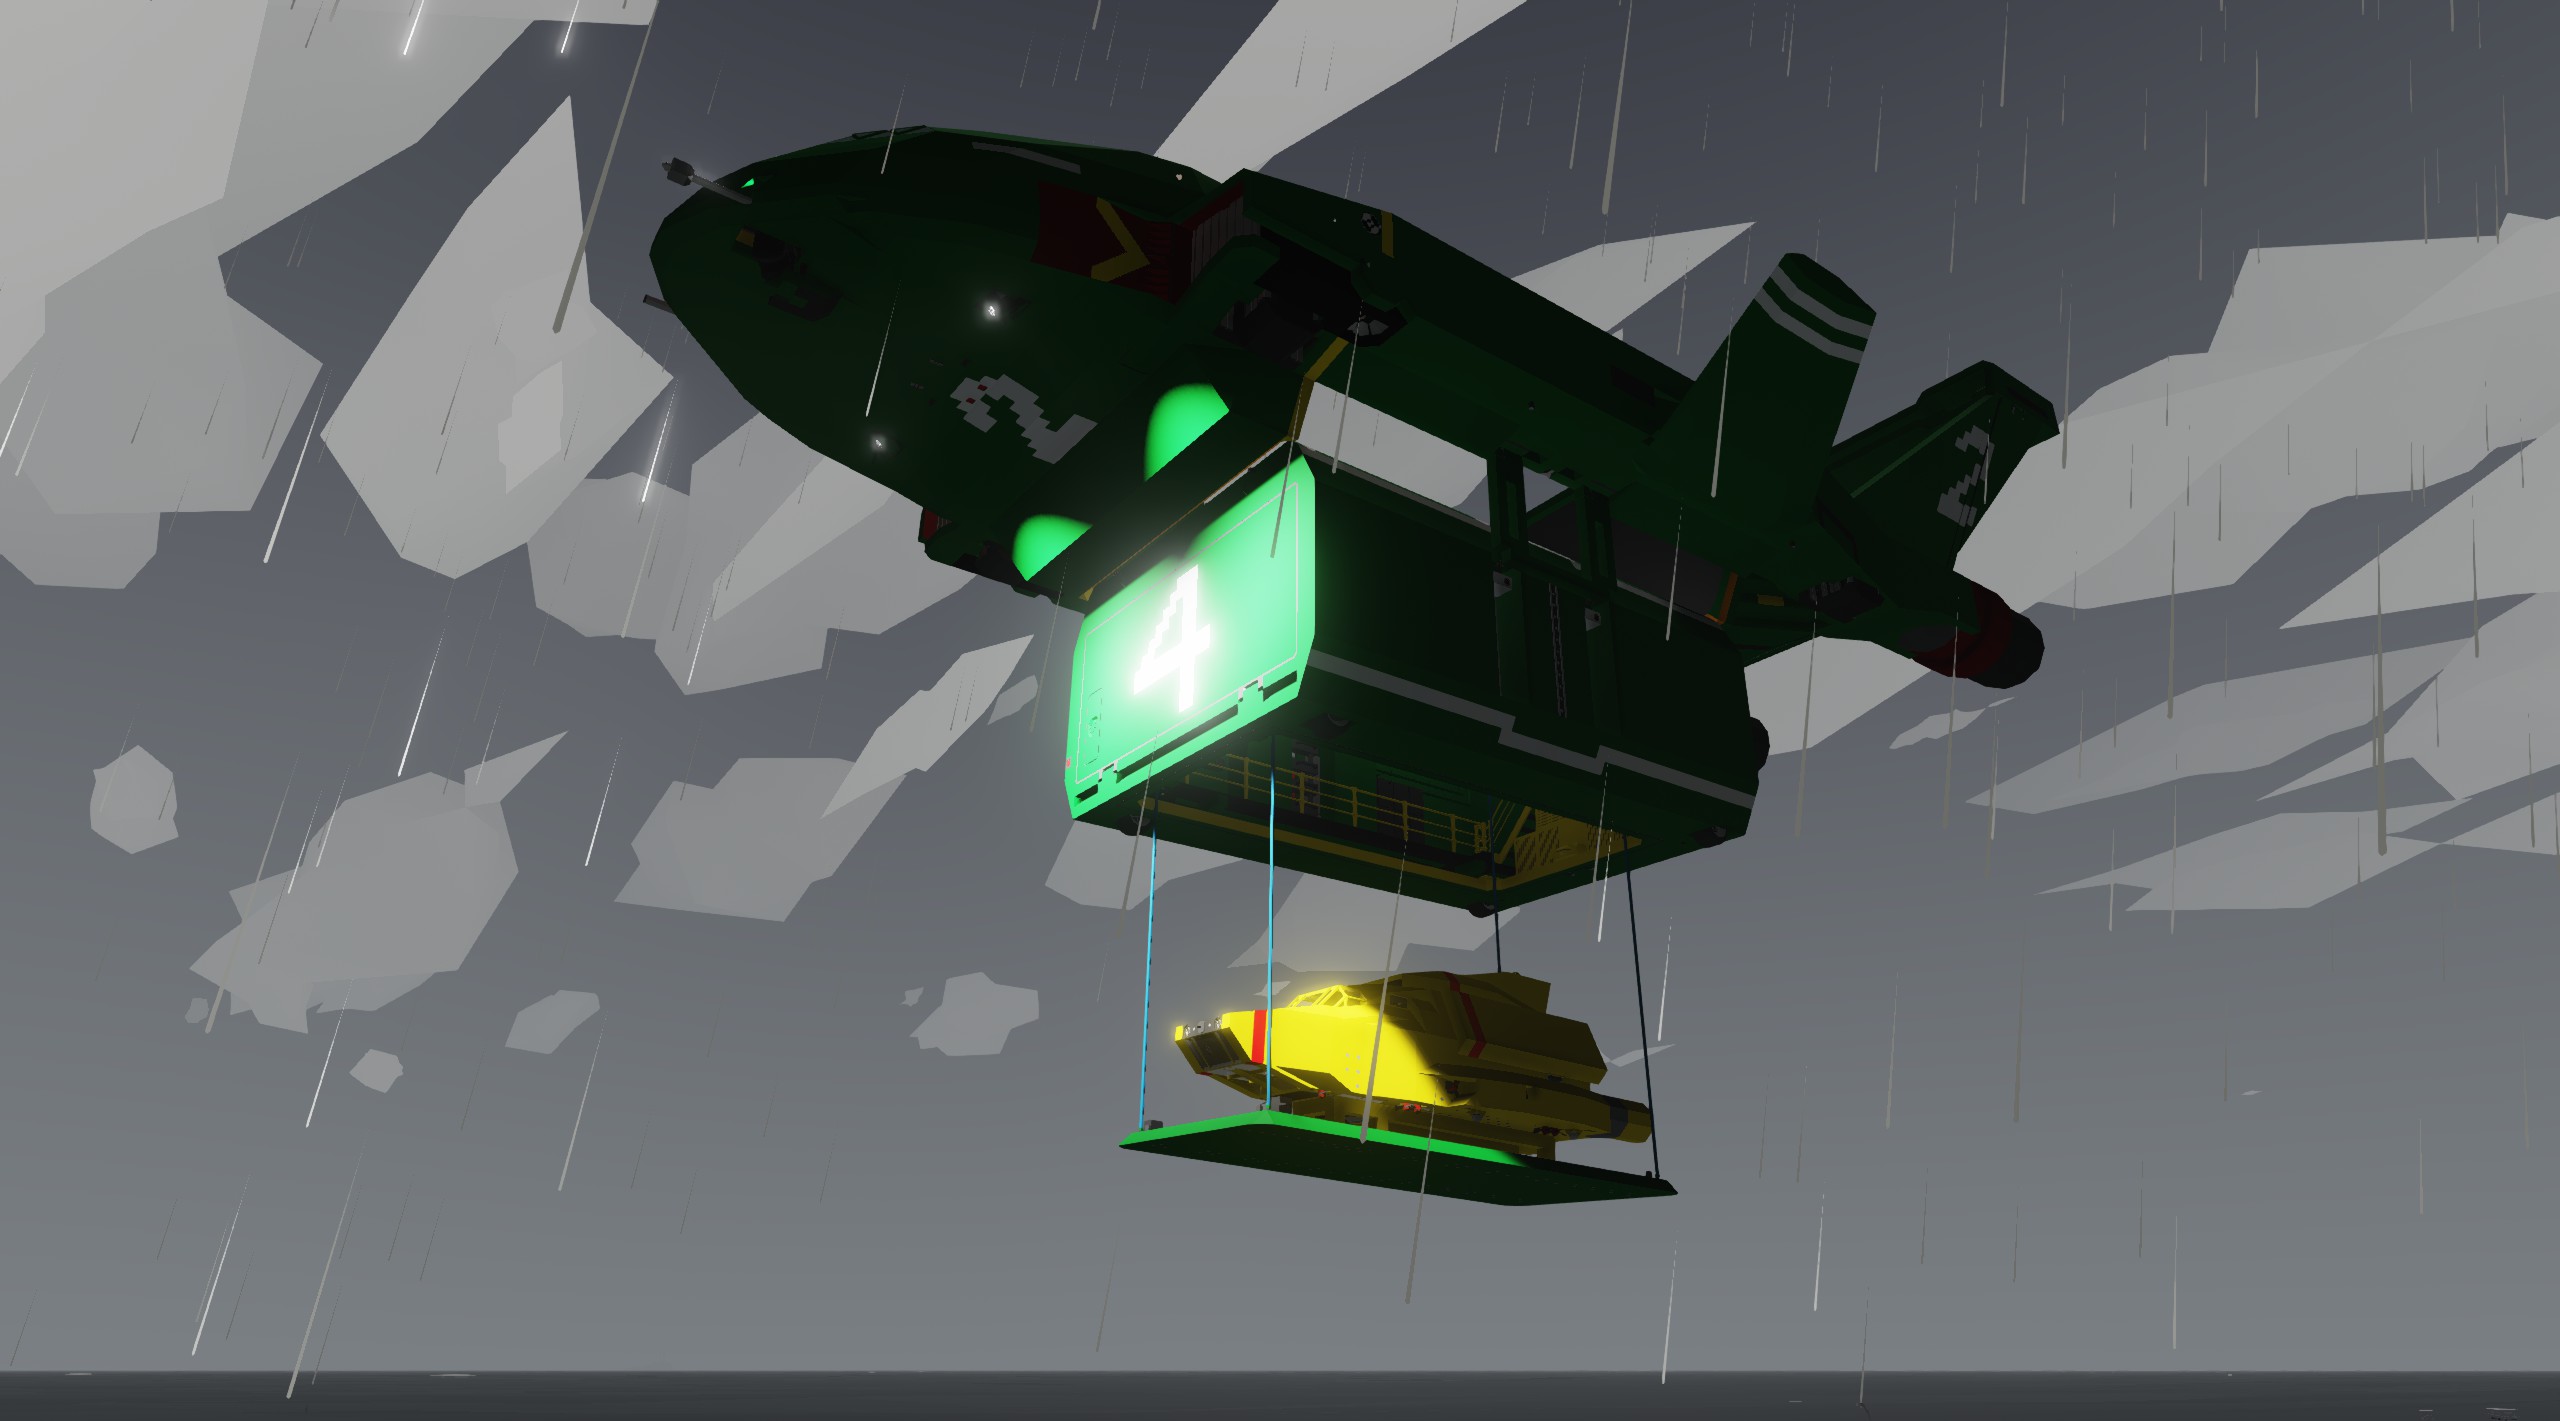
This is my take on the legendary Thunderbird 2. Debuting to wide popularity in the 1965 television series "Thunderbirds" the rendition you see here is modeled after the look from the 2015 reboot "Thunderbirds Are Go." The craft was known for its pod carrying capability, the ability to swap it cargo hold in mere seconds to bring the right tolls for the rescue as quickly as possible. Additional...
Author: TFH
Created: 23 Feb, 2023 @ 11:10am
Updated: 27 Feb, 2023 @ 5:38pm
Subscribers: 15964
Size (unpacked) : 3.484 MB
I could talk for days about the capability of Thunderbird 2 and its sister ships for paragraphs, but what about the Stormworks build before you? The primary goal was to have something that looks the part, and the second was the mimic its functionality in Stormworks, enough so that the features as ones you would want to use and not just there as cosmetic trinkets. Having poured a year of my time on and off into this creation, I continue to be impressed with what it can do and how little it can't.
To add a disclaimer to all of this: while there are few mission types this craft can't accomplish, its quite large and heavy and really handles more like a boat than a helicopter. I really done what I've can at my skill level to get this to work as best as it can (this is my first scratch built creation in Stormworks). I wouldn't upload it if it didn't work well enough, but just remember to be patient with it. As you are getting used to it, if its doing something you don't like, just either take your hands of the controls and let the computer catch up or quickly disengage and reengage what ever flight computer you are working with.
How to start it up:
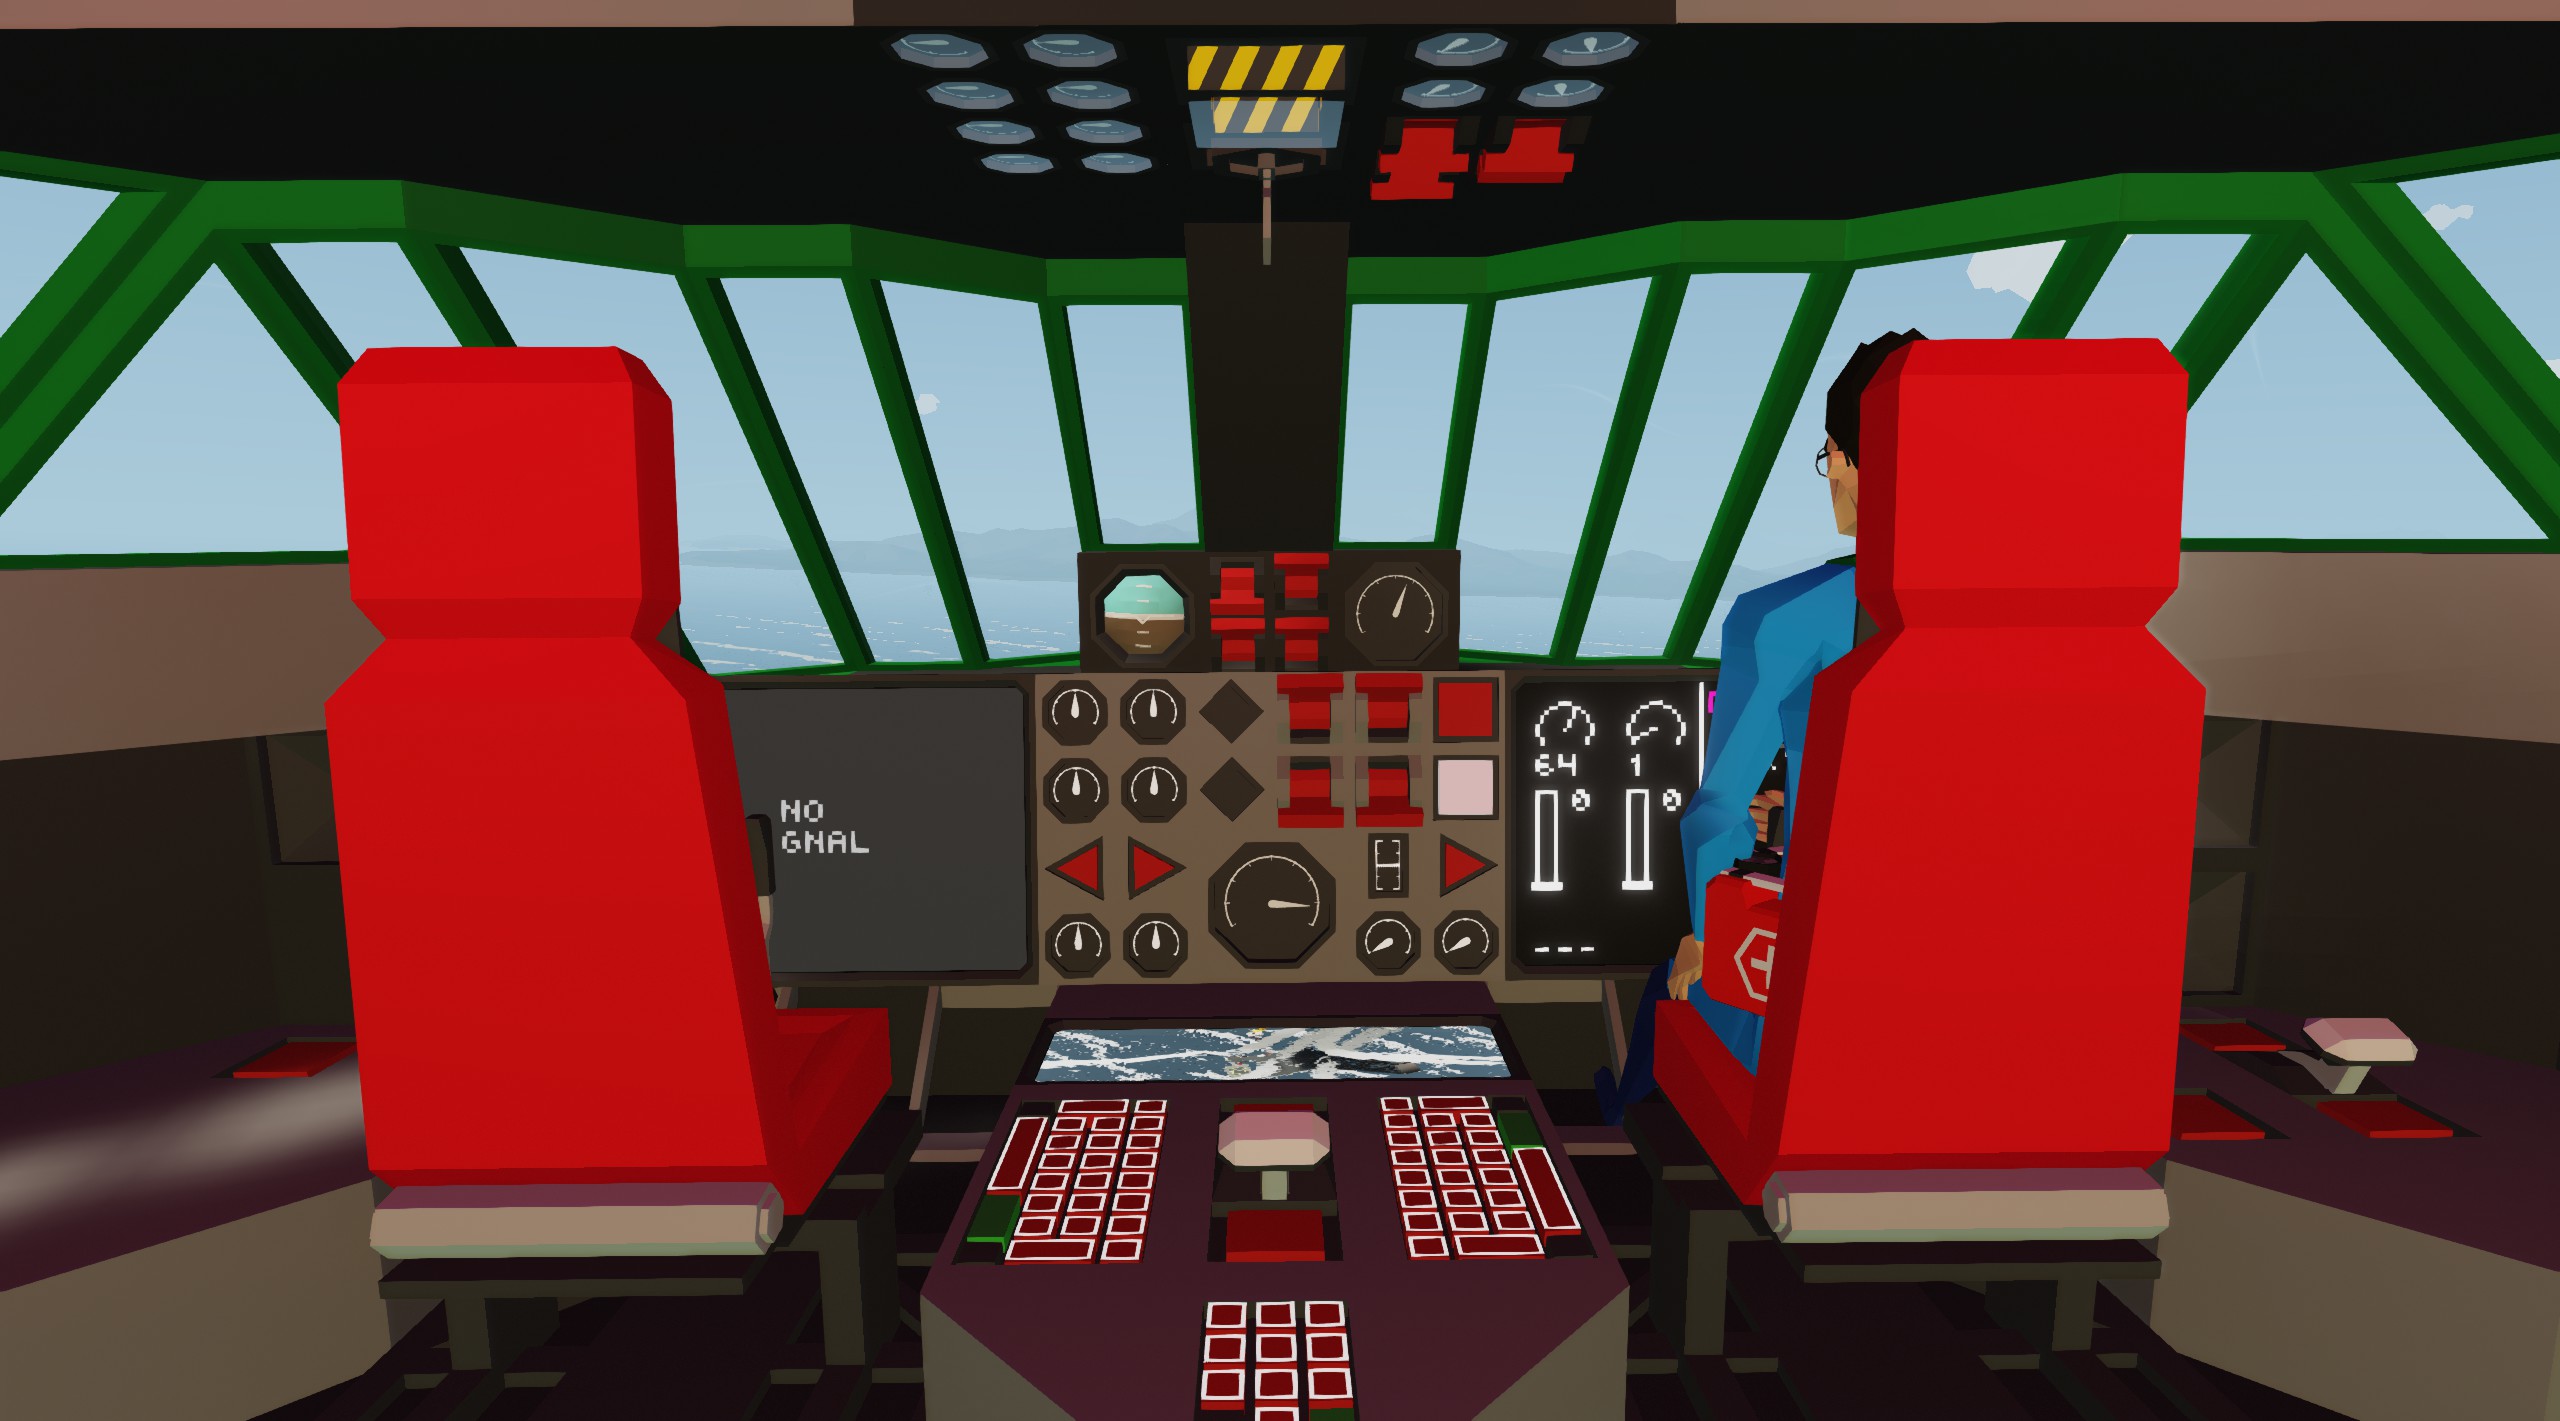
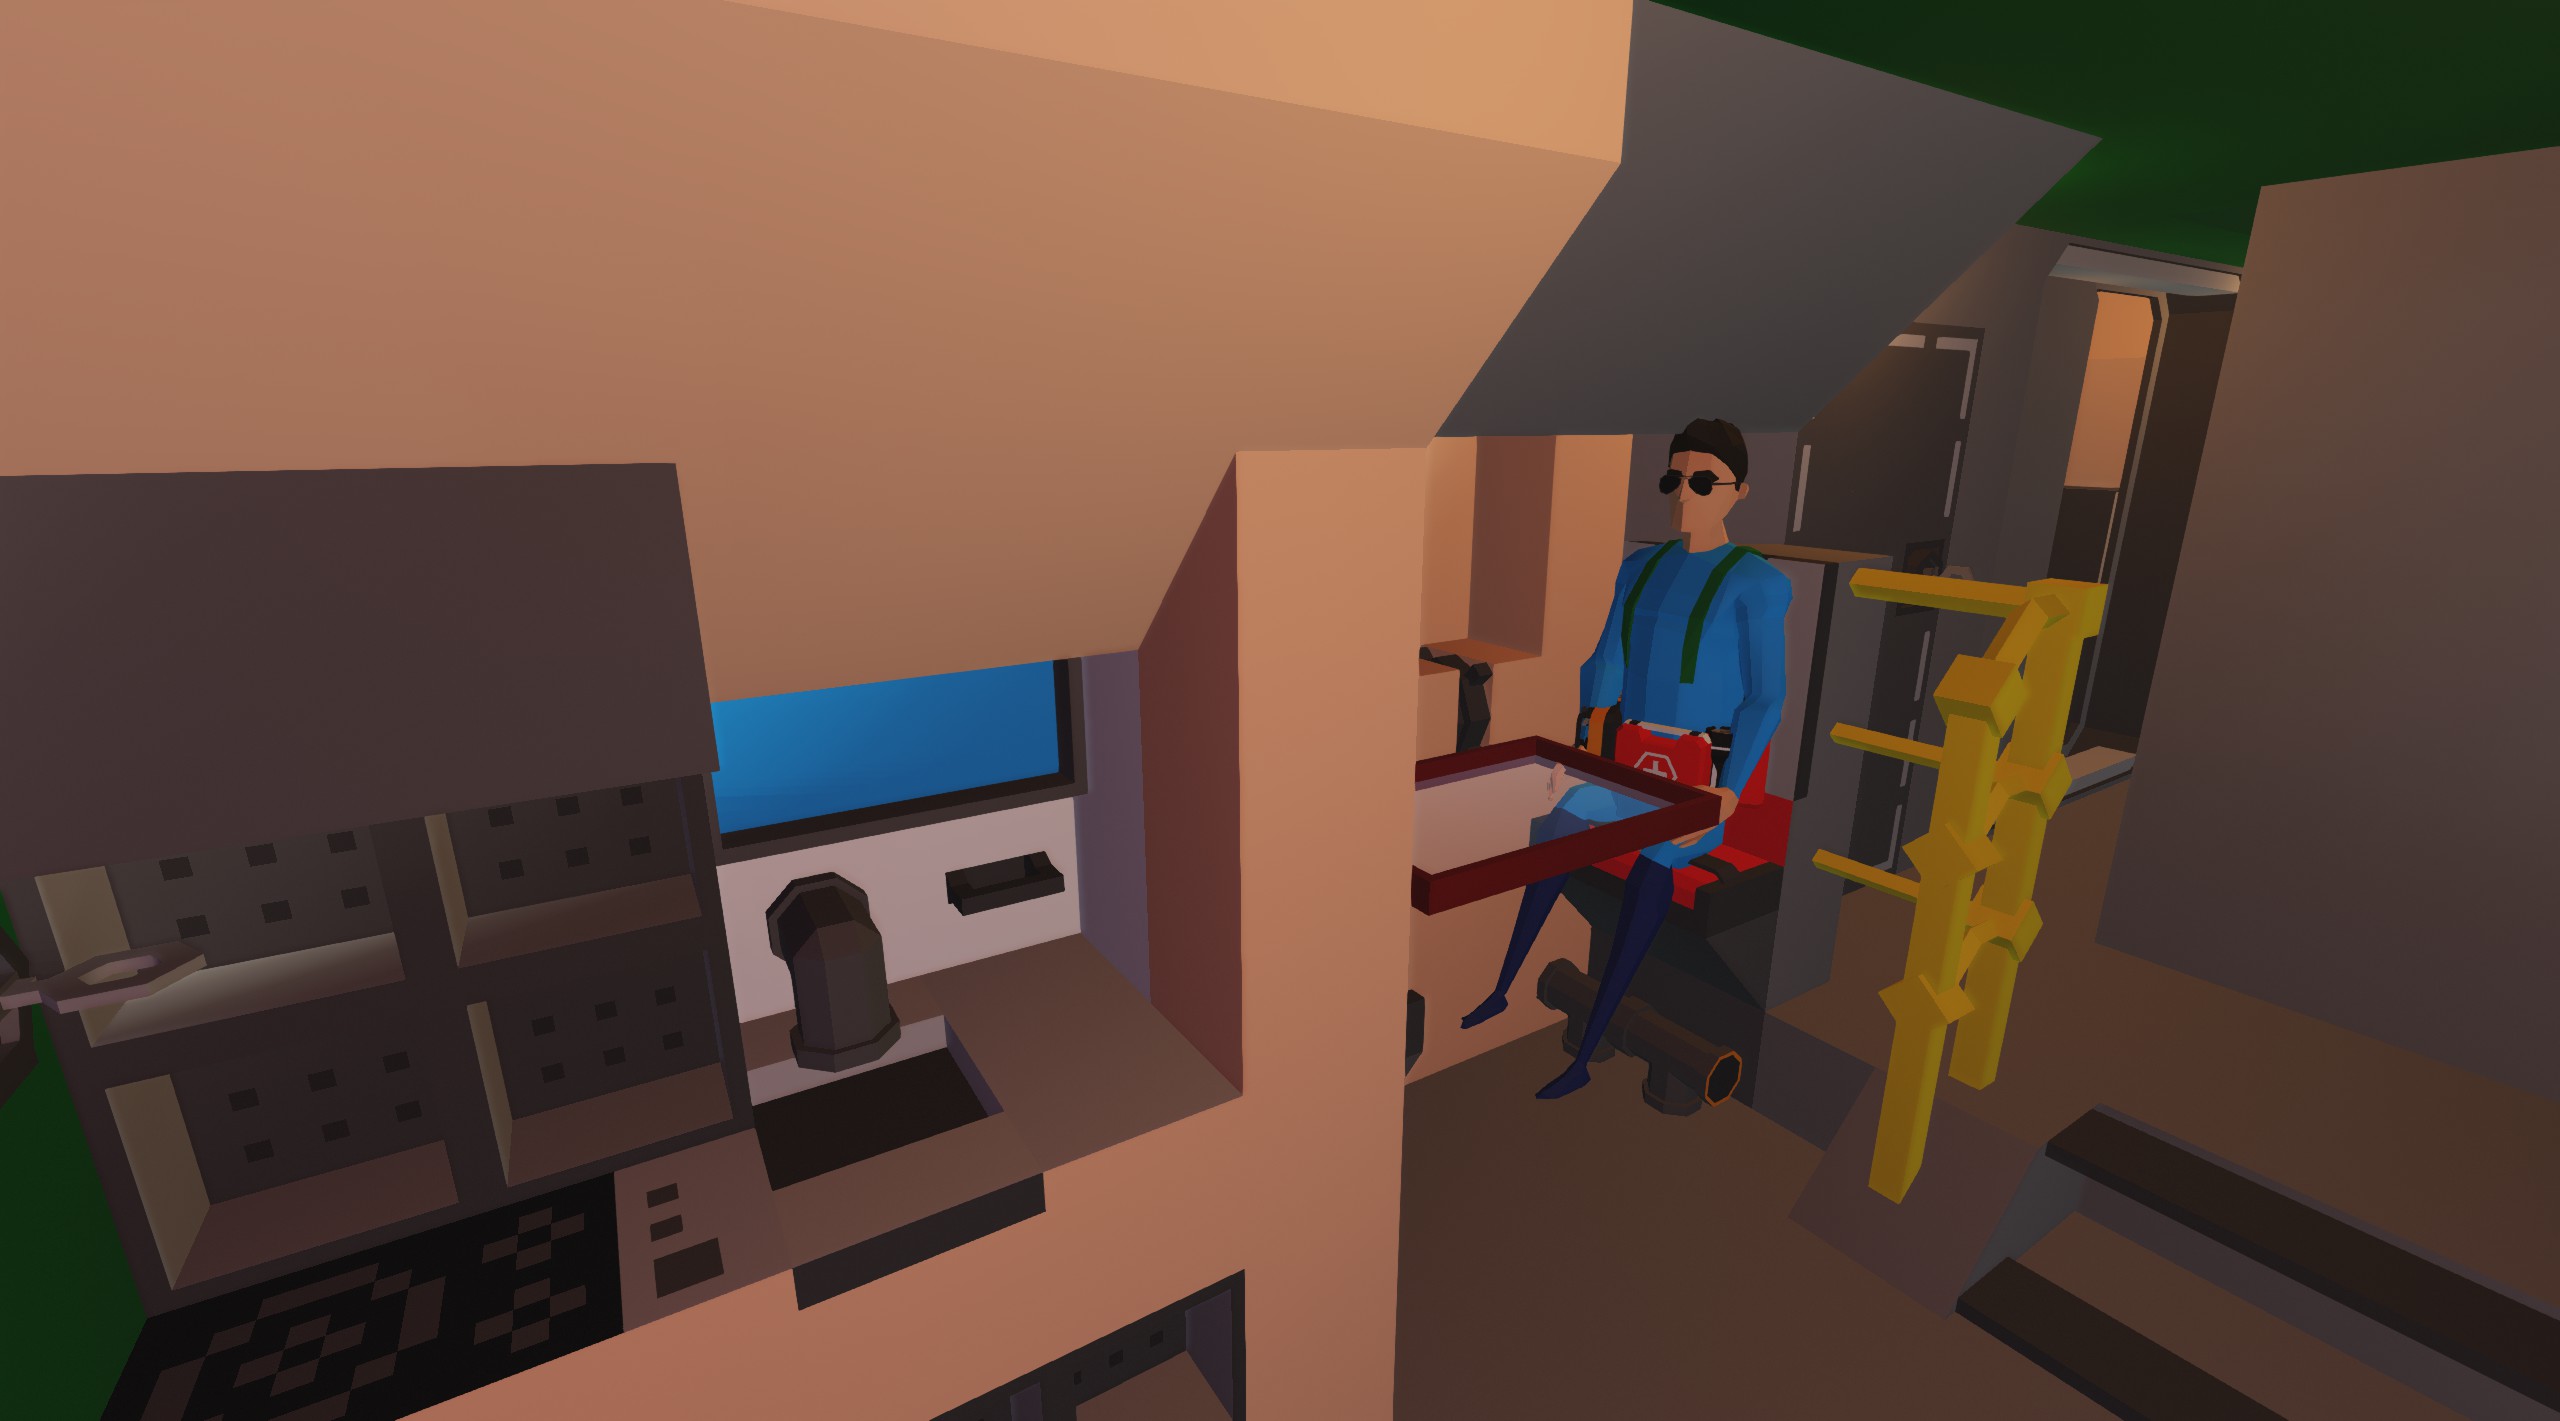
Set physics to high in your options menu (infinite electric and fuel are not needed). Once you've loaded in the craft, approach the sofa and sit on the sofa and sit down in the chair on your left. Hit the 1 and 2 keys to start moving. Once the sequence comes to a stop over TB2, hit the 2 key again to lower the sofa, once you hear the docking sound, hit the 4 key to release the crane. the throttle on the ceiling in front of you closes the hatch. Sit down the in the forward right seat of the cockpit. The Pod does not start docked to the craft so look at the orange panel to the right of your display and activate both of the square docking switches. Next activate the cockpit lights to enable the displays (in the middle where the windows meet). Just to the left of your display is a square button which activates ground controls, this uses your seat as a radio controller for drive the pods in your area (they are all on one channel), use WASD to drive as you would anything else. Once clear of the hanger, you are good to take off vertically (we do have a ramp build for the Tracy island launch and bindings set for that, we might upload that sometime soon). Activate the key in the roof console which unlocks the button behind it, turn the button on. This activates the stabilizer fans as well as activating the supporting lift fans (helps bear the immense weight of the craft for using stilts). Finally, activate your compressors and deactivate ground controls. once they engines spool up, using your up and down arrows to control altitude.
Remote Control:
TB2 operates on Channel 2. The number bindings operate the service winch in case you need to get back in. Channel 6 operates the pod and its crane.
What to know for flying:
The general principle for flying this craft is patience. For many of these flight system, there are a number of PID systems in play. Each with their own complex set activation and override conditions that they are working through. As I stated earlier, this is a weighty craft, it can take a few seconds for it to stabilize out. the technical explanation for all of this is any input command you give, D to go right for example, registers a value between 0 (nothing) and 1 (the key is pressed). Stormworks has this scale-able by having it take time for the output from your seat to reached the press value, know that it takes the same amount of time for the output to return to zero when you let go. The flight computer might only have control when the seat output is 0.15 or less.
TLDR: Be patience, less is often better. you'll get a feel for how it moves over time.
VTOL:
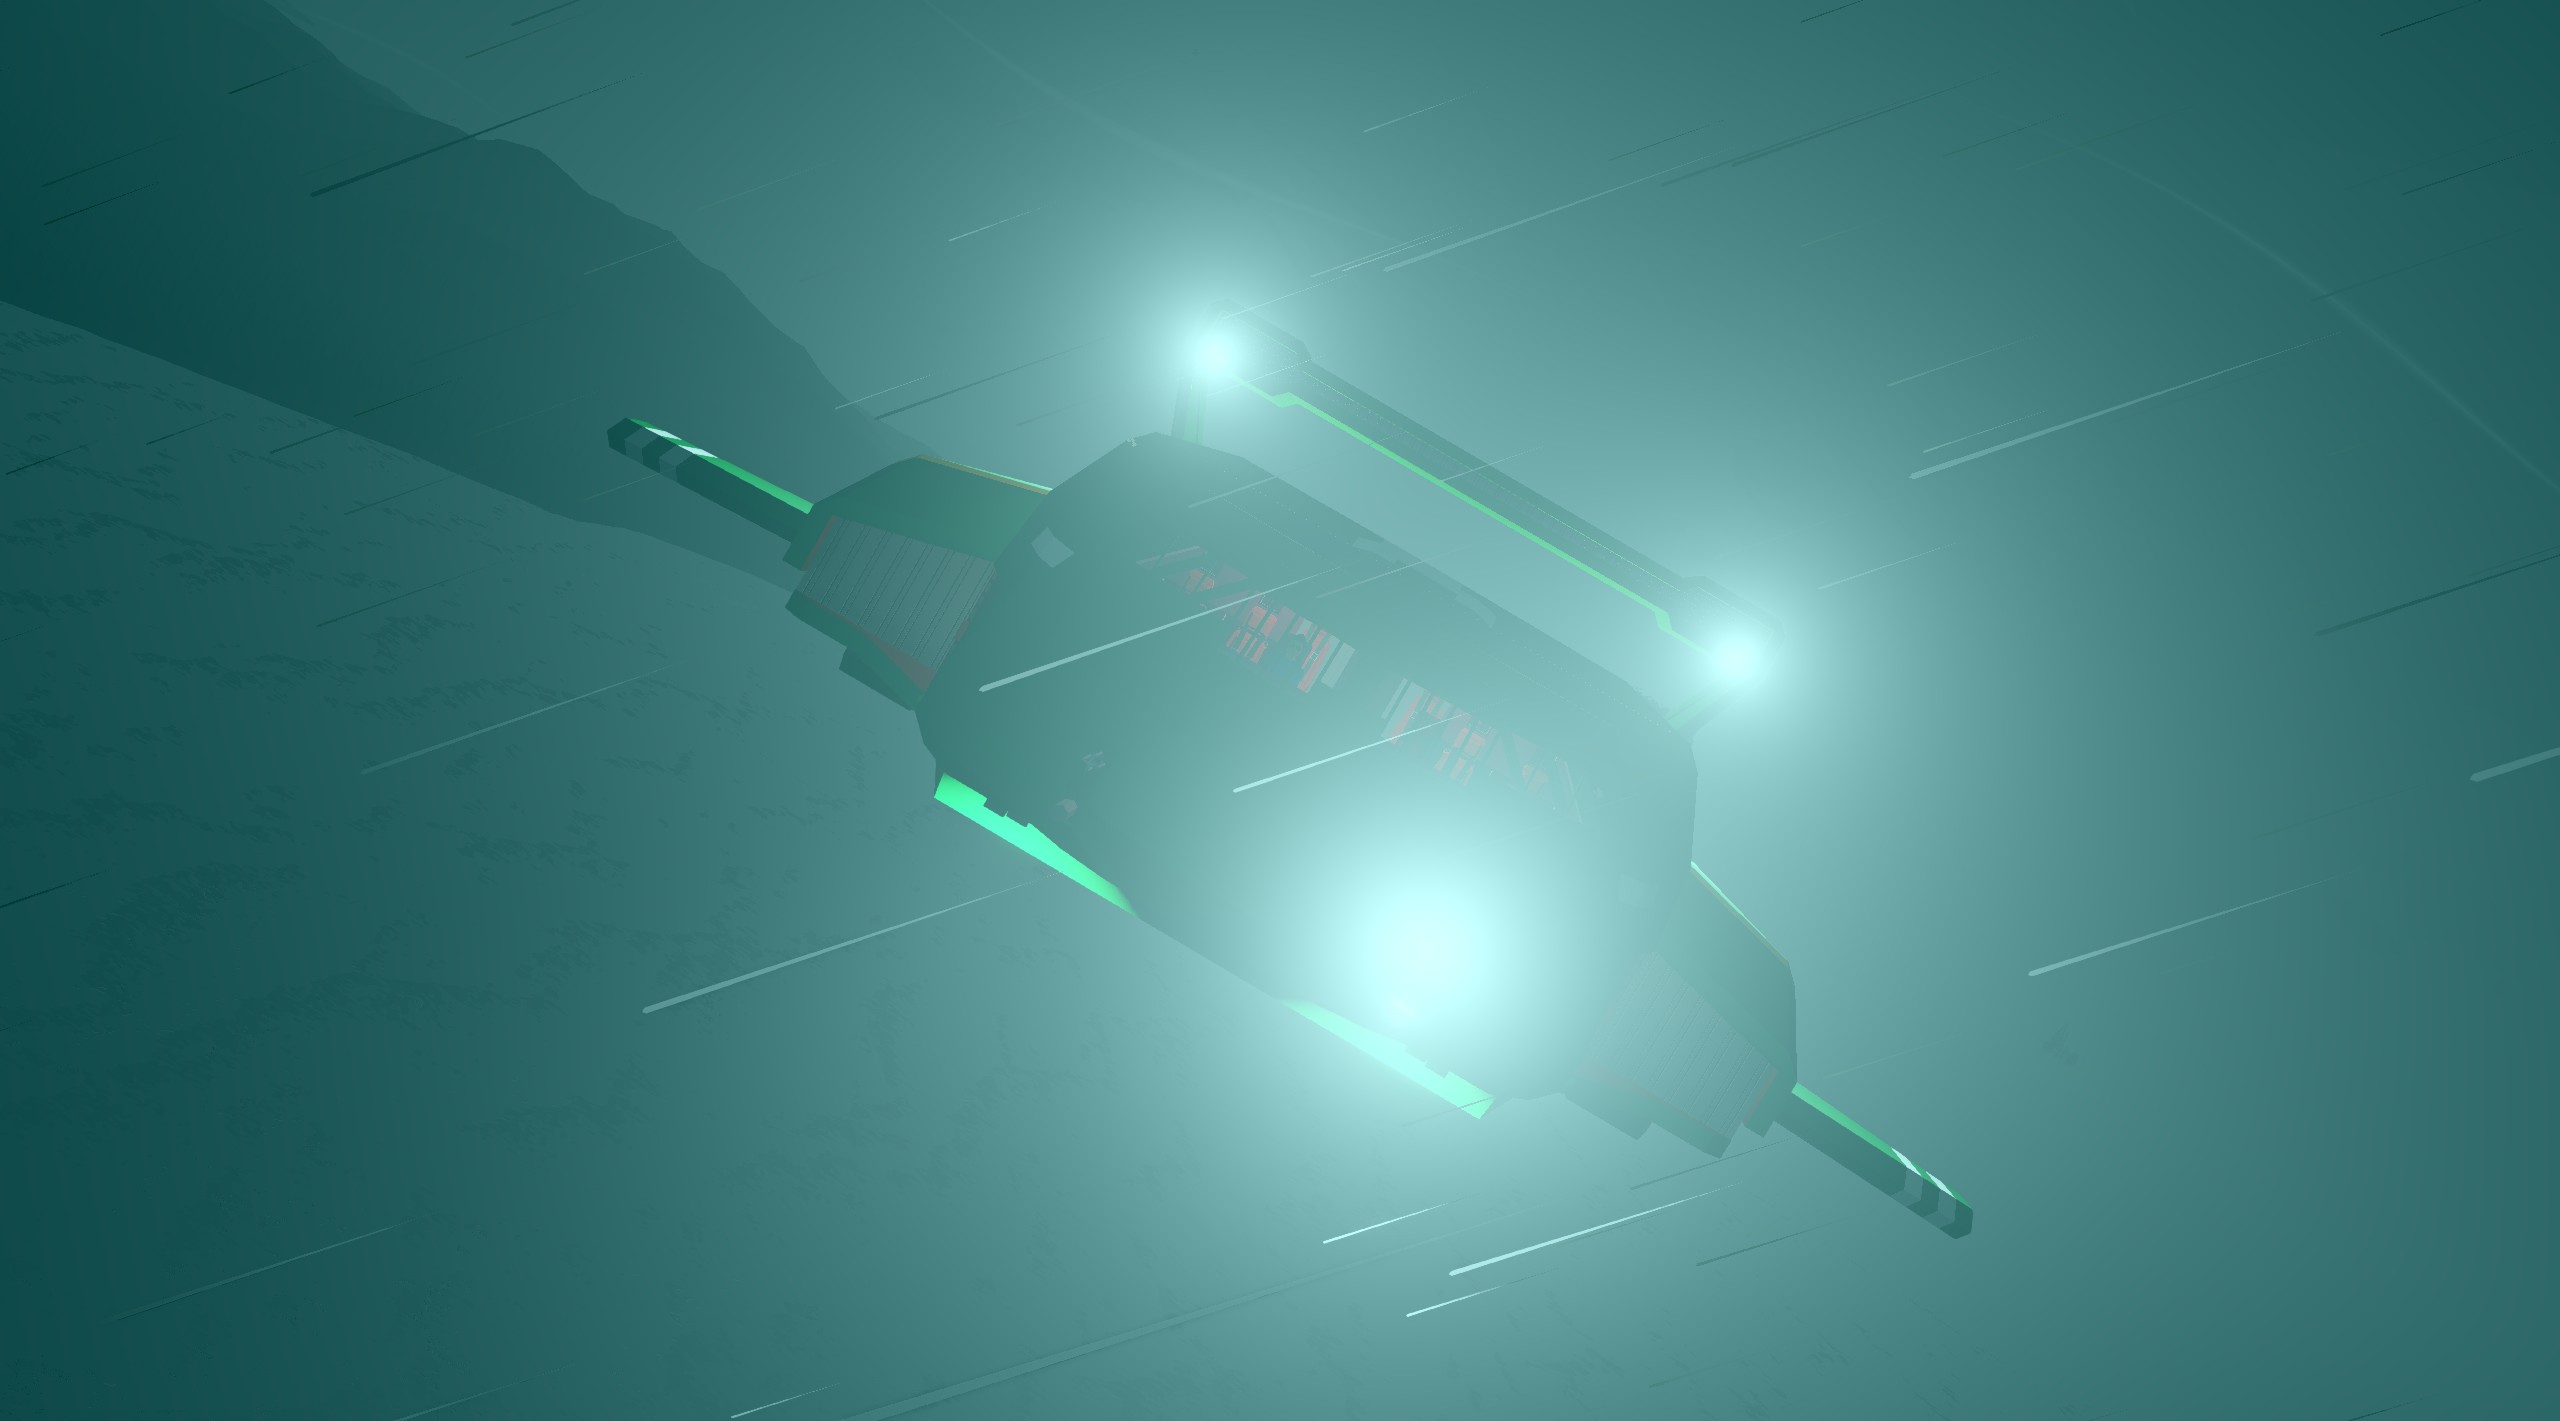
To switch from hovering to horizontal flight is simple. Turn the right compressor switch to on and throttle up. once you are moving at a reasonable speed, you can disable the VTOL compressors. Once you are 3km from your destination reengage VTOL compressors, they need about 20 seconds to spool up. Give yourself some altitude regardless (100m+ above the water).
Auto Pilot:
The autopilot system is only for horizontal flight. You want to disable it when you are hovering otherwise you will not have yaw control. If you want something to help stabilize you in horizontal flight, use the position hold. The position hold does not work off of coordinates, rather it focuses on keeping your horizontal speed to zero (while you might think that means drift would be an issue, I've never experienced any noticeable amount in my extensive time testing the craft).
Pod Auto Dock:
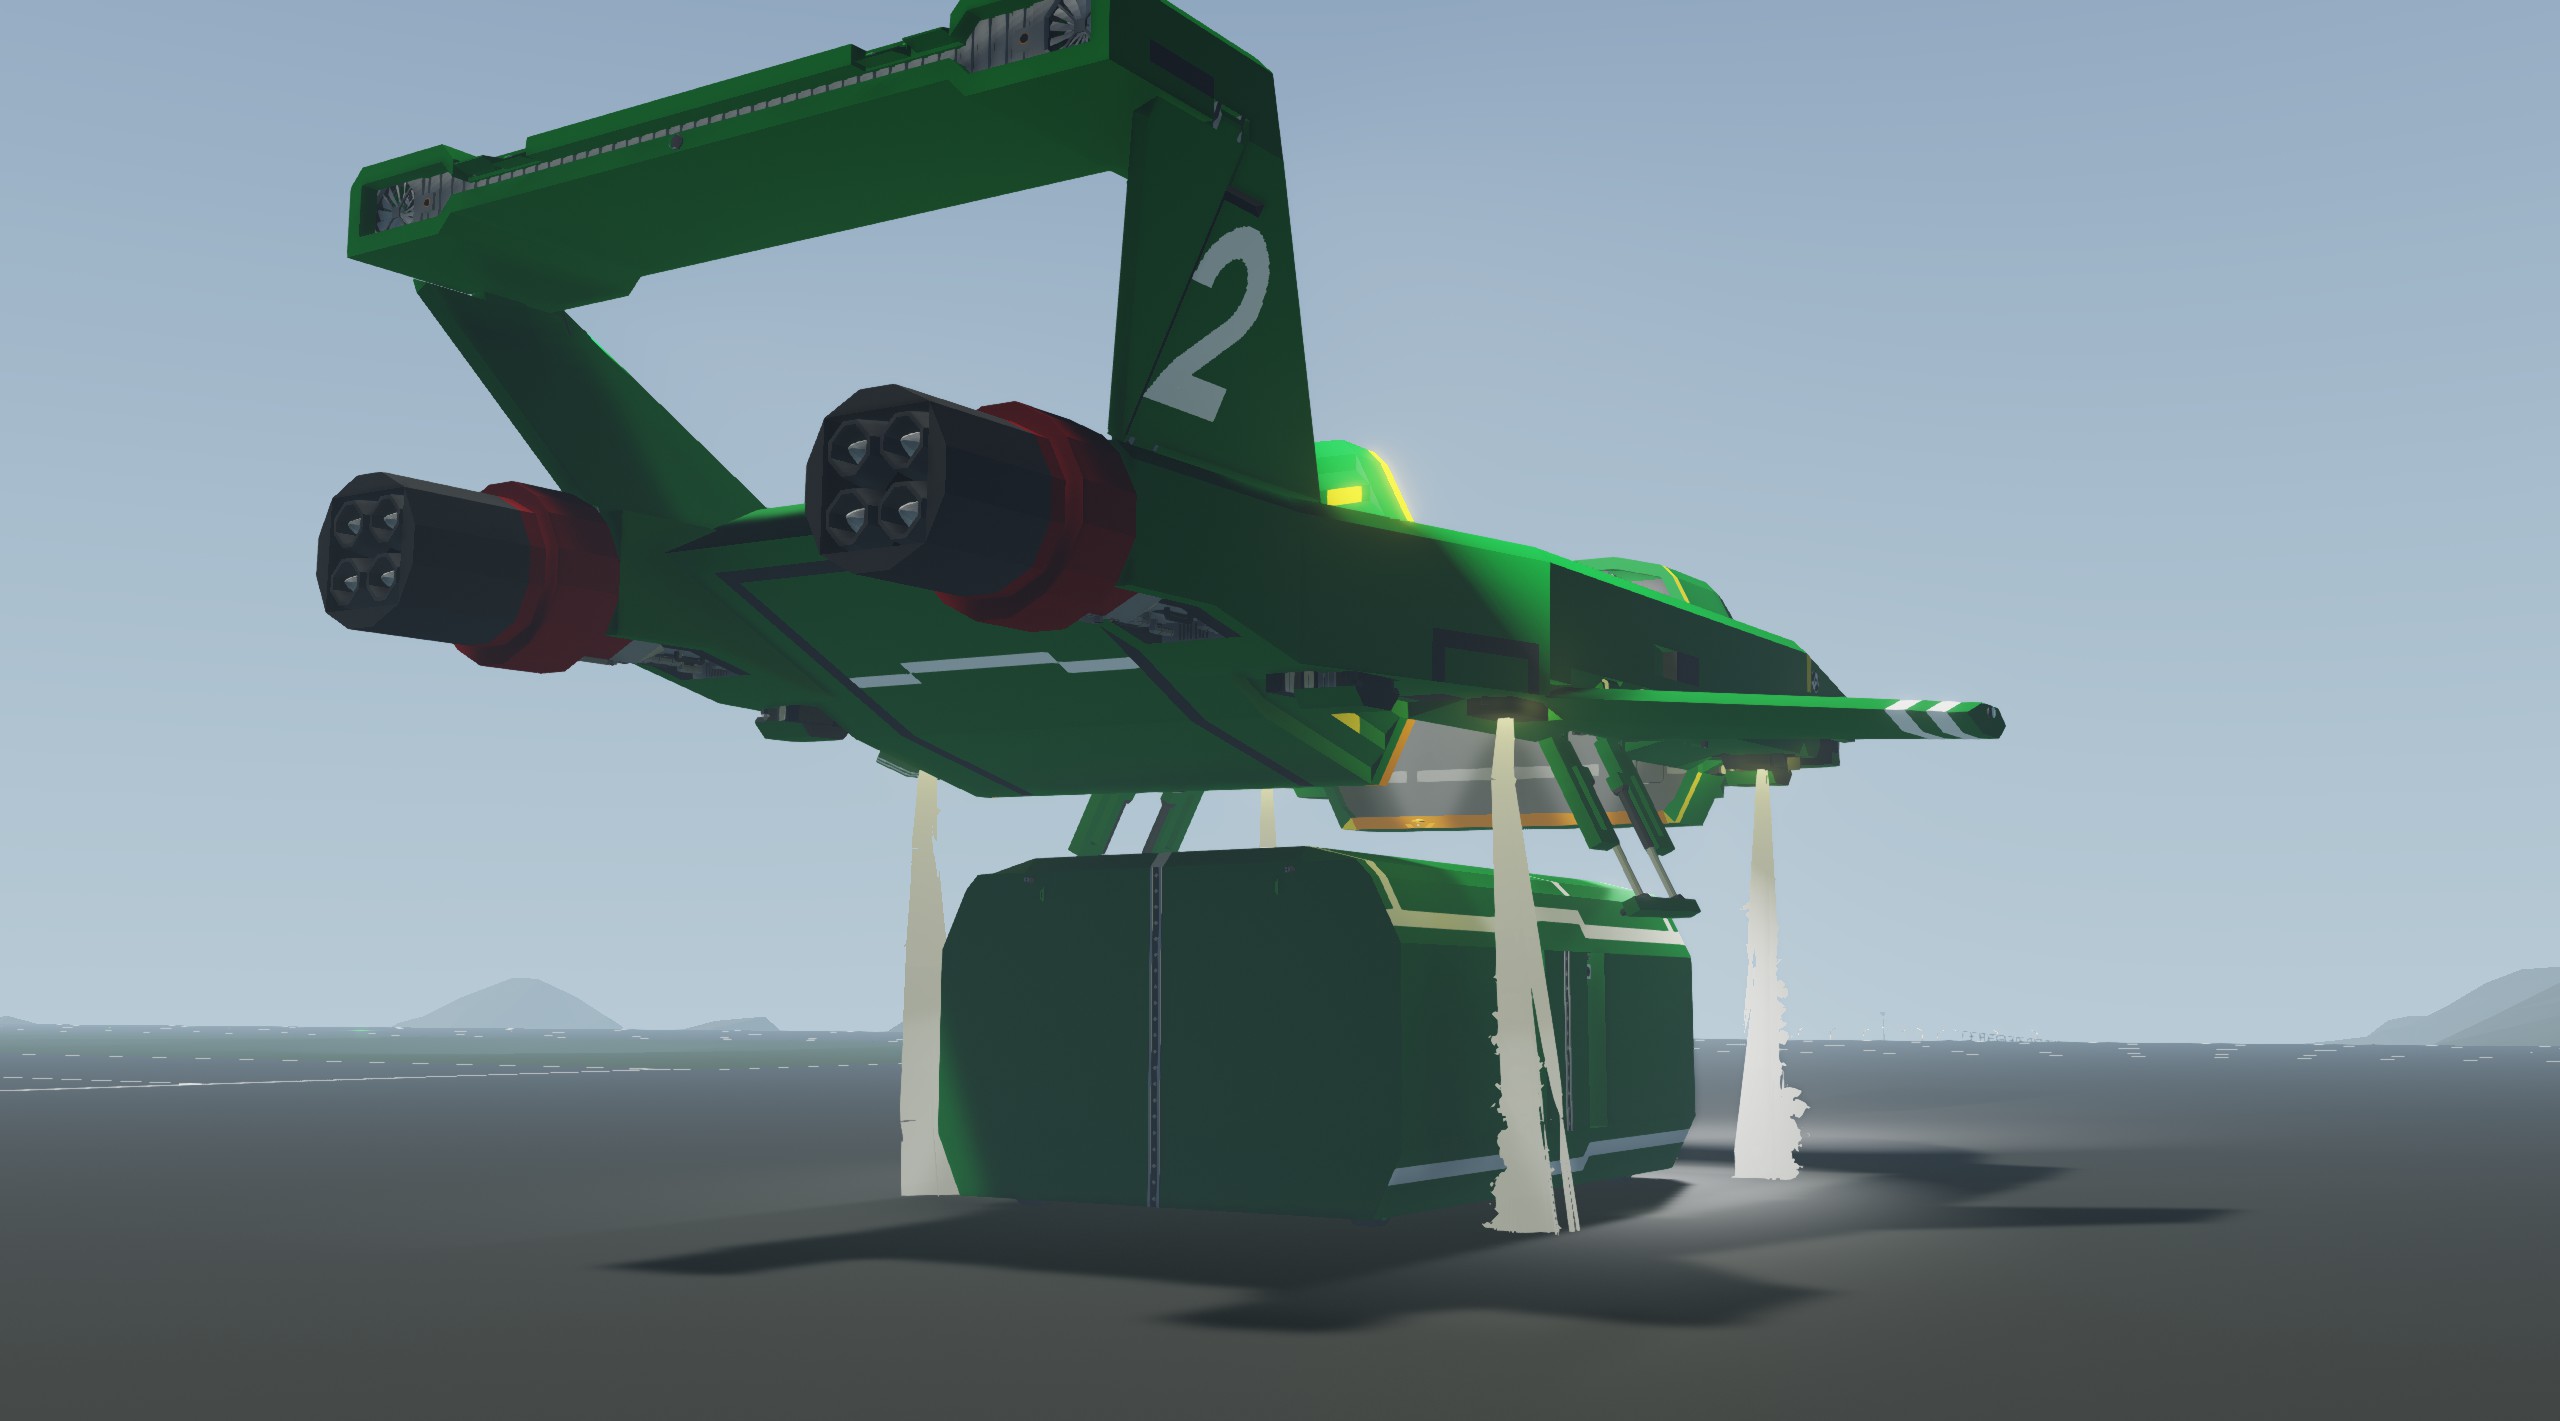
picking up pods manually is very tricky, seeing as the pilot has to manage 4 axis's of control. Without Pod Auto Dock with would be nearly impossible to couple to a new pod without flat ground to work as your staging area. This system allows you to automatically hover over the nearest pod, the only variable you have to worry about is altitude and the docking arm position. To start, be at airborne without a pod in decent wind conditions. lower your docking arms, rotate them them outwards, and activate their magnets (all on the orange panel to the right of your display). By your right hip is Auto Dock button. activate this once the pod you want to dock with is the closest one to you. Upon activation, pistons in the arms will extend giving you a bit more clearance, additionally, forward/back, side, and yaw will be locked to the pilot and can only be overridden by disabling the switch. TB2 should start to slowly to hover over to the pod. once you are in a good position and your hovering lower over the roof of the pod, close the arms and wait a few second until both sides are connected (the system will automatically disconnect after a short period of time if either side isn't linked to prevent mishap). once connected, apply upwards thrust, disable auto dock, and retract the arms. The Pod might get stuck if it isn't properly balanced. If it is not, deploy landing legs and retract TB2 onto the pod to dock.
Refilling water tanks:
This system has never worked even though it definitely should. I would be greatly appreciative to whatever help people could provide in troubleshooting this. see comments section for further details.
I will add more breakdown sections here as needed, if you want a feature explained, just leave a comment explaining so and I'll update this part to break it down.
More Thunderbird stuff is on the way. Thunderbird 4 and Thunderbird 1 are both in the works. The former I'll finish up and upload soon if this one is popular. Additionally I made my own all terrain fire truck as a pod vehicle.
I'd like to thank TFH for was incremental in developing the pod systems and Monty for turning of my engines, crashing us into an oil refinery, and over all, just being the best pilot I've ever seen.
I also want to thank Military Meerkat for being my inspiration for starting this, if you like the more retro style of the OG Thunderbirds series, check out his stuff.
Finally, I do run a community discord called the United Builders. If you like engineering, military history, or just posting photos of dogs, come check us out!
https://discord.gg/vZJsyZa
How do I download and install mods?
Simply click the blue button above. It will open the file hosting page with the mod repacked by us from the official source.How do I install this mod?
See the 'How to install' tab.Is this mod safe to use?
The mods are repacked as is, without any additional software, malware, or bloatware added. To check for viruses, use a reliable antivirus or upload the archive to a website like virustotal.com. Anyway, It's always a good practice to keep backups of your saves in case of mod incompatibility .
For vehicle mods
- Download the .zip archive containing the vehicle mod files.
- Locate your game's root folder.
- Navigate to
rom\data\preset_vehicles_advancedand extract the files there. - Rename both files to something recognizable, ensuring they share the same base name but different extensions.
- Launch the game and go to the Workbench's Presets tab to see the new vehicle mod.