
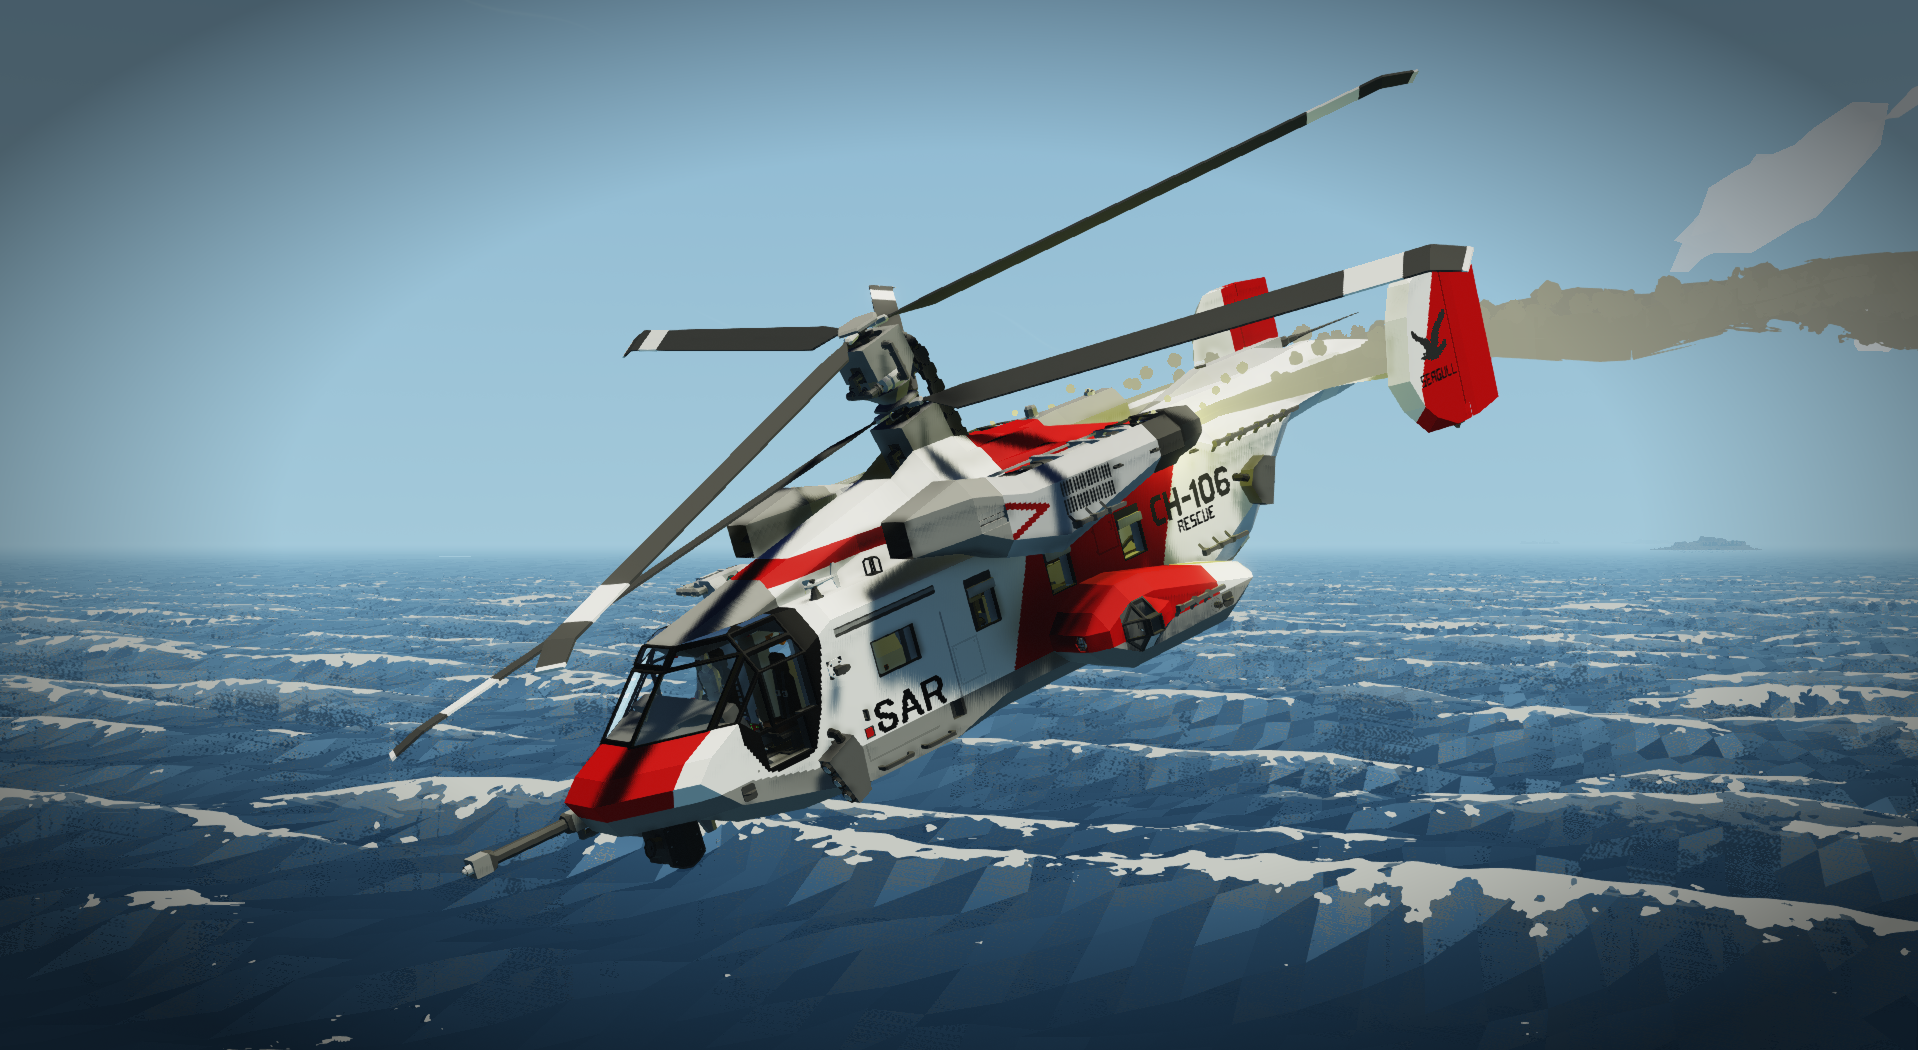
CH-106 "Seagull"
Vehicle, Air, Rescue, Exploration, Delivery, Wip, Technical, Creative, Mechanical, Advanced, v1.0.31
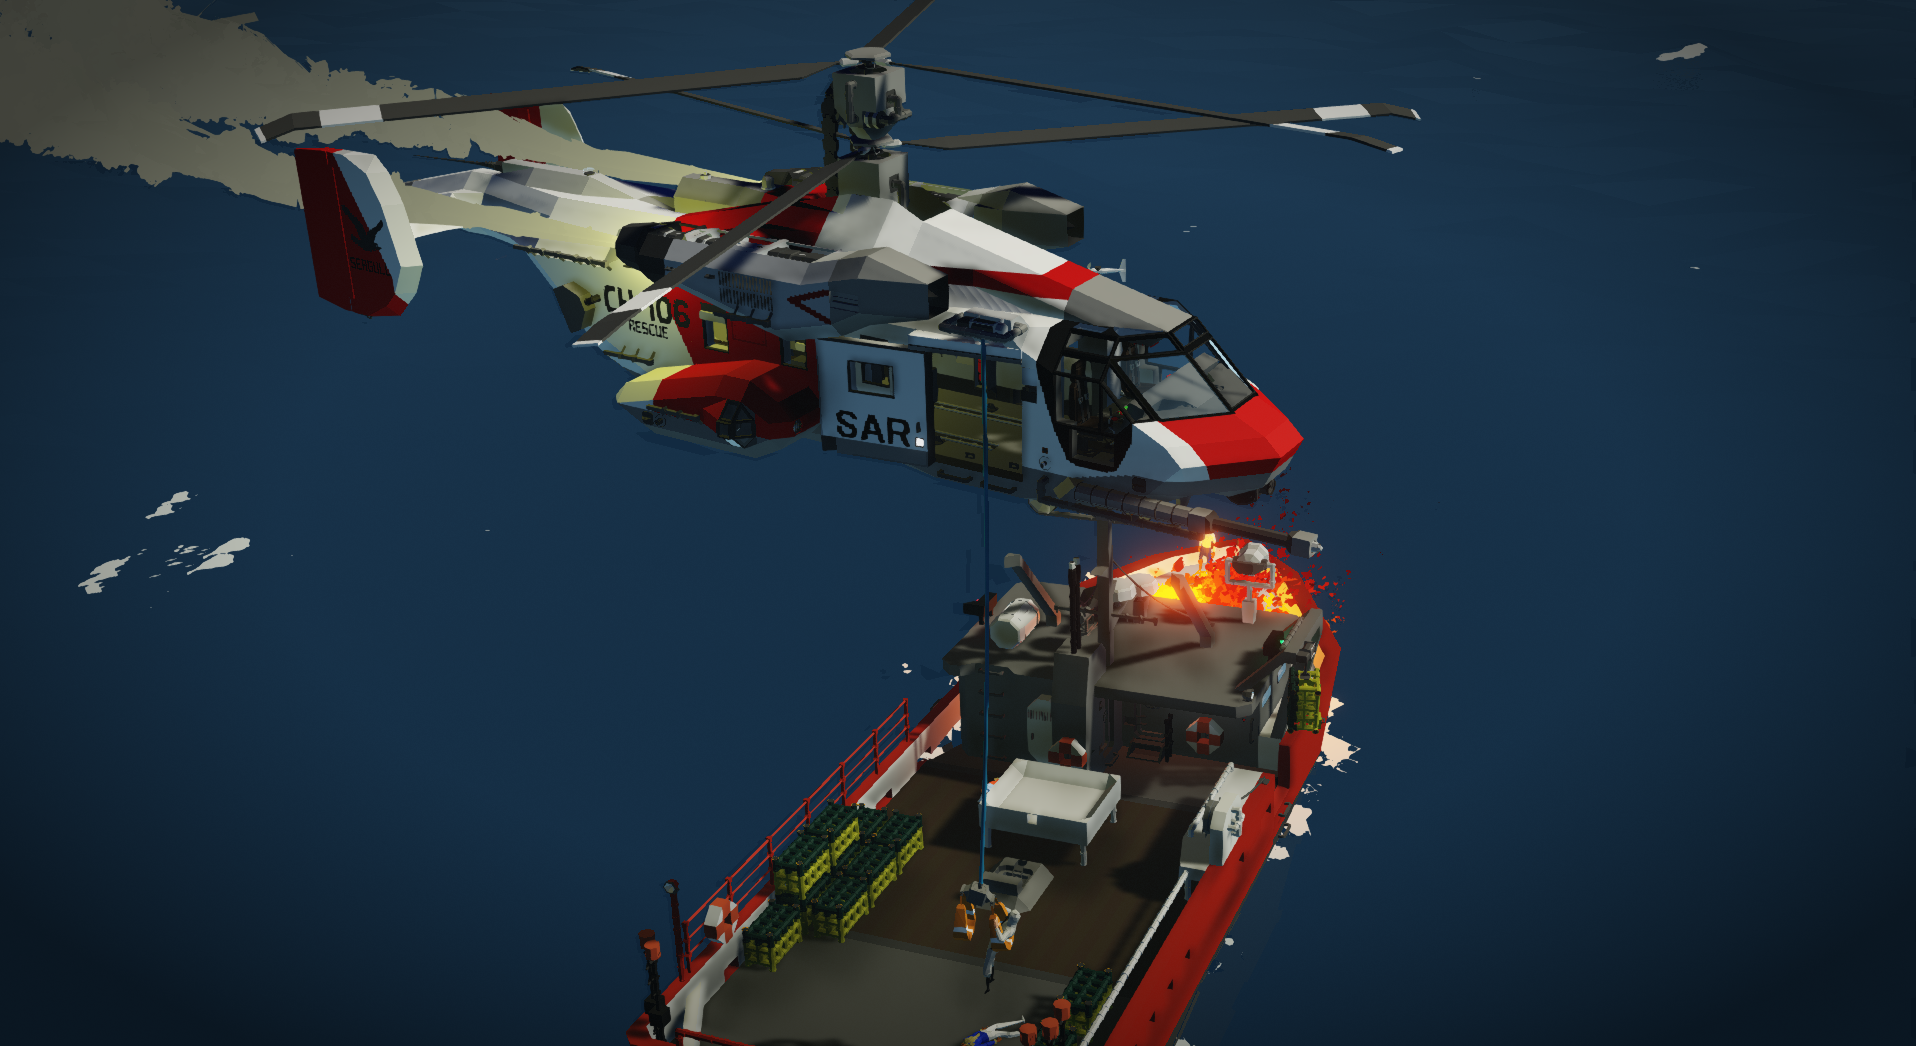
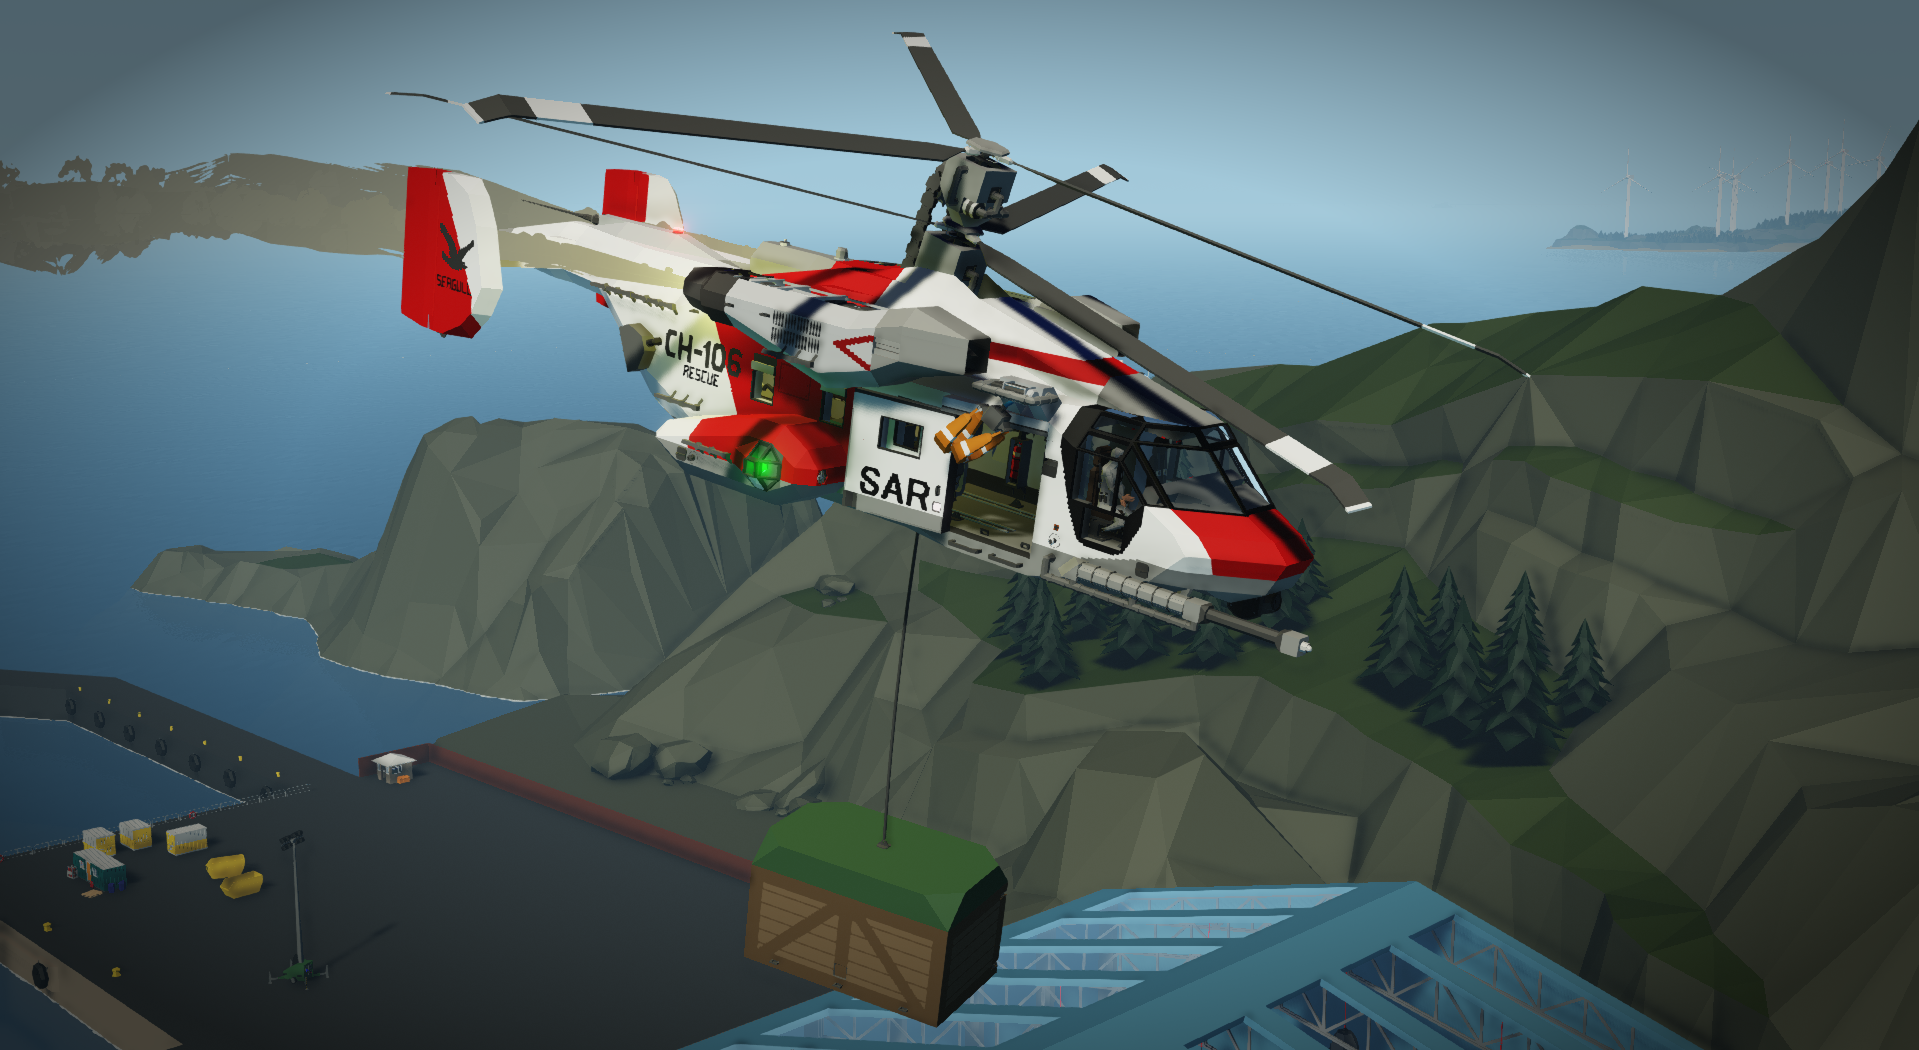
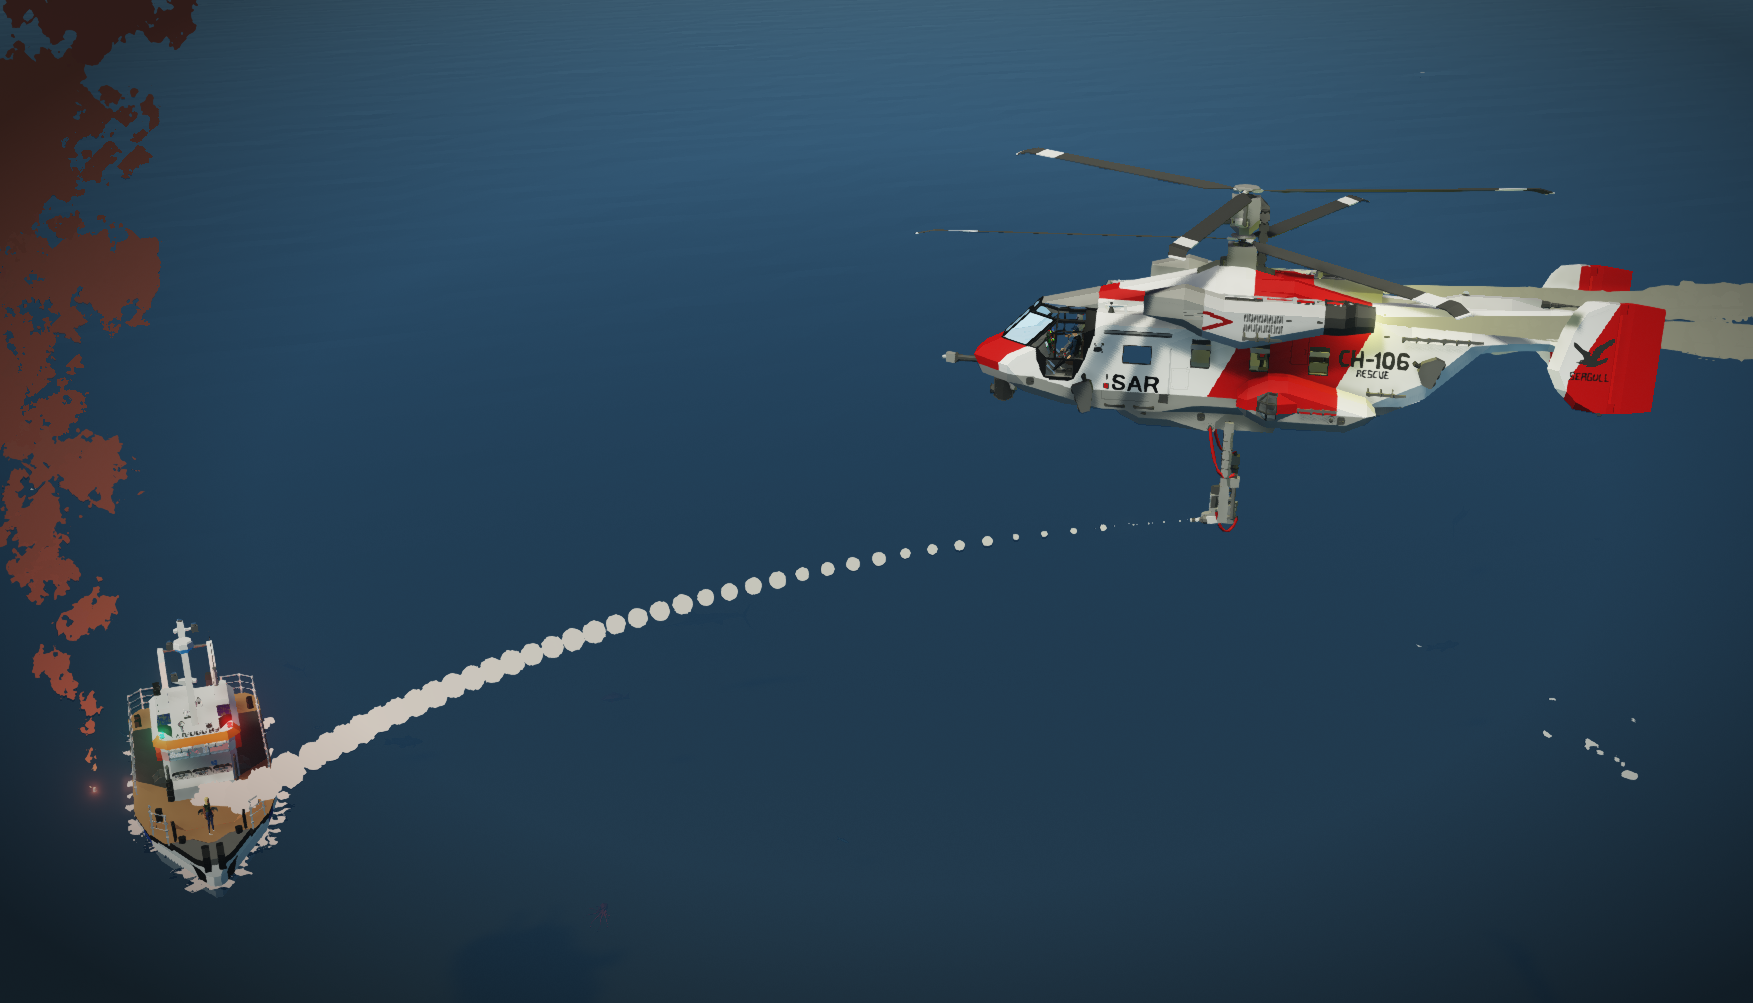
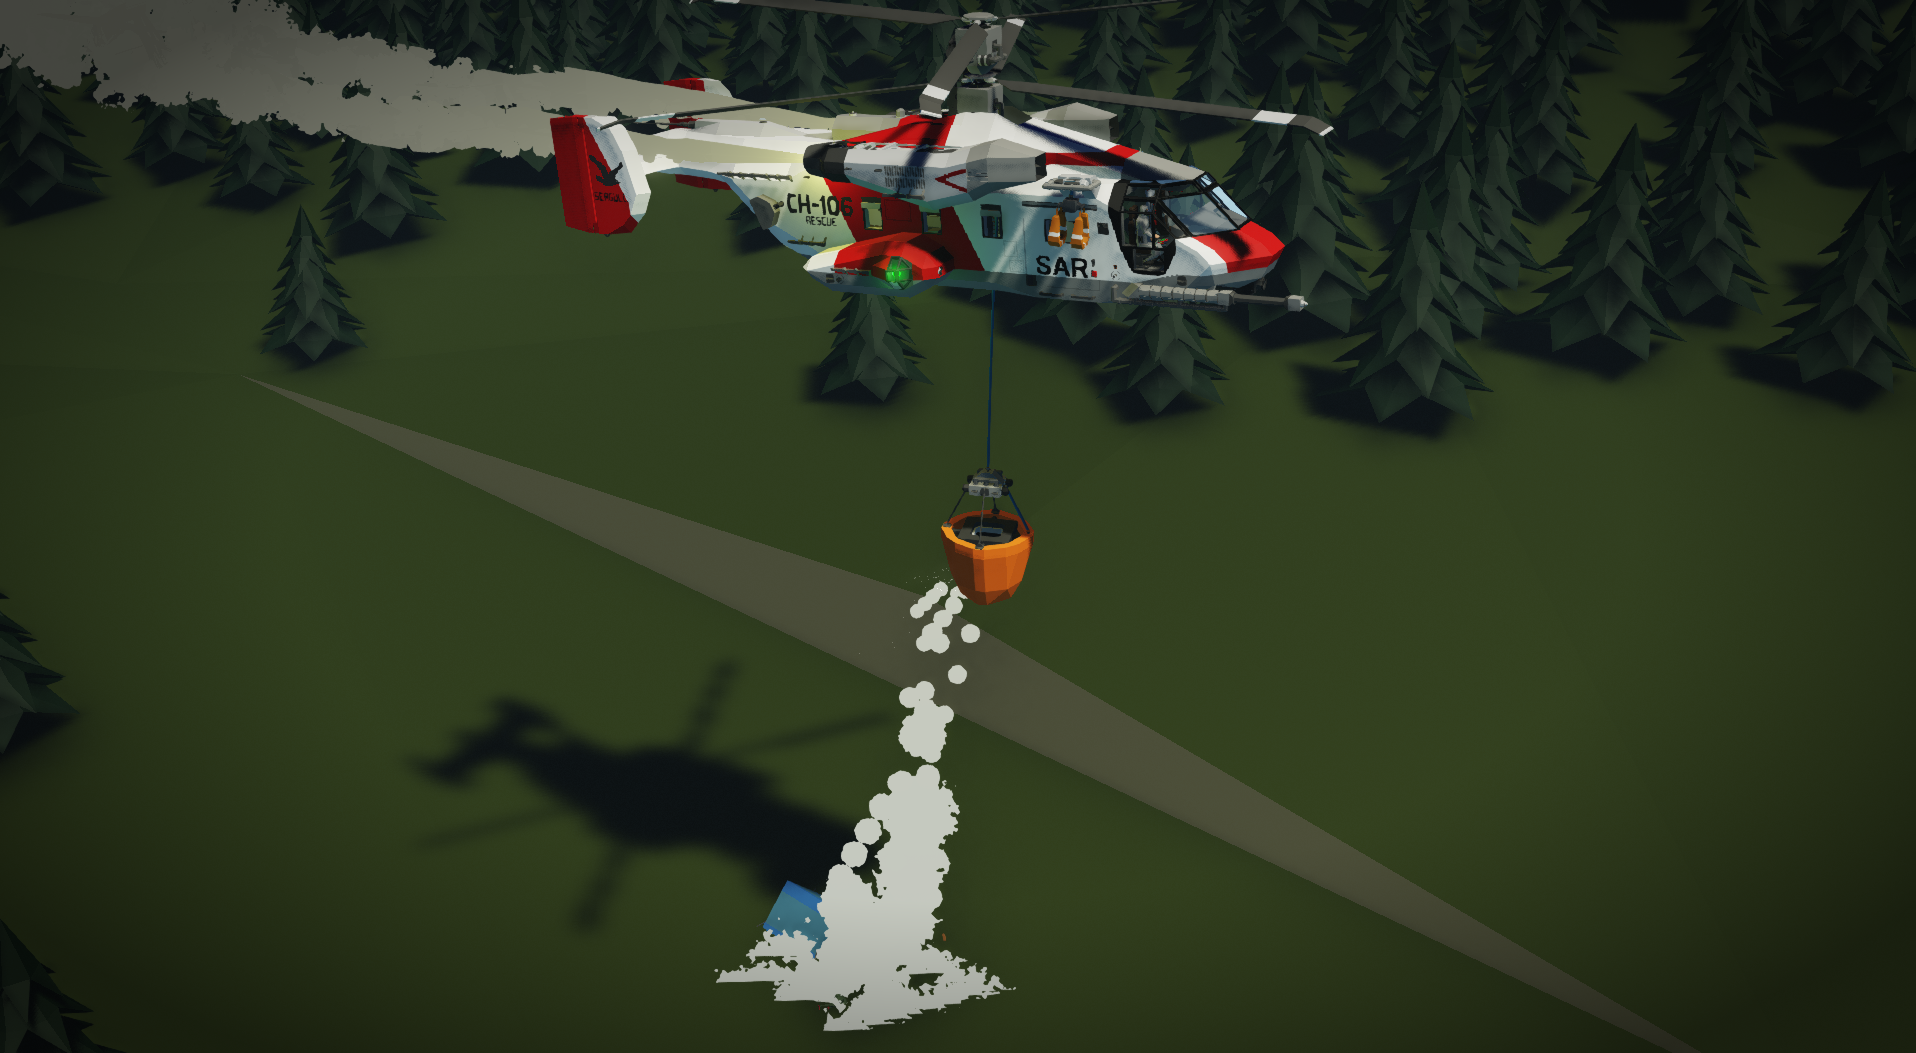
DescriptionCH-106 "Seagull" is an Heavy SAR helicopter made on my universal airframe, as it can suggest it is quite multirole, it roles vary from transport of supplies to remote/disaster stricken areas through search operations to actual rescuing. Just don't transport oranges, don't ask why.FeaturesHigh-performance coaxial turboshaft engine
170 knots (88 m/s) max speed
14000 L of fuel capaci...
Author: WH1T3_No1SE
Created: 12 Jan, 2021 @ 2:07pm
Updated: 24 Jan, 2021 @ 9:35am
Subscribers: 39561
Size (unpacked) : 2.050 MB
DescriptionCH-106 "Seagull" is an Heavy SAR helicopter made on my universal airframe, as it can suggest it is quite multirole, it roles vary from transport of supplies to remote/disaster stricken areas through search operations to actual rescuing. Just don't transport oranges, don't ask why.
Features
- High-performance coaxial turboshaft engine
- 170 knots (88 m/s) max speed
- 14000 L of fuel capacity
- 275 km max range (at 120 knots cruise speed about 55% throttle)
- Up to 70 minutes of flight time (not at max throttle)
- Autopilot
- Dual Radar
- Stabilized IR camera
- Winch with 2 harneses
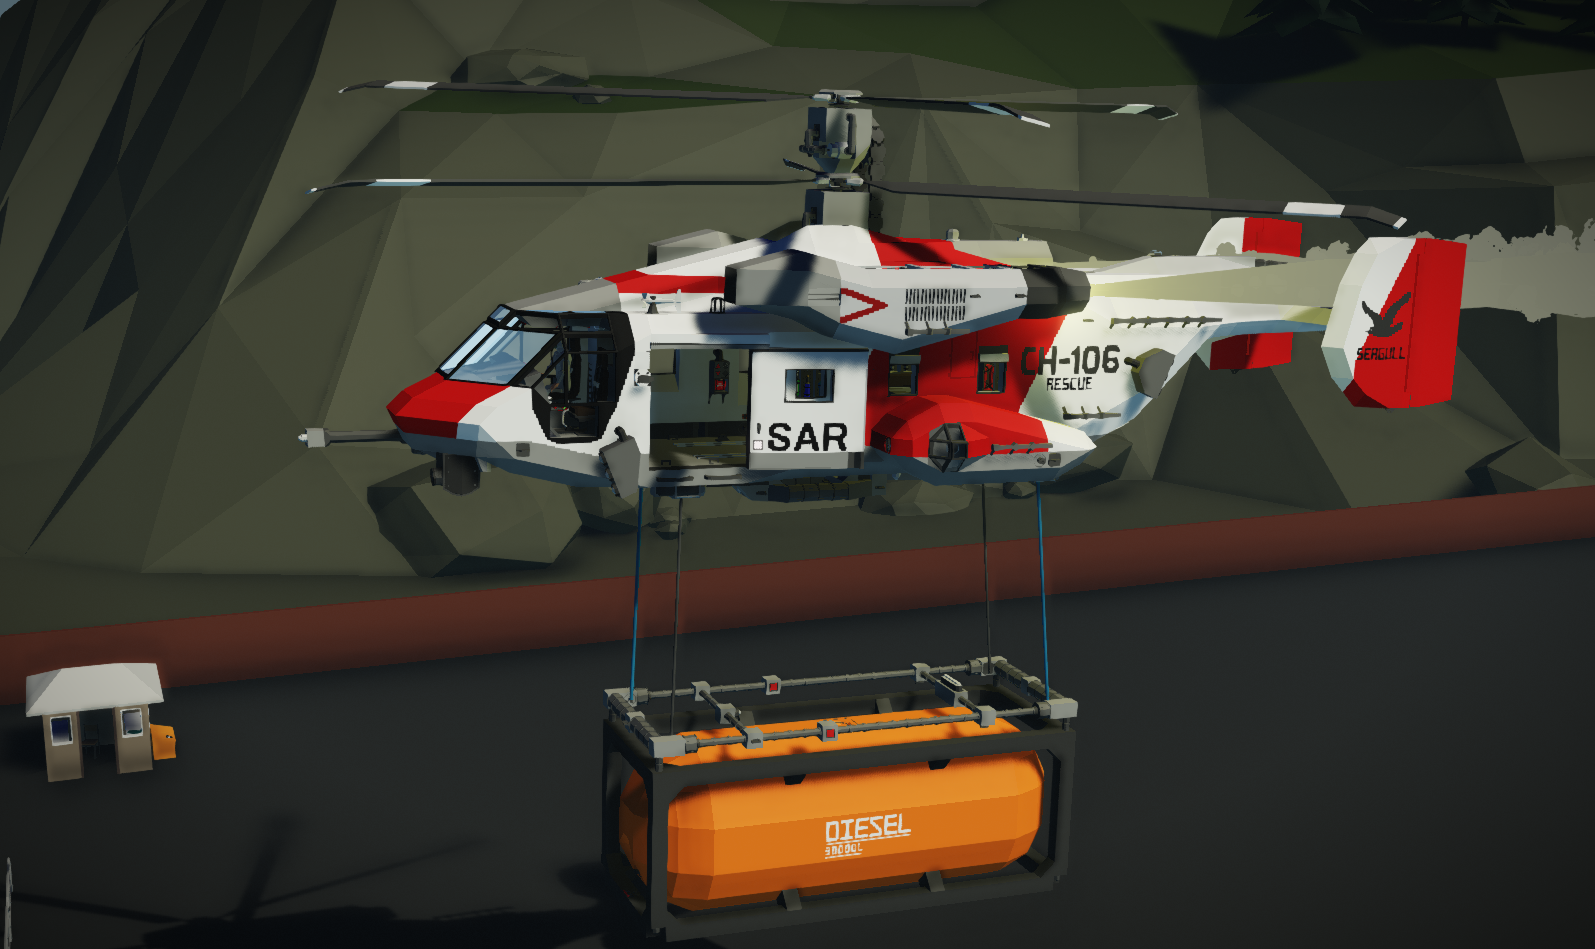
- Central winch for cargo lifting
- 8 passenger seats
- Pilot seat switcher
- Tons of equipment
- Down view windows for easy landing
- Automatic Positon hold
- Firefighting Bucket*
- Additional Fuel Tank*
- Water turret*
- ISO Crane*
- Microwave**
*Available in this Collection <- Clickable link.
**Sold separately
Quick start list(On back part of overhead panel)
- Connect any of the batteries on overhead panel to main line
- Connect both hydraulics and electronics to main line
(On front part of overhead panel)- Turn on both turbine controllers
- Turn on both fuel pumps
(on bottom console)- Throttle up
(Recommended)
Turn on Auto Altitude hold on bottom panel to not fly away when starting up- Wait for RPM to be over 1500
Another recommendation for keyboard players:
If you are using keyboard to fly, just use autohover at all times, it does not limit max speed and it's tuned to make helicopter super easy to fly.
Common misconception
Auto altitude hold doesn't limit your up/down control, it just tries to keep alitutde when you let go.

Q&AQ: I can't control.
A: Default Pilot seat is on the right, like in most helicopters, You can switch pilot seat on center panel to your preference.
Q: Why I can't go fast.
A: Automatic Postion hold limits your speed, disable it when you are flying around.
Q: Why can't I transport oran...
A: We don't talk about orange incident.
Have a nice chat with me!You can shoot me a message at Maritime Realism Group discord server:
https://discord.gg/hnaGQ5QQJh
Attachments here!Check out addons for this helicopter to make it even more verstitile!
https://steamcommunity.com/workshop/filedetails/?id=2370394544
Comment for addon you would like to see and i will see if it's viable.
CreditsPenguinO for Cockpit Instruments for aircraft
Archimaede for Advanced PFD.
Shady for Radar screen.
Buunuu for 3D Map.
jecki1379 for Camera screen.
TT for TT Gyro v2.
Tajin for Tajin's Fully configurable GPS Autopilot.
Touchscreen Beacon Locator by Acc.
How do I download and install mods?
Simply click the blue button above. It will open the file hosting page with the mod repacked by us from the official source.How do I install this mod?
See the 'How to install' tab.Is this mod safe to use?
The mods are repacked as is, without any additional software, malware, or bloatware added. To check for viruses, use a reliable antivirus or upload the archive to a website like virustotal.com. Anyway, It's always a good practice to keep backups of your saves in case of mod incompatibility .
For vehicle mods
- Download the .zip archive containing the vehicle mod files.
- Locate your game's root folder.
- Navigate to
rom\data\preset_vehicles_advancedand extract the files there. - Rename both files to something recognizable, ensuring they share the same base name but different extensions.
- Launch the game and go to the Workbench's Presets tab to see the new vehicle mod.