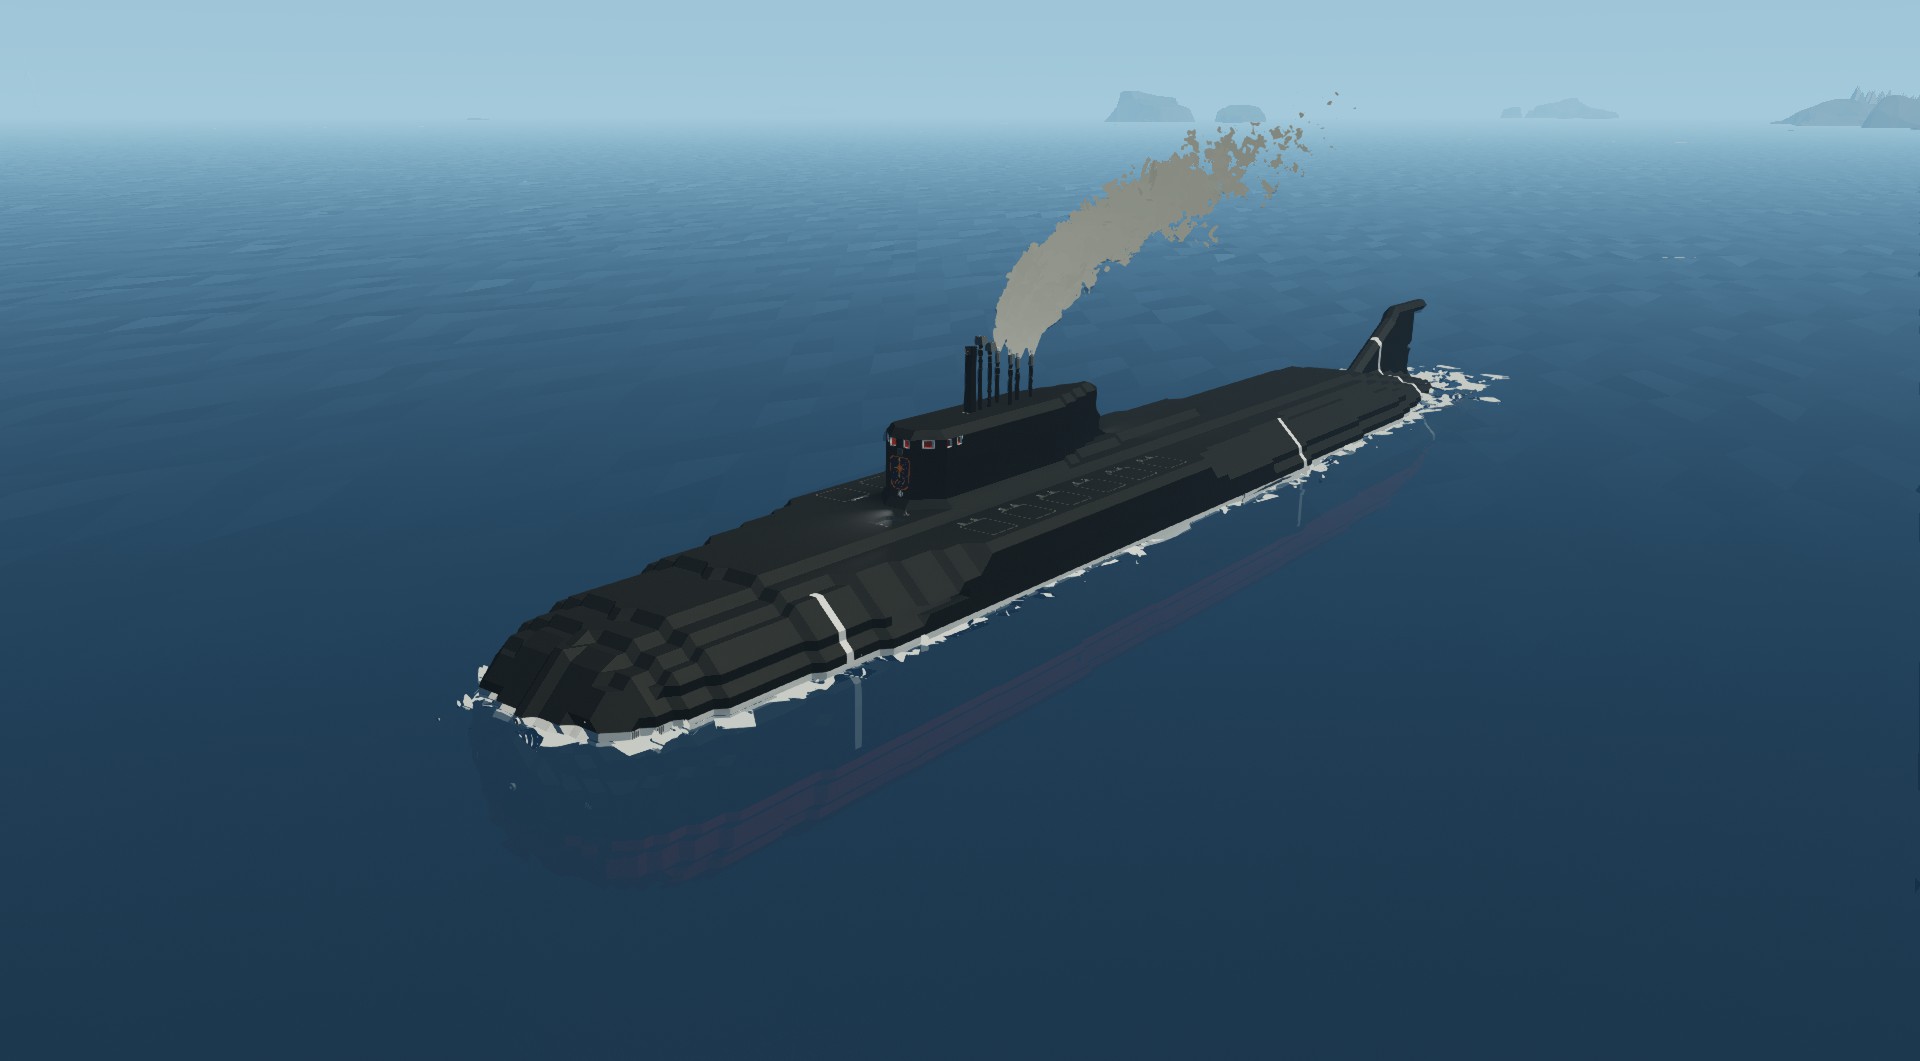
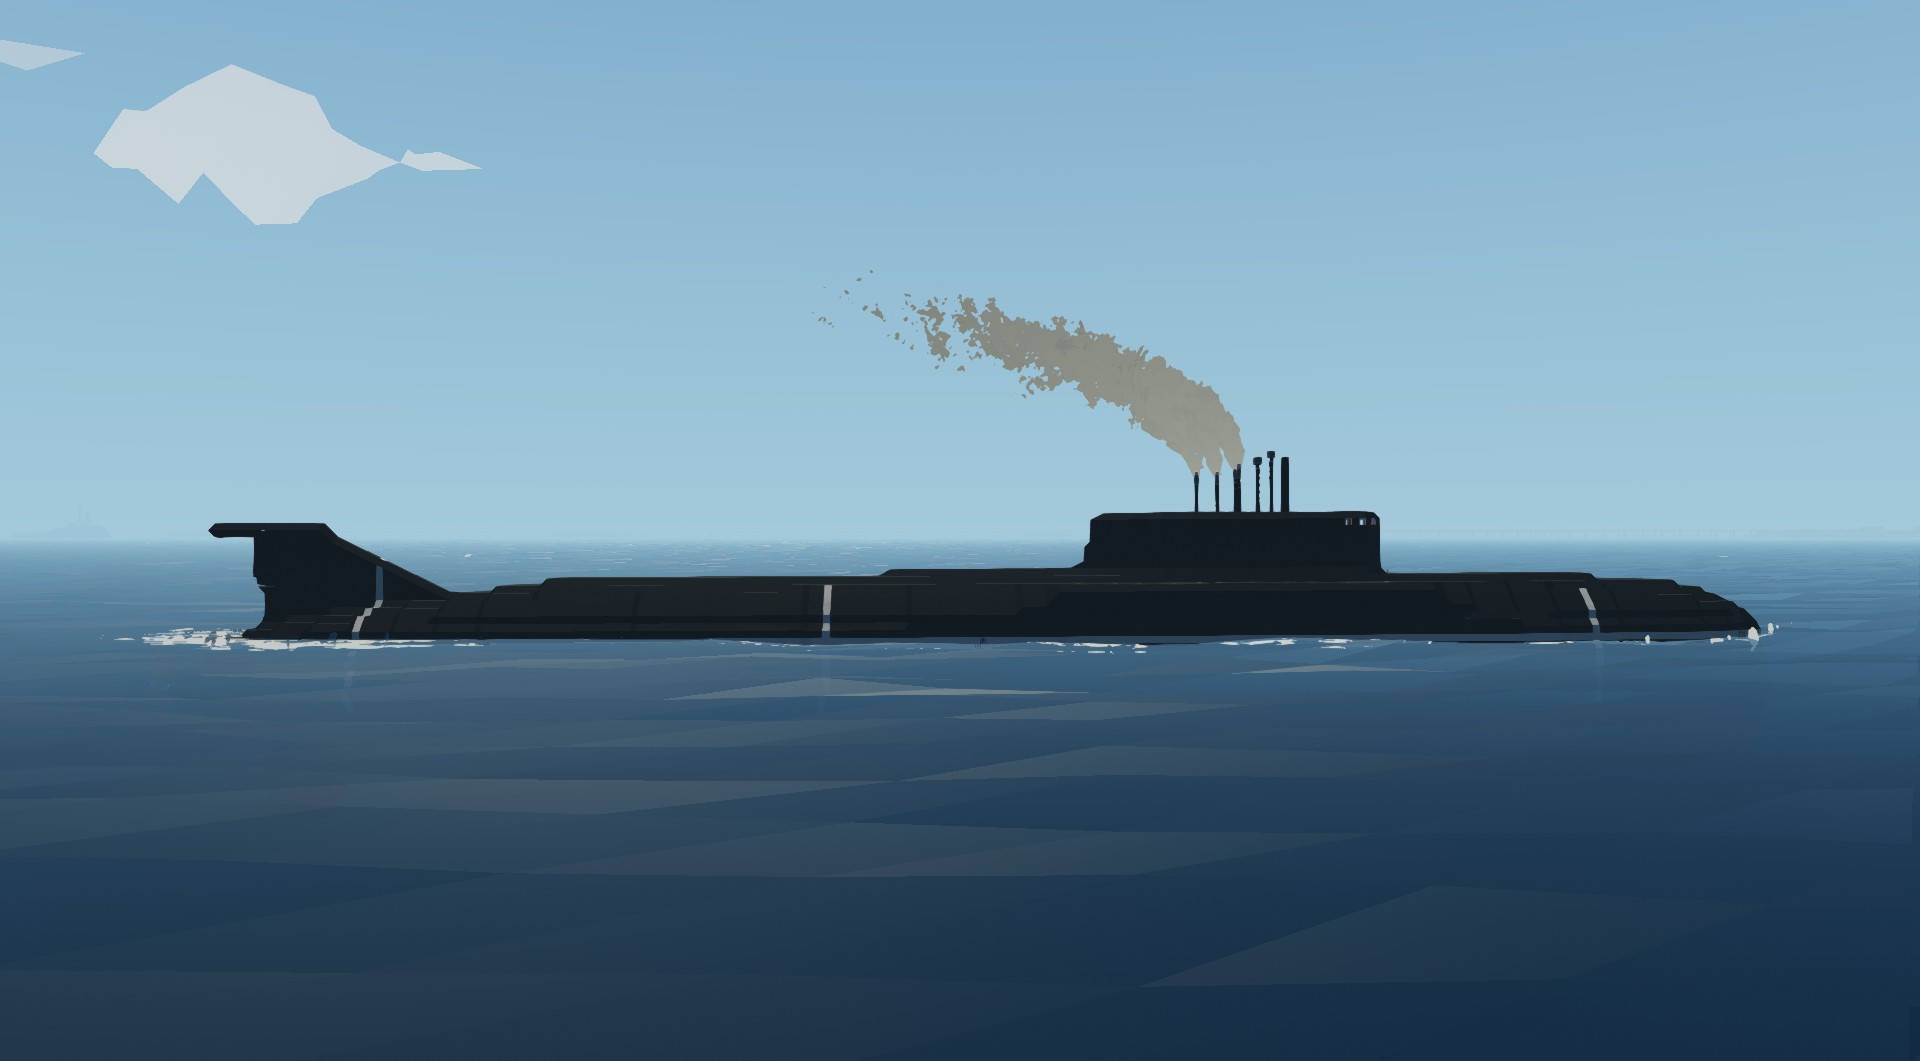
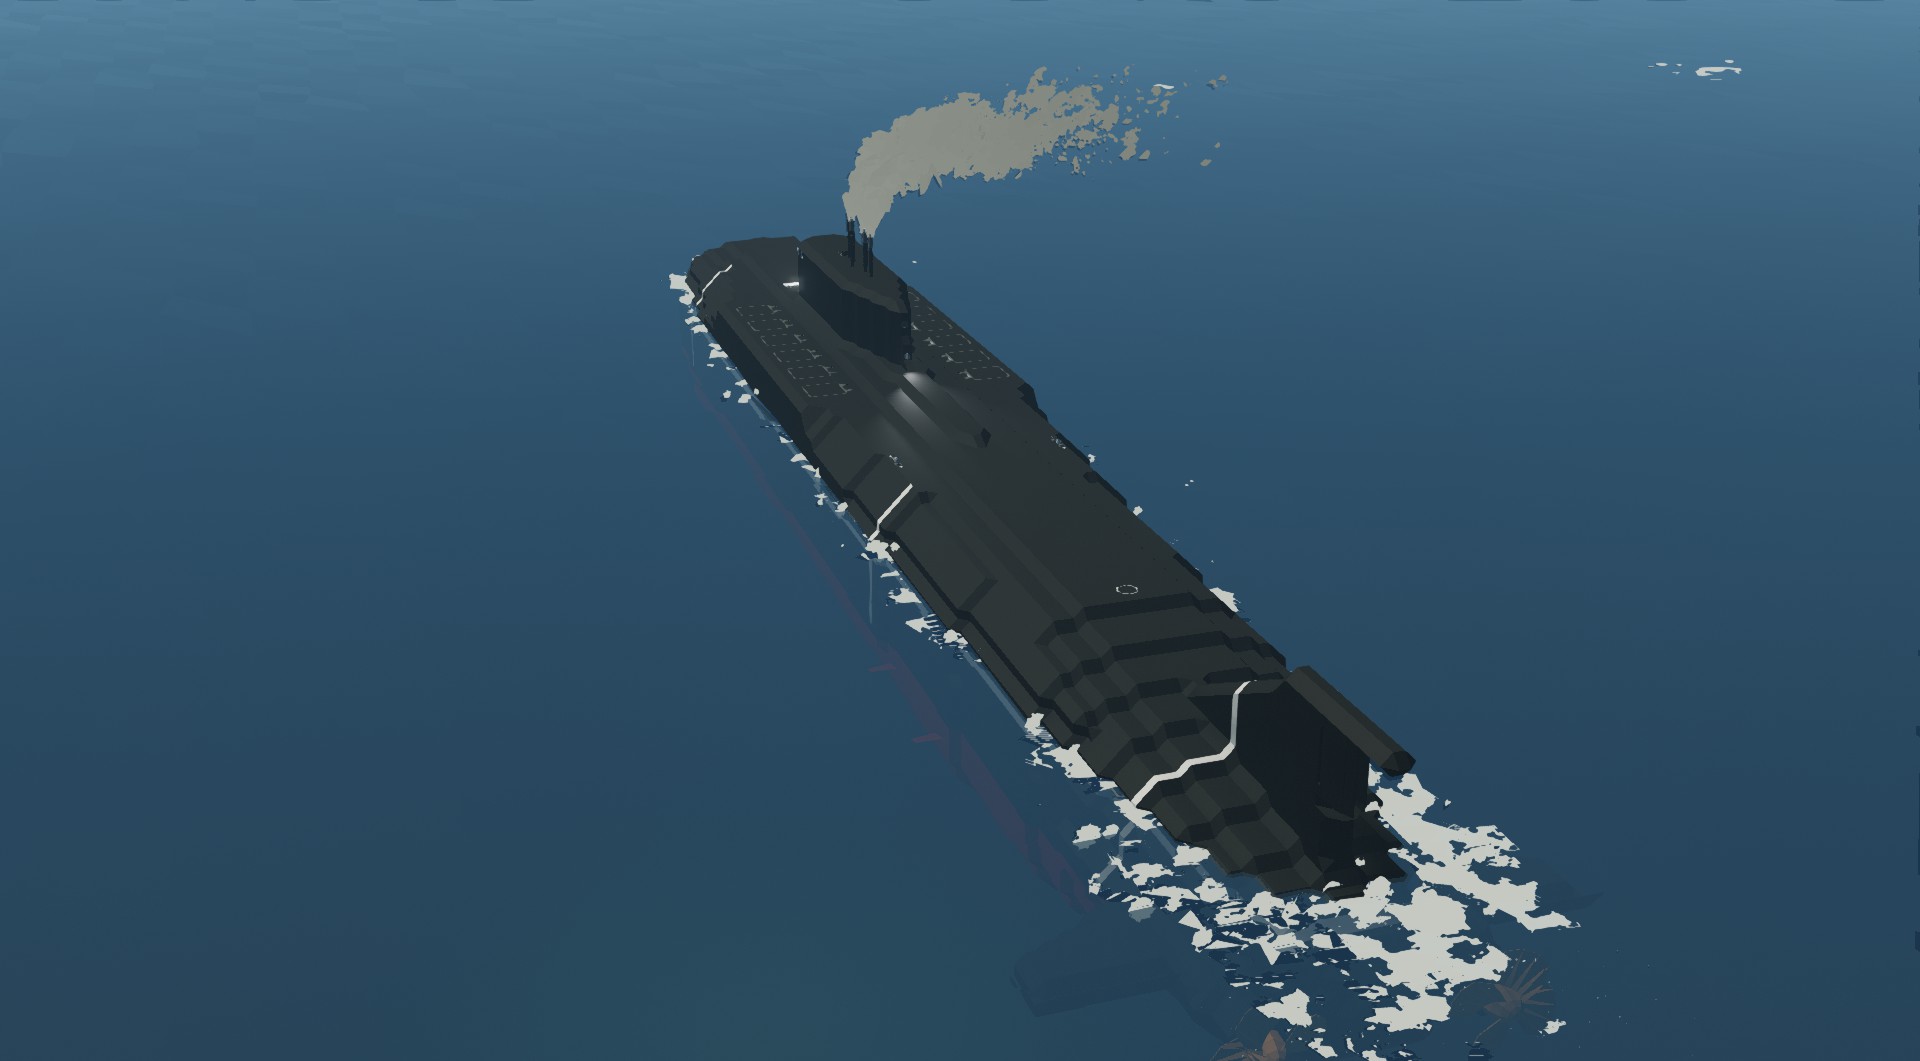
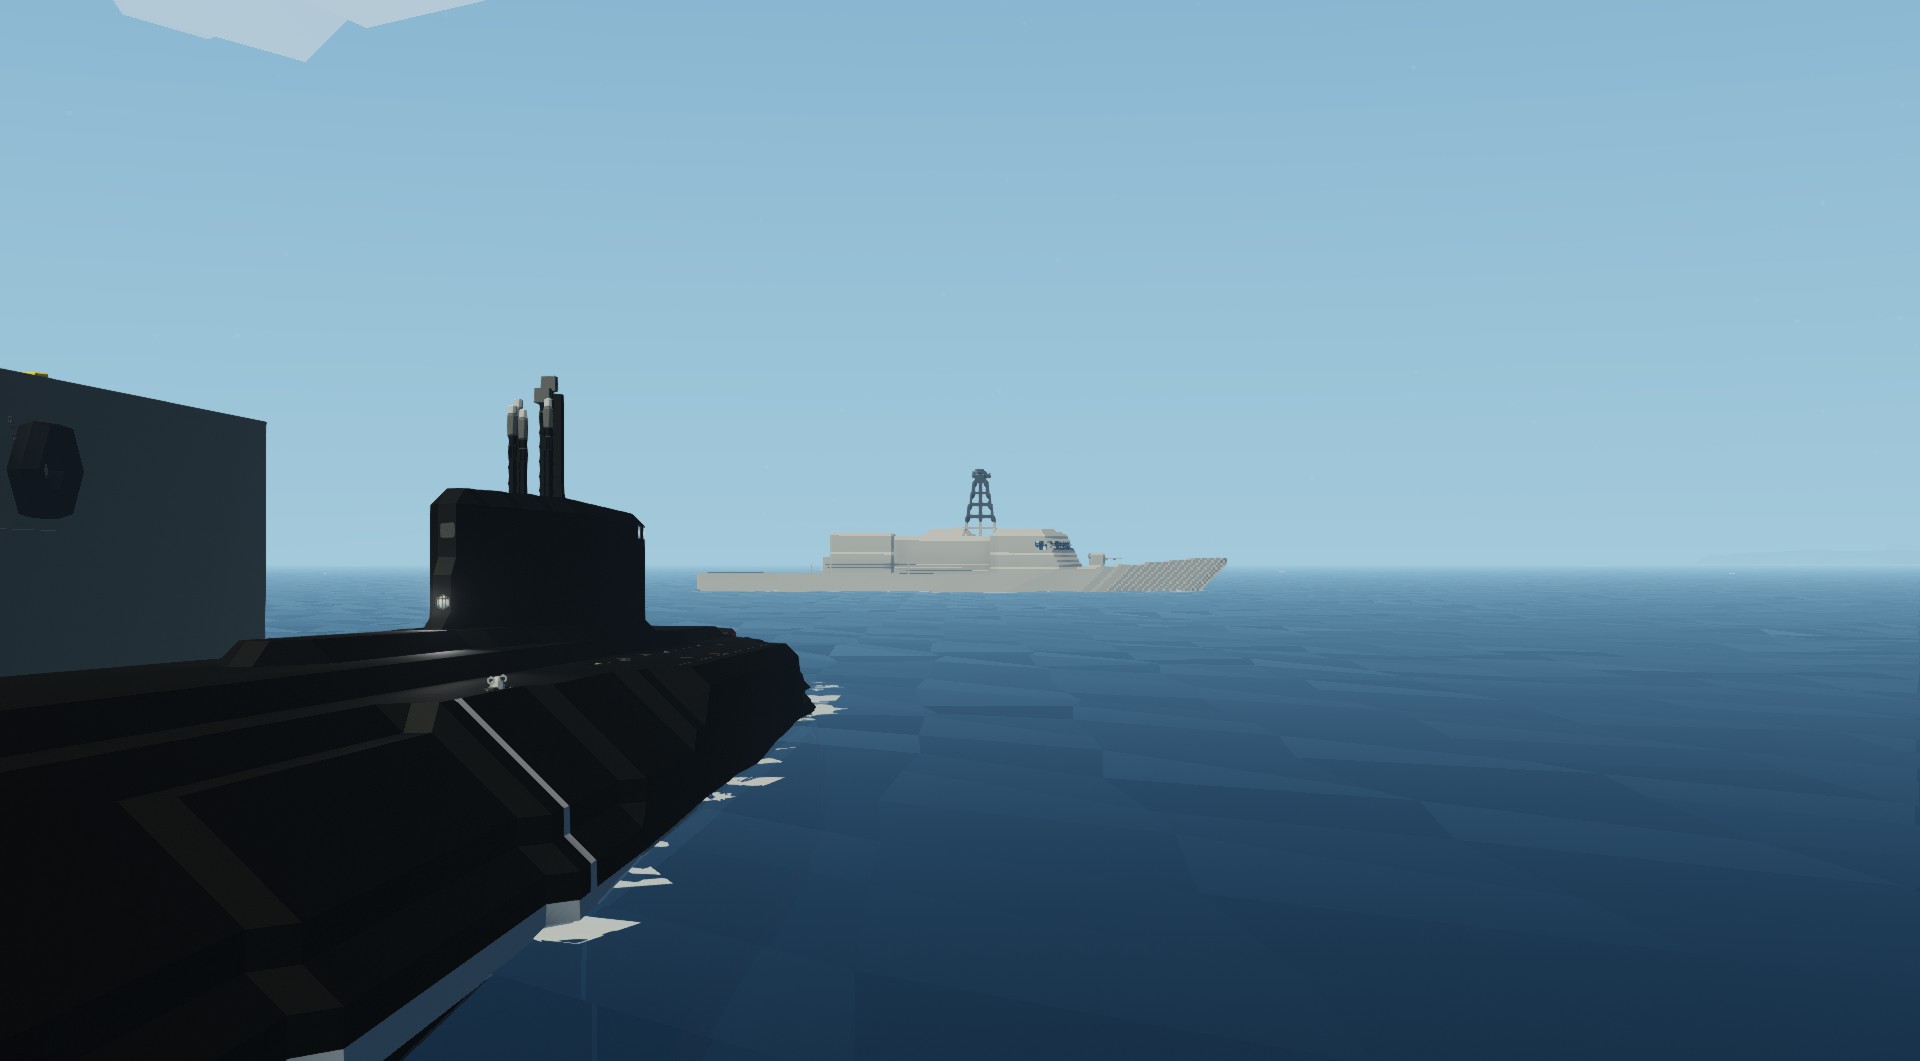

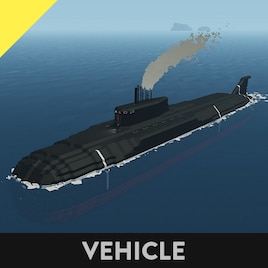
Antares II Class Submarine
Vehicle, Sea, Exploration, Underwater, Advanced, v0.10.10
Please do not re-upload. Also, please do not upload custom variants without first contacting me about it.
This is my first attempt at building a submarine. The Antares II is a fictional class of submarine that I have based heavily off of the Russian Oscar II Class with the most well-known one being Kursk K-141, which sank due to a faulty torpedo detonating in its tube. This sub is capable o...
Розробник: SN-1987A
Дата створення: 19 Dec, 2019 @ 5:45pm
Оновлено: 2 Mar, 2020 @ 2:15pm
Підписників: 21423
Розмір (розпакований) : 9.435 MB
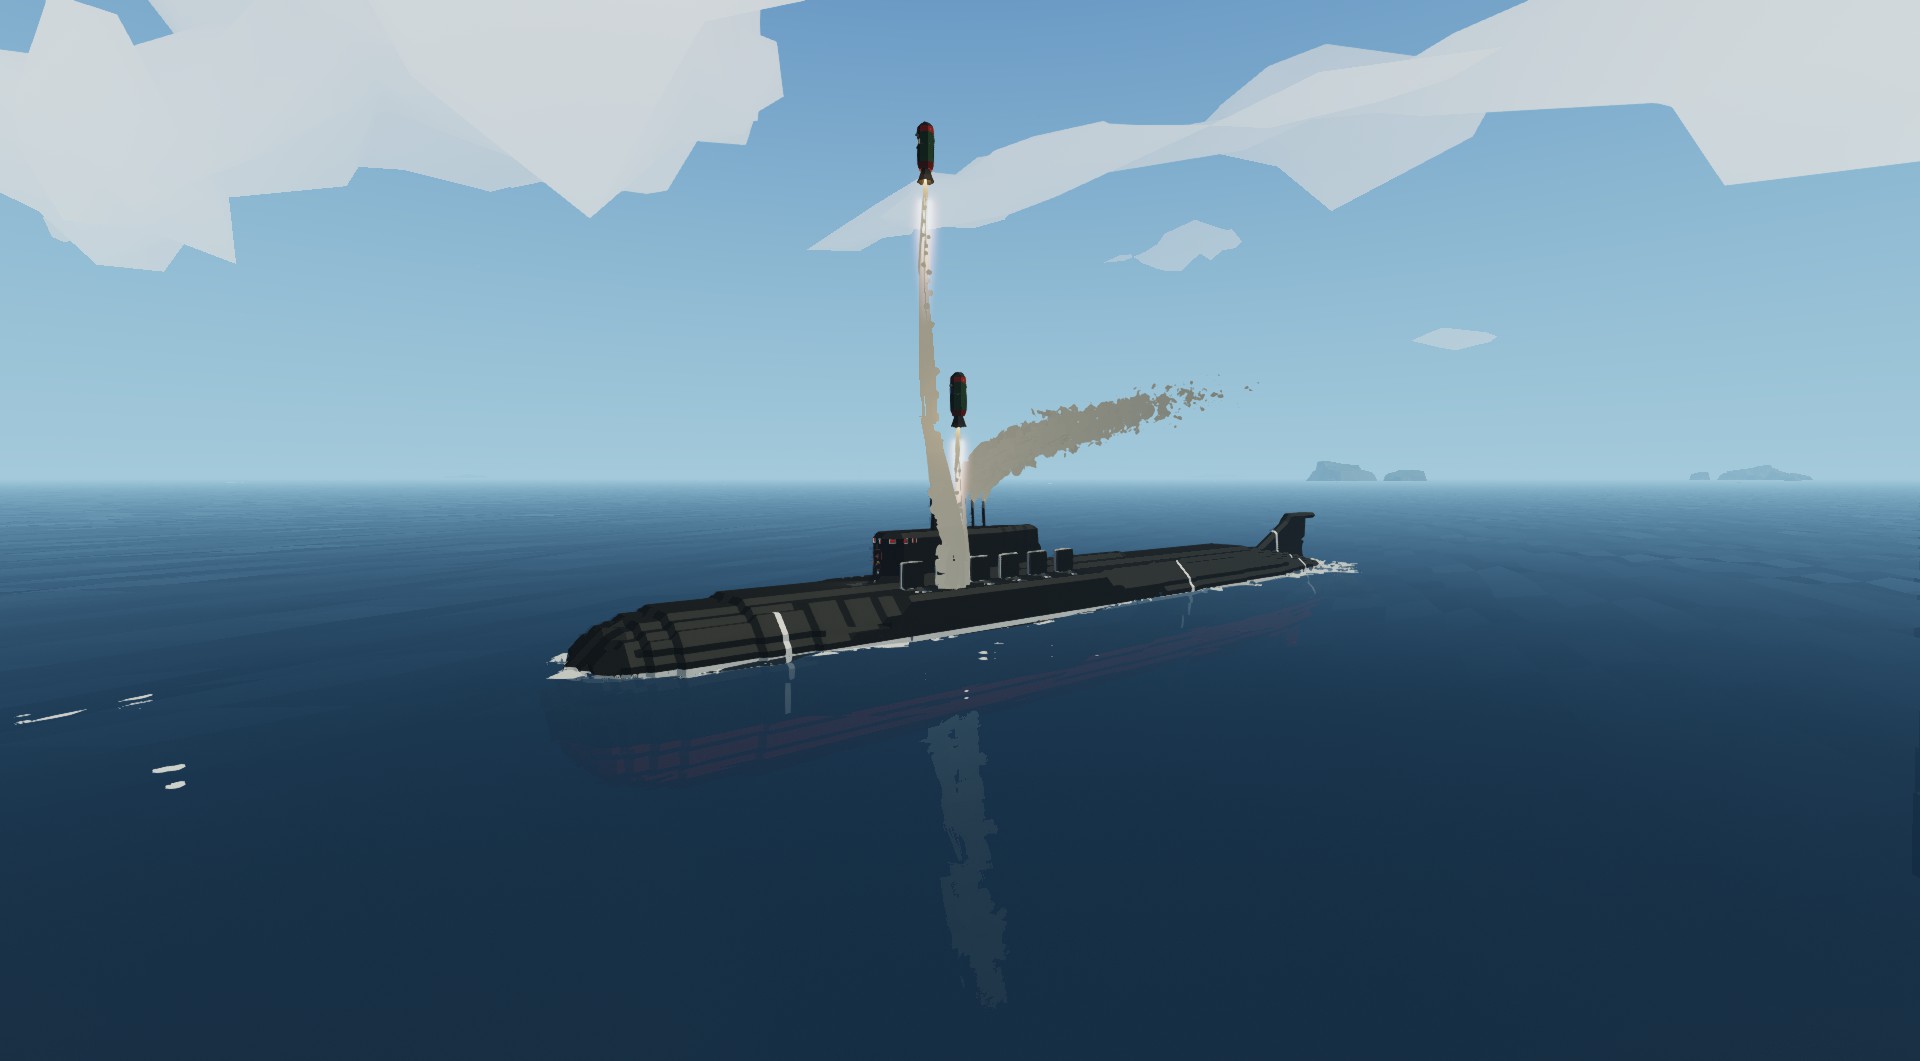
This is my first attempt at building a submarine. The Antares II is a fictional class of submarine that I have based heavily off of the Russian Oscar II Class with the most well-known one being Kursk K-141, which sank due to a faulty torpedo detonating in its tube. This sub is capable of diving, surfacing and launching unguided missiles.
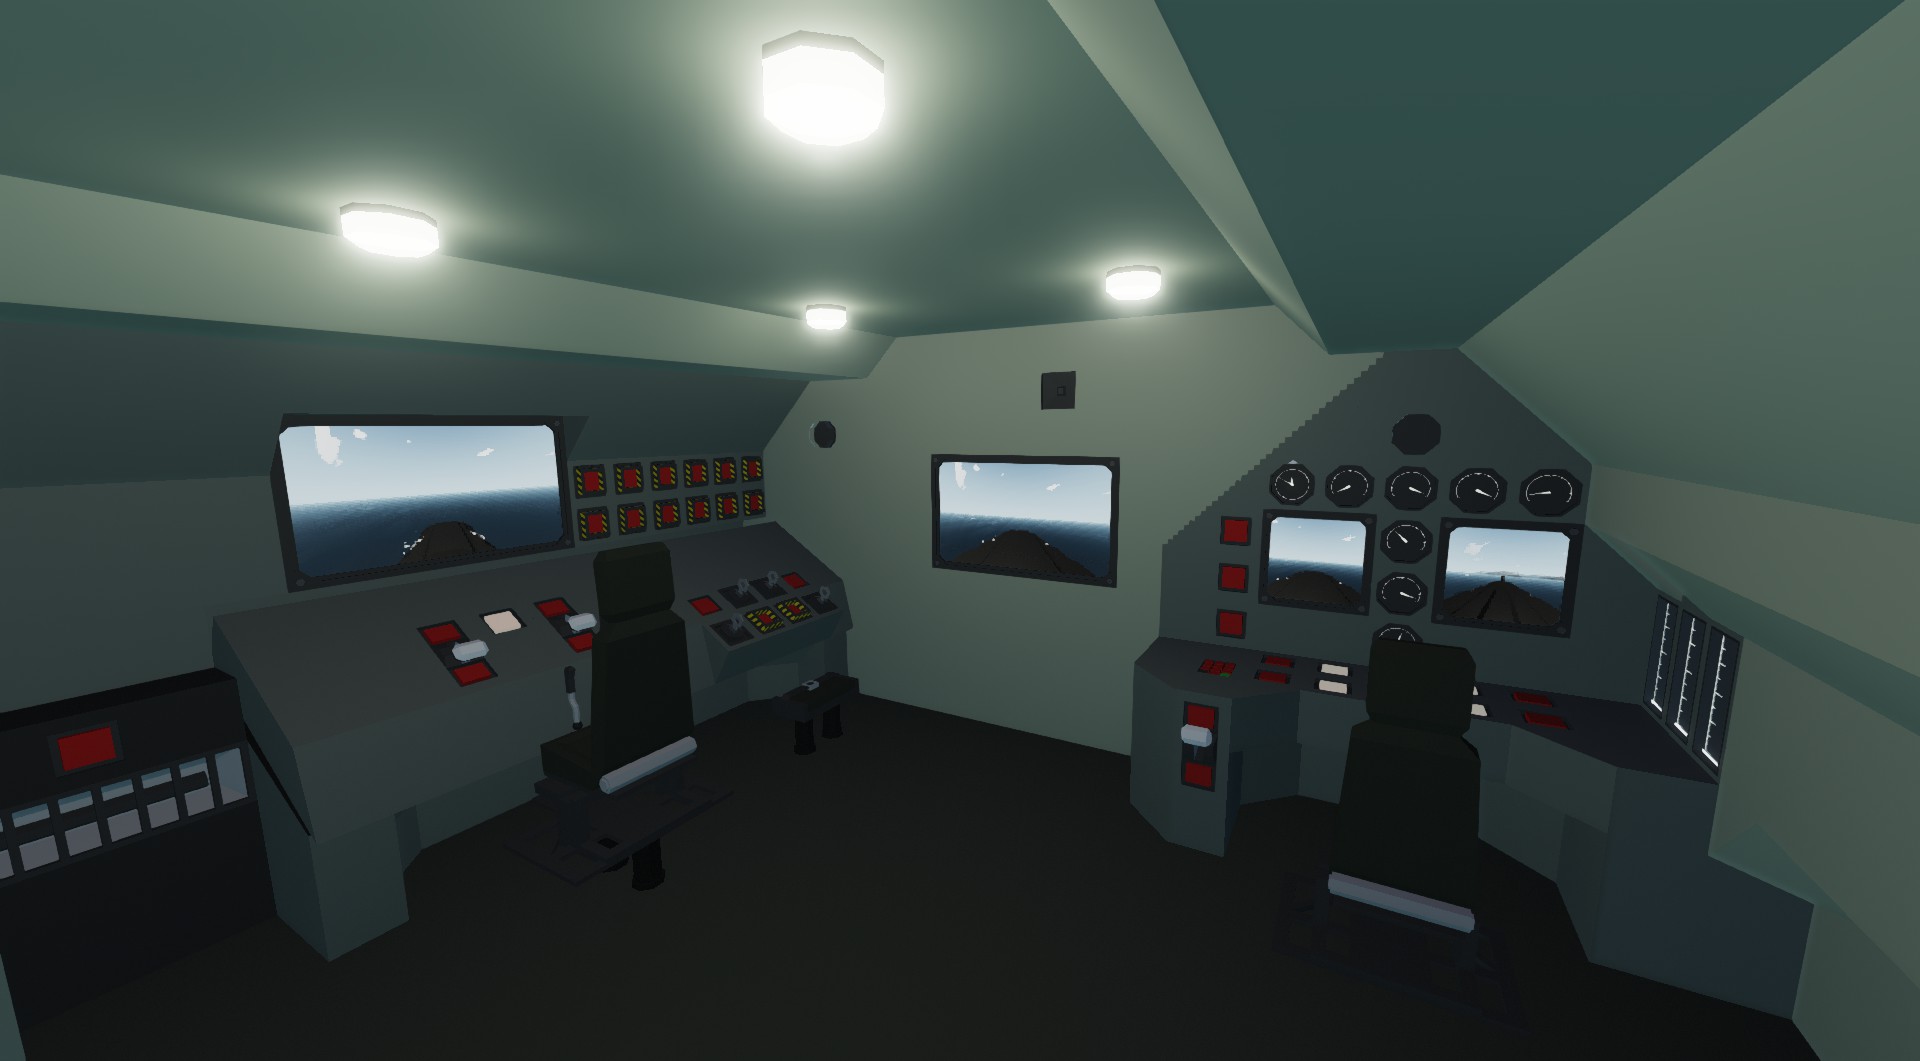
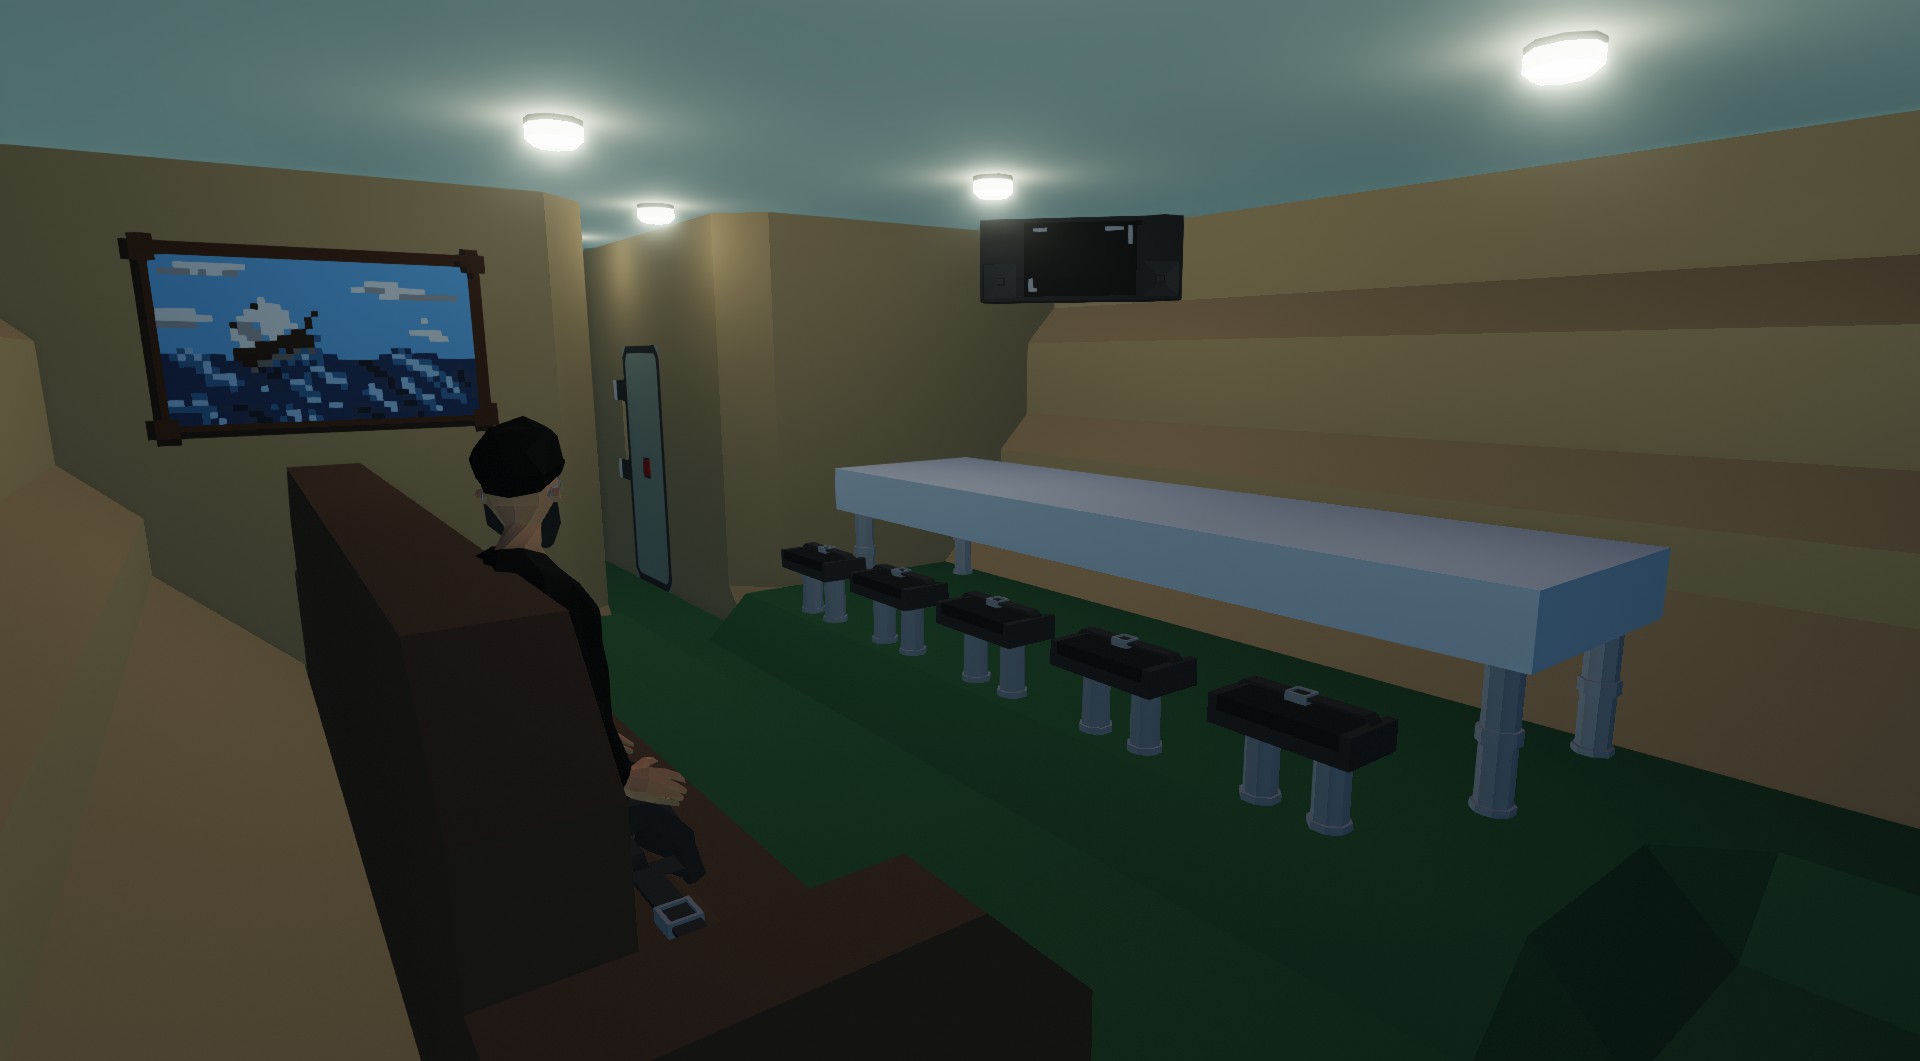
To start: Head to the engine control room and turn the generator fuel pumps on, then press the ignition button. Throttle up and engage the clutch before moving to the electric motor control panel and engaging the electric clutch. Finally use either the throttle lever in the engine room or the push buttons in the main control room to get the submarine underway.
To dive: Unfold the front control surfaces and engage the depth hold system, then push the "FILL BALLAST TANKS" button (while moving) and wait for the tanks to fill. Once the tanks are partially filled I recommend setting the depth hold system to -2 (fully loaded) or -3 (empty) to partially submerge the sub. For 'periscope depth' set the depth control computer to -5 meters. Before fully submerging ensure that the generators are off and the main hatch is closed. Once the tanks are full enough enter your desired negative depth you wish the sub to dive down to. If you are diving without the missiles and torpedoes you need to turn on the Secondary Ballast Tank, and keep it turned on until you've finished diving and resurfaced. When you wish to surface turn on the "EMPTY BALLAST TANKS" button (make sure the fill button is turned off) and set the depth hold computer to -2. When the tanks are empty enough set the system back to 0.
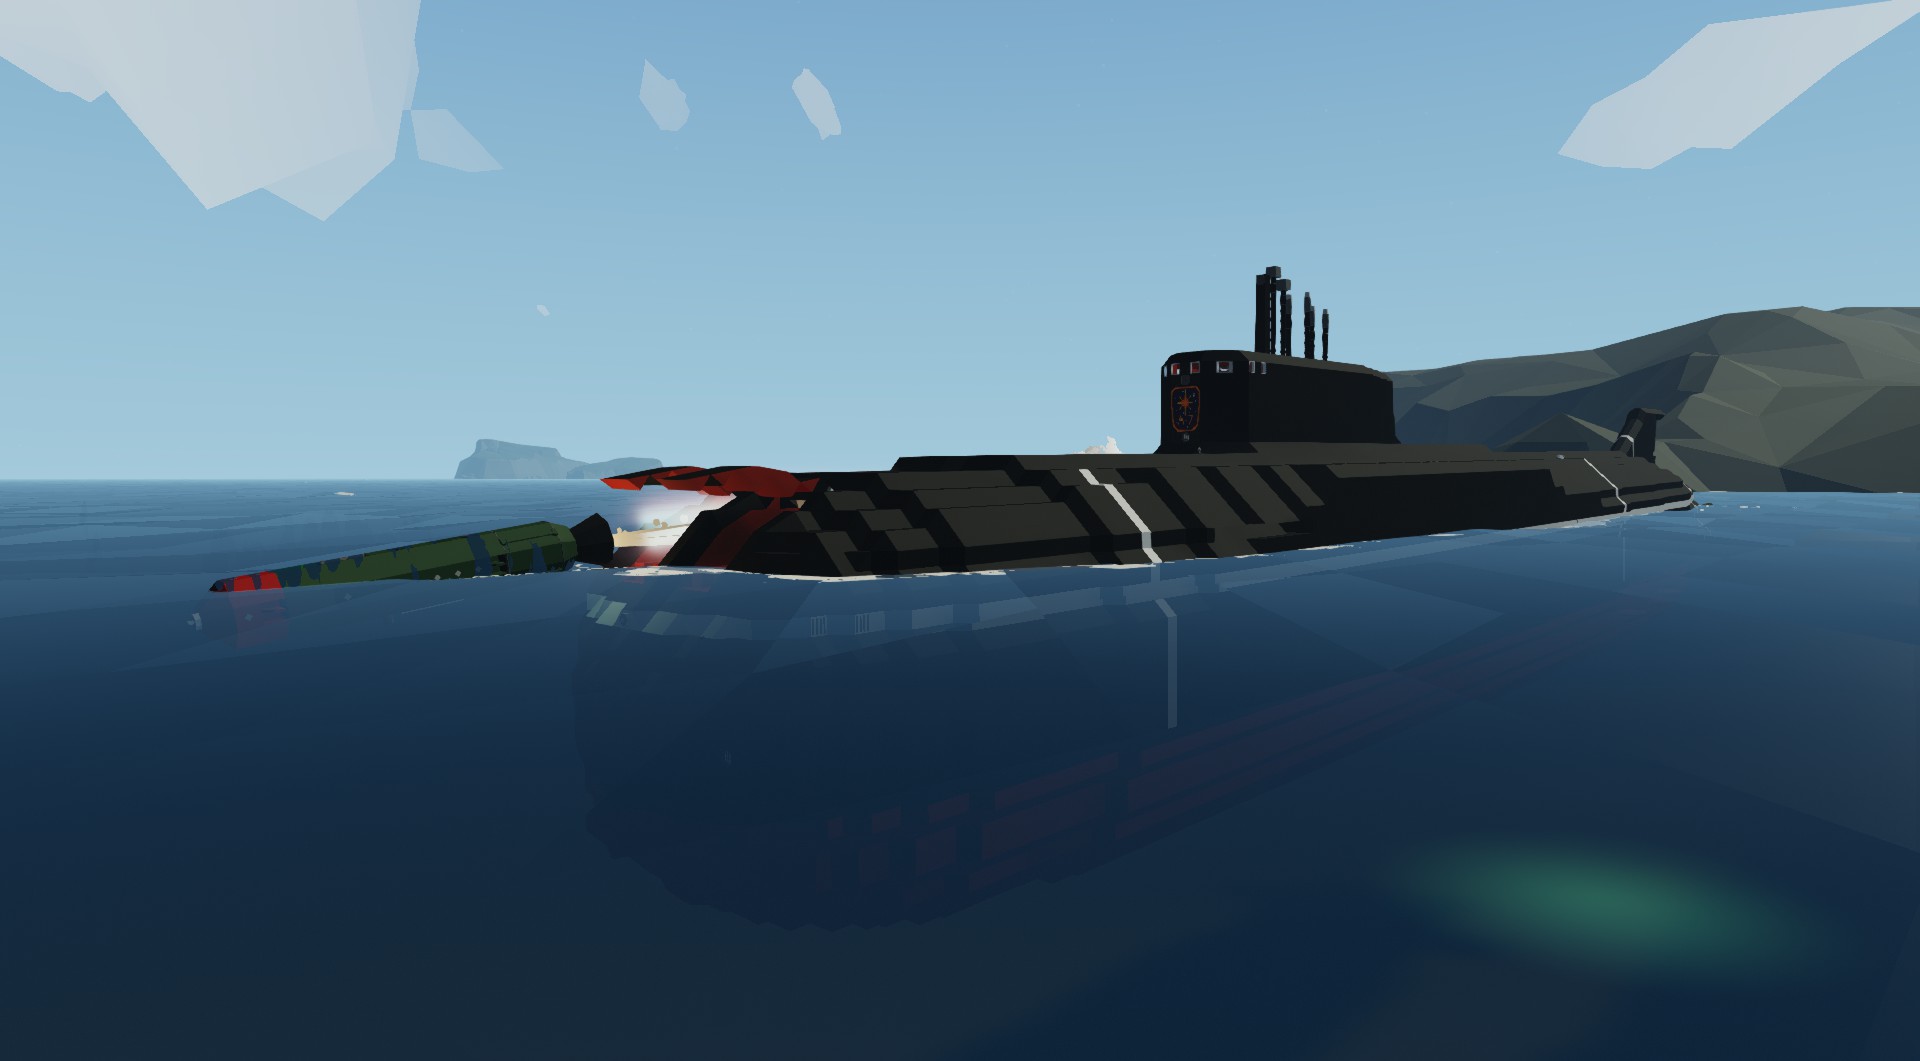
The torpedoes are a recent addition so they might not work as well as they could. The torpedoes are set to attempt to hold a depth of -1 meters so try not to launch them from less than about -10 meters. Make sure to open the torpedo tube hatches before launching the torpedoes, and don't bother draining the tubes unless completely surfaced.
When launching the 'missiles' underwater make sure that both lines of hatches are opened to prevent the sub from becoming too heavy on either side, do not forget to turn on the drain button once surfaced. Due to the weight balancing issues caused by the silos filling with water I would heavily recommended firing all of the missiles at once when doing so underwater.
To sink: Head to the engine control room and find the "scuttle" key switch (behind the generator control station) and turn it on. This will only sink the vessel if either the depth hold system is off or the ballast tanks are mostly full. There are slow but steady bilge pumps that can be used when experiencing natural flooding caused by damage to the lower front section (the only area really able to flood the interior). They will work for the scuttle feature but they currently only drain the crew quarters and at a slow rate.
Як завантажити моди?
Натисніть на кнопку вище та завантажте обраний мод з файлового сховища.Як встановити мод?
Див. секцію "Як встановити".Чи безпечний завантажуваний файл?
Моди перезаливаються нами з оригінального джерела, без жодних змін. Ми лише запаковуємо їх в звичайний архів. Додатково можете перевірити архів на наявність загроз за допомогою будь-якого антивірусу або онлайн-сканеру на кшталт virustotal.com. Також рекомендуємо робити резервні копії ваших сейвів, про всяк випадок.
For vehicle mods
- Download the .zip archive containing the vehicle mod files.
- Locate your game's root folder.
- Navigate to
rom\data\preset_vehicles_advancedand extract the files there. - Rename both files to something recognizable, ensuring they share the same base name but different extensions.
- Launch the game and go to the Workbench's Presets tab to see the new vehicle mod.