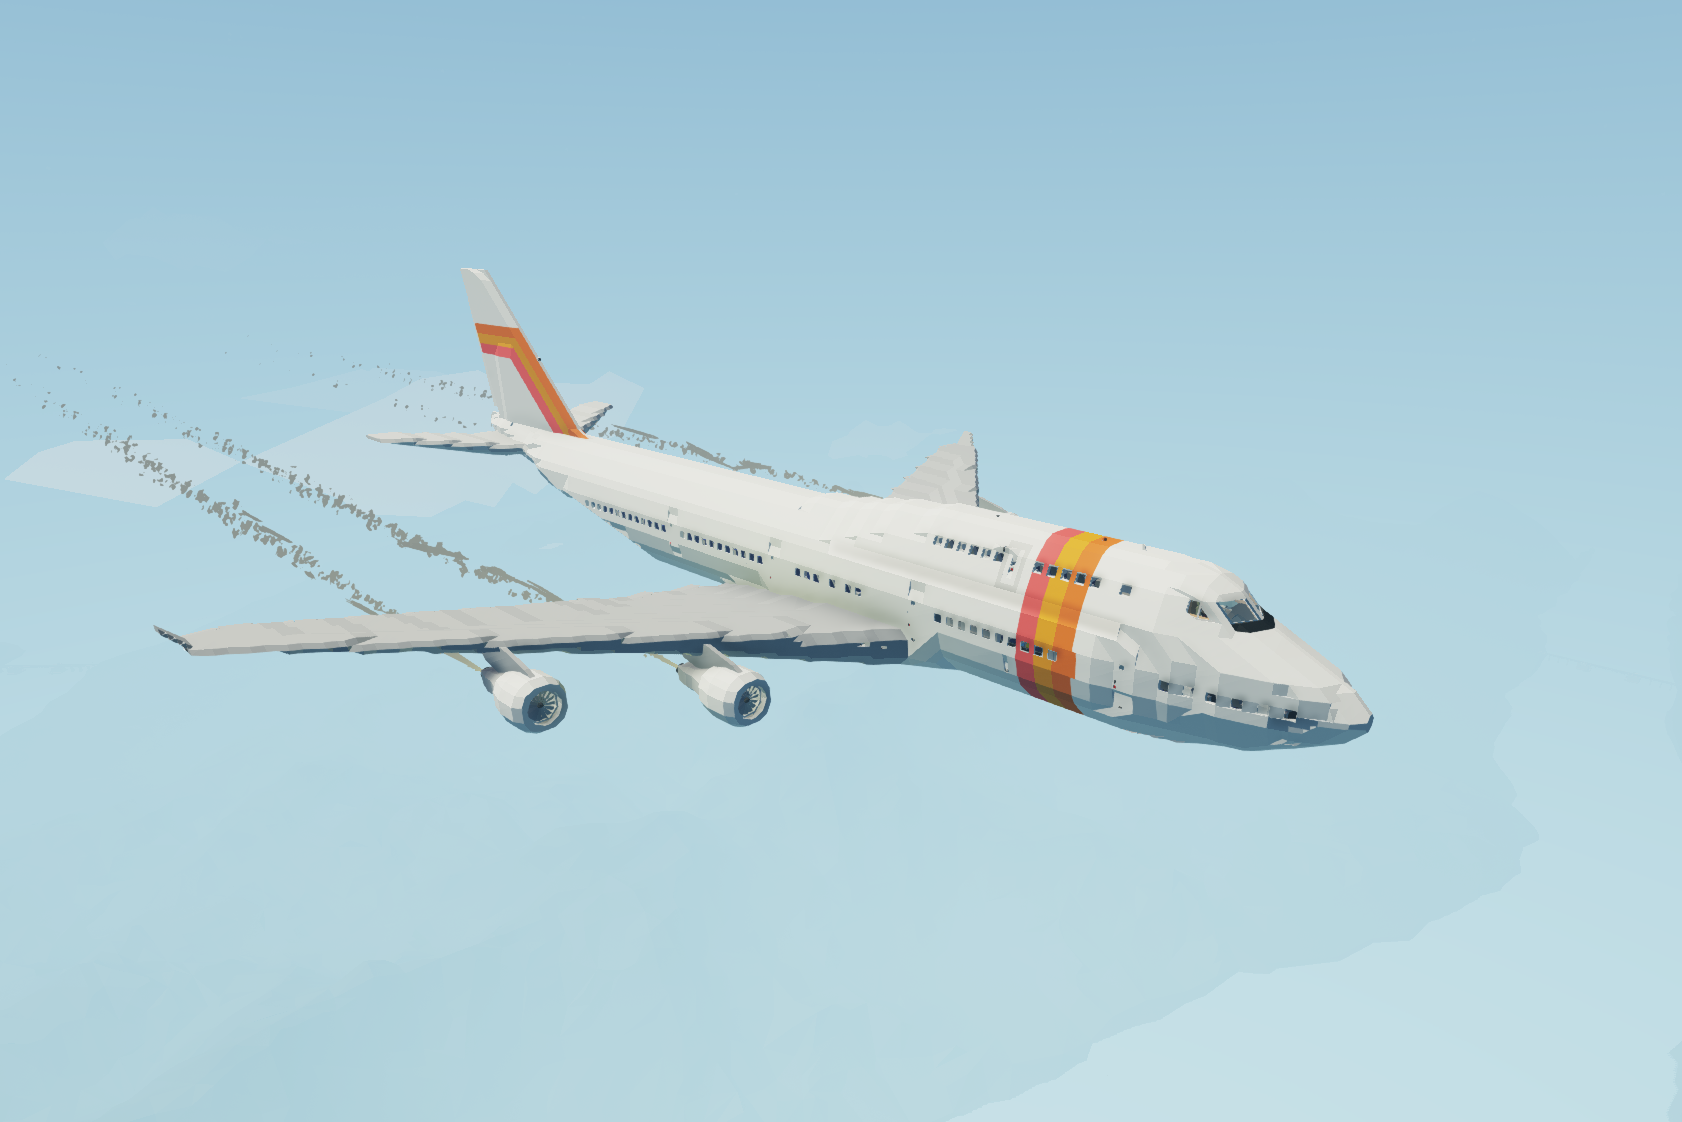

Boeing 747-400
Vehicle, Air, Advanced, v1.2.19
This plane can be spawned in through a custom mission or an edited workbench
The Boeing 747-400 is a wide-body airliner produced by Boeing Commercial Airplanes, an advanced variant of the initial Boeing 747. The "Advanced Series 300" was announced at the September 1984 Farnborough Airshow, targeting a 10% cost reduction with more efficient engines and 1,000 nmi (1,850 km) more range. Northw...
Розробник: Enzocats
Дата створення: 9 Aug, 2021 @ 11:58am
Оновлено: 10 Aug, 2021 @ 11:56am
Підписників: 18191
Розмір (розпакований) : 10.432 MB
The Boeing 747-400 is a wide-body airliner produced by Boeing Commercial Airplanes, an advanced variant of the initial Boeing 747. The "Advanced Series 300" was announced at the September 1984 Farnborough Airshow, targeting a 10% cost reduction with more efficient engines and 1,000 nmi (1,850 km) more range. Northwest Airlines (NWA) became the first customer with an order for 10 aircraft on October 22, 1985. The first 747-400 was rolled out on January 26, 1988, and made its maiden flight on April 29, 1988. Type certification was received on January 9, 1989, and it entered service with NWA on February 9, 1989. -Wikipedia
This creation is 1-1, and contains many new features such as:
-Advanced LNAV and VNAV autopilot systems
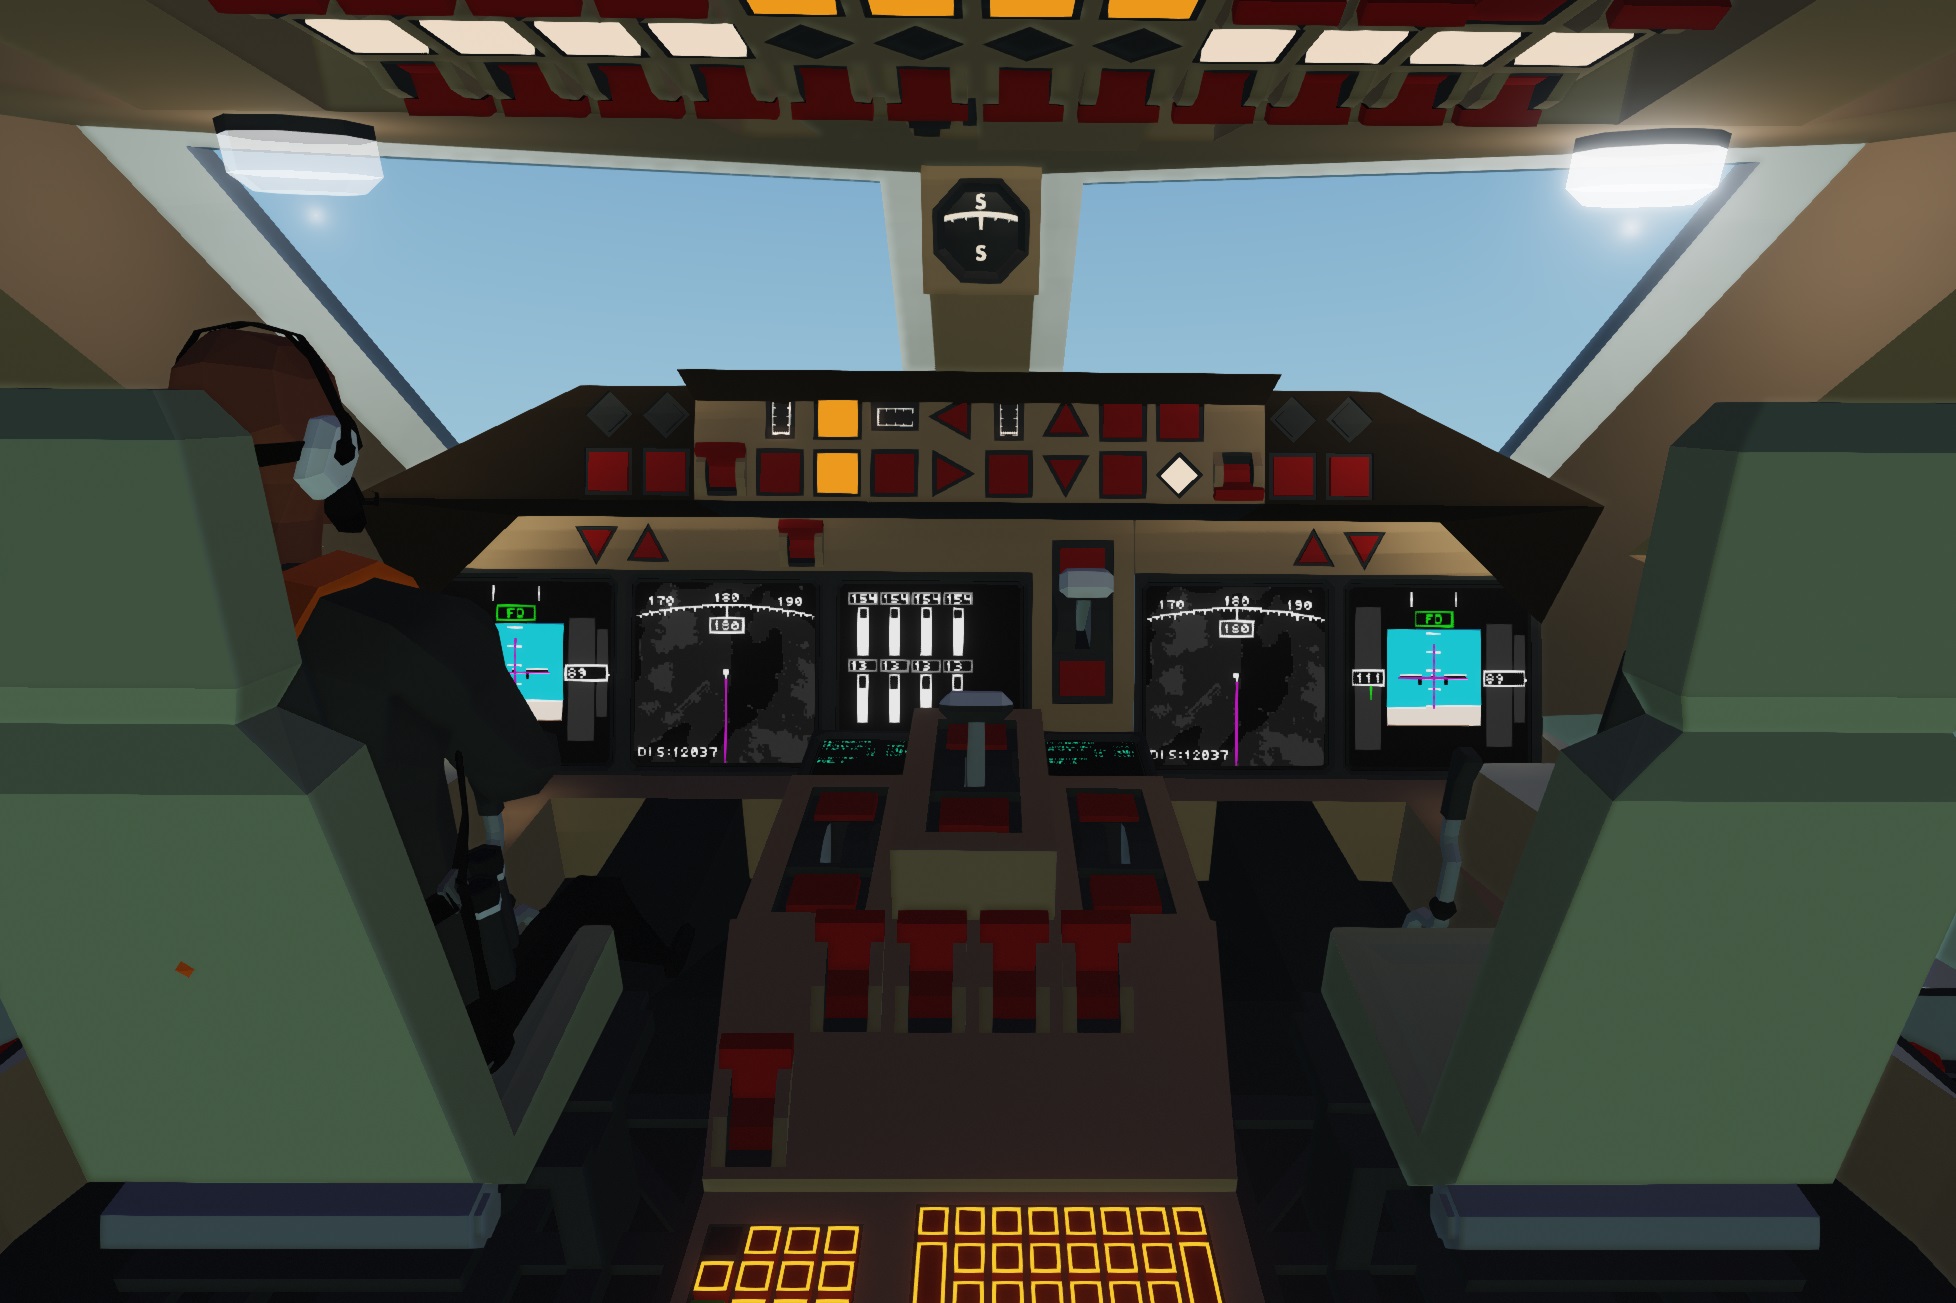
-Custom made FMC- Route, PERF, and LEGS pages
-Custom made PFDs based off of jbaker96's glass cockpit addons
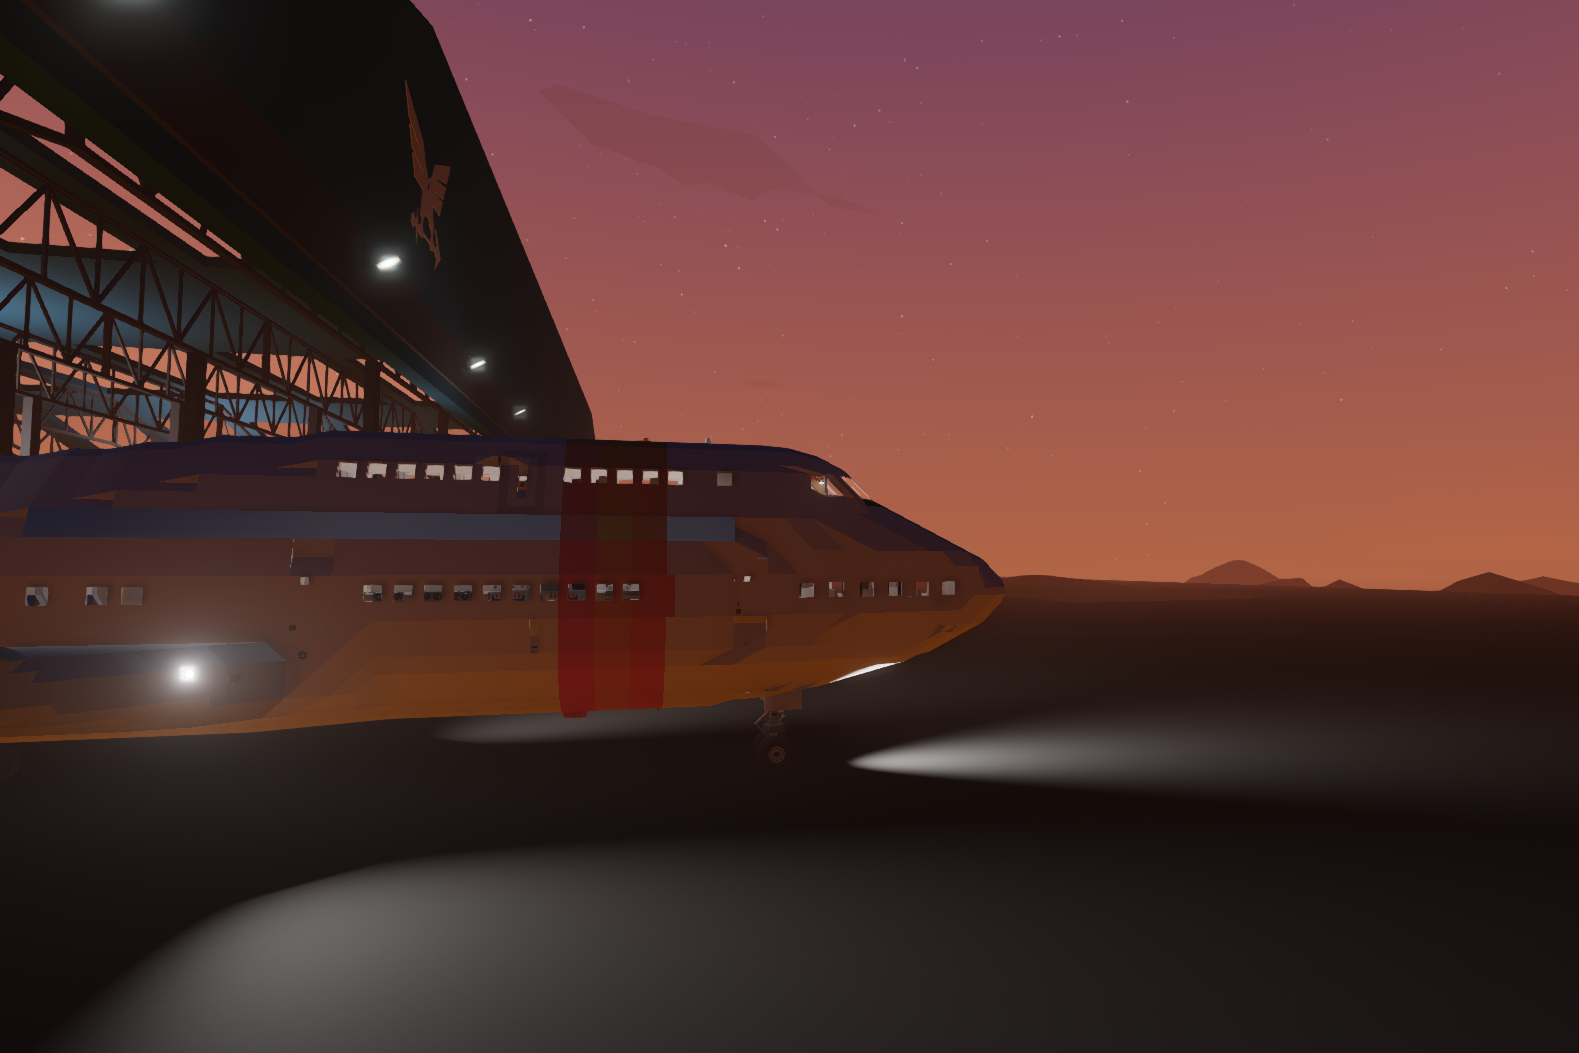
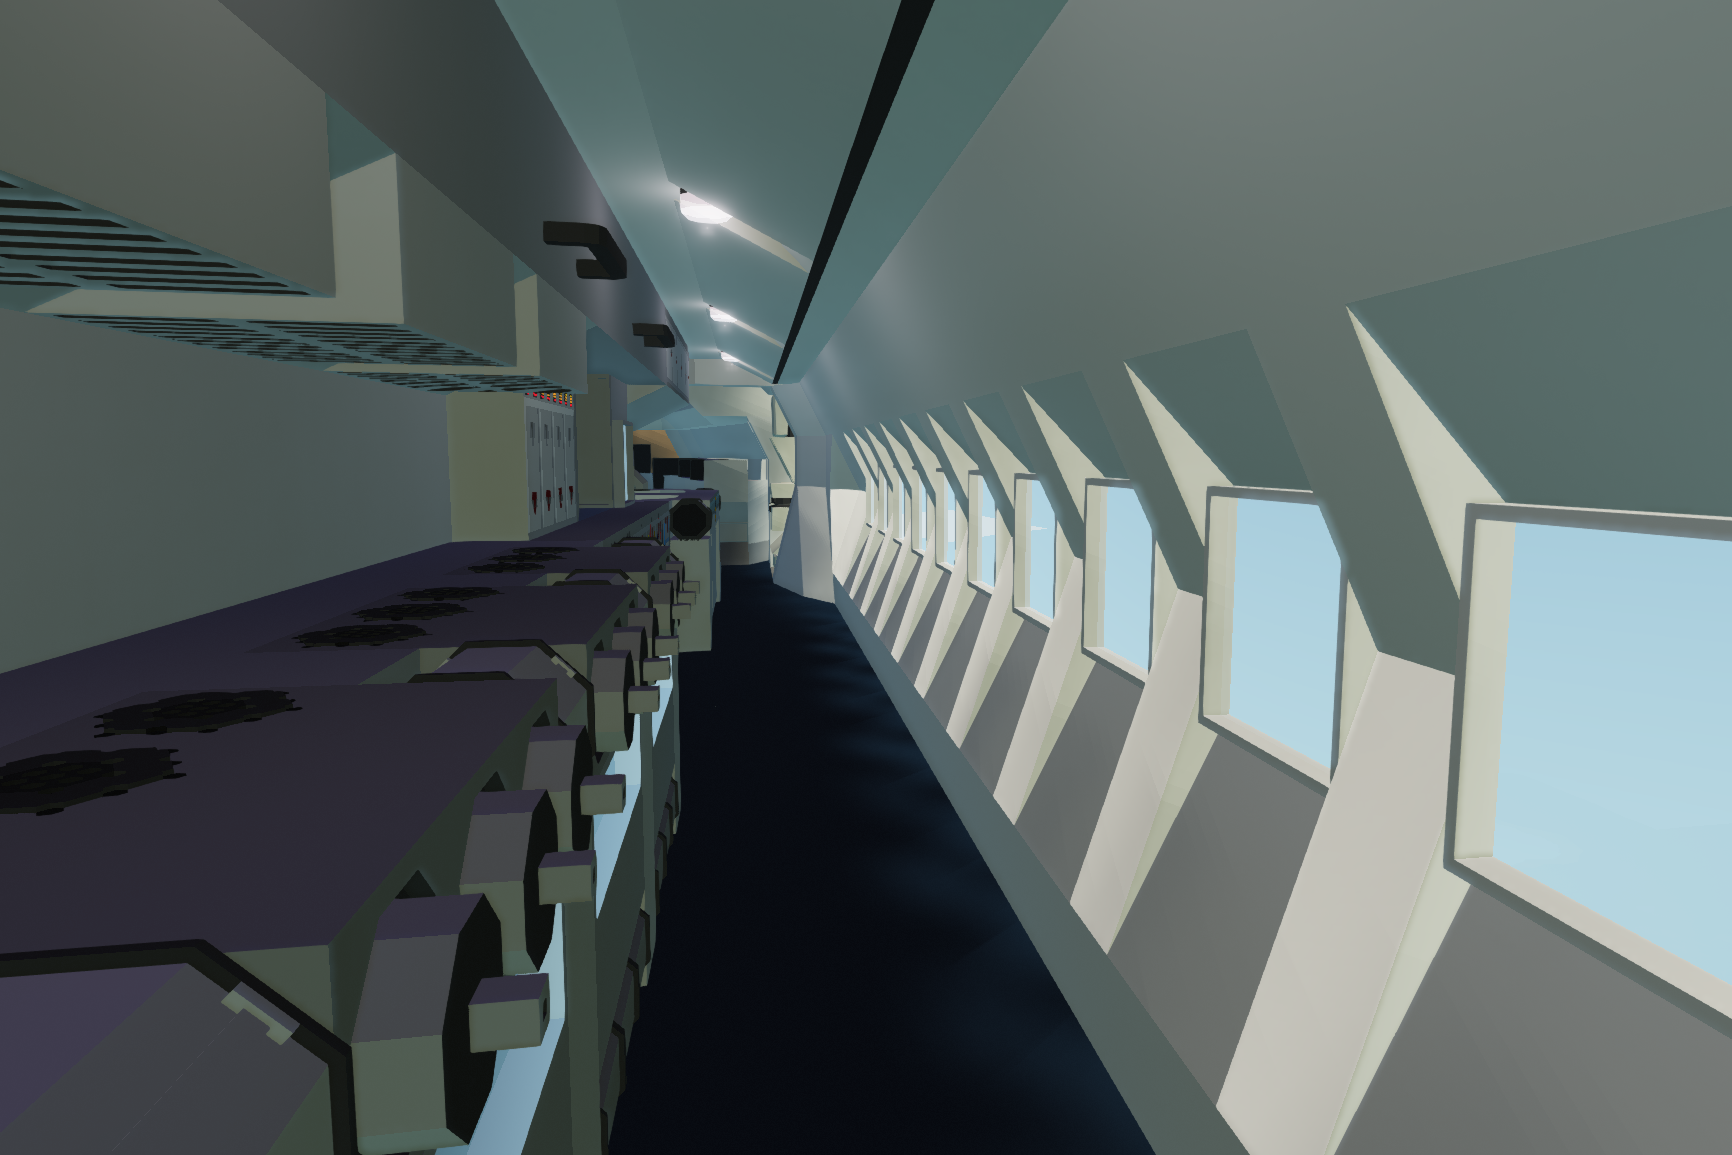
-Forward and aft cargo bays
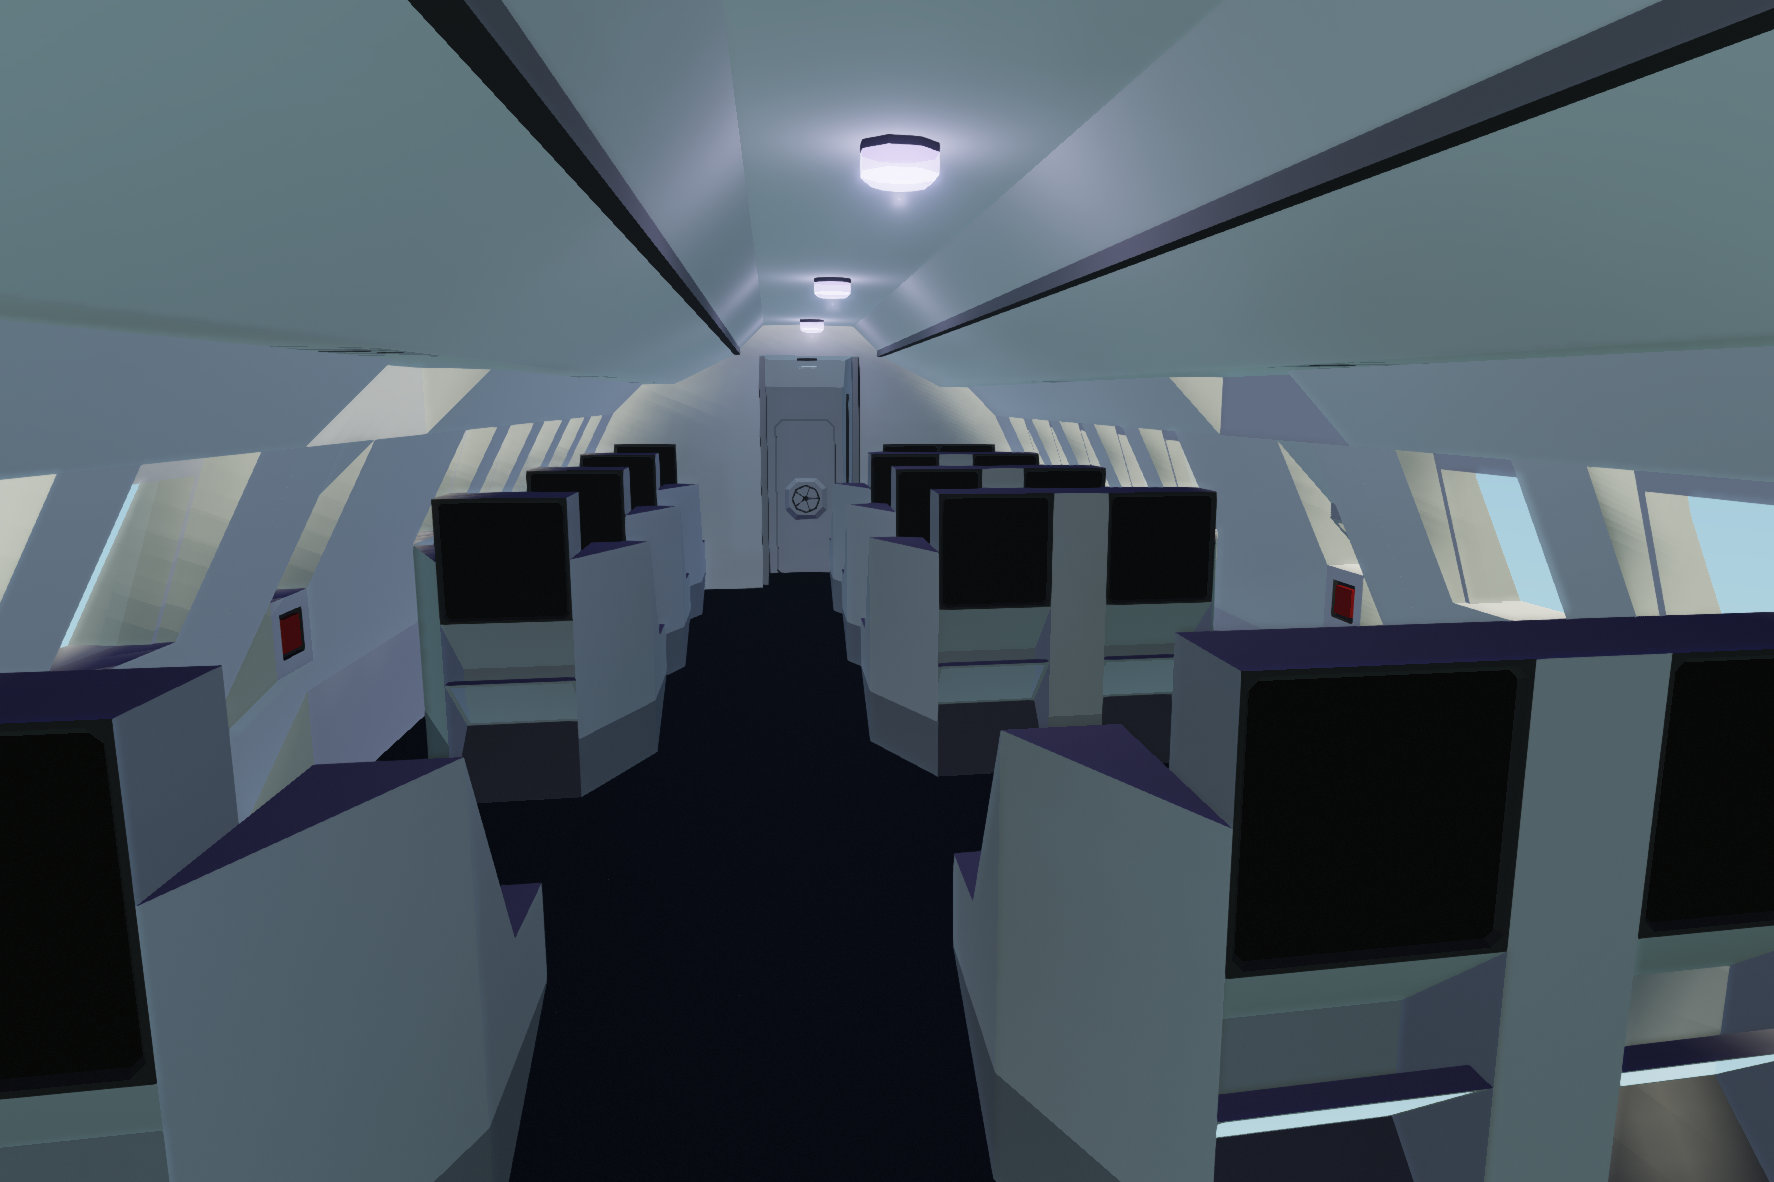
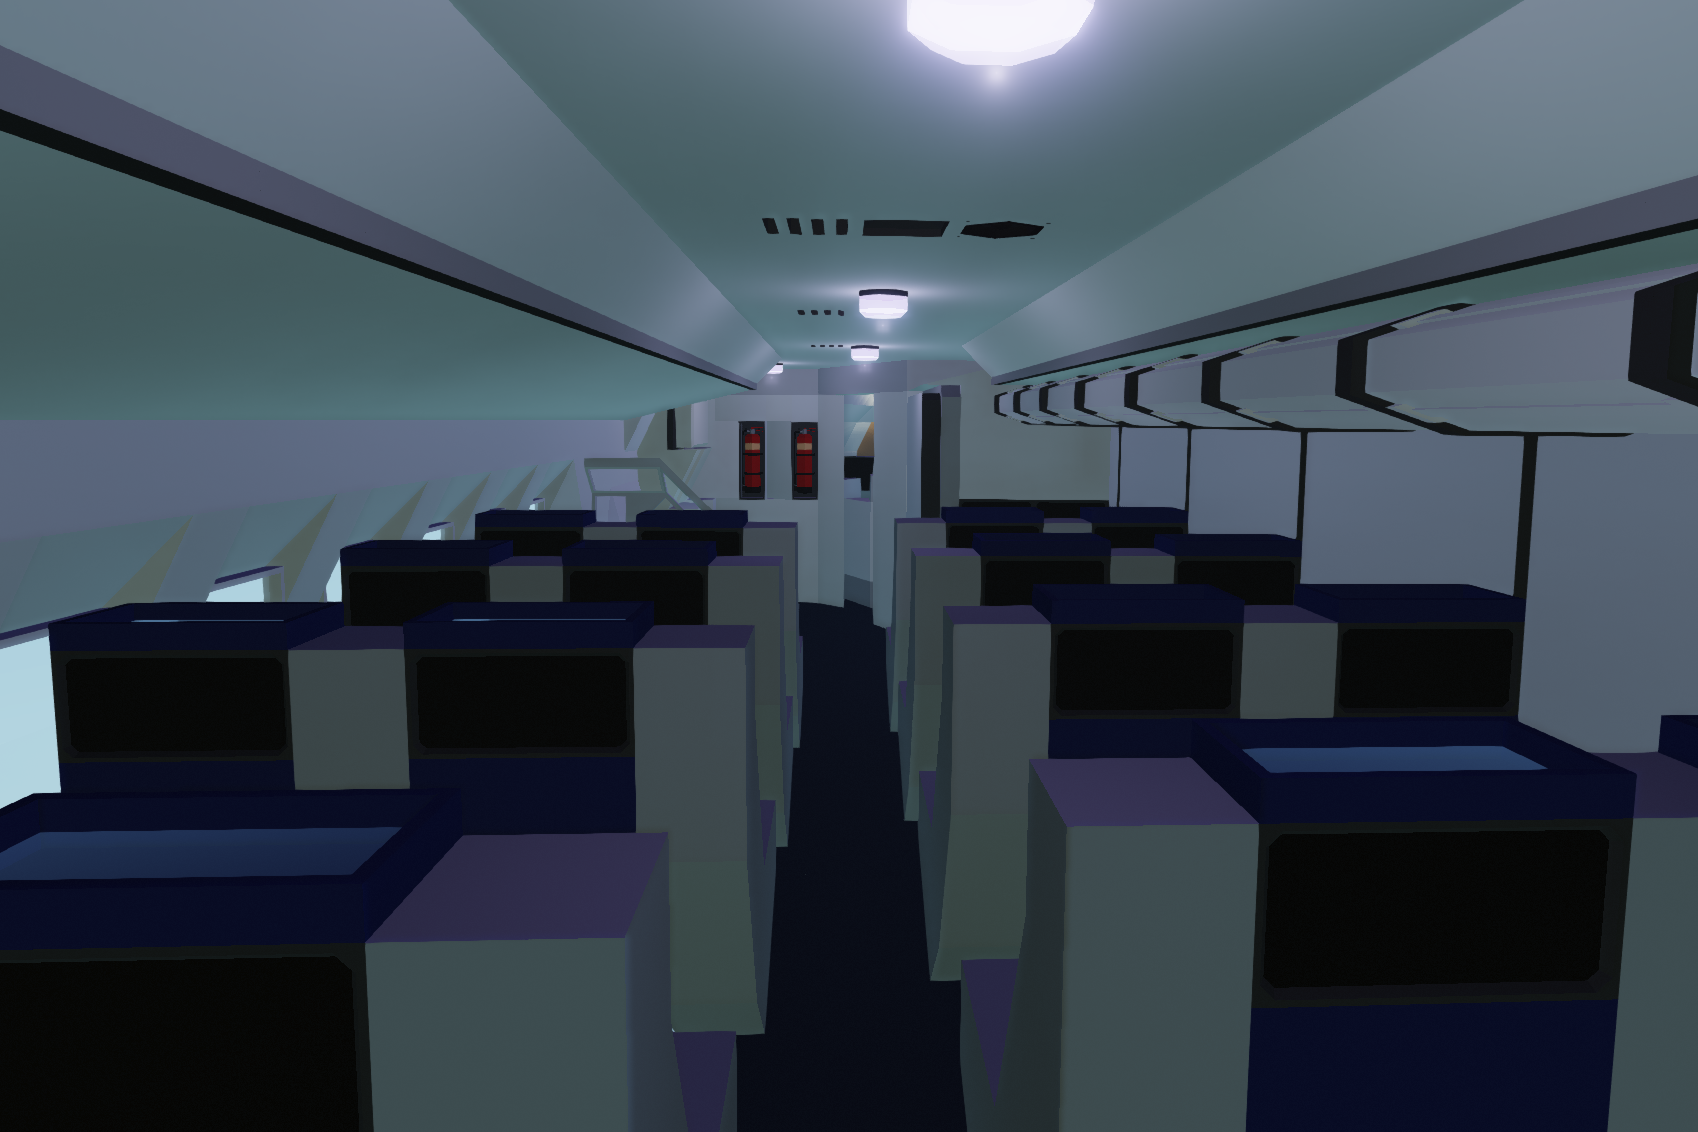
-Three class layout: business, premium economy, and economy
-Engine and Cabin Fire failure systems
-Full Stormlink compatibility
-215 seat capacity
-Full hydraulic and electric systems
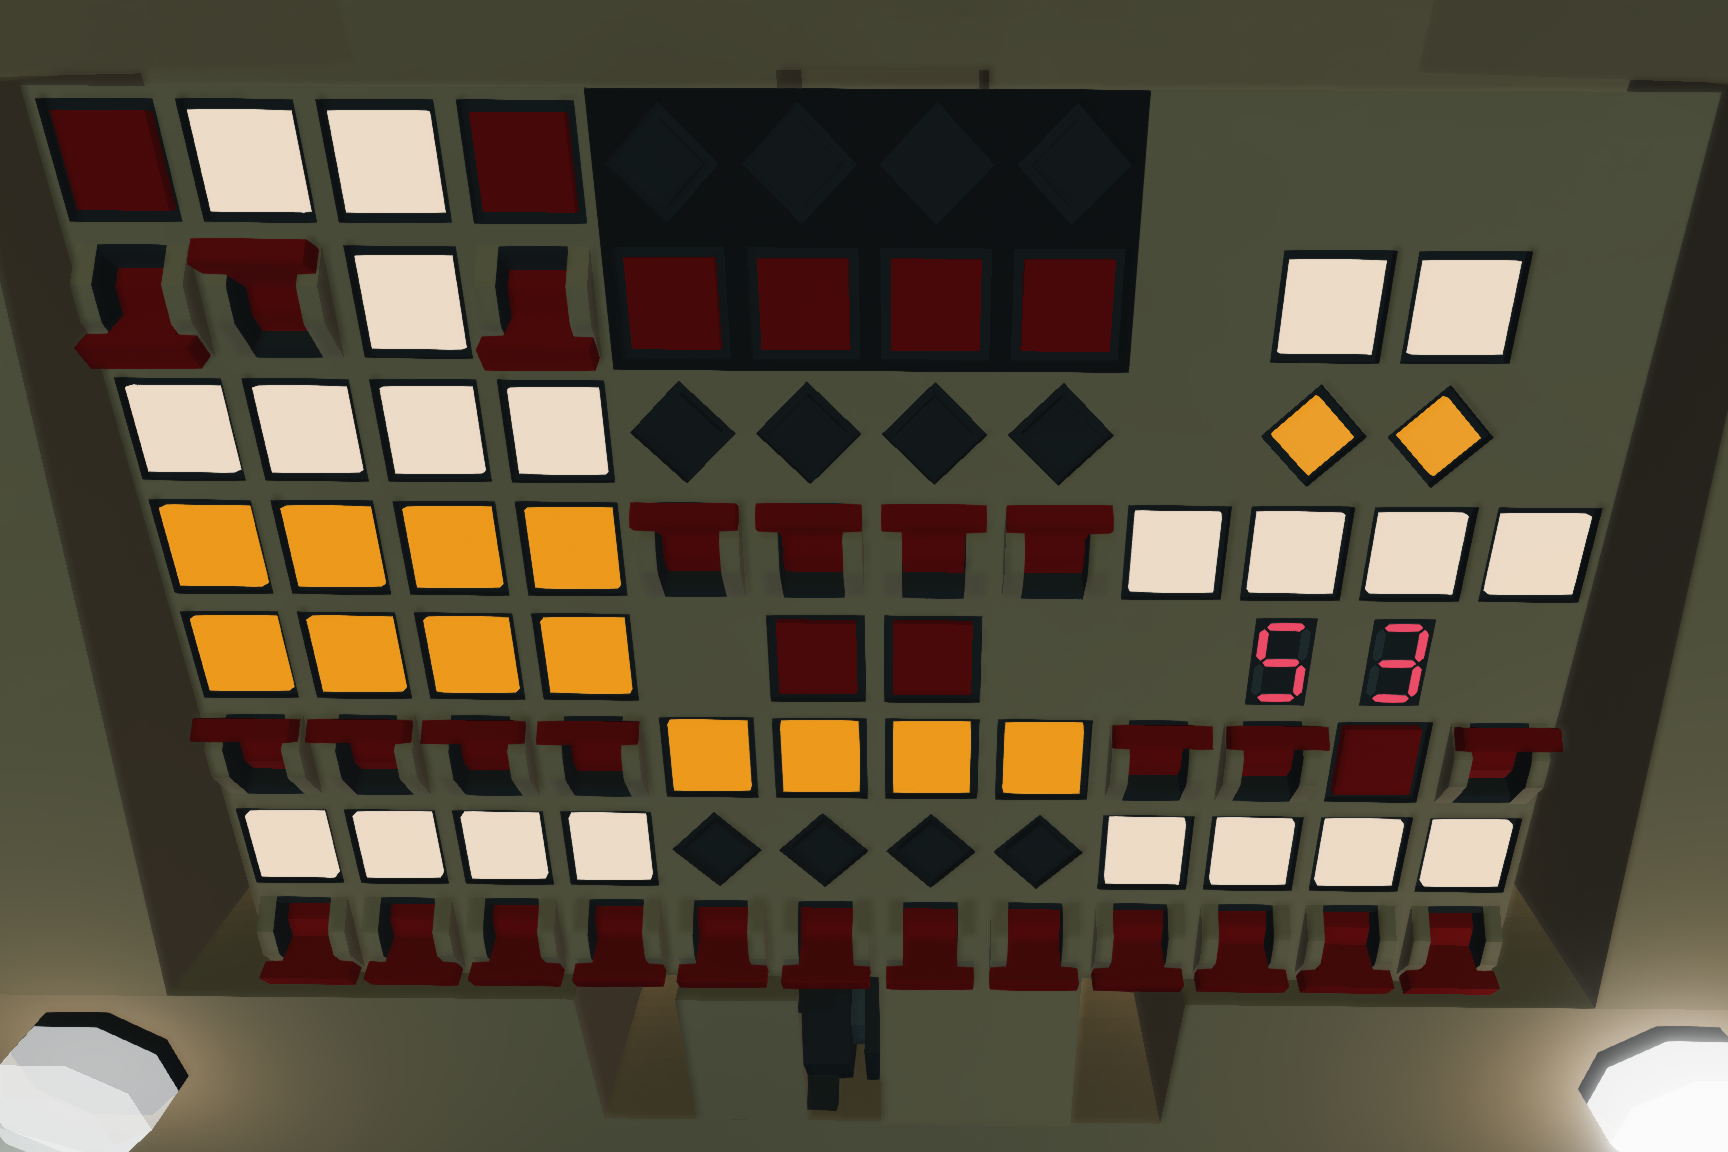
2). STBY PWR- ON
3). 4 BUS TIE switches- ON
4). IRS NAV switch- ON
5). APU & APU GEN- ON
6). Engine GEN & GEN DRIVE switches- ON
7). L, C, R fuel pumps- ON
8). APU & Engine Bleed Air- ON
9). Autopilot and FMC (optional) - SET
10). NAV Light- ON
11). Pedestal ENG Fuel Switches- ON
12). Start the engines using the four start switches- verify start lights indicate rotation
13). 4 HYD Demand switches- ON
14). 4 HYD Pumps- ON
15). F/D switch- ON
16). Parking Brake- OFF
Once you are in the air, turn off the APU, but leave it on on the ground as the engines don't produce enough power at idle to charge the batteries. Make sure that the PACKs are off if you are starting the engines. The cabin lights can be adjusted using the panel near the roof.
To make a flight plan, first use the FMC next to the throttle and change it to the LEGS page. (You'll probably have to zoom in with RMB). Add your first waypoint in the keypad below the throttle, and press the arrow button to add it to the flight plan. You should see a waypoint appear on the LEGS page. Just keep on doing this until your flight plan is done.
LNAV and VNAV
LNAV, or Lateral Navigation, pretty much functions like a multi-waypoint autopilot on this plane. Just turn it on and activate the autopilot and it will follow the flight plan you input. VNAV, or Vertical Navigation, is meant to be used along with LNAV as a form of altitude hold. It will climb the plane to a cruising ALT of 1,000 meters, and when it sees the flight plan is ending it will automatically descend to 300 meters. Neither LNAV or VNAV are needed to use the autopilot, as it also has a conventional ALT hold and Heading Hold.
Autoland
As always, the autoland on this plane is kind of janky. APP works fine most of the time, but I wasn't able to get a localizer system working so you still need to steer the plane. To use autoland, take a waypoint around halfway down your chosen runway and input it into the keypad below the throttle. Next, if the airport is at a higher elevation (like the military base or the Arctic runway) you should set the altimeter to around 10 or 20. This tells the plane to fly higher to avoid crashing on approach. Runways like Harrison and O'Neill are safer as the altimeter can just be left at zero for them, but as always the best thing to do would probably just be to land the plane yourself.
This plane is also available in a Delta Airlines livery here: https://steamcommunity.com/sharedfiles/filedetails/?id=2570674849
Credits
Waypoint Queue: https://steamcommunity.com/sharedfiles/filedetails/?id=1627223575
Auto Approach: https://steamcommunity.com/sharedfiles/filedetails/?id=2053431328
Heading Hold: https://steamcommunity.com/sharedfiles/filedetails/?id=1812041566&searchtext=heading+hold
ALT Hold: https://steamcommunity.com/sharedfiles/filedetails/?id=1810789916&searchtext=aircraft+stabilization+mc
PFD: https://steamcommunity.com/sharedfiles/filedetails/?id=1744477495&searchtext=glass+cockpit
NAV Display: https://steamcommunity.com/sharedfiles/filedetails/?id=1748077606&searchtext=glass+cockpit
Seven Segment: https://steamcommunity.com/sharedfiles/filedetails/?id=1694004338&searchtext=seven+segment
This is a remake of one of my older 747s: https://steamcommunity.com/sharedfiles/filedetails/?id=2100381266
If you have any issues or I forgot to add you in the credits, let me know in the comment section
Check out my other creations
TU-144: https://steamcommunity.com/sharedfiles/filedetails/?id=2780582235
727: https://steamcommunity.com/sharedfiles/filedetails/?id=2636648496
A310 MRTT: https://steamcommunity.com/sharedfiles/filedetails/?id=2616652039
This plane can be spawned in through a custom mission or an edited workbench
Як завантажити моди?
Натисніть на кнопку вище та завантажте обраний мод з файлового сховища.Як встановити мод?
Див. секцію "Як встановити".Чи безпечний завантажуваний файл?
Моди перезаливаються нами з оригінального джерела, без жодних змін. Ми лише запаковуємо їх в звичайний архів. Додатково можете перевірити архів на наявність загроз за допомогою будь-якого антивірусу або онлайн-сканеру на кшталт virustotal.com. Також рекомендуємо робити резервні копії ваших сейвів, про всяк випадок.
For vehicle mods
- Download the .zip archive containing the vehicle mod files.
- Locate your game's root folder.
- Navigate to
rom\data\preset_vehicles_advancedand extract the files there. - Rename both files to something recognizable, ensuring they share the same base name but different extensions.
- Launch the game and go to the Workbench's Presets tab to see the new vehicle mod.