
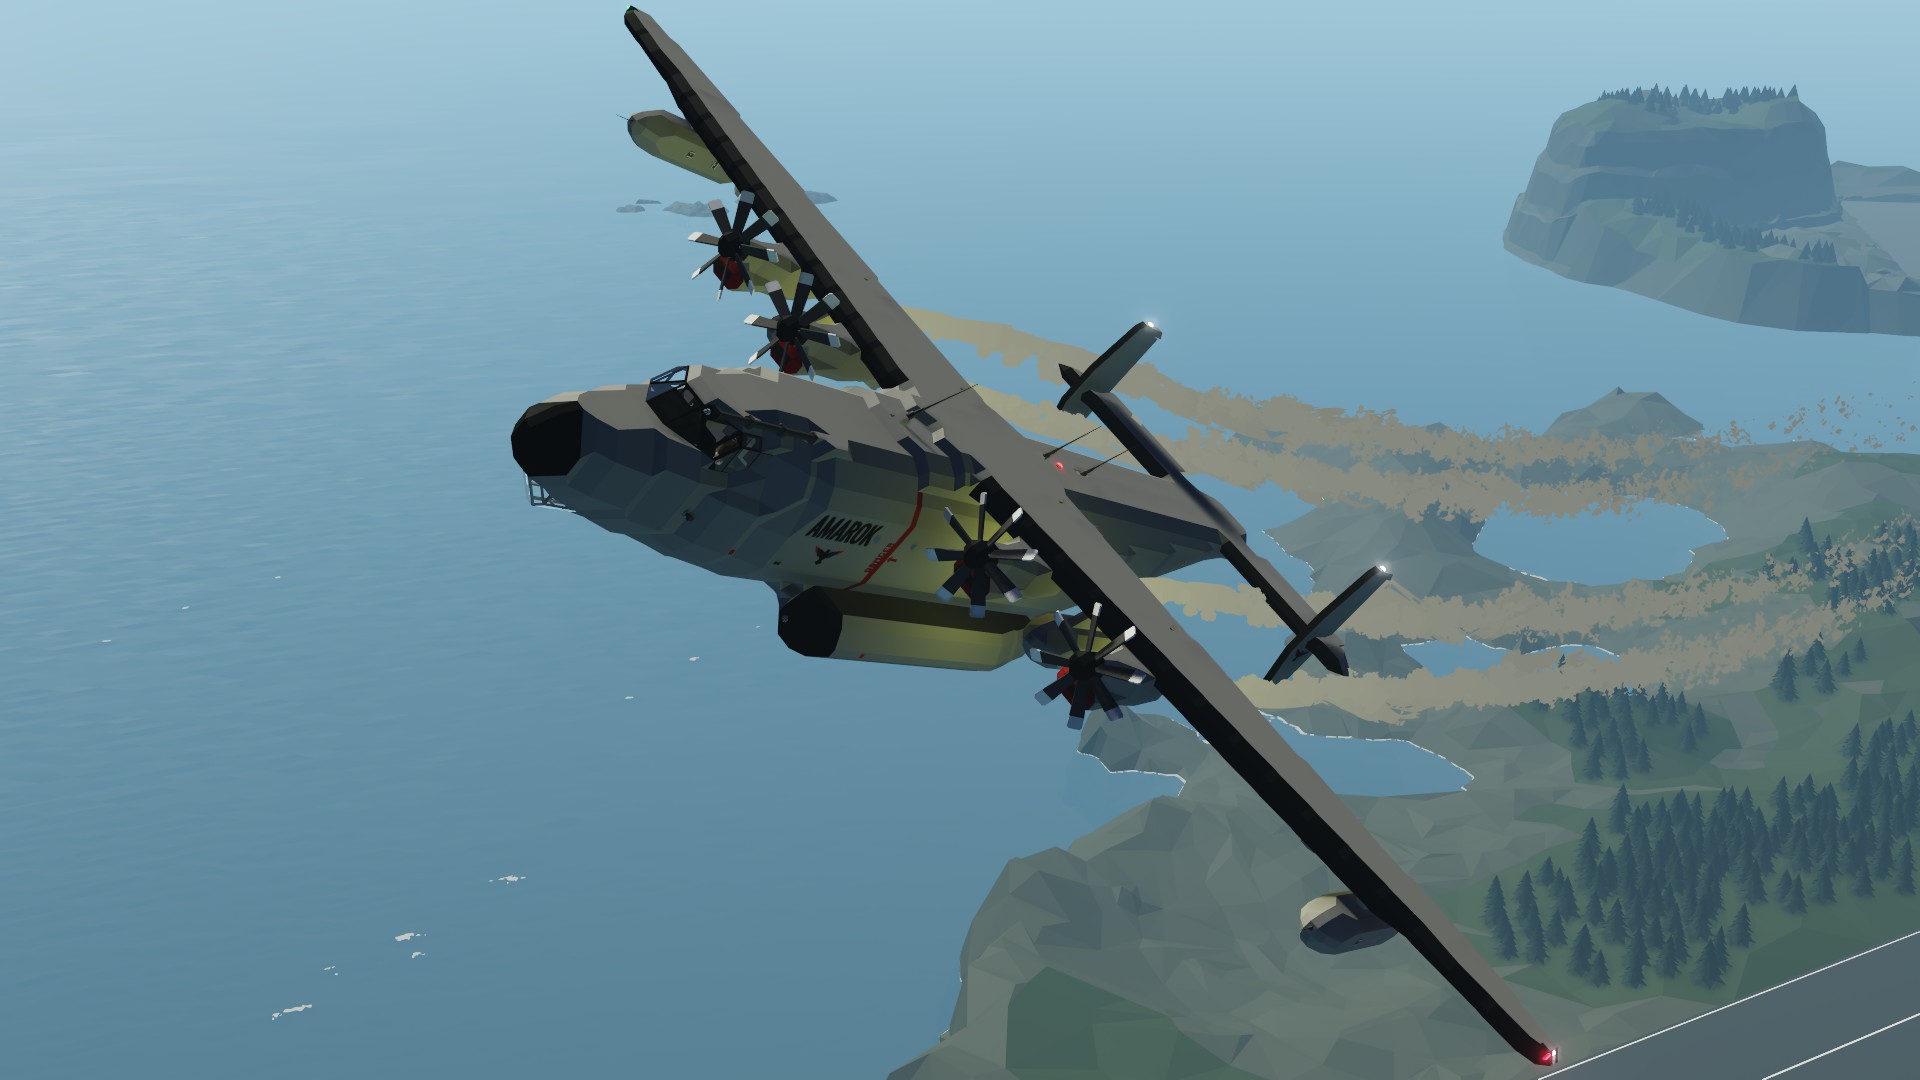
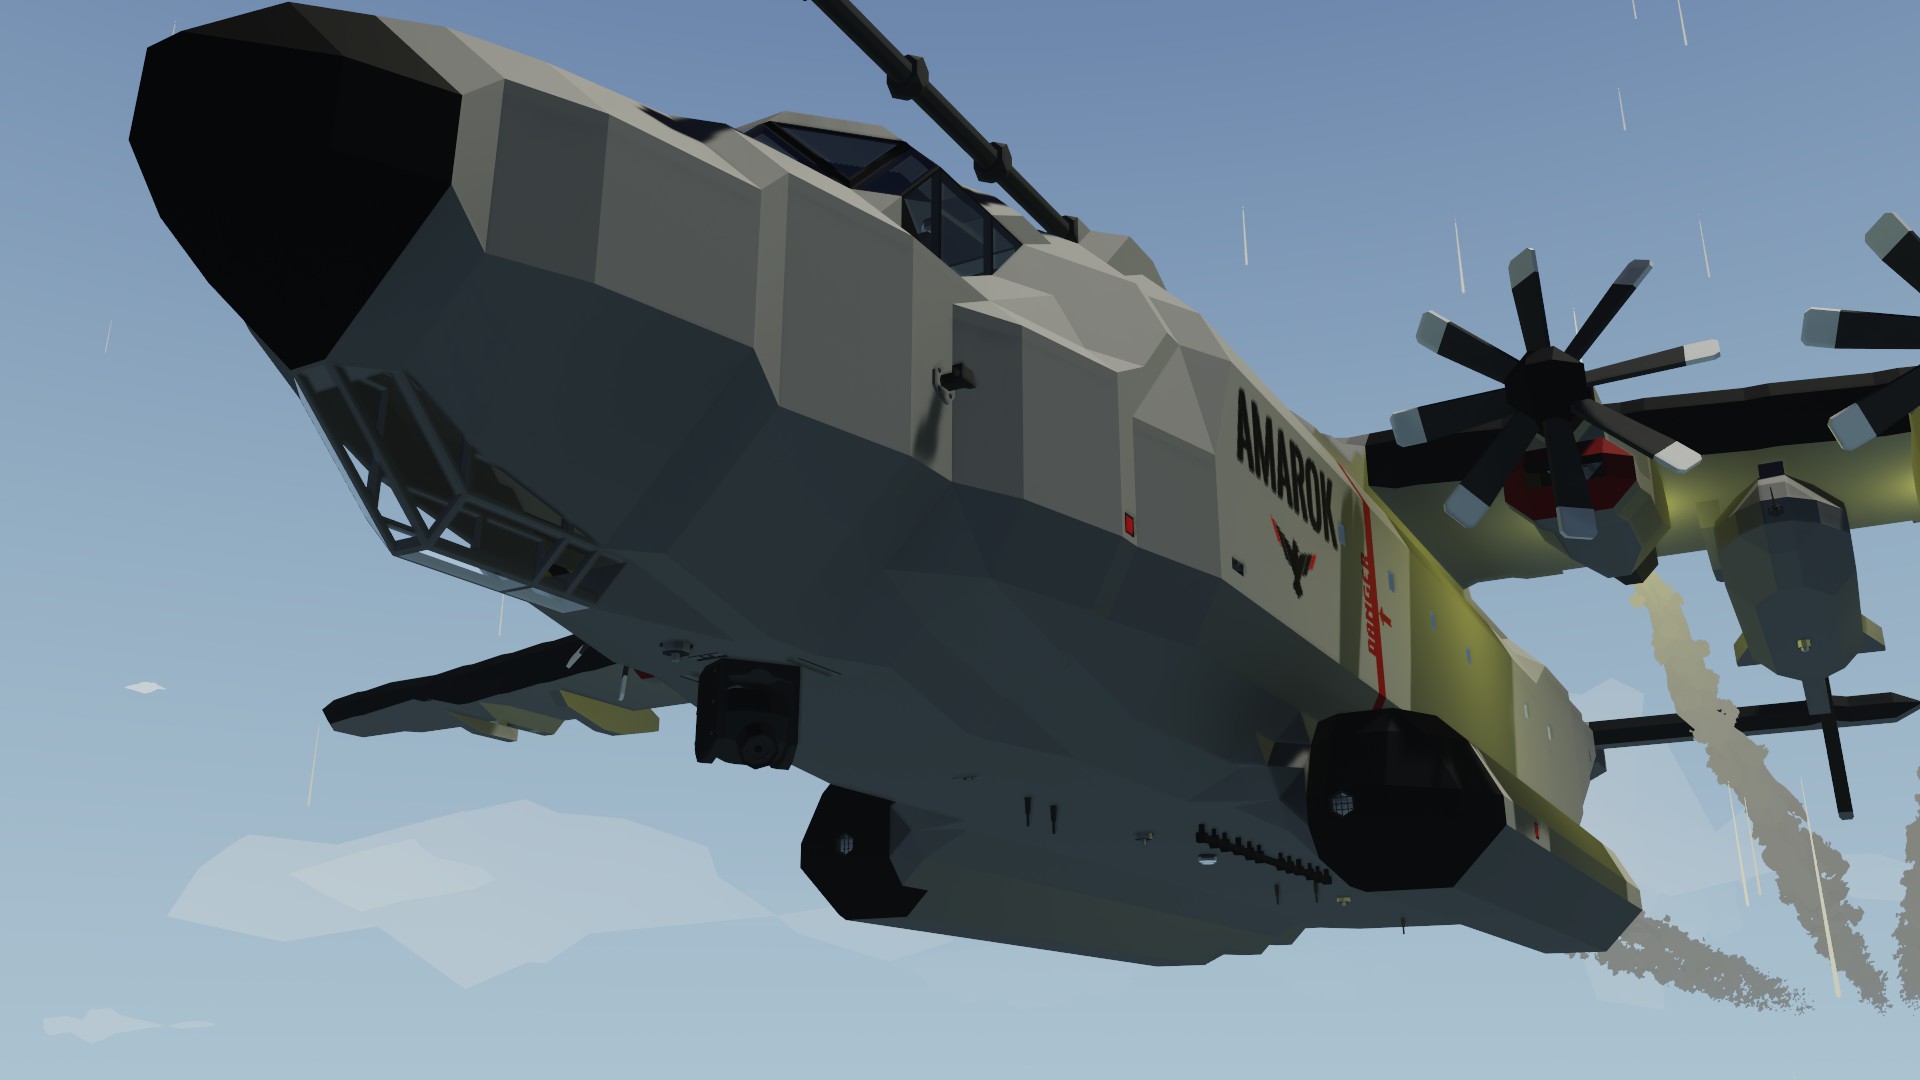
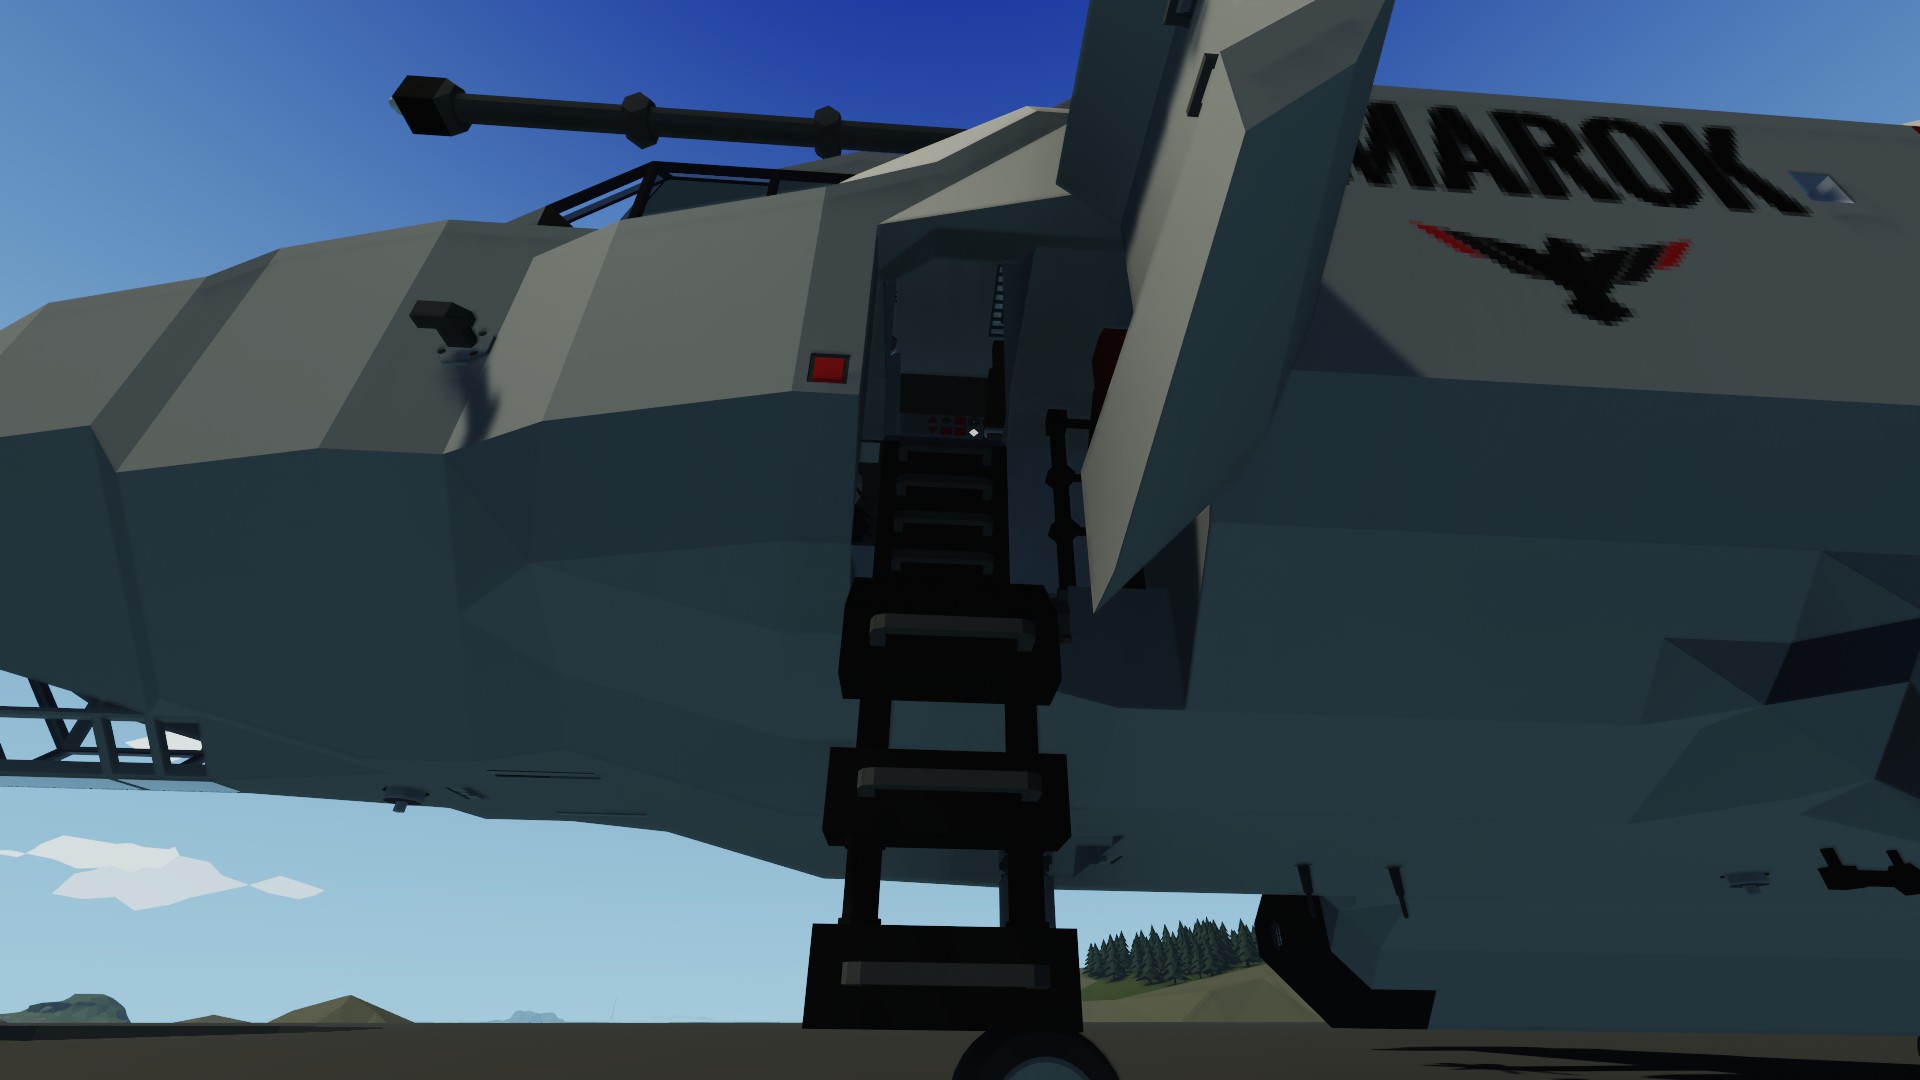

Eagleworks Amarok Cargo Aircraft
Vehicle, Air, Rescue, Exploration, Delivery, Wip, Technical, Mechanical, Advanced, v0.10.11

The Amarok ... is the new Do-It-All Aircraft in the Alpha Series from Eagleworks. With exceptional cargo carrying capacity, over 2 hours flight time, over 400+km range and in-flight refueling capabilites, this is an Aircraft you should definetly try out yourself!
(Short Disclaimer: I had to cut a bunch out from the actual plane for the 3D Model to work in the Workshop so there are some thin...
Розробник: Jazzy
Дата створення: 7 Mar, 2020 @ 7:14am
Оновлено: 15 Mar, 2020 @ 4:39pm
Підписників: 49946
Розмір (розпакований) : 4.683 MB
(Short Disclaimer: I had to cut a bunch out from the actual plane for the 3D Model to work in the Workshop so there are some things not beeing displayed in the 3D Model Viewer.)

- GPS Autopilot with seperate Coordinate Tracking, Altitude Hold and Bank Hold
- Excellent handling characteristics
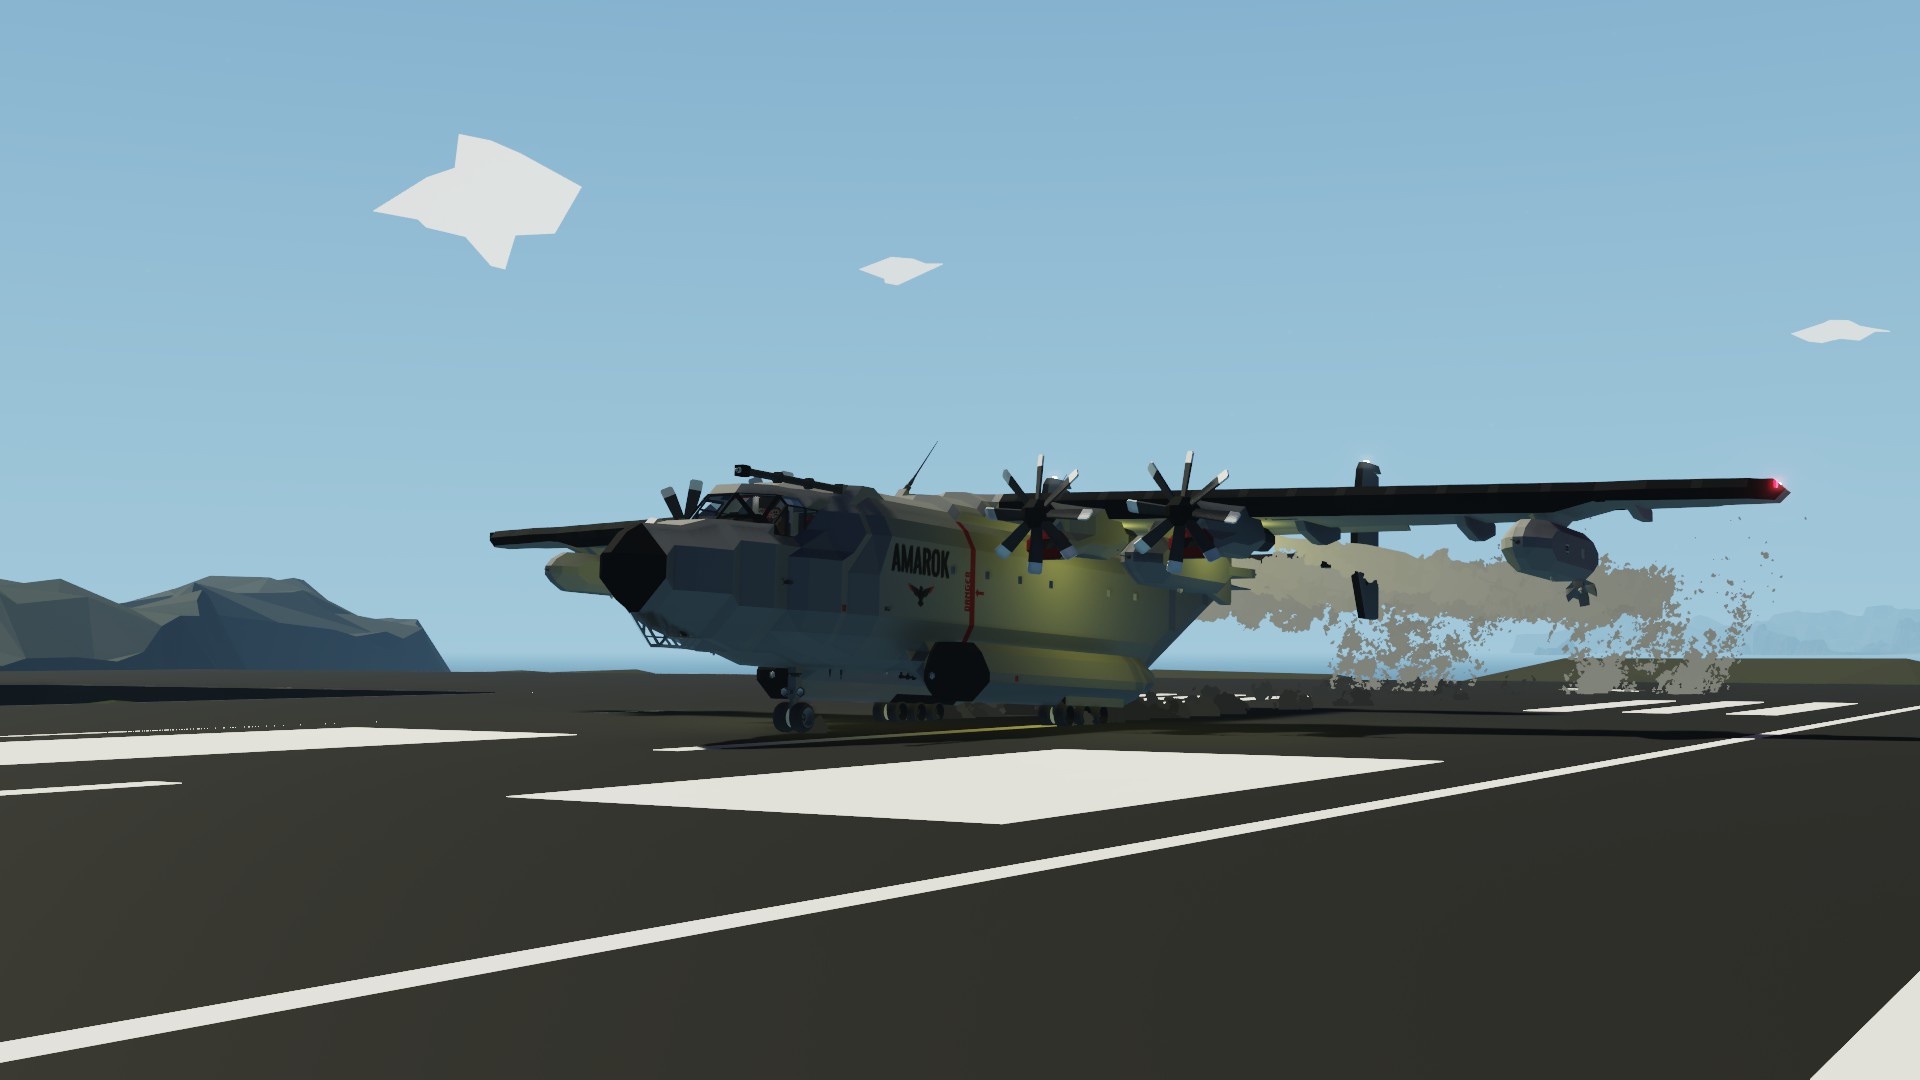
- 234 Knots Max Speed
- 400+km range so 2 times to the Arctic and back on 50% Throttle (Tested in harsh weather conditions)
- Over 2 Hours Flight Time on 50% Throttle
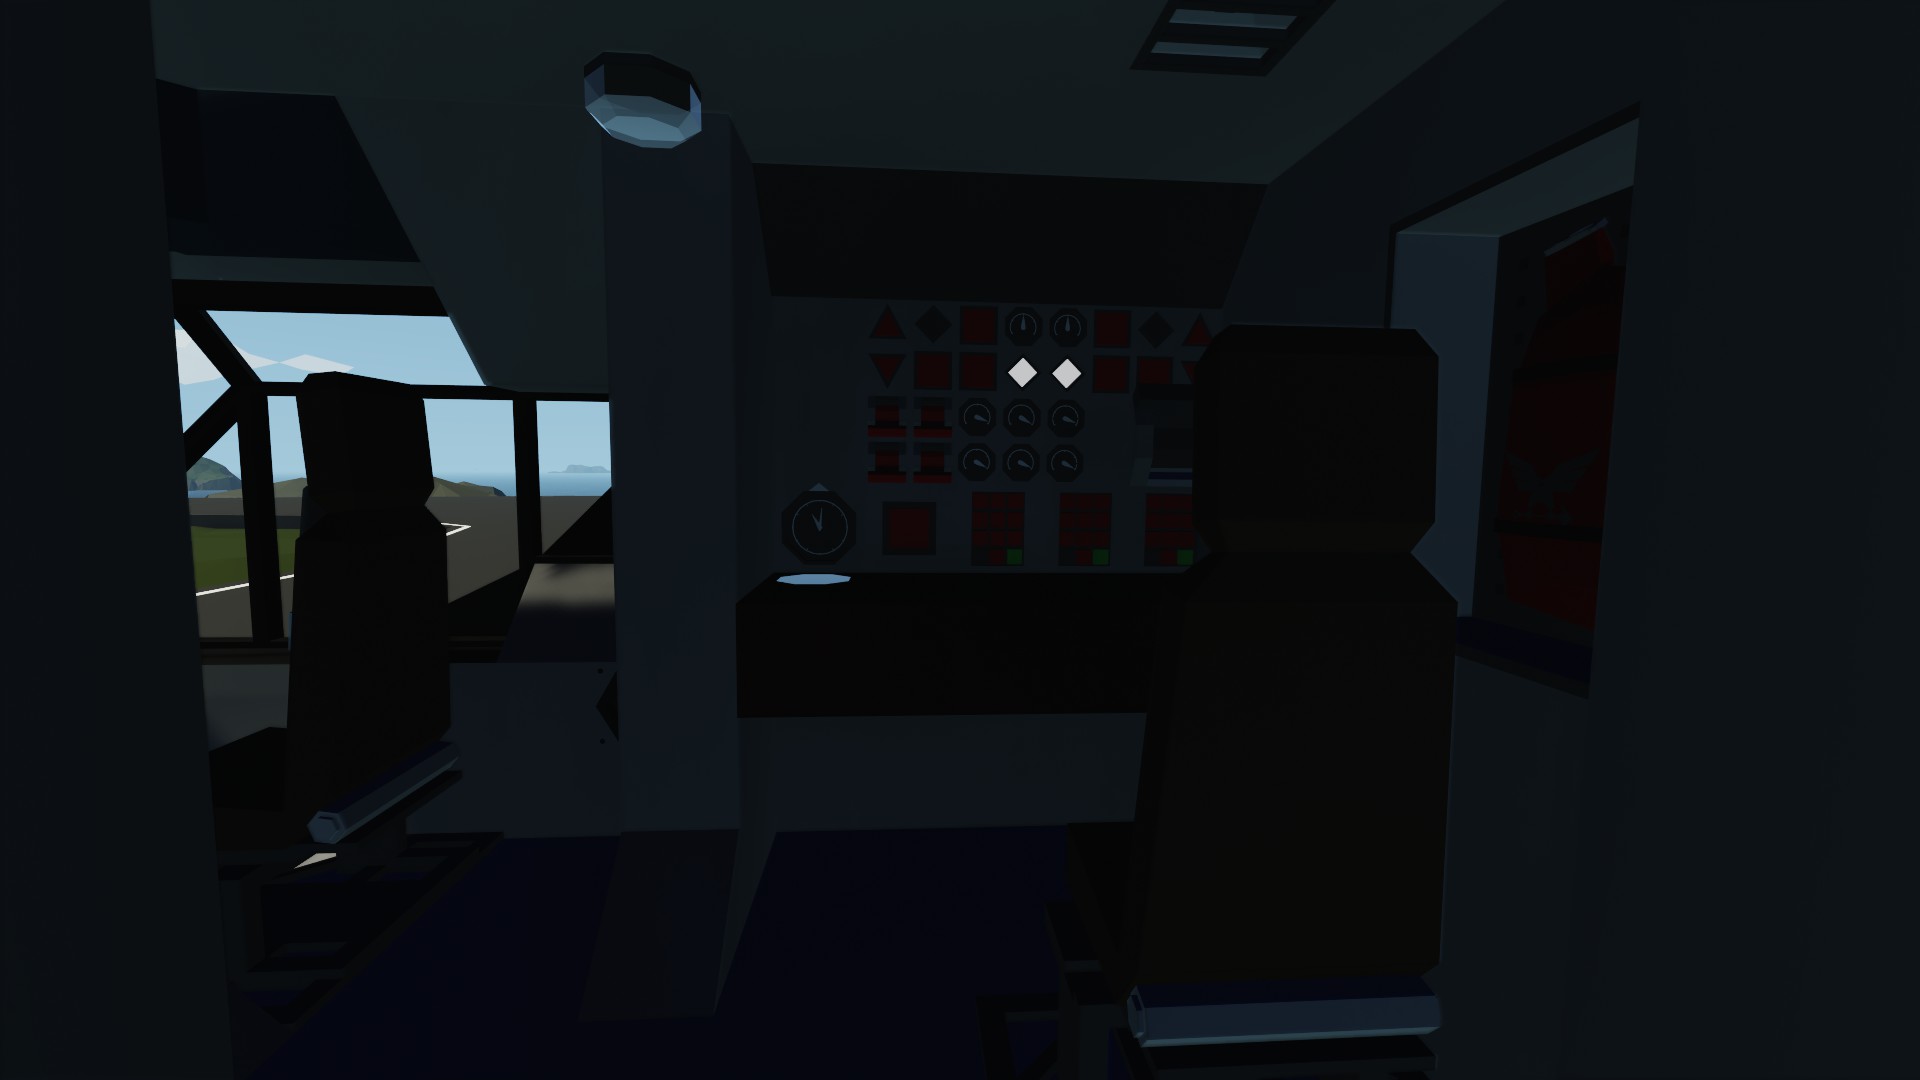
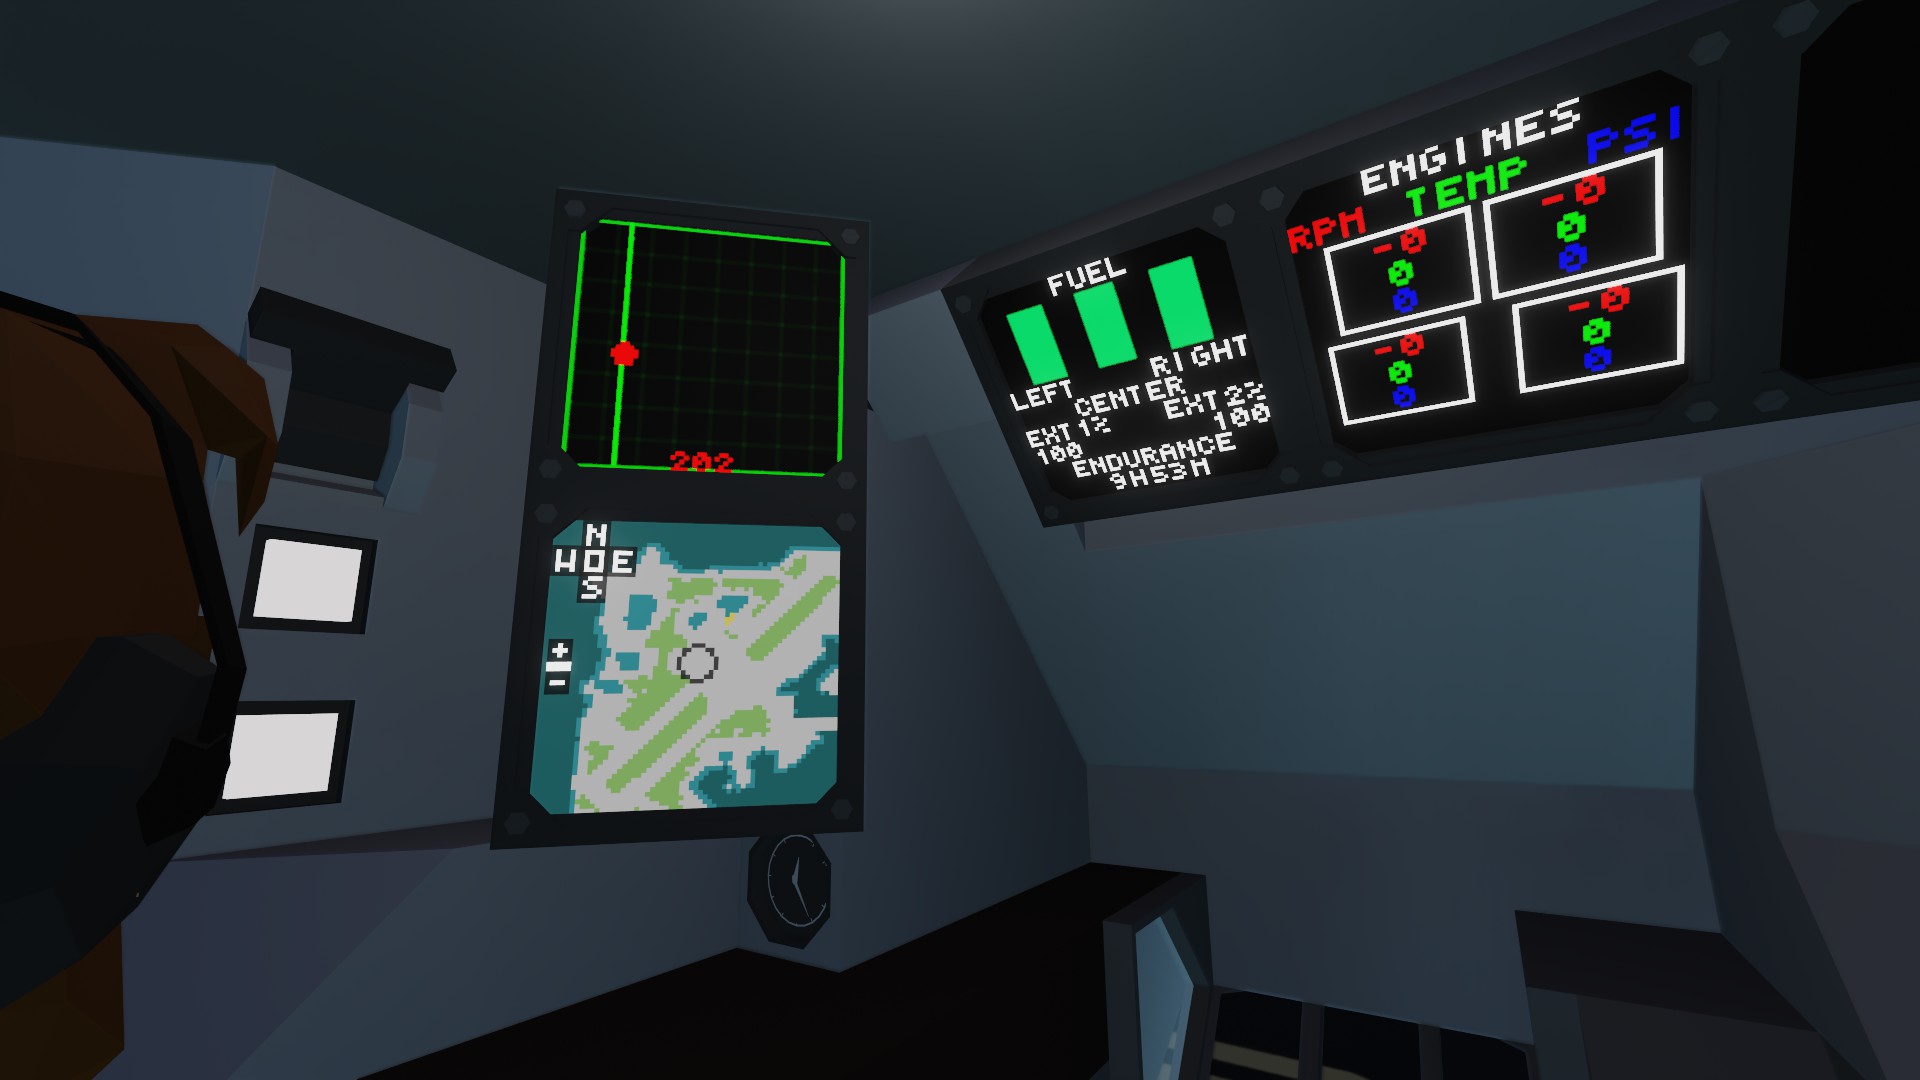
- PFD with Artificial Horizon
- MFD with 6 Pages
- Transponder for Tracking by ATC
- Extendable/Retractable Targeting Pod (TGP)
- In Air-Refueling Capabilities (both refueling and beeing refueld)
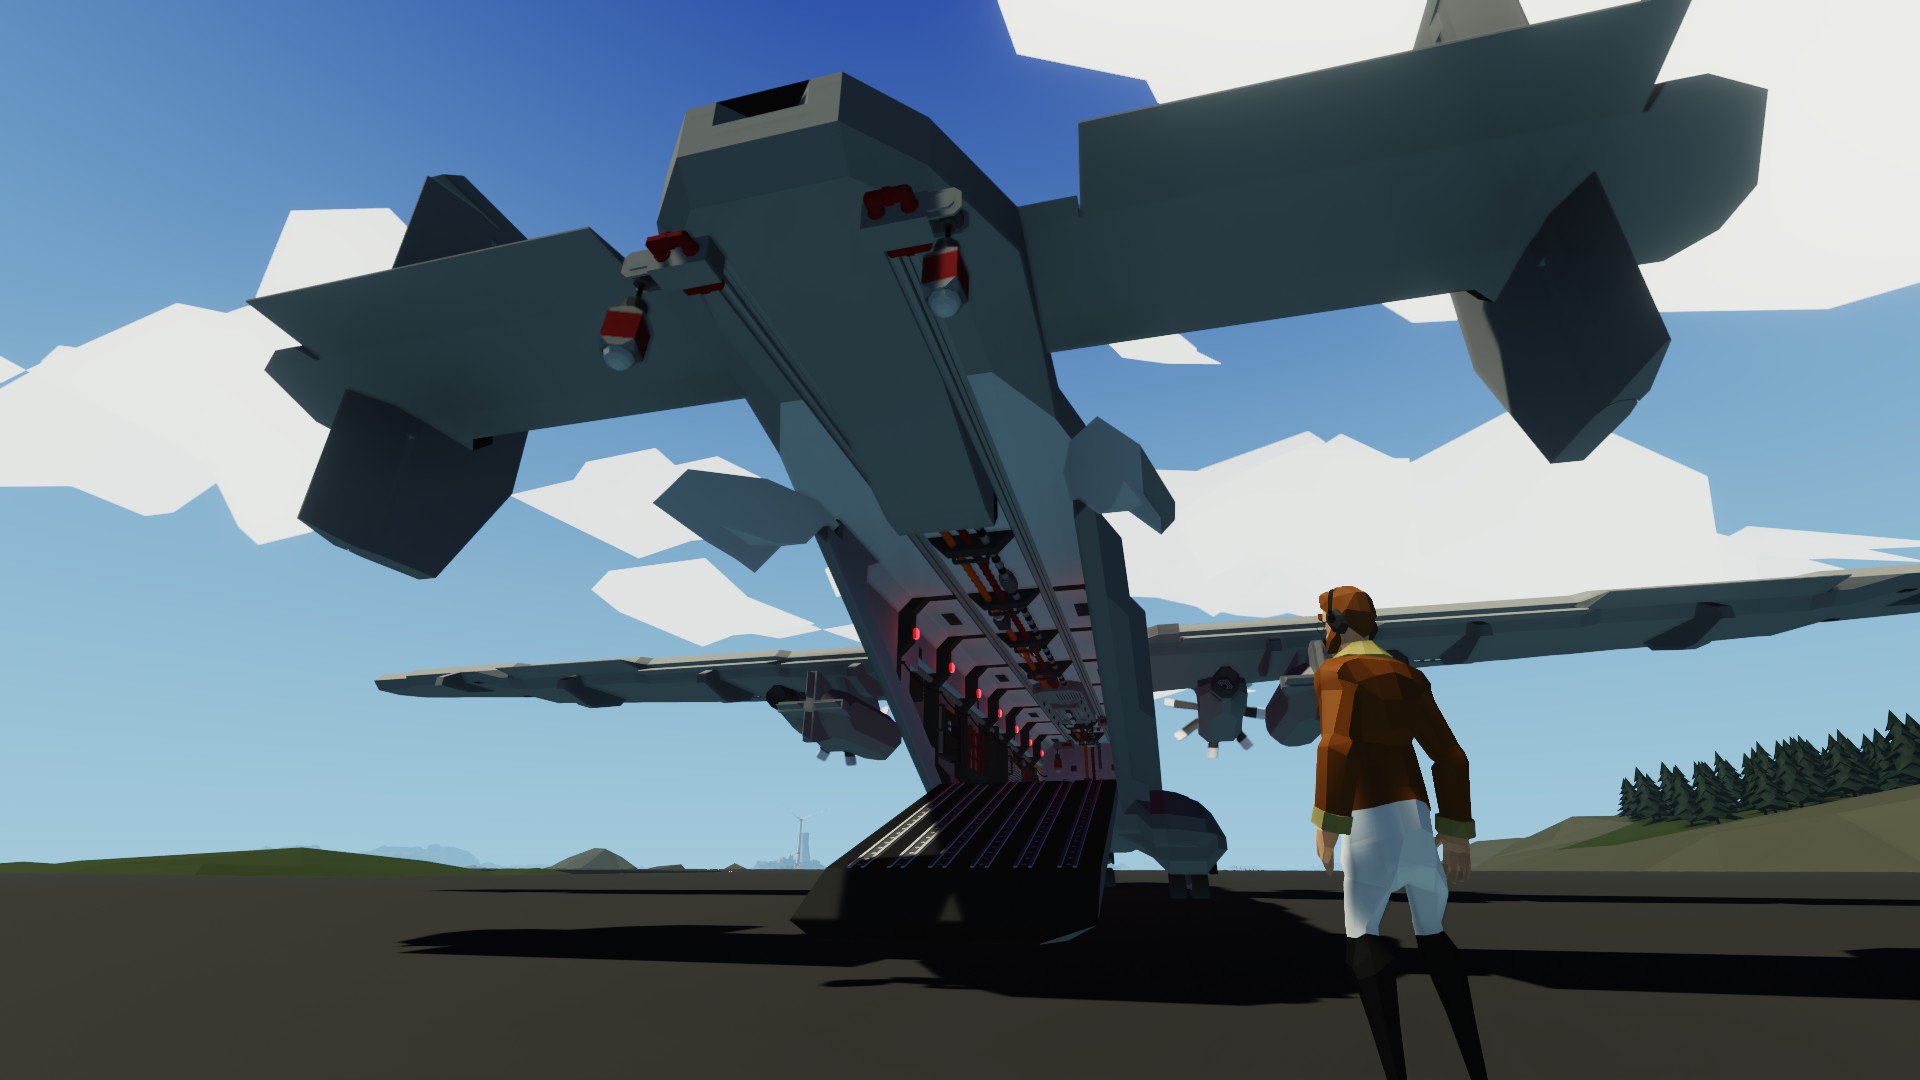
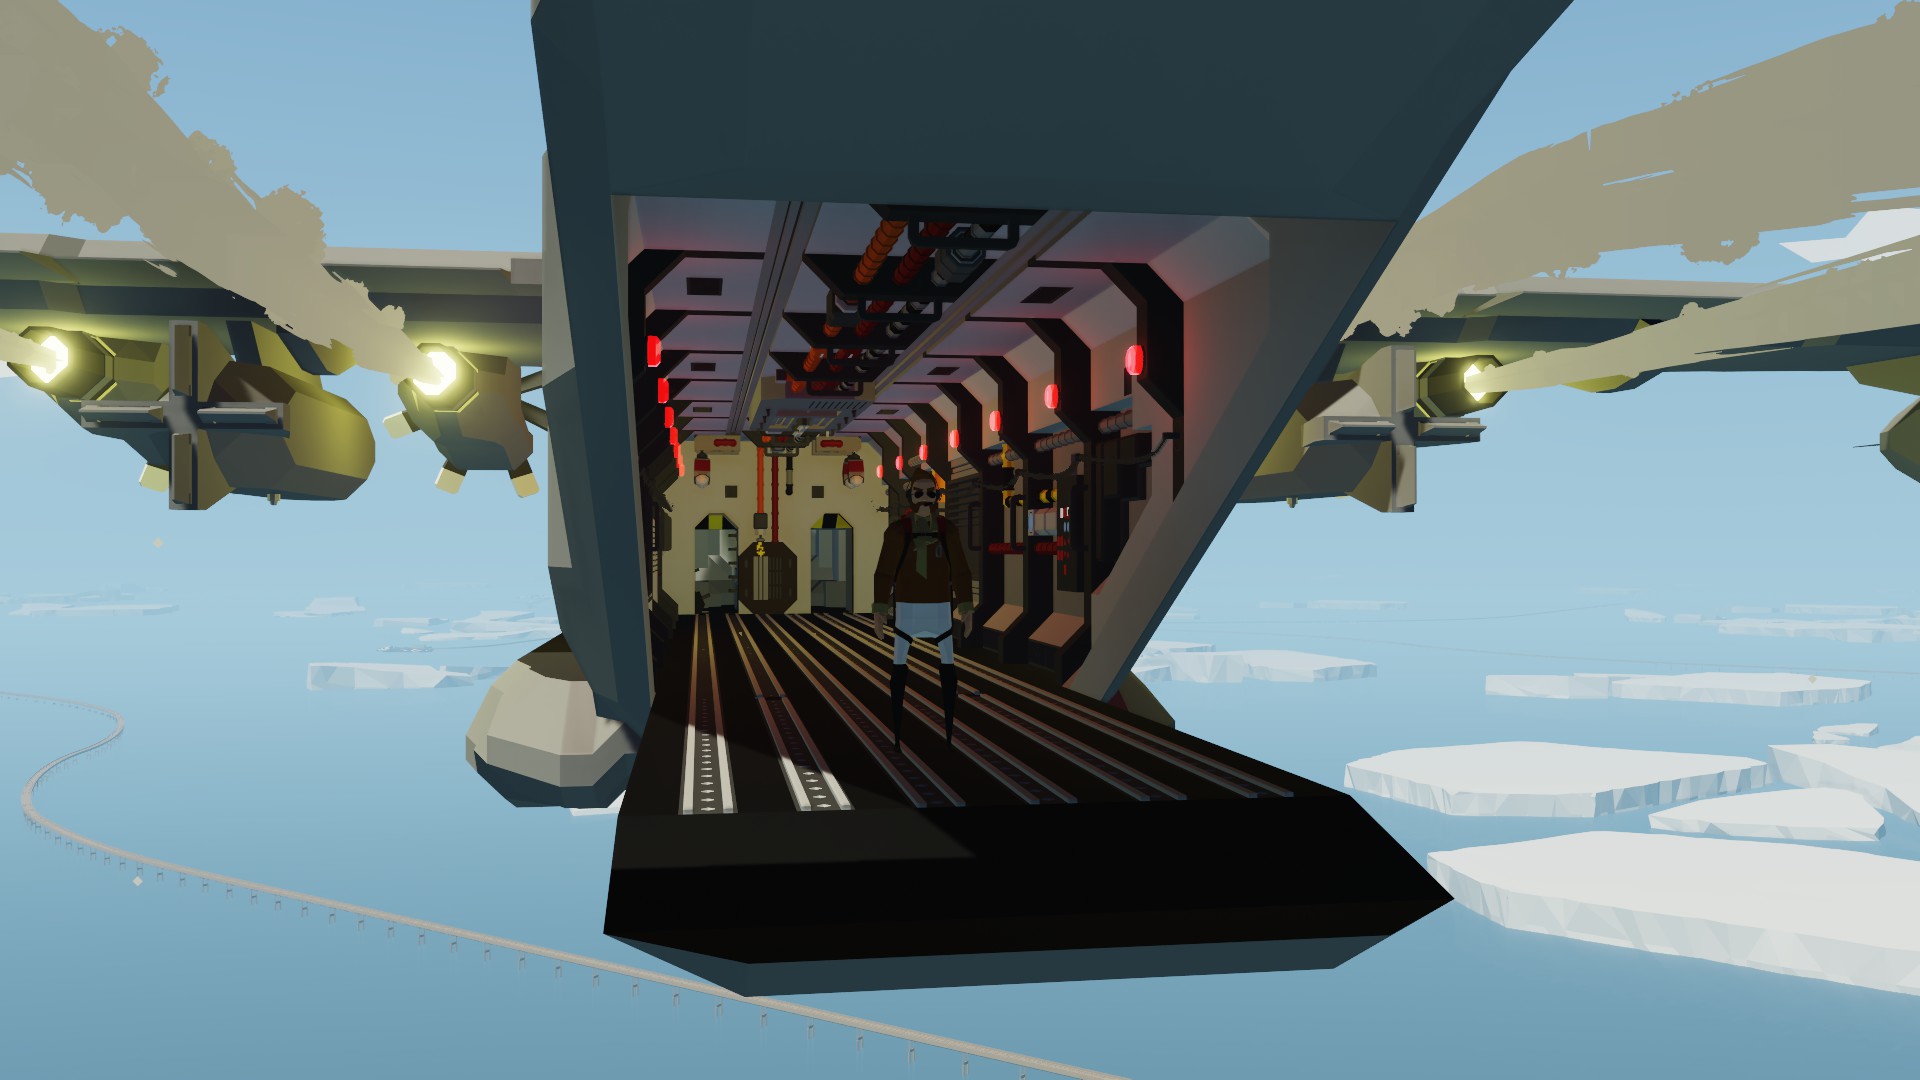
- 4 seperate controllable loading cranes reaching over the end of the ramp to be completely autonomous while loading
- 13 Blocks (3.25m) wide, 61 Blocks (15.25m) long and 11 Blocks (2.75m) high for maximum Cargo Capacity
- Short Take-off and Landing provided by 5 Settings Flaps
- Extensive Interactivity trough the whole Cockpit with an Overhead, Main and Autopilot-Panel
- Landing Gear providing Nose-Gear Steering and feathering
- Pylons on the wings for versatile Mission Loadouts
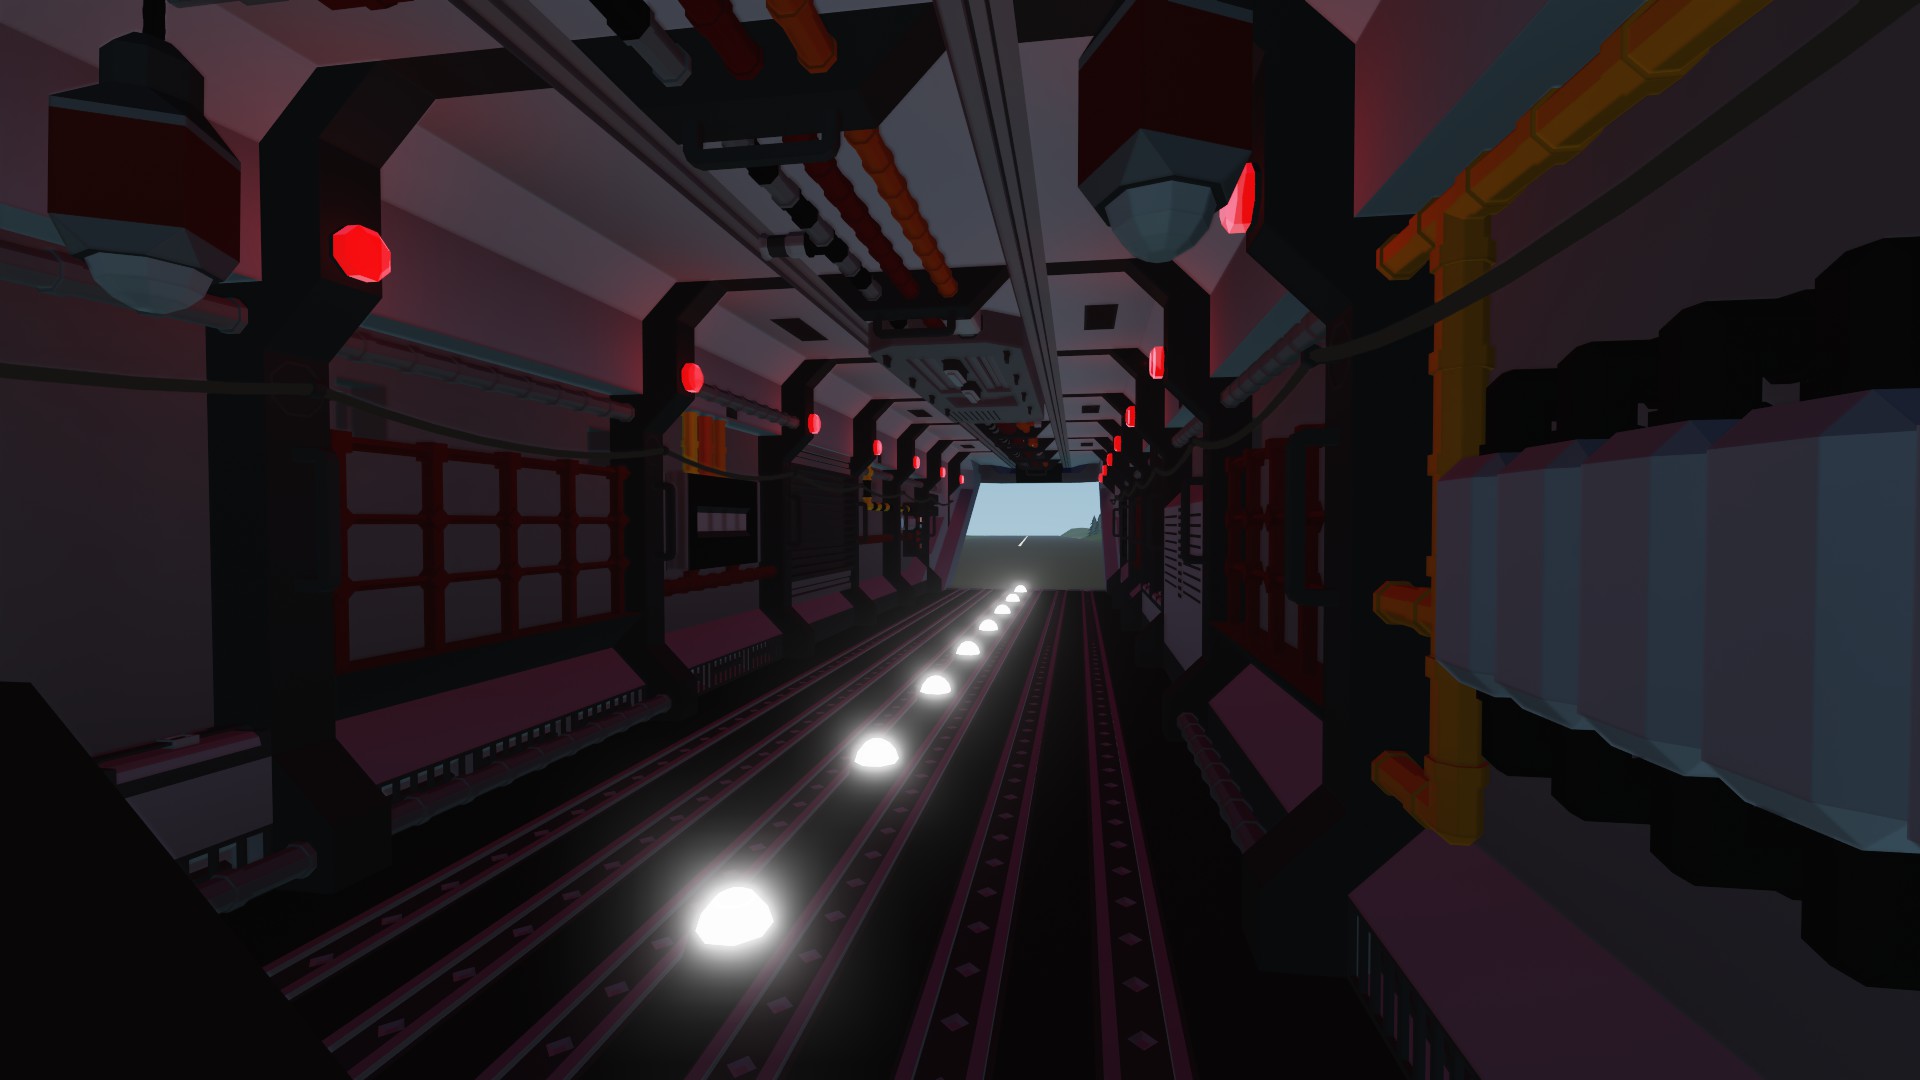
- 7 Sets of Illumination Flares fired from the Cockpit Overhead Panel
- Connectors for Ground Power and Fuel in Left Main Gear Housing
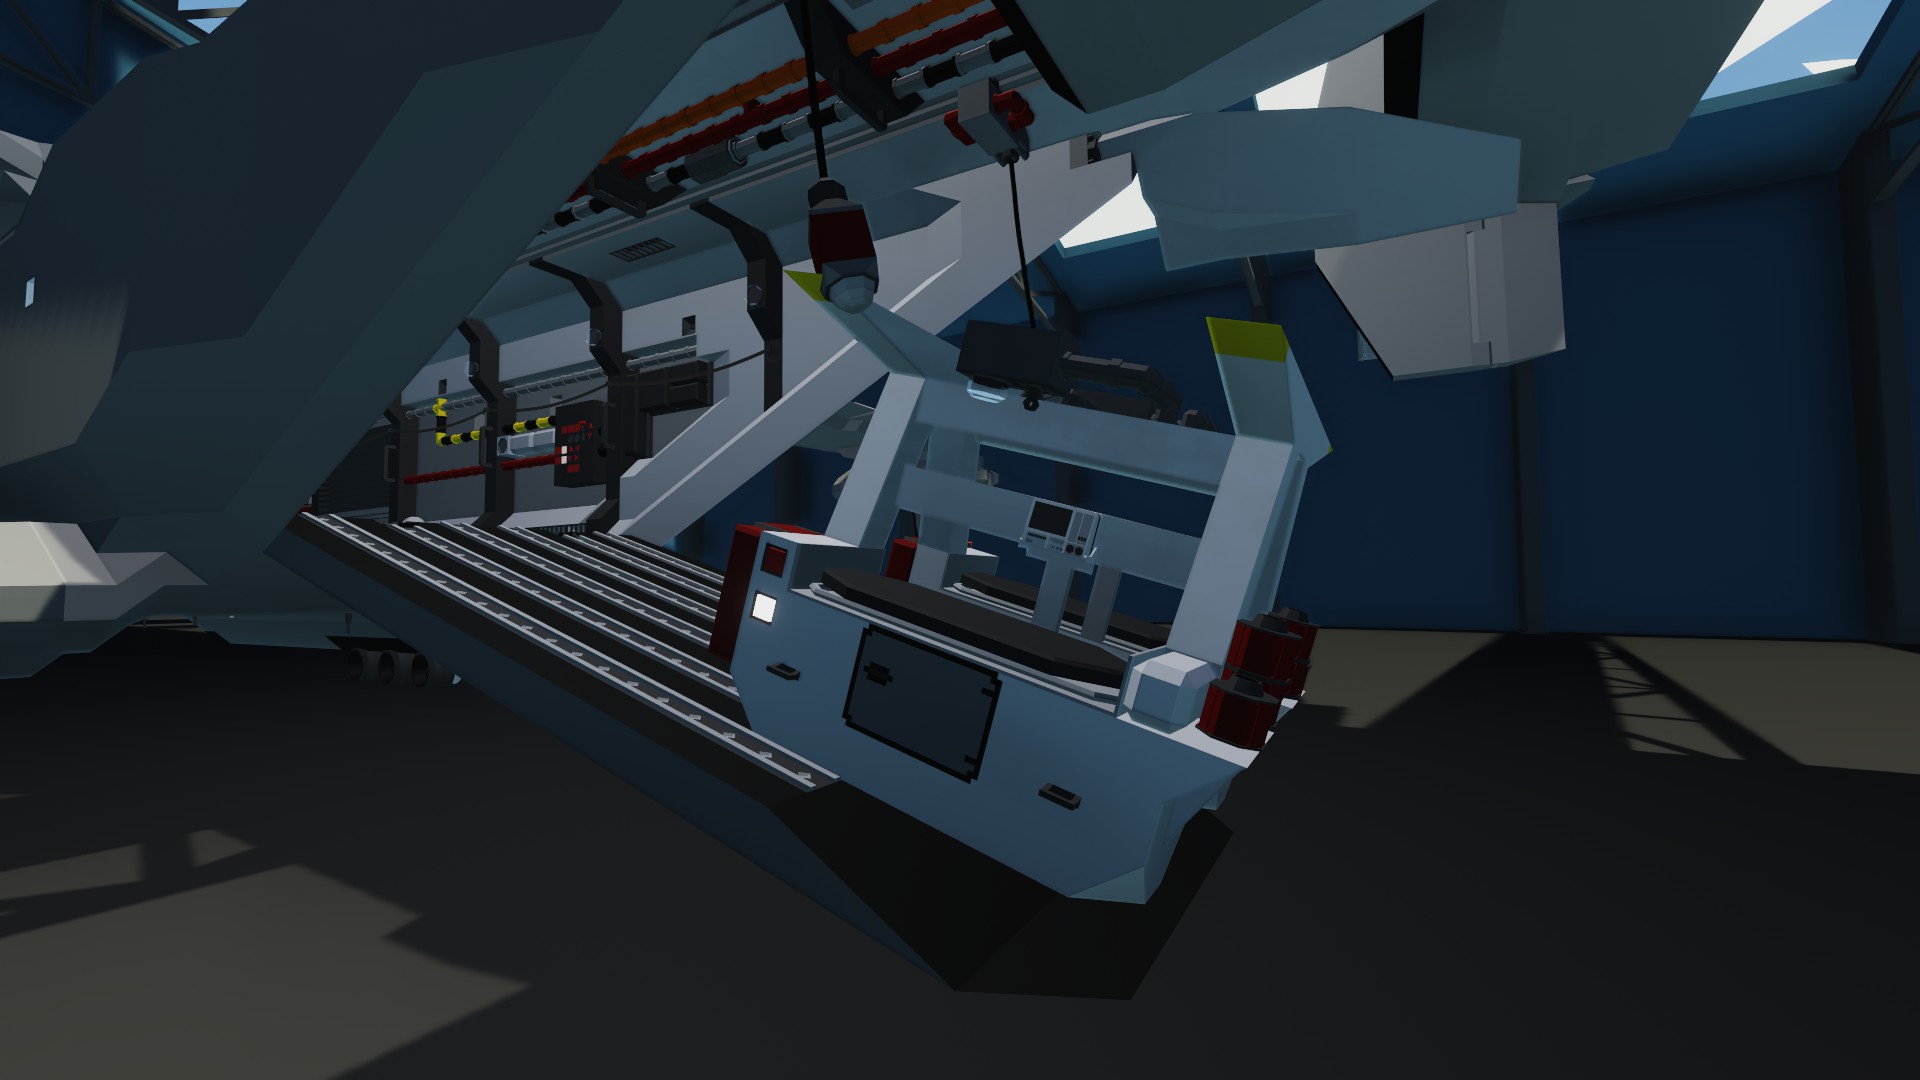
- 6 Cargo Rails and a single MagAll Row going trough the whole length of the Plane to securely strap down Cargo
- Navigator Seat in lower Nose (to be introduced in later Update)
- Flight Engineer Seat with Additional Switches and Gauges
- Electric Nose Gear Connector for Towing and Push-back Operations
- Switch Cockpit Lights ON
- Switch Cockpit Backlight ON
- Switch Beacon Lights ON
- Activate Engine Switch 1,2,3,4
- Check Turbine RPS over 2
- Switch MFD Switch ON
- Switch ACL ON
- Check Flares Empty Indicator OFF
Night Operations - Switch Nav Lights ON
- Switch Taxi Lights ON
As Soon As Leaving Parking Position - Extend WingsMain Panel
- Check Fuel Quantity with FUL (Fuel Page) on MFD
- Check Arm/Disarm Spoilers OFF
- Switch Wheelbrakes ON
- Check Wheelbrakes ON Indicator OFF
- Check Positon with MAP (Map Page) on MFD
- Check NAV (Navigation Page) on MFDPFD/MFD
- Check PFD in Upright Position and Level
- Check Correct Heading Displayed on MFD
- Fixed Bank Hold Issue with disconnected logic node
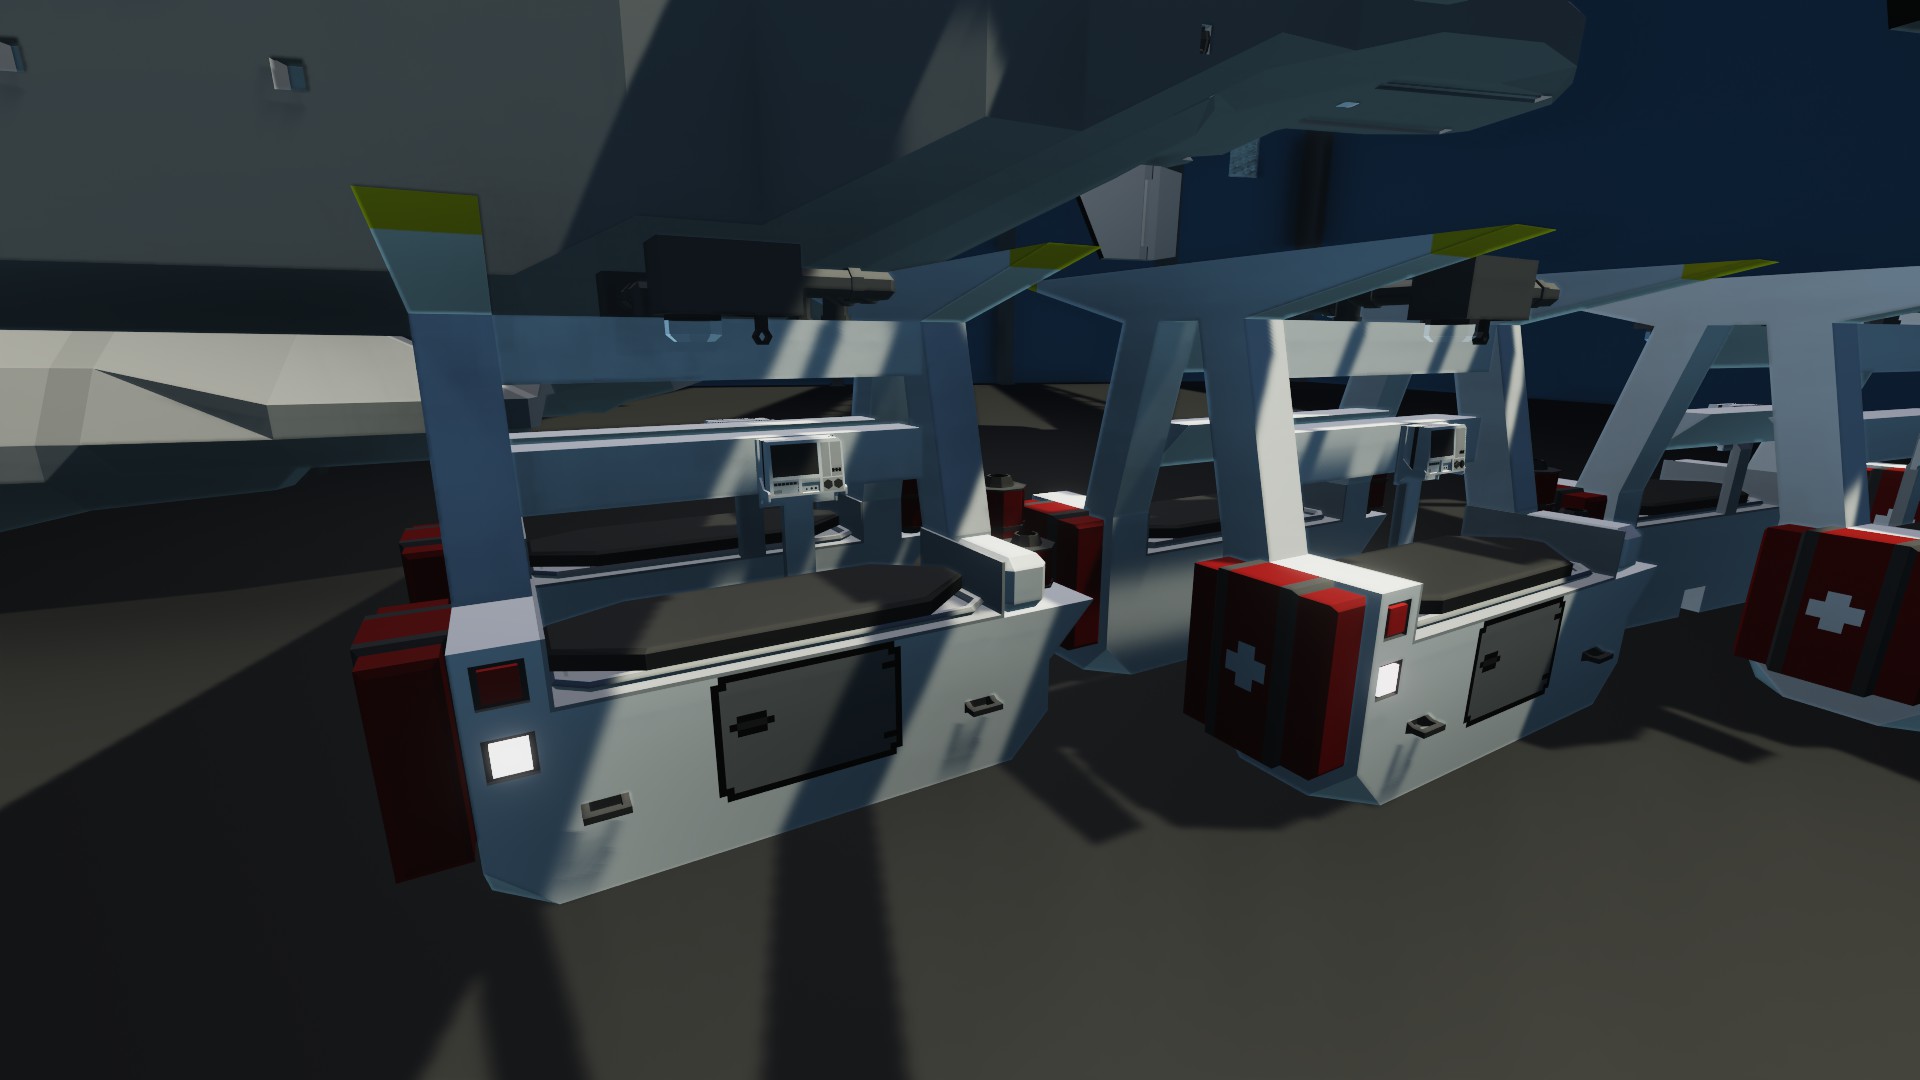
Furthermore I added some Electric Connectors to the Rail System of the Aircraft to insure compatibility with coming modules. The first Module already comes with this Update and is called an Emergency Evacuation Module. One of these Modules contains 2 Medical Beds for injured Persons that need to be evacuated. If you dont want them, you can simply cut them out in the editor.
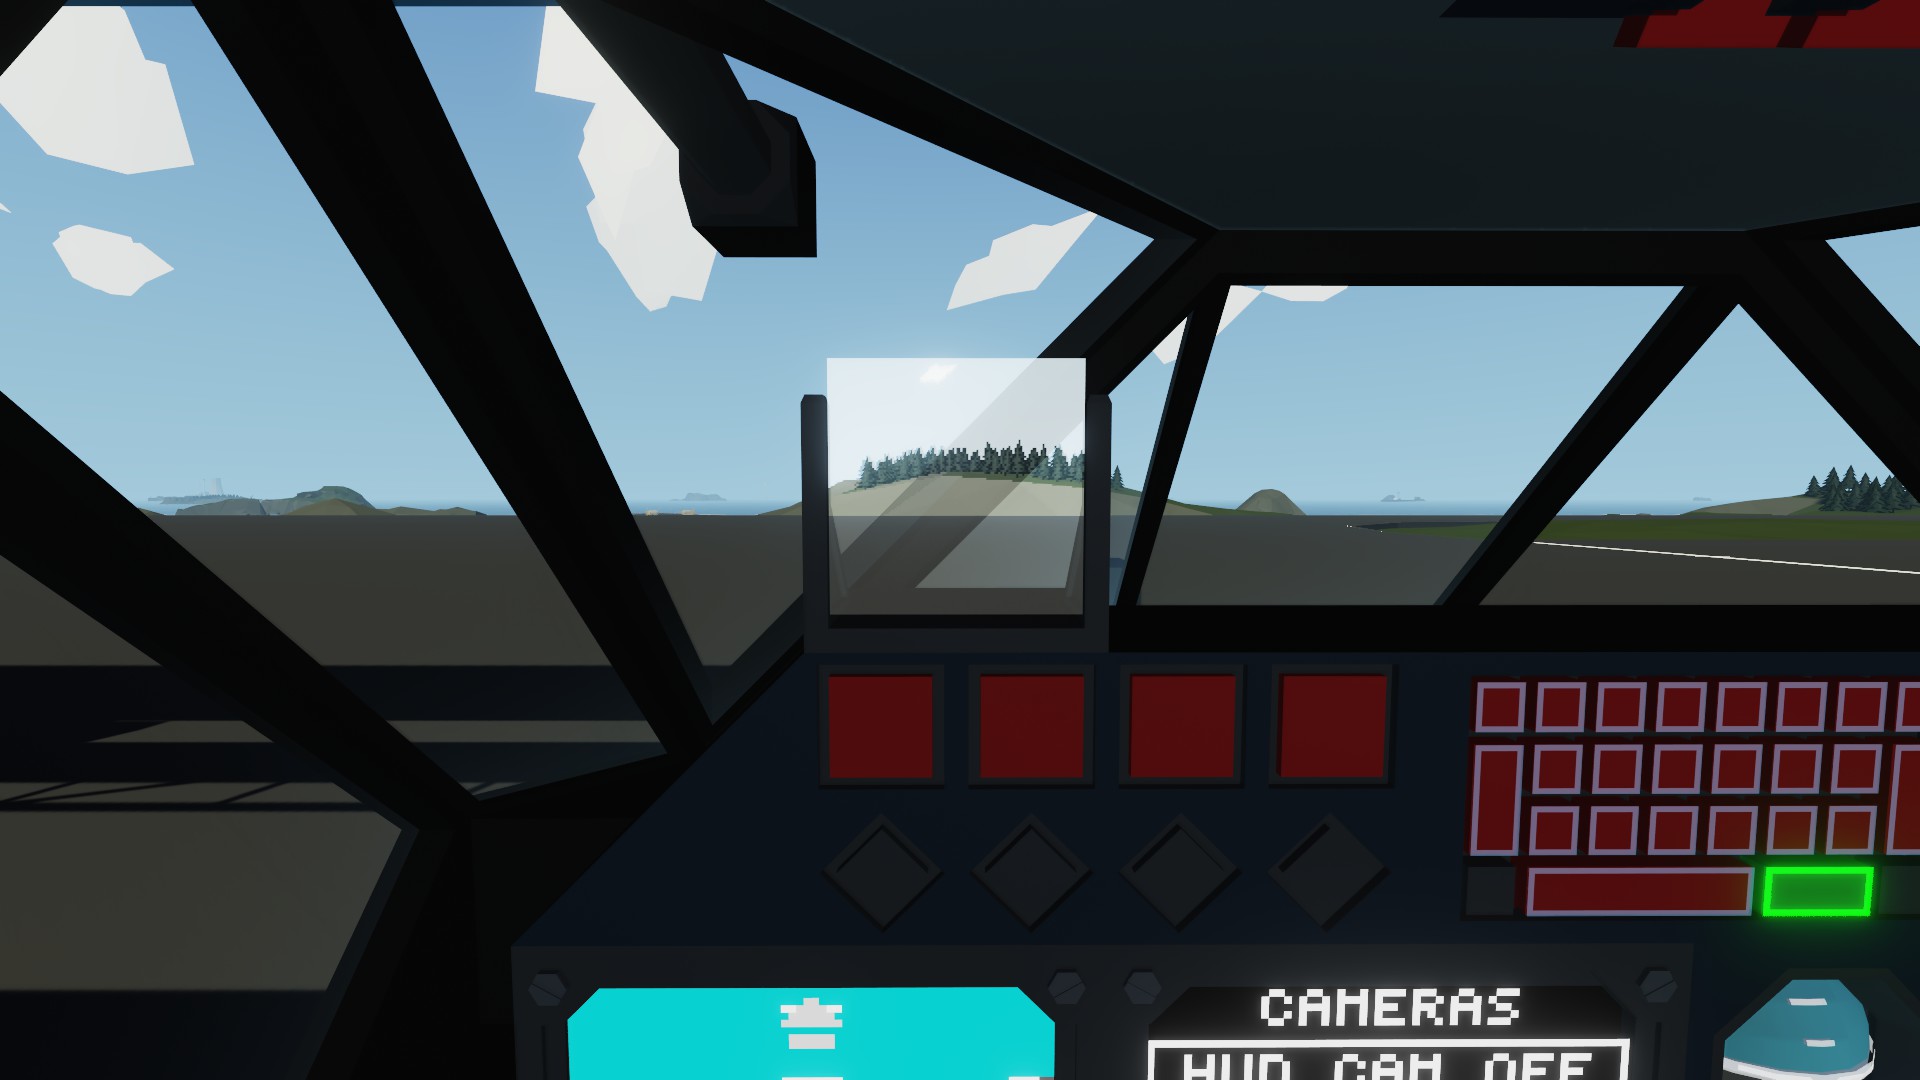
The Comms Page on the MFD was changed to the Camera Page which can be now displayed on the new HUD.
The new Options considering the Cameras on the MFD are
- Cameras Off
- Approach Camera (Better visibility while landing trough a extendable Camera in the nose)
- Taxi Camera (A camera connected to the Nose Gear)
- Cargo Hold Camera (A camera looking over the whole Cargo Hold. Usefull when dropping supplies)
- Ramp Camera ( Top Down View on the Ramp when extended to see if Ramp is up/clear of objects)
- Added Forward Facing Radar
- Added automated Flaps 0 if Altitude Hold is activated
- Improved Altitude Hold PID to not Oscilate anymore
- Fixed Gyro over correcting at speeds over 130 knots
- Updated Engine Page on MFD
- Added Endurance in Hours and Minutes to MFD Fuel Page
- Updated for requested dropable inner Fuelpods
- Added Navigator Seat in Lower Nose Section
- Communications Page on MFD
- Overall Radio Communication
- Engine Status MFD Page rework
- TGP Targeting Function
- Navigator Seat in Lower Nose Section
- Fuel Endurance Time and KM on Fuel Page
- Setting Flaps to 0 when activating Altitude Hold
- Small Loader that can be transported with the Aircraft
- Modular Mission Loadouts (Medevac, PAX Transport) for the Cargohold
Also compatible with my New Aero Tug including 2 Tow-Bar Options!
DO NOT RE-UPLOAD THIS OR ANY OF MY CREATIONS WITHOUT PERMISSION
PFD/MFD by jbaker96
Transponder by PenguinO
Як завантажити моди?
Натисніть на кнопку вище та завантажте обраний мод з файлового сховища.Як встановити мод?
Див. секцію "Як встановити".Чи безпечний завантажуваний файл?
Моди перезаливаються нами з оригінального джерела, без жодних змін. Ми лише запаковуємо їх в звичайний архів. Додатково можете перевірити архів на наявність загроз за допомогою будь-якого антивірусу або онлайн-сканеру на кшталт virustotal.com. Також рекомендуємо робити резервні копії ваших сейвів, про всяк випадок.
For vehicle mods
- Download the .zip archive containing the vehicle mod files.
- Locate your game's root folder.
- Navigate to
rom\data\preset_vehicles_advancedand extract the files there. - Rename both files to something recognizable, ensuring they share the same base name but different extensions.
- Launch the game and go to the Workbench's Presets tab to see the new vehicle mod.