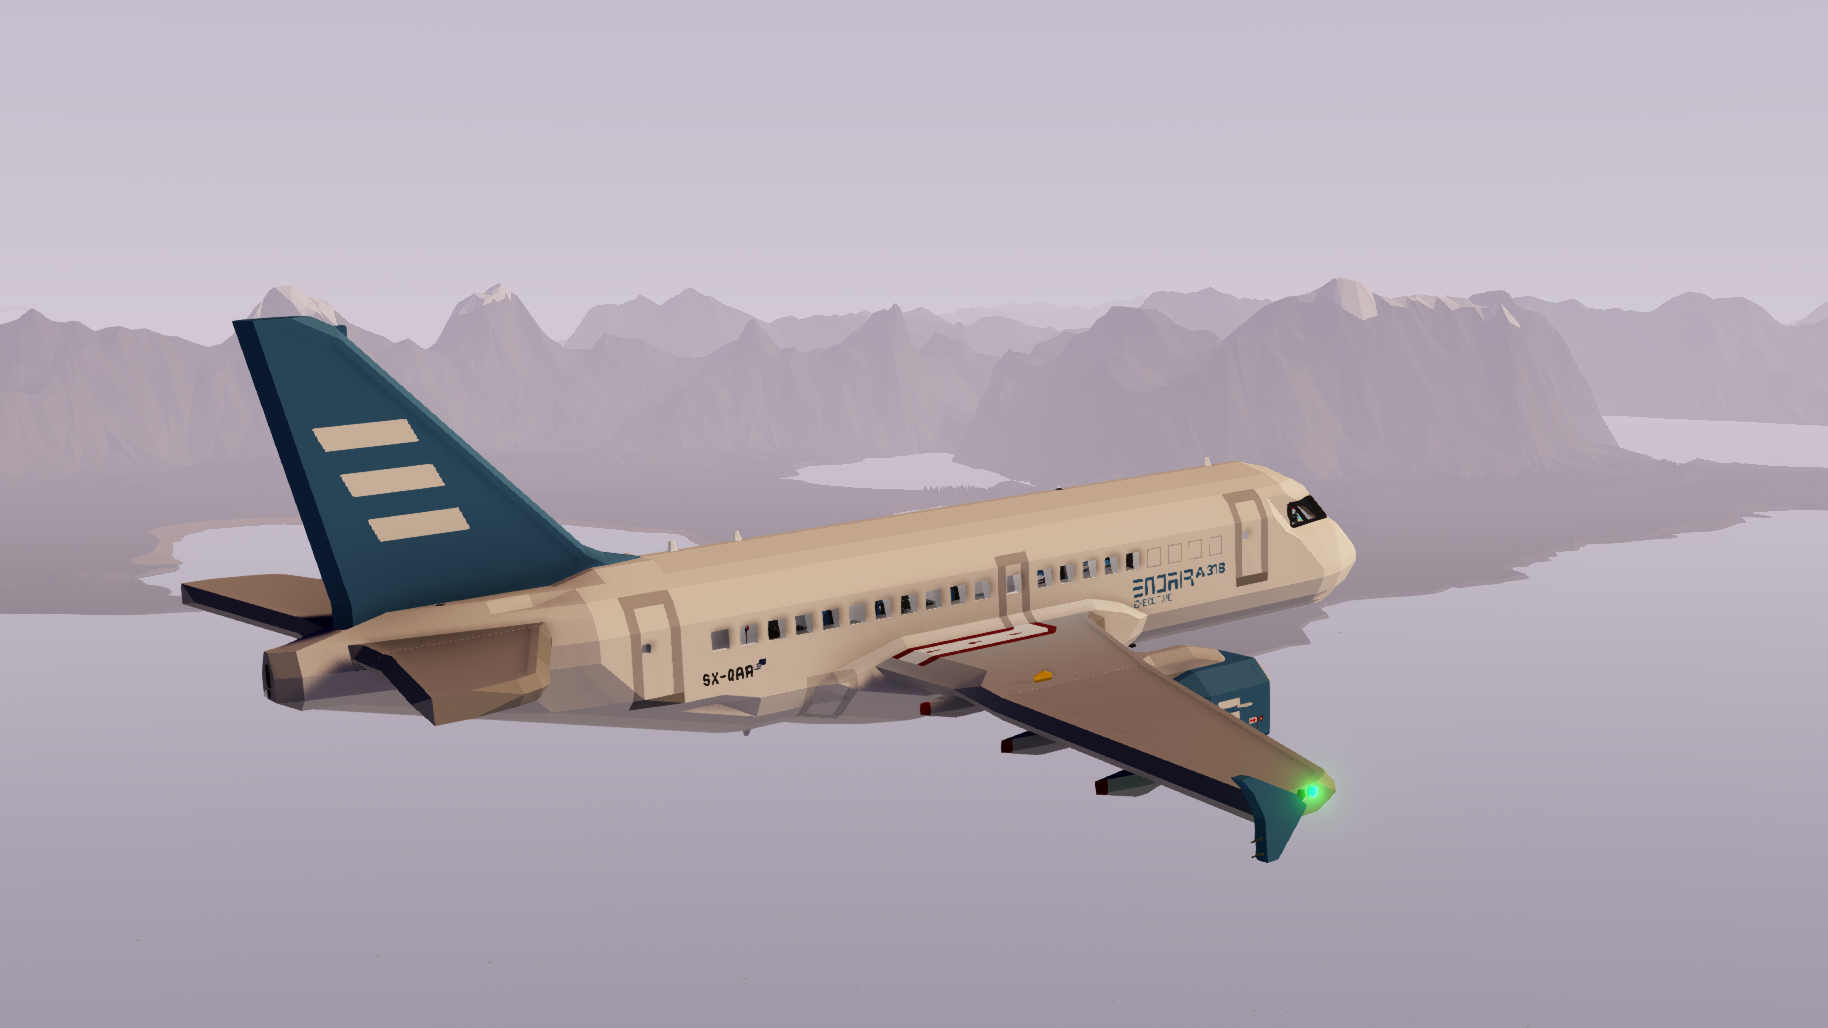
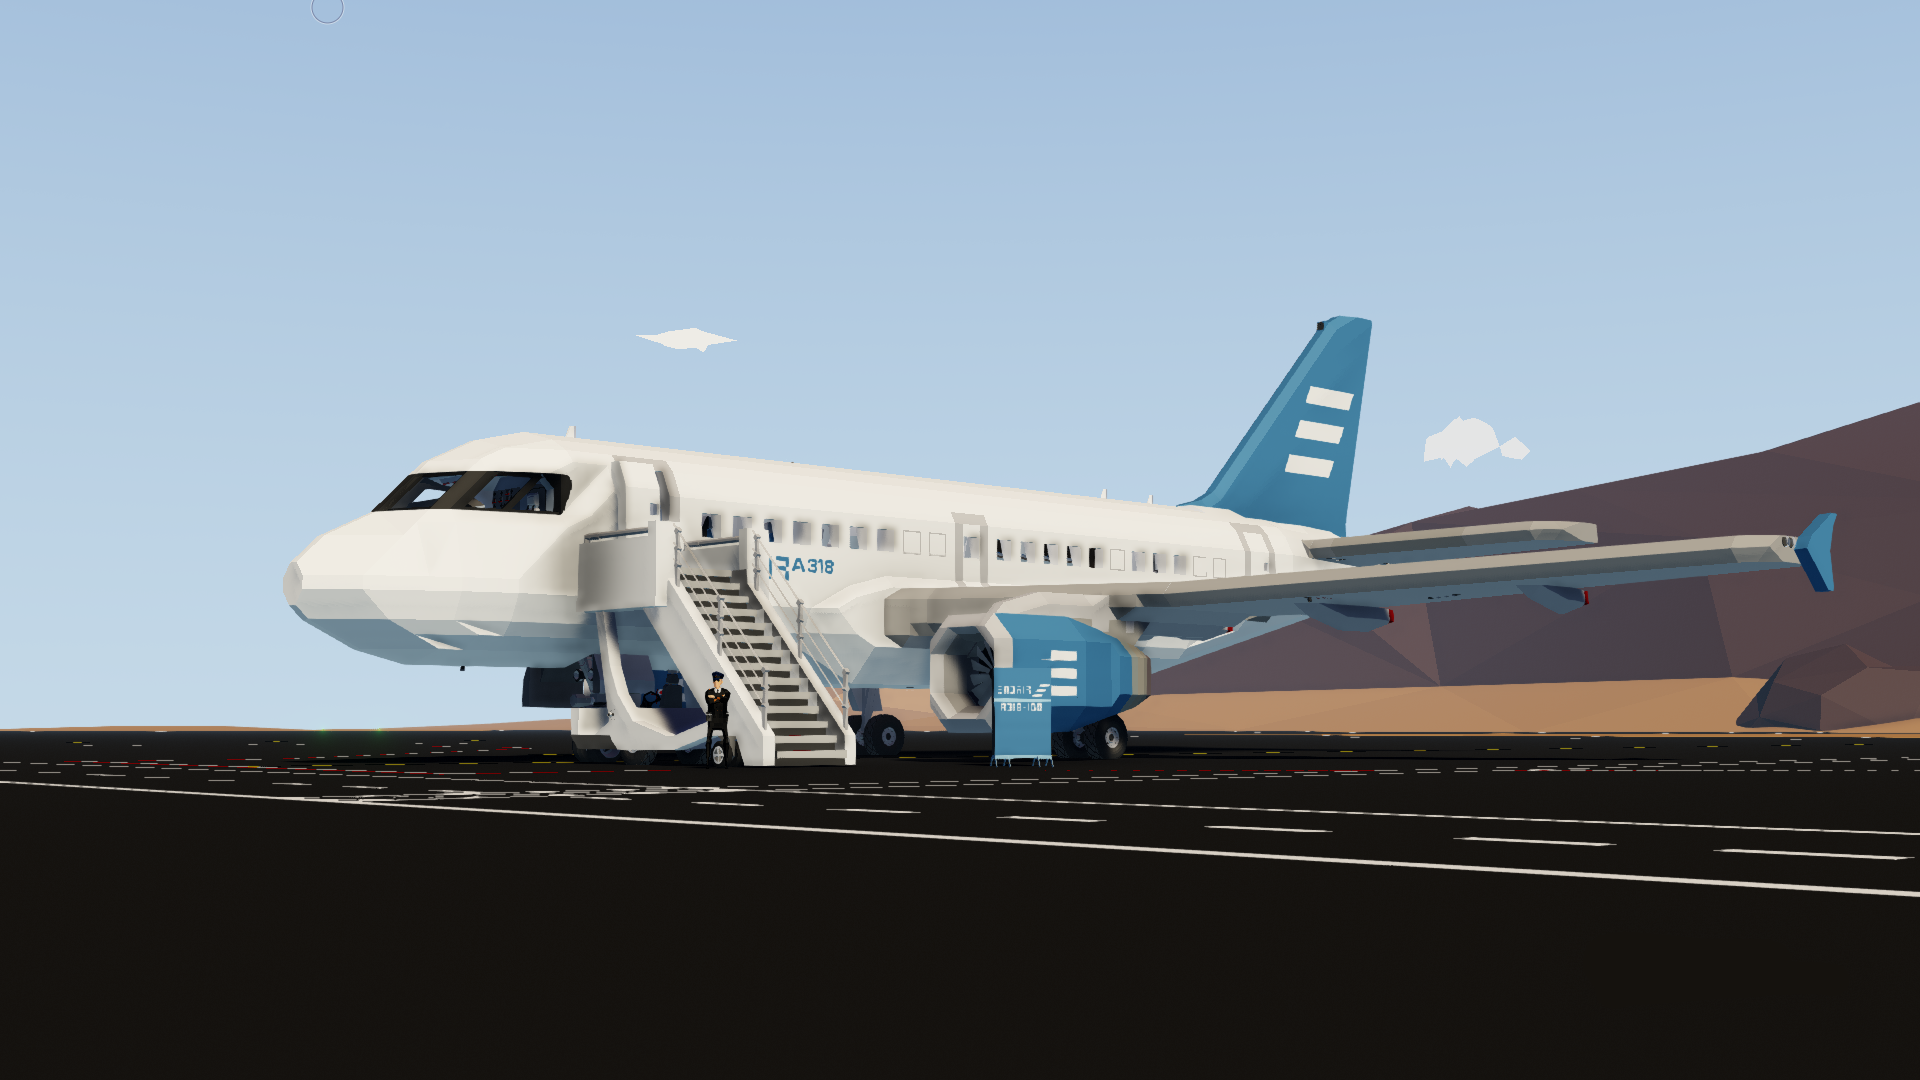
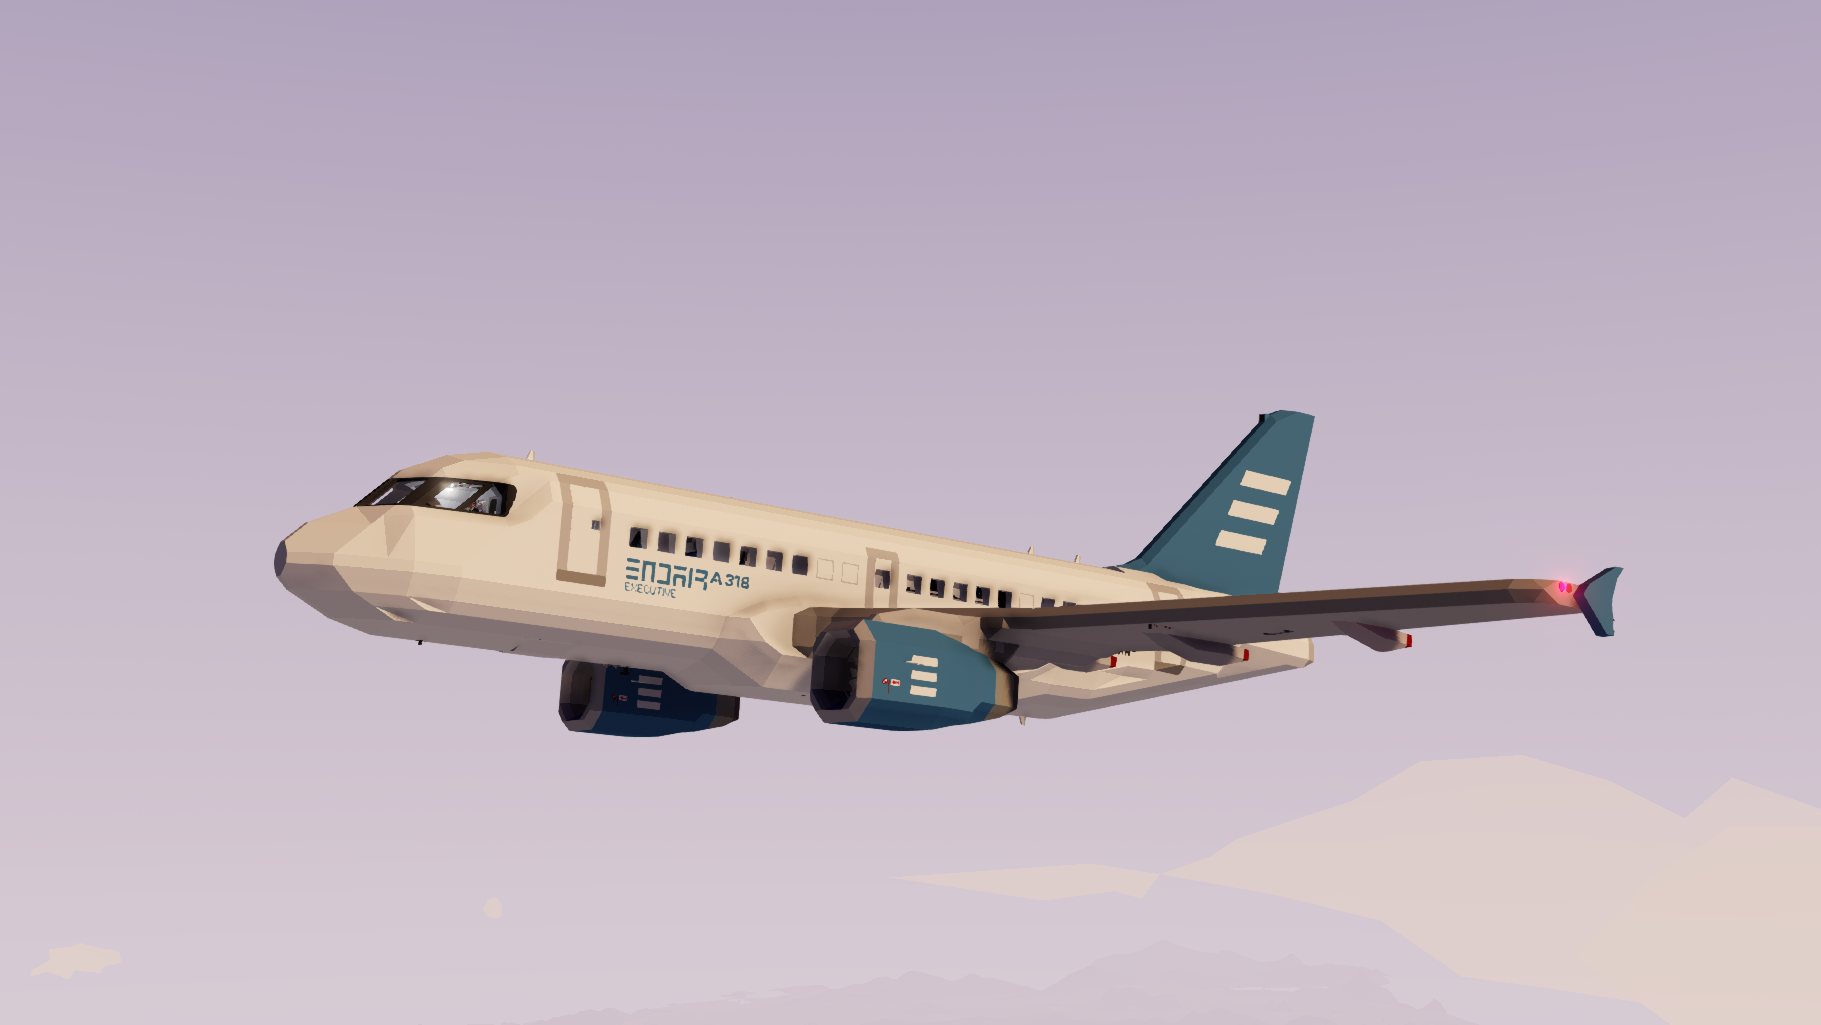
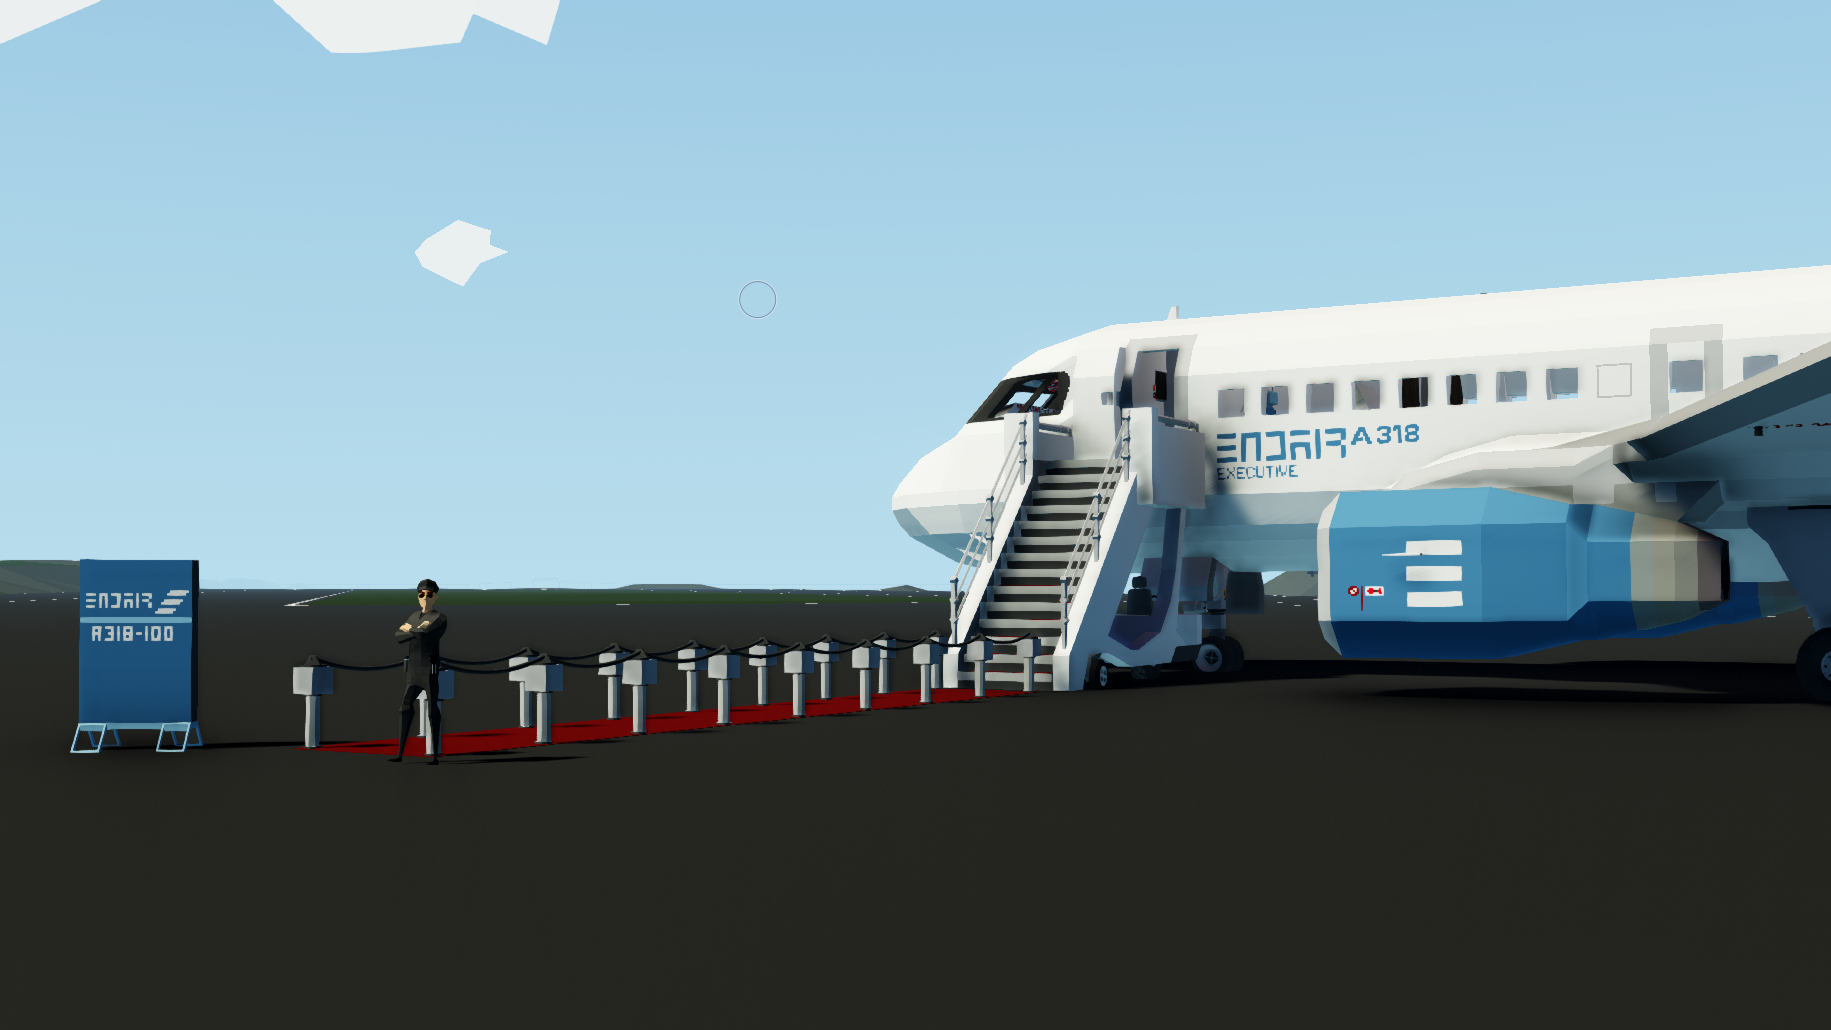
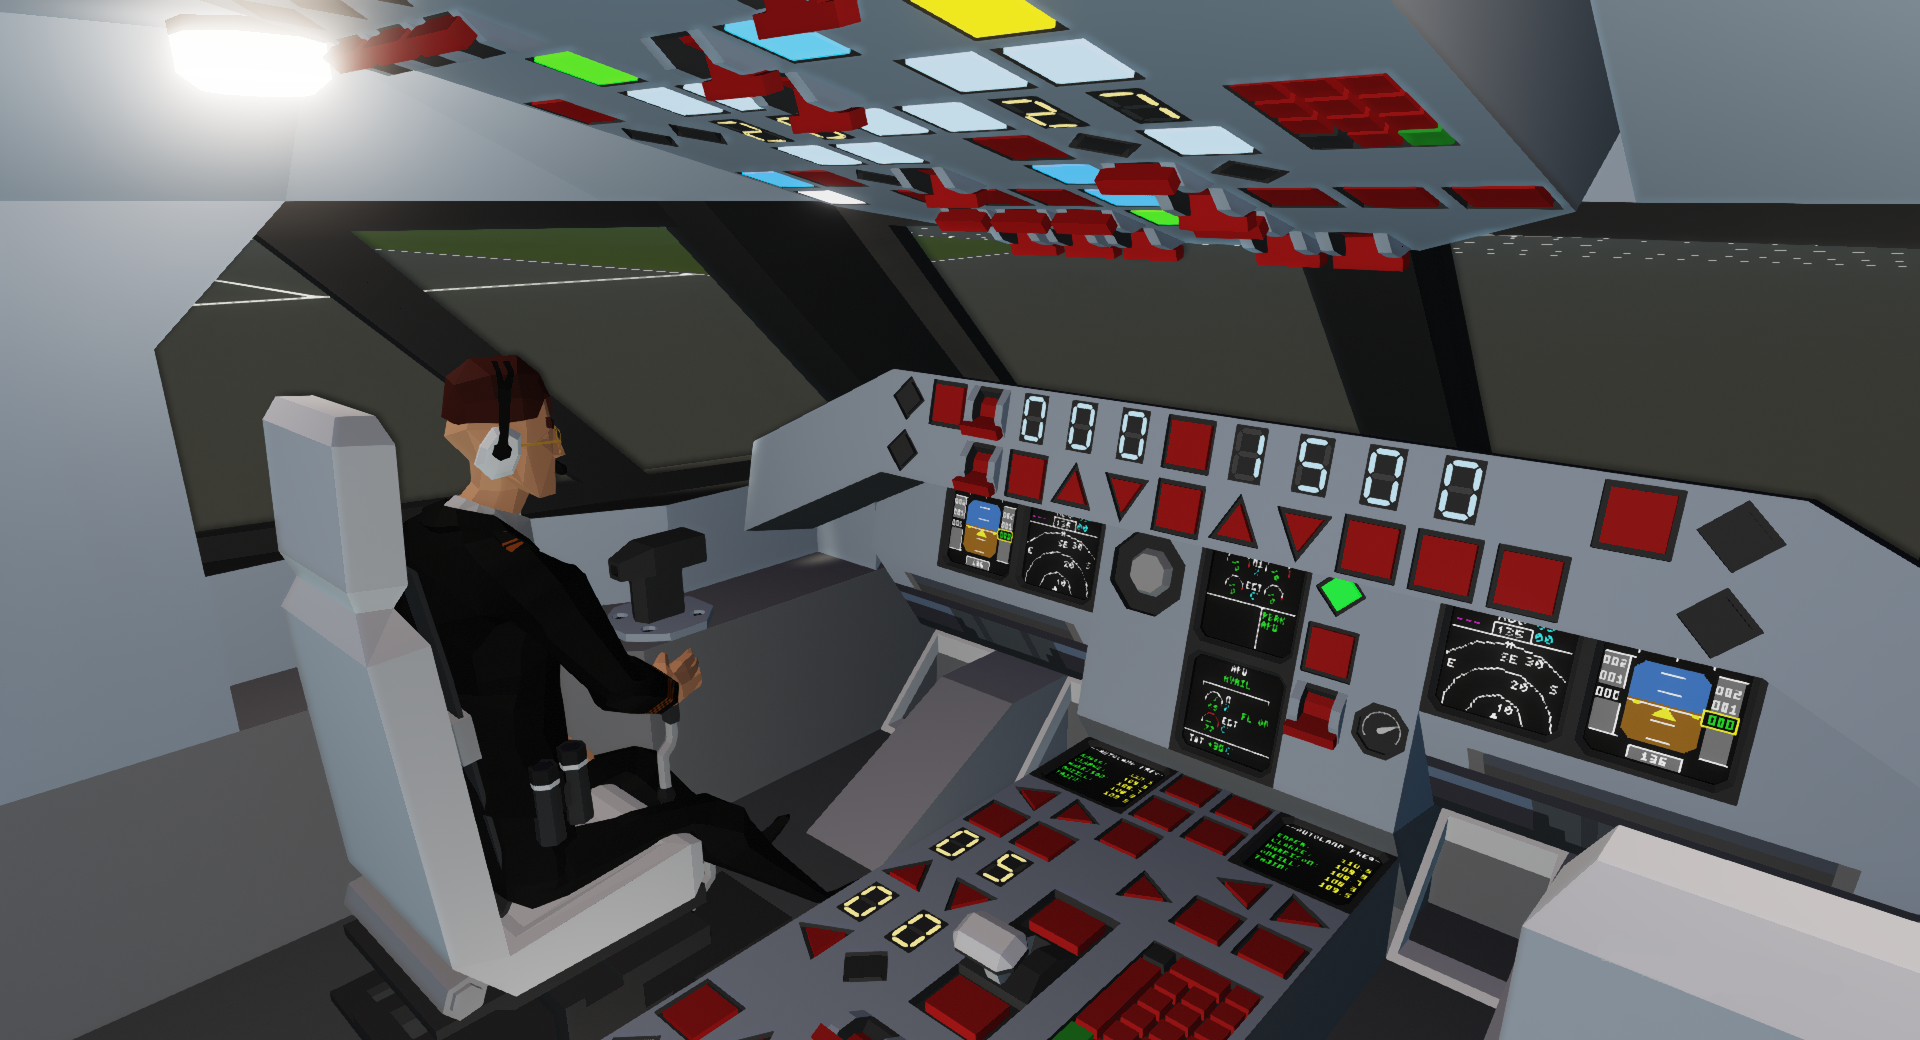
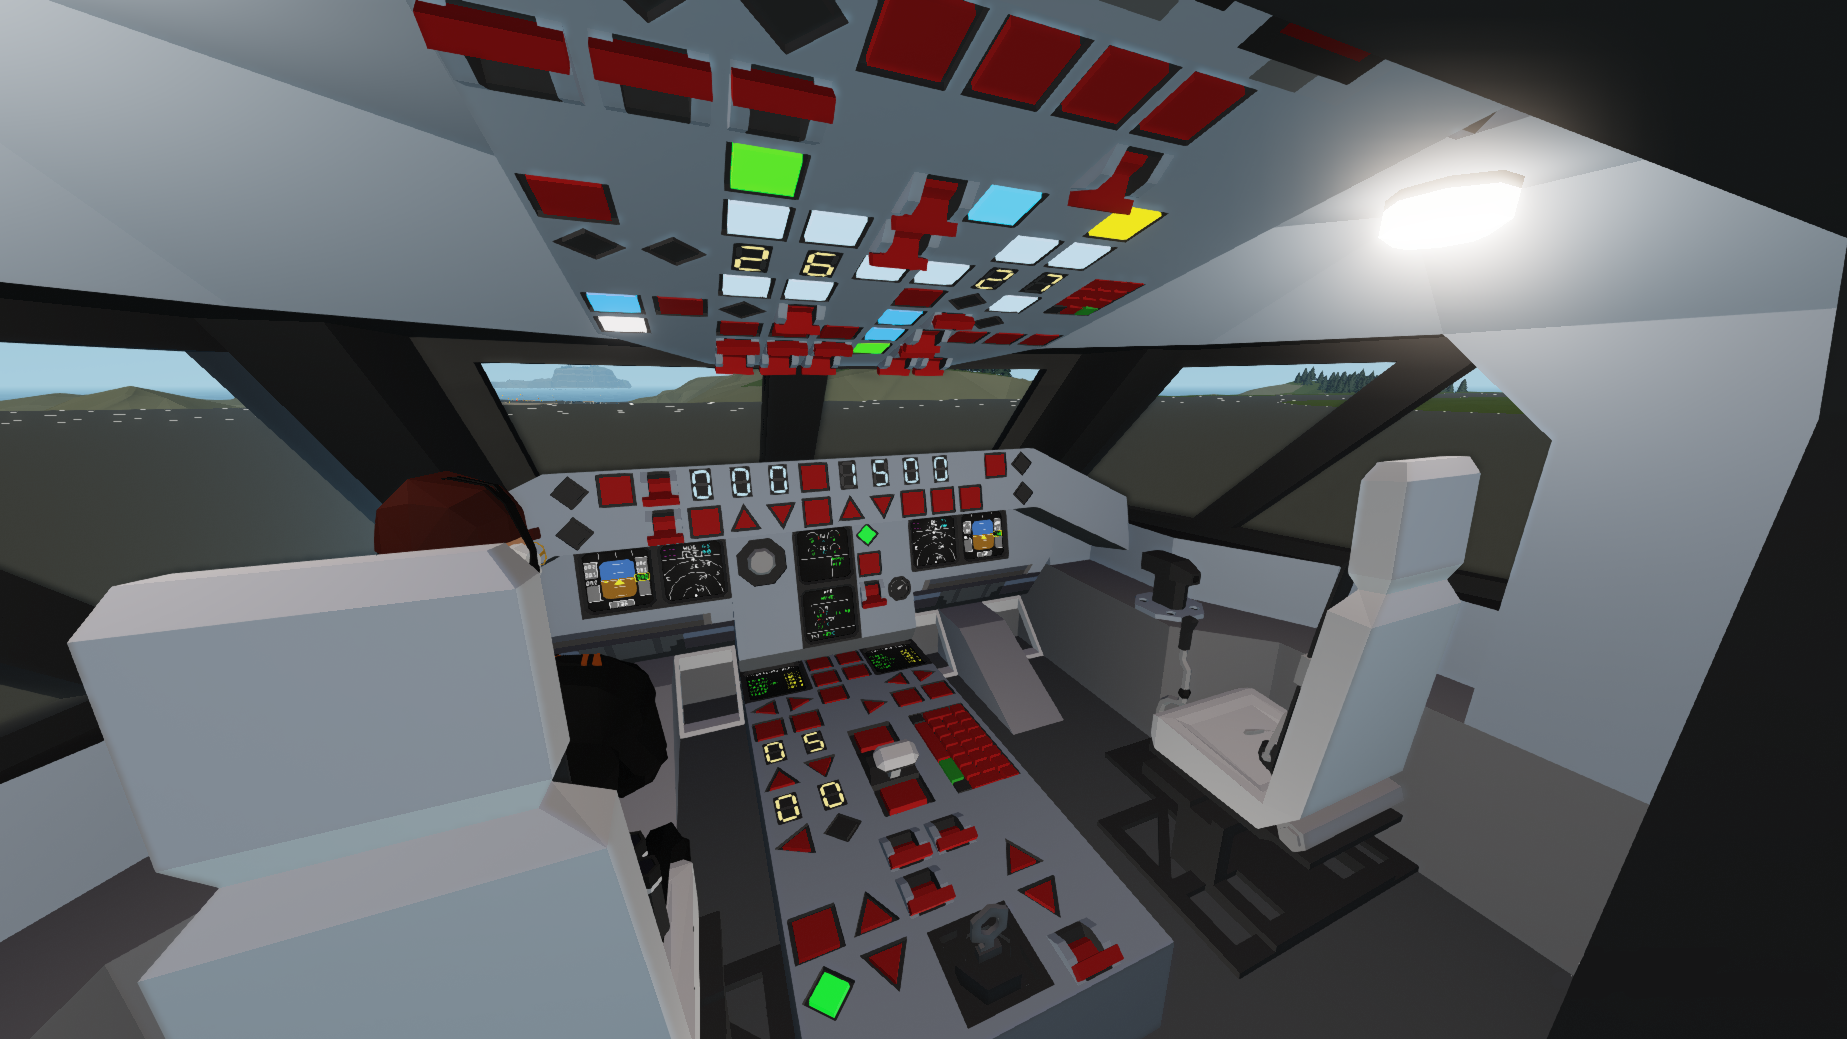
ENDAIR A318-100 Executive [Extreme Realism]
Vehicle, Air, Rescue, Multi-vehicle, Exploration, Delivery, Technical, Creative, Land, Mechanical, Advanced, v1.7.1
ENDAIR A318-100 Executive [Extreme Realism] [Stormlink Compatible]
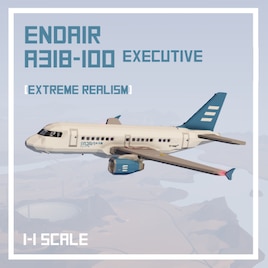
The ENDAIR A318-100 Executive is a medium haul Executive aircraft developed by EPVIN Aviation Company
Features Autoland , Storm-link, Failure simulation and a [Extreme Realism] cockpit and procedures!
For those looking for more realism this aircraft has its own complete MANUAL you can download here: https://drive.go...
Розробник: EnderPilot
Дата створення: 12 Nov, 2022 @ 8:01am
Оновлено: 27 Mar, 2023 @ 1:53am
Підписників: 26111
Розмір (розпакований) : 2.463 MB
The ENDAIR A318-100 Executive is a medium haul Executive aircraft developed by EPVIN Aviation Company
Features Autoland , Storm-link, Failure simulation and a [Extreme Realism] cockpit and procedures!
For those looking for more realism this aircraft has its own complete MANUAL you can download here: https://drive.google.com/file/d/1a2ruMKW7WaYVQb-CPhHPY_23mCc_IYlt/view?usp=sharing
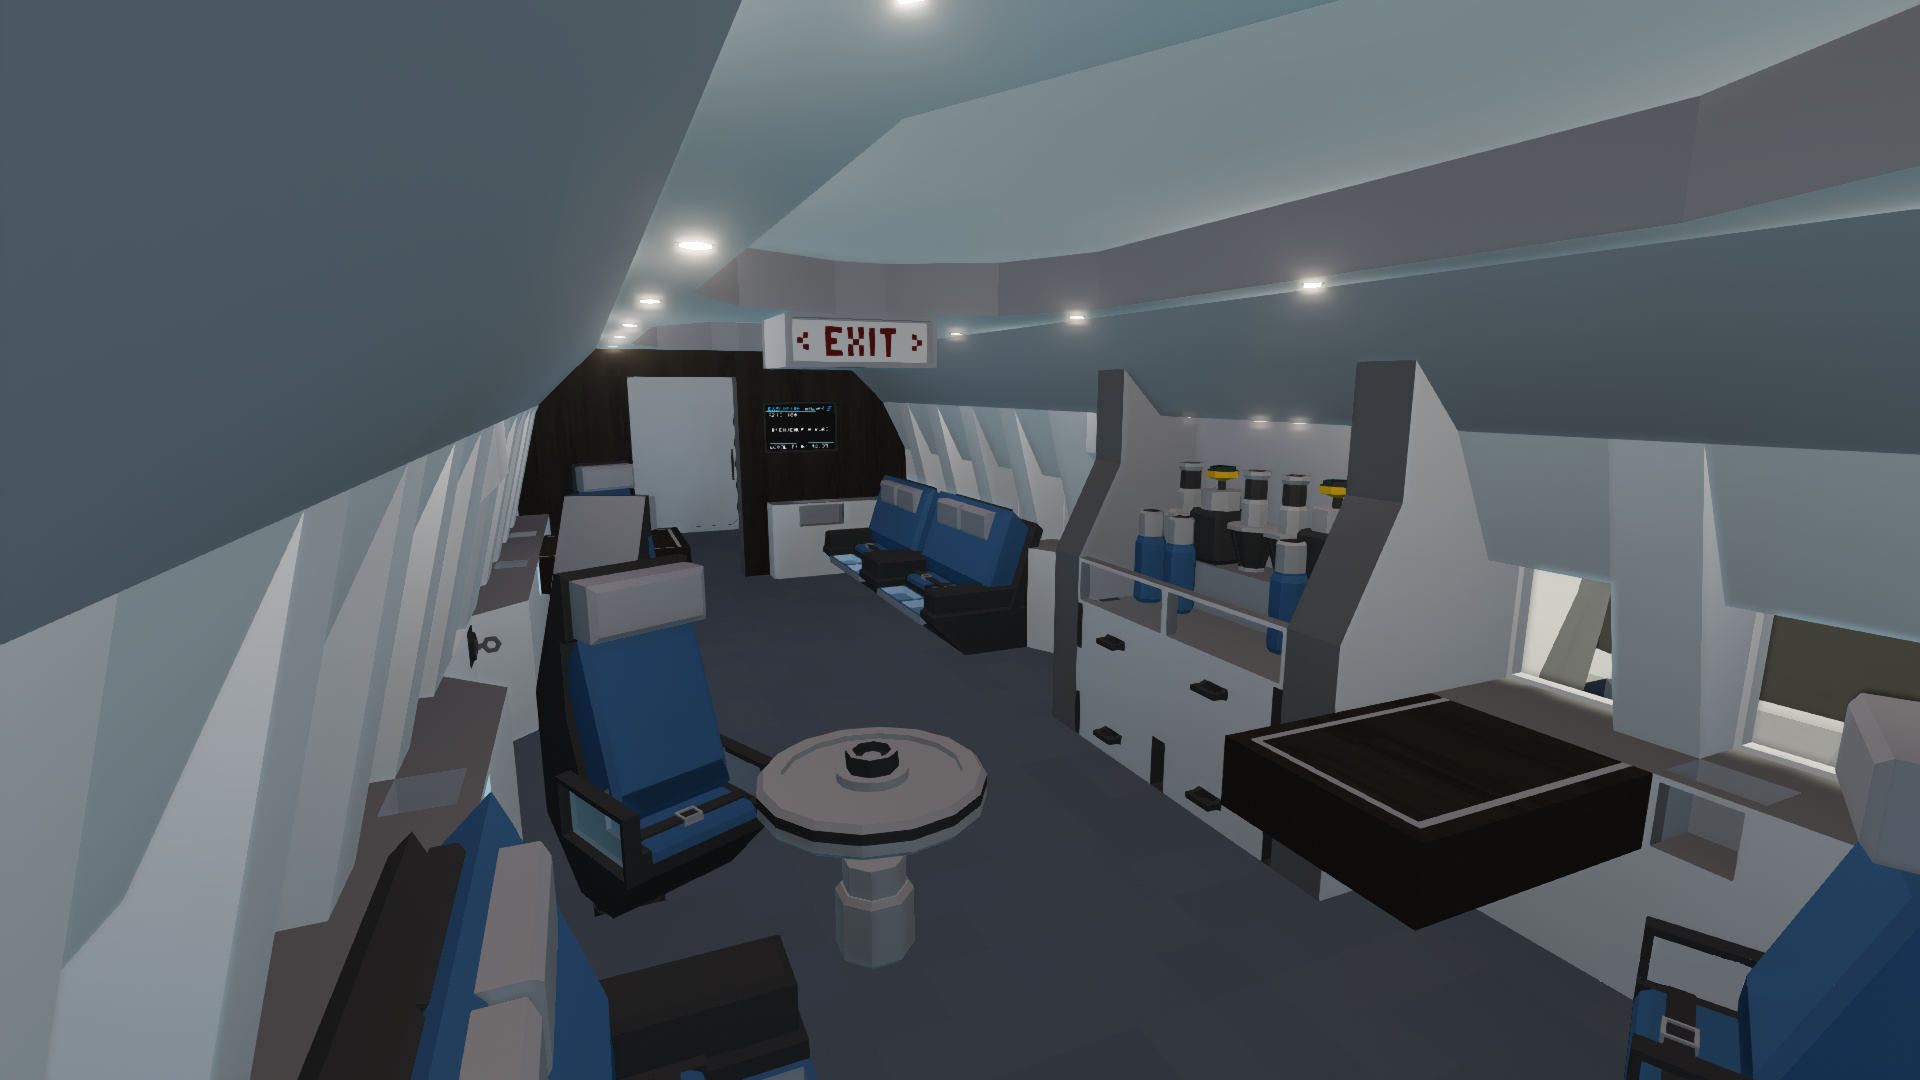
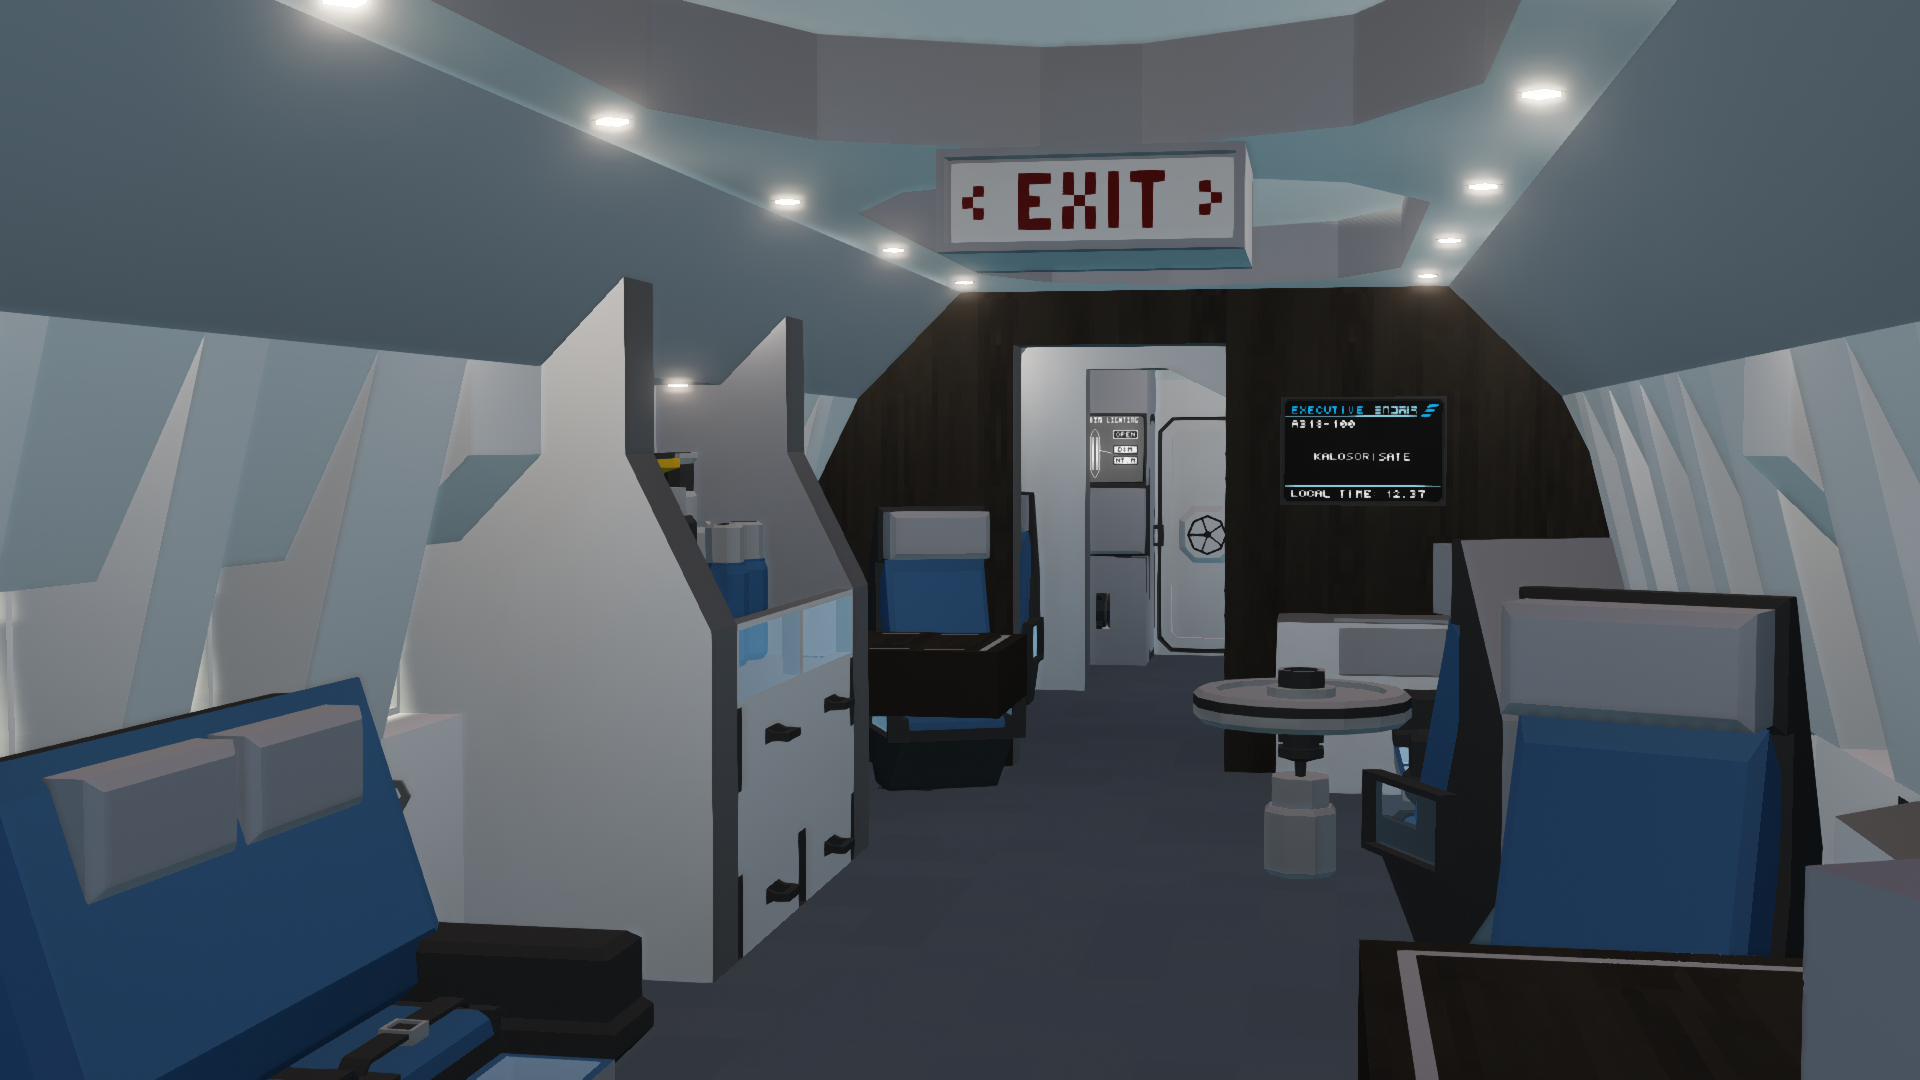
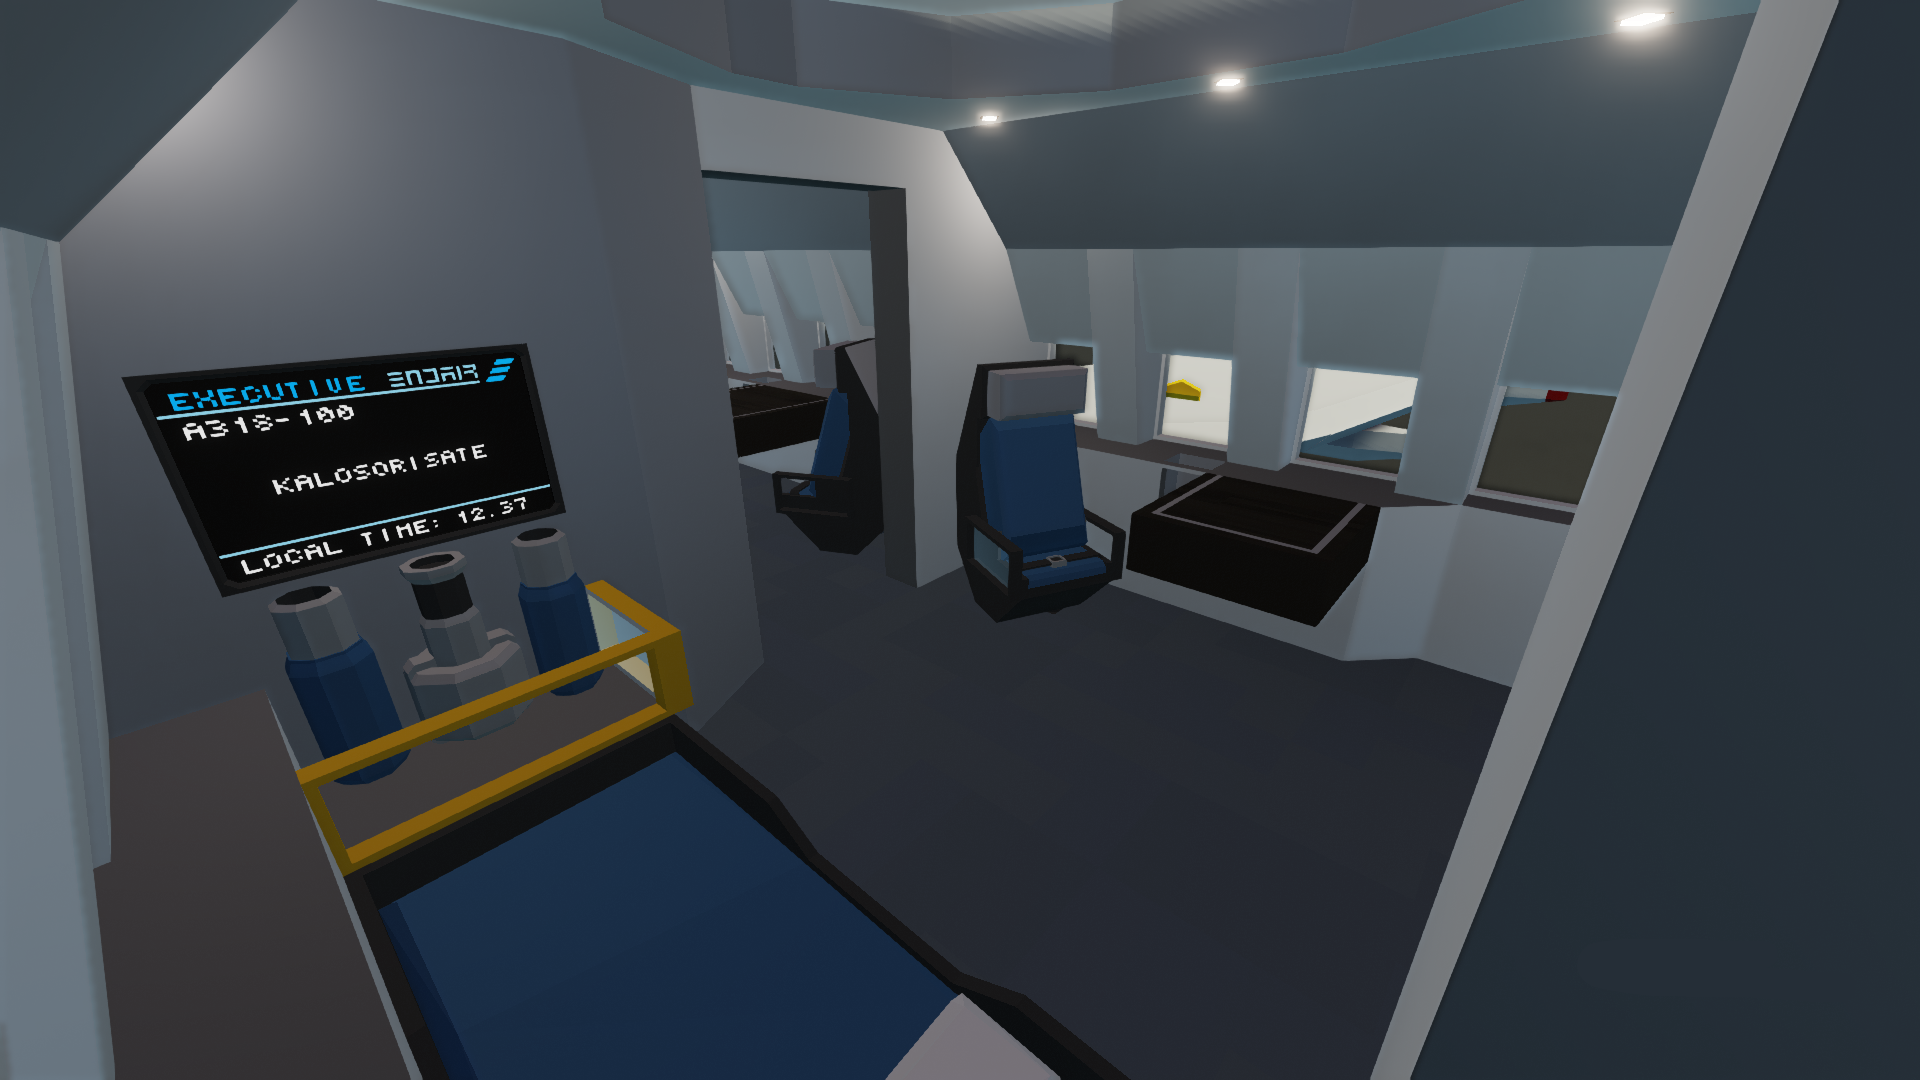
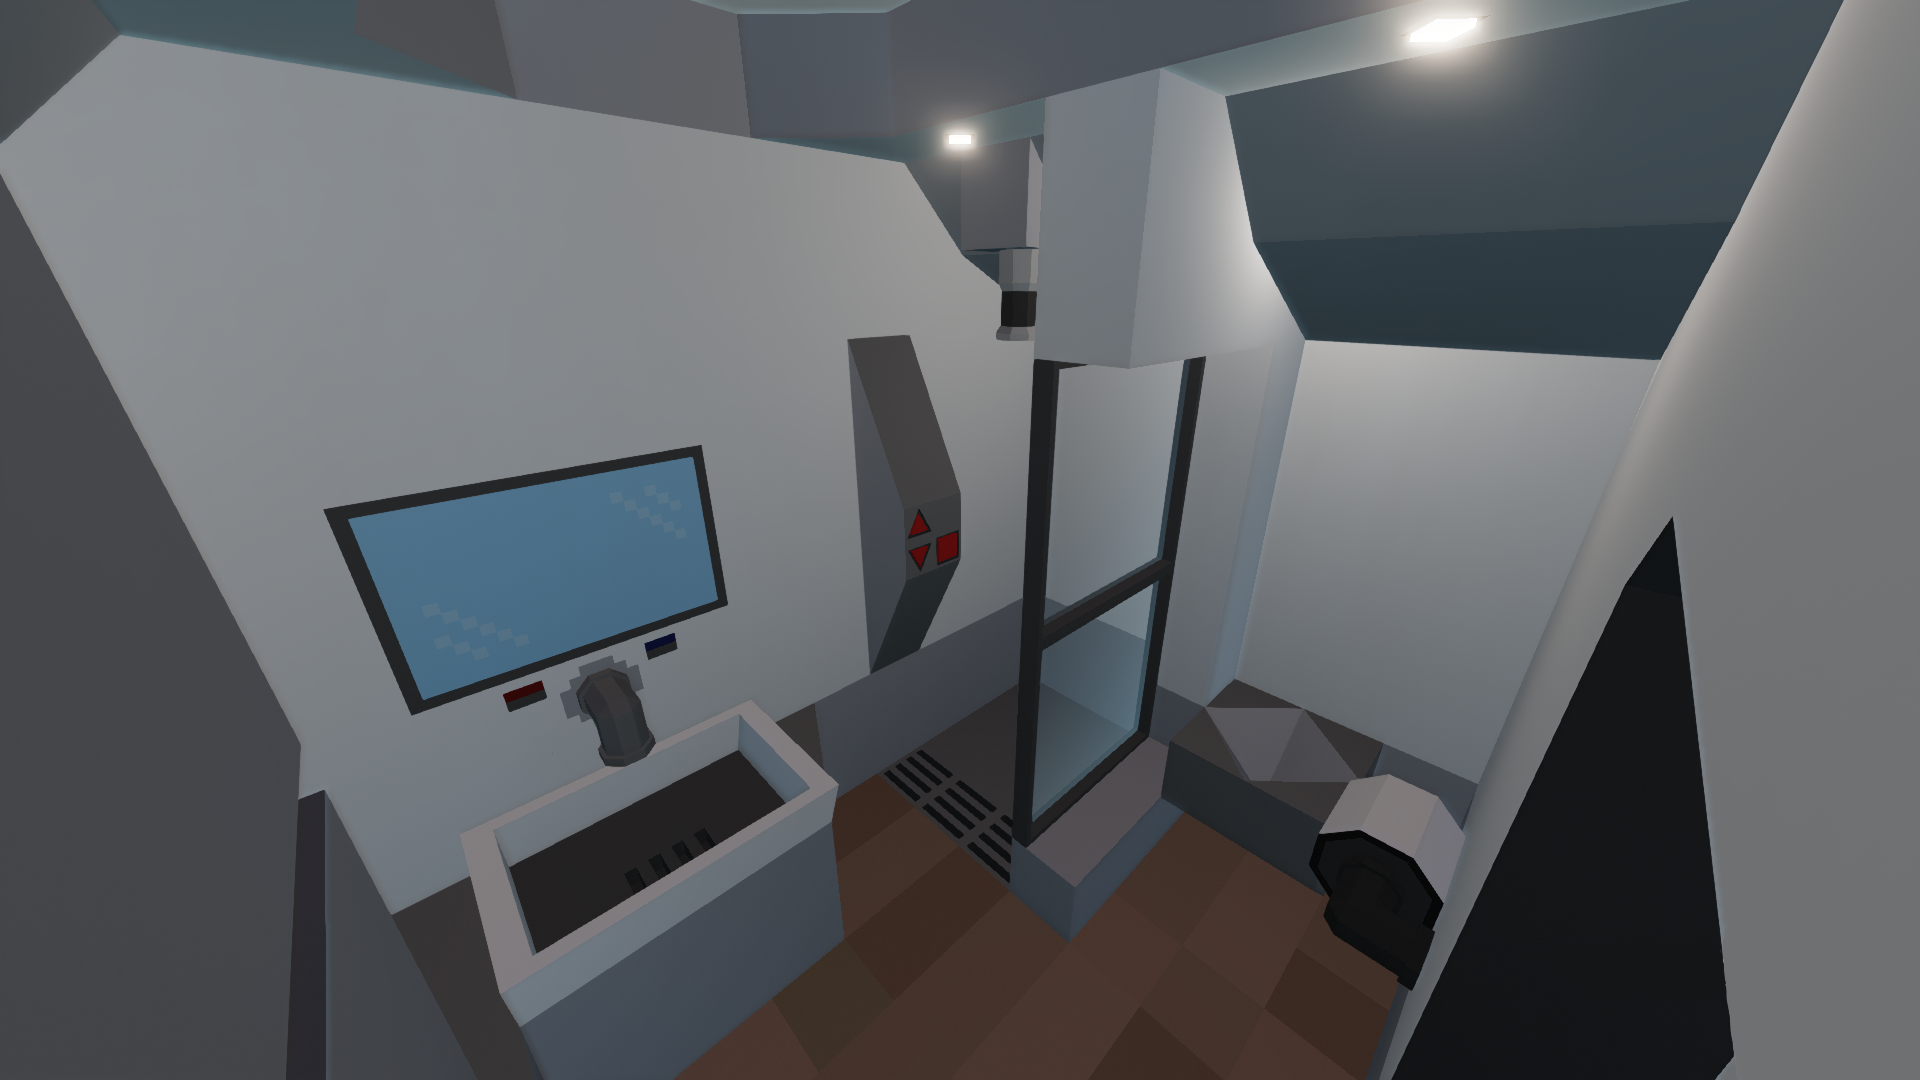
It features the Executive class
With a fully custom cabin,a bedroom, bathroom and a minibar!
Get the latest updates about my projects on discord! : https://discord.gg/8YrrV9YJHM
You can support me by joining my Patreon! : https://www.patreon.com/EnderPilot
You can also join me on My Twitch Channel! : https://www.twitch.tv/enderpilot
- Analog and Digital Artificial horizon
- EICAS Monitoring systems
- INFO Diagram
- Map
- 5 LOWER ECAM Pages
- Radio commutation for both pilots
- Autopilot, Altitude hold, Roll stabilization Autoland
- extendable-retractable Landing gear , Flaps, Speedbrakes
- Take-Give control to Captain or First Officer
- Fly-By-Wire safety system [Like a real airbus]
- Evacuation Mode
- Fire suppression systems
- 3 simulated hydraulic systems
- Cabin light and heating controls
- Nav, Strobe, Landing, Taxi and beacon lights
- Seatbelt and No Smoking Panel and warning
- Reverse thrust
- Failures panelHOW TO GET IN:Go to any of the doors press the button below the window to open them then jump to the visible handle and bring your self up
OR
Use the "Home" Button on your keyboard and no-clip your self in!STARTUP PROCEDURE: - You can read the startup instructions from here
OR
For more realism you download the AOM
1. Open Both Battery switches
2. Turn External Power ON if Available
3. Perform Fire Agent Test
>APU START
4. Turn on APU SW Master
5. Turn on APU Start
6. Turn on APU Generator
7. Check Parking brake on
8. Check Flaps Retracted
9. Turn on APU Bleed
10. Turn on X-Bleed
11. Turn on Crew Supply Oxygen
12. Turn on Cockpit VR GND CTL
13. Press untill audible chime CVR Test
14. Turn on ADIRS 1,2,3 In order
15. Open Strobe Lights
16. Open NAV lights
17. Check LDG Elevation on auto
18. Turn on ENG 1 & 2 Generators
19. Turn on all fuel pumps
20. Turn on all Hydraulic Pumps
21. Check PTU is on Auto
>ECAM CHECK
22. Check Hydraulic ECAM that valves are on and have operating preasure
23. Check Fuel ECAM that Fuel Pumps are open
24. Check DOOR ECAM that all doors are closed an secure
>ENGINE START
25. turn on Beacon Lights
26. Switch ENG Mode selector to IGN Start
27. Flip ENG 2 Master Switch
28. Wait for Stabilization
29. Repeat for ENG 1
30. Flip ENG Mode selector to Normal
31. After Takeoff turn off APU
AUTOLAND SETUP:
Tip Take a moment before takeoff to input your desired coordinates and Altitude to the aircraft!
*ADDING RUNWAY WAYPOINTS
1. Set a waypointon the START of the desired runway
2. Then go to the "Flight Plan-Autoland Coordinates" keypad
and insert the waypointinto the keypad
3. Press the "Add The STARTOf The Runway" button
4. Set a waypointon the END of the desired runway
5. Then go to the "Flight Plan-Autoland Coordinates" keypad
and insert the waypointinto the keypad
6. Press the "Add The END Of The Runway" button
7. *VERY IMPORTANT Check the MCDU's third page to see the Frequency you need to import on the overhead numpad panel for your desired airport! (If the airport does not have a frequency you dont have to import anything)
*To reset the AutolandWaypointspress the
"Reset Runway Waypoints" button.
*AUTOLANDING
1. Flip the FLIGHT DIRECTOR Switch
1. Flip the LS Switch
2. Press the "Auto-Land" button
3. Press AP1 and/or AP2 button
*BE AWARE THE GEAR DOES NOT DEPLOY AUTOMATICALYAUTOPILOT FLIGHTPLAN SETUP:
*ADDING WAYPOINTS
1. Select a waypointon the map
2. Then go to the "Flight Plan-Autoland Coordinates" keypad
3. Insert the waypointinto the keypad
4. Press the "Add Flight Plan Waypoint" button
You can review your Flight Plan on the Second page of the MCDU
*YOU CAN LOAD UP TO 8 WAYPOINTS TO THE FLIGHT PLAN MAX
*FLYING THE FLIGHTPLAN
1. Flip the FLIGHT DIRECTOR Switch
2. Press the NAV HOLD button
3. Press AP1 and/or AP2 button
*BE AWARE THE NAV HOLD DOES NOT TURN OFF AFTER REACHING
THE LAST WAYPOINT
*RESETING THE FLIGHTPLAN
To reset the flightplan pressthe "Reset Flight Plan" button.ALTITUDE SETUP:1. Set up your desired Altitude on the Altitude Hold Panel
2. Press the ALT HOLD Button
3. Enable FD
4. Enable AP
url=https://steamcommunity.com/sharedfiles/filedetails/?id=2392851331]
CAPACITY: 13 Passengers
https://steamcommunity.com/sharedfiles/filedetails/?id=2374729163 : HSI by Hally
https://steamcommunity.com/sharedfiles/filedetails/?id=2092441495 : Modified AH by markers622
https://steamcommunity.com/sharedfiles/filedetails/?id=2229865932 : Inspiration for the AH from Enzocats
https://steamcommunity.com/sharedfiles/filedetails/?id=1799889445 : 3D Maps by Buunuu
https://steamcommunity.com/sharedfiles/filedetails/?id=2028815133 : Coms by PenguinO
If you find any Bugs please report them down below
Як завантажити моди?
Натисніть на кнопку вище та завантажте обраний мод з файлового сховища.Як встановити мод?
Див. секцію "Як встановити".Чи безпечний завантажуваний файл?
Моди перезаливаються нами з оригінального джерела, без жодних змін. Ми лише запаковуємо їх в звичайний архів. Додатково можете перевірити архів на наявність загроз за допомогою будь-якого антивірусу або онлайн-сканеру на кшталт virustotal.com. Також рекомендуємо робити резервні копії ваших сейвів, про всяк випадок.
For vehicle mods
- Download the .zip archive containing the vehicle mod files.
- Locate your game's root folder.
- Navigate to
rom\data\preset_vehicles_advancedand extract the files there. - Rename both files to something recognizable, ensuring they share the same base name but different extensions.
- Launch the game and go to the Workbench's Presets tab to see the new vehicle mod.