Rabbit OS | Working Computer
Vehicle, Exploration, Stationary, Advanced, v1.5.2
The most powerful, Rabbit OS Pro is out! Click here: https://steamcommunity.com/sharedfiles/filedetails/?id=2814864654
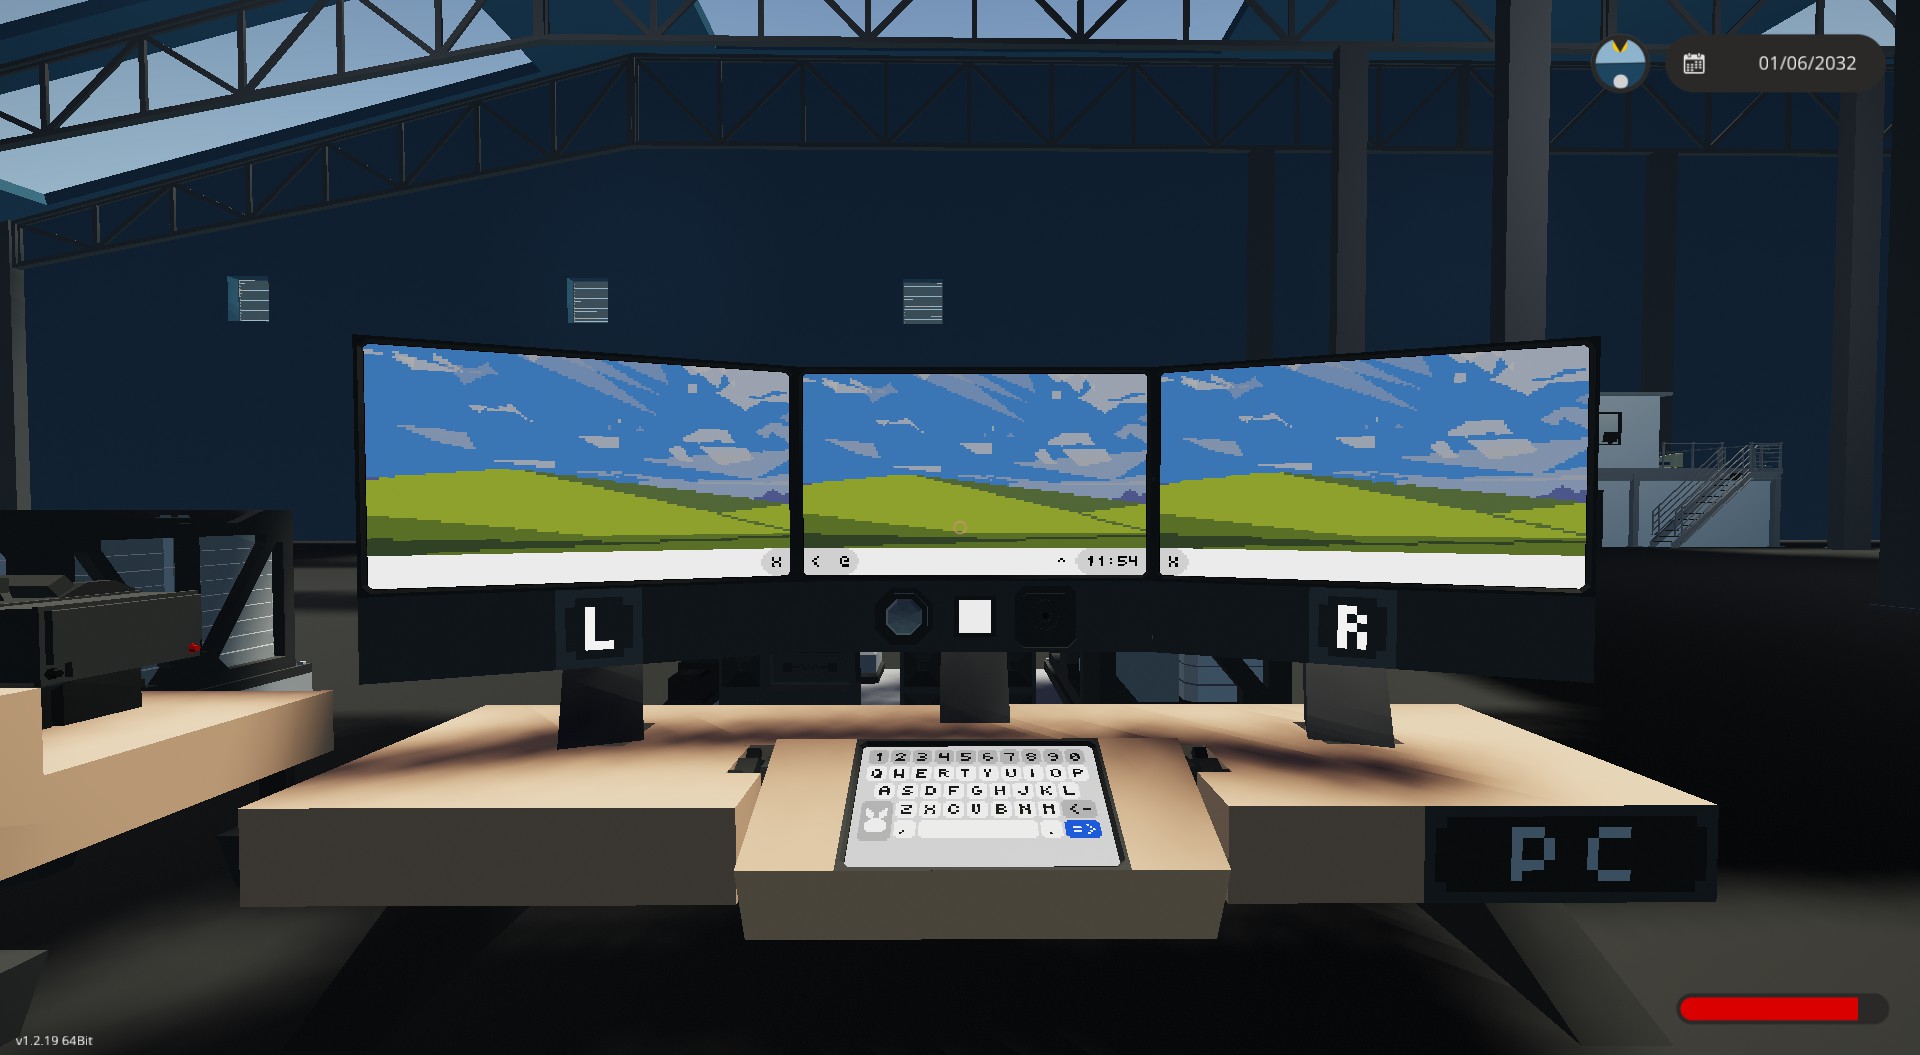
- Next Gen Computer in Stormworks -- Different screen size support (Recommanded: 5x3, also works for 3x3 & 9x5)
- Multi-monitor support for maximum 3 monitors
- Built-in apps
- Touch Control, or WASD Cursor Control
UPDATE:Ver 1.2:
- Keyboard renewed,...
Розробник: TEA™ ☕
Дата створення: 12 Aug, 2021 @ 10:33am
Оновлено: 30 Jun, 2022 @ 6:42am
Підписників: 22197
Розмір (розпакований) : 0.569 MB
The most powerful, Rabbit OS Pro is out!
Click here: https://steamcommunity.com/sharedfiles/filedetails/?id=2814864654- Next Gen Computer in Stormworks -
- Different screen size support (Recommanded: 5x3, also works for 3x3 & 9x5)- Multi-monitor support for maximum 3 monitors
- Built-in apps
- Touch Control, or WASD Cursor Control
UPDATE:
Ver 1.2:- Keyboard renewed, fixed bug where key aren't detecting correctly
- Working on screen Keyboard (Toggle in poverty toggle, ! wont sync across monitors)
Ver. 1.1:
- New wallpaper
- Minor UI changes
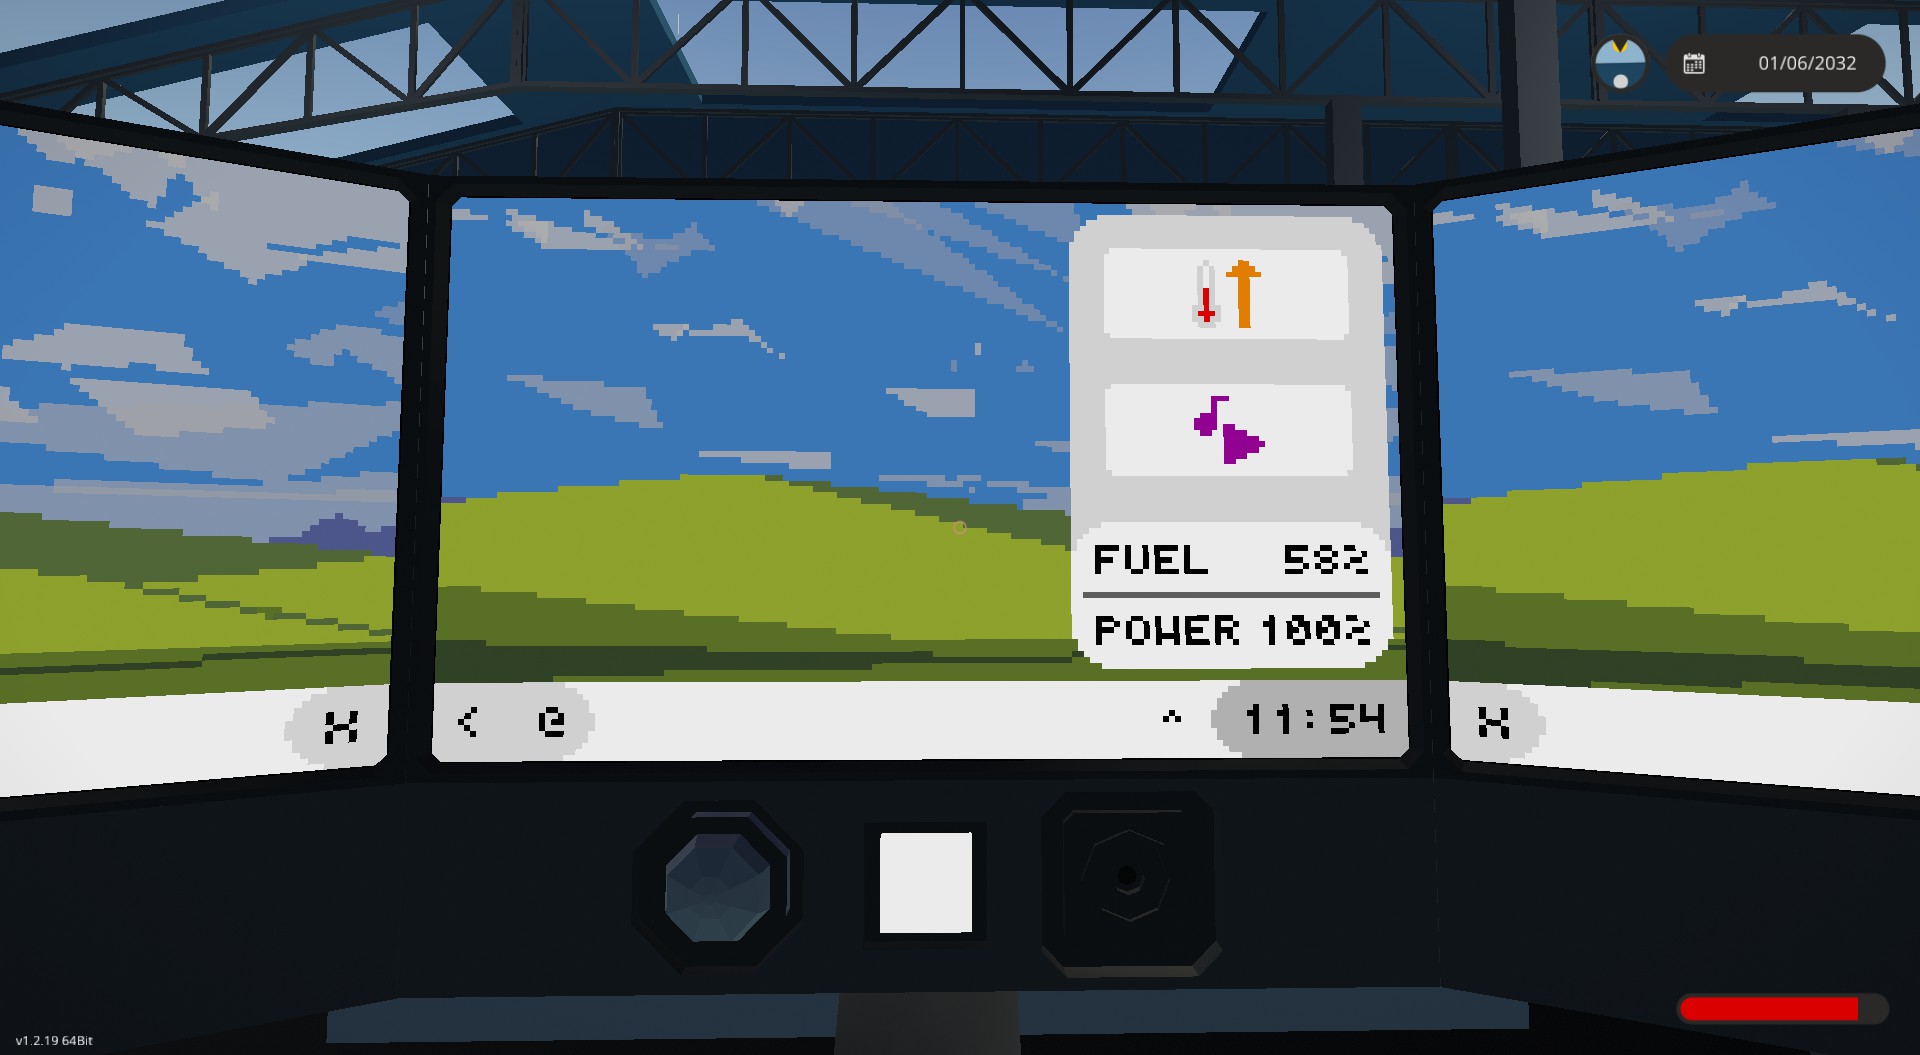
- Quick Toggle now require hardware management chip
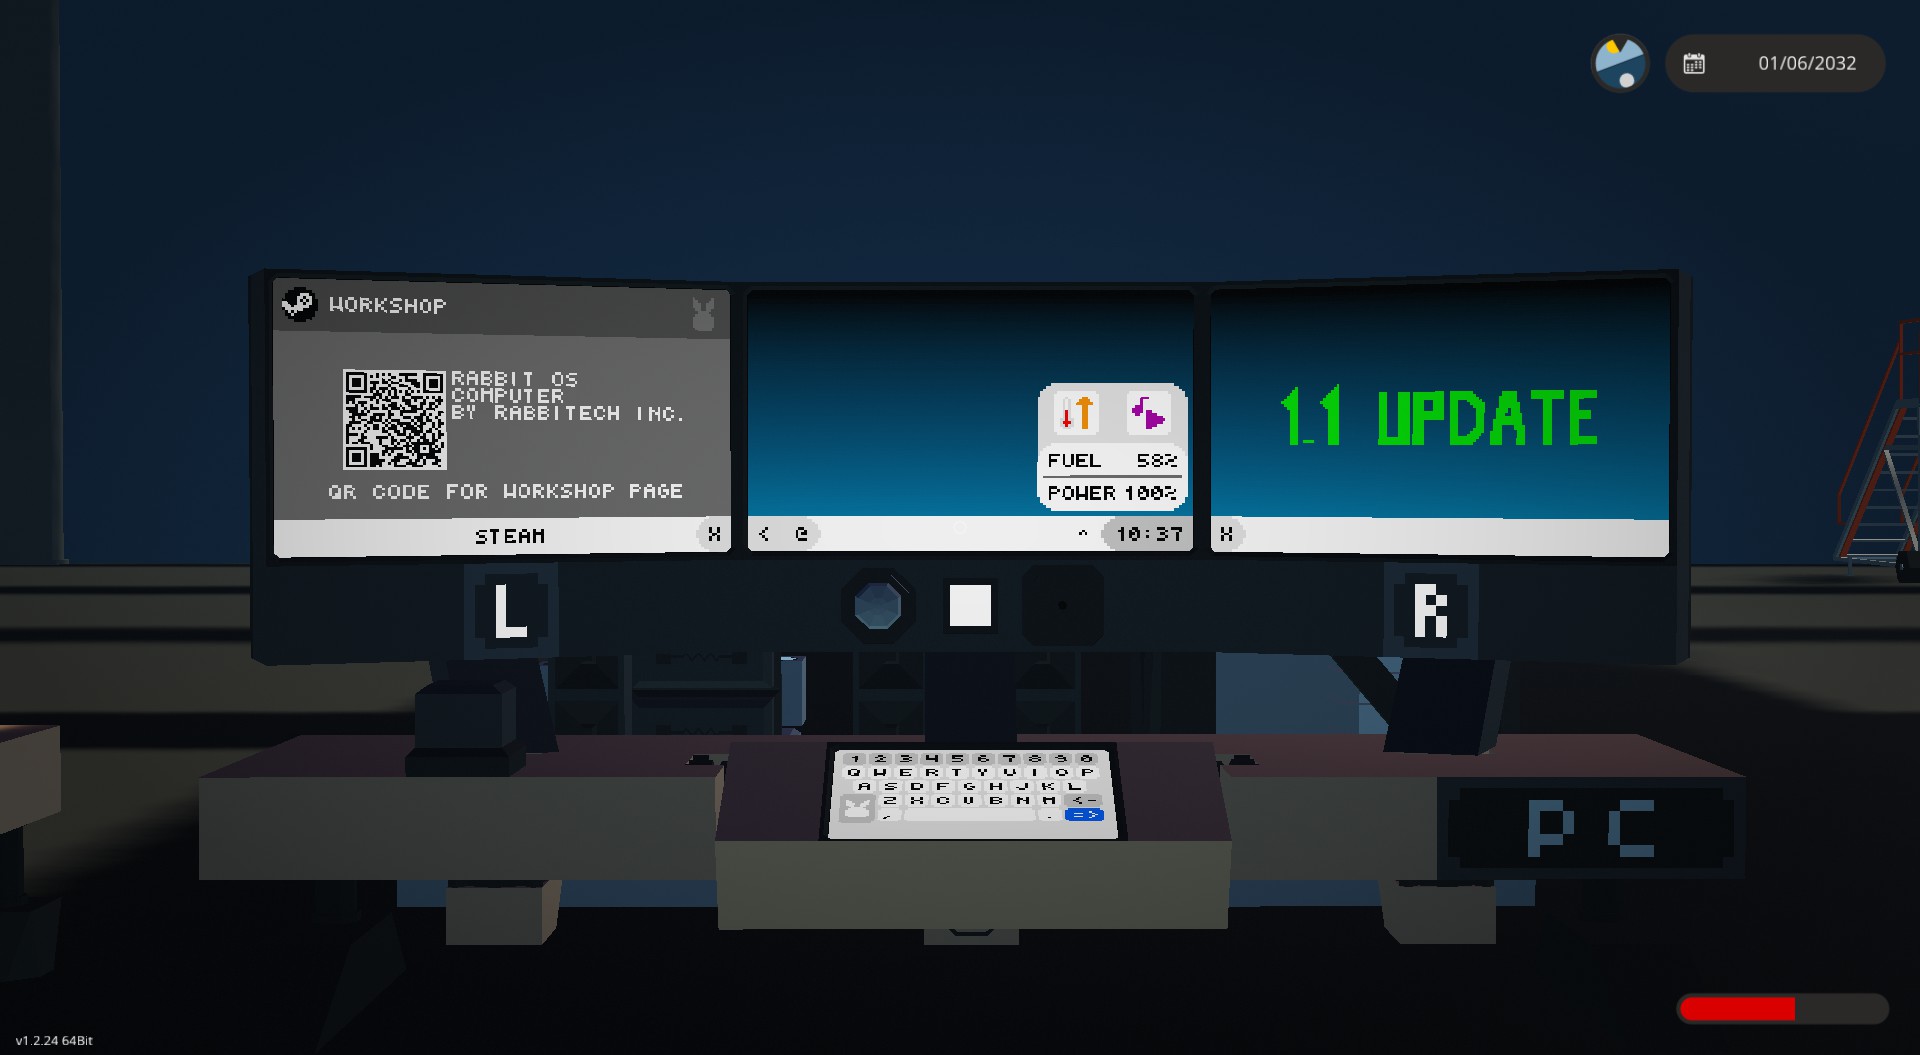
- NEW Steam app
**Helpful Tip: To config different monitor setup, you can remove the monitor and its microcontroller which isn't needed. Its faster that way.**
- Taskbar Basic Control -
- Taskbar (Single Monitor, Main screen)- Back ( < ): Return to desktop
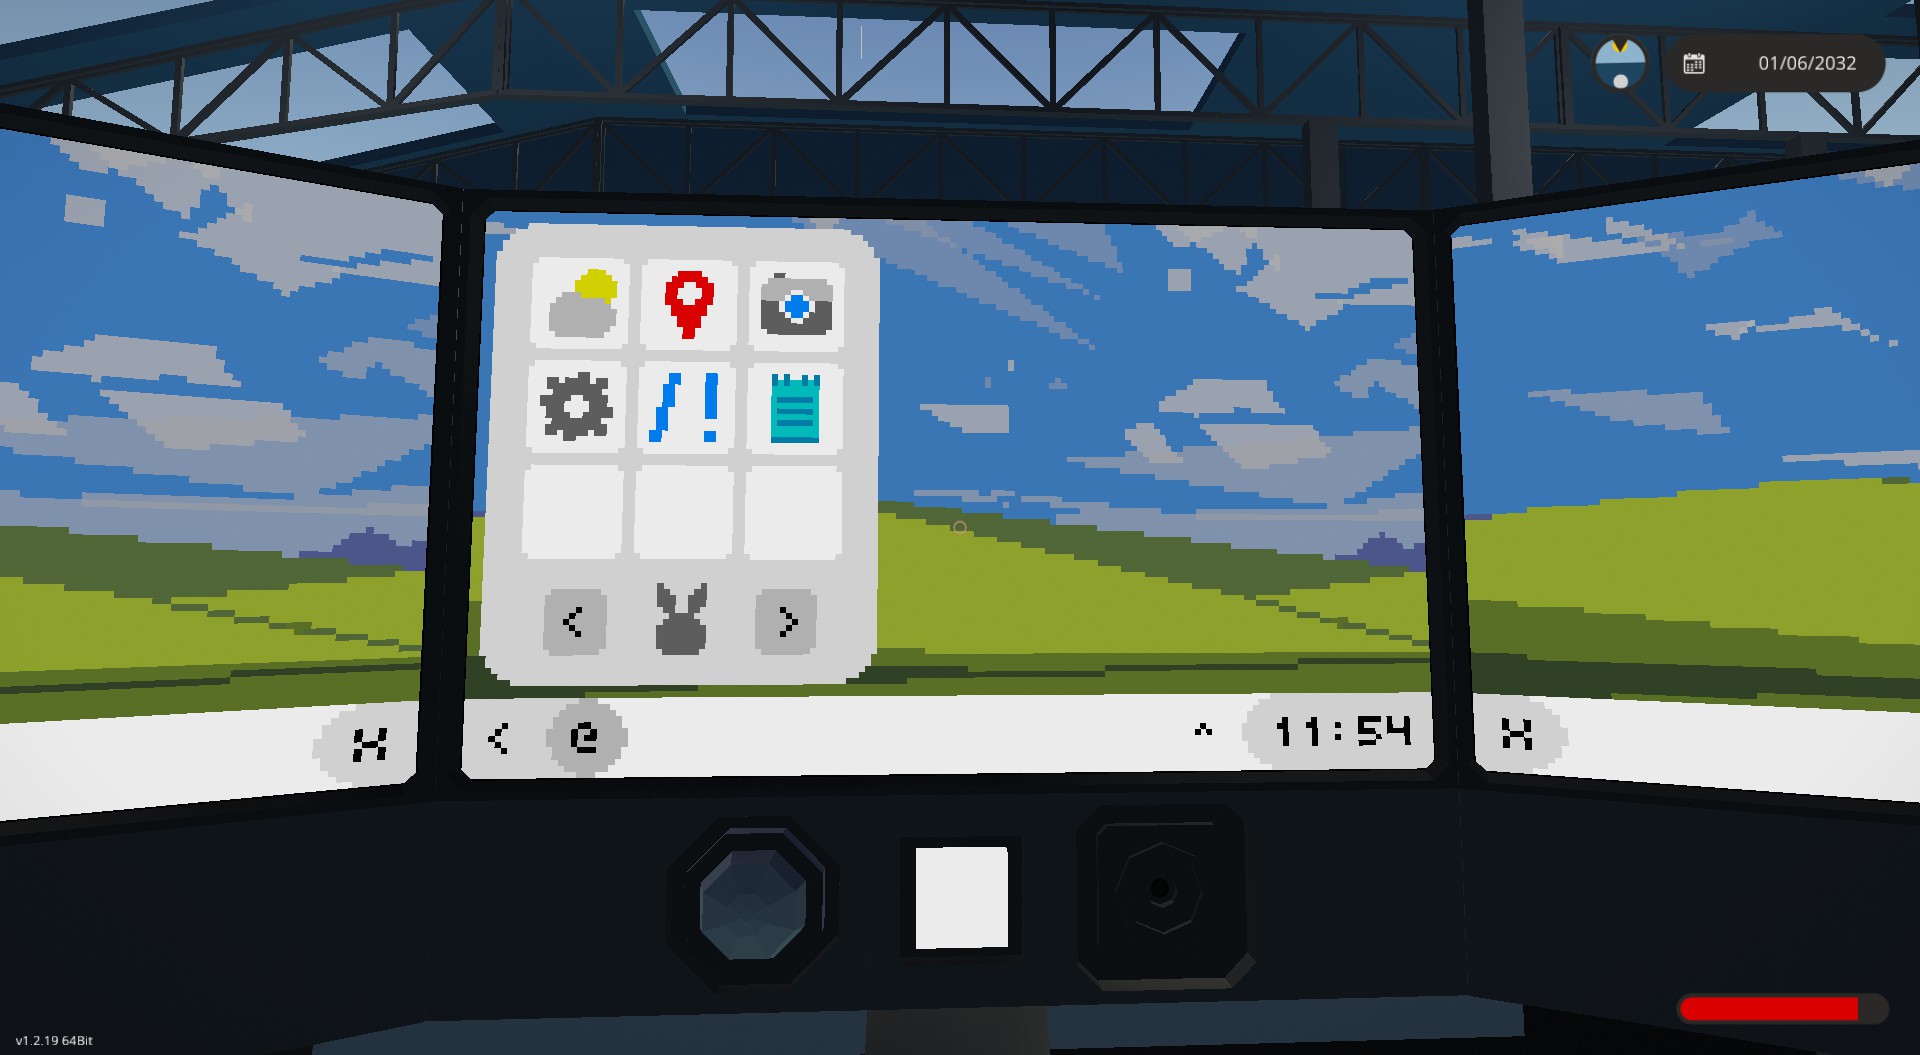
- App drawer ( @ ): Open the app drawer, duh
- Quick Panel (Time on the bottom right): Quick Device Control, Power & Fuel Status
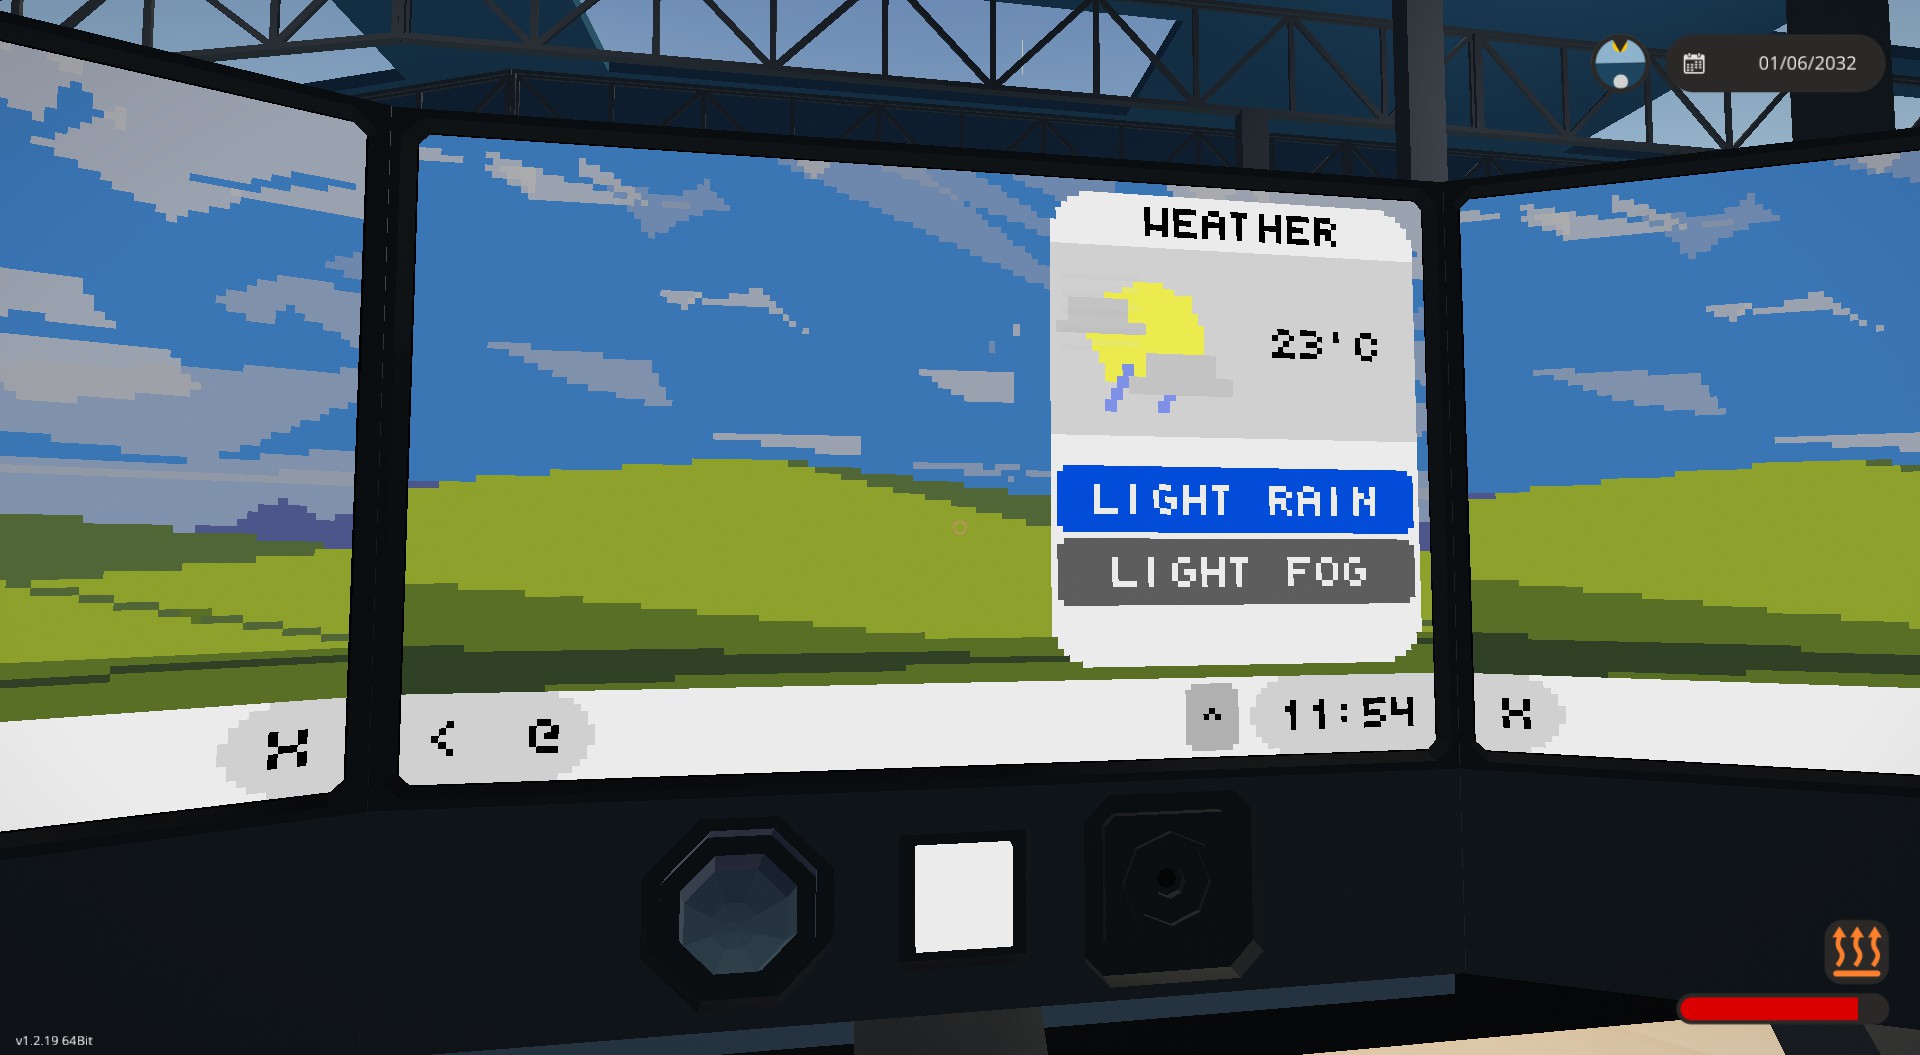
- Weather Widget (^): Brief weather at a glance
- Side monitors taskbar, in a multi-monitor setup. (Show when side monitors are connected)
- Snapping ( < / > ): Inside the app drawer, snap the currently opened app on the main screen to left/right monitors
- Close ( X ): Close app on the side monitors
- Apps -
- Weather: Detailed Weather Info with numbers- Map: A nice map with Follow, Zoom, Waypoint
- Camera: Support up to 5 cameras
- Steam: Show QR code to this page
- System: Device Info & OS version
- Notepad: Note-taking with Keyboard
- Configuration & Instruction -
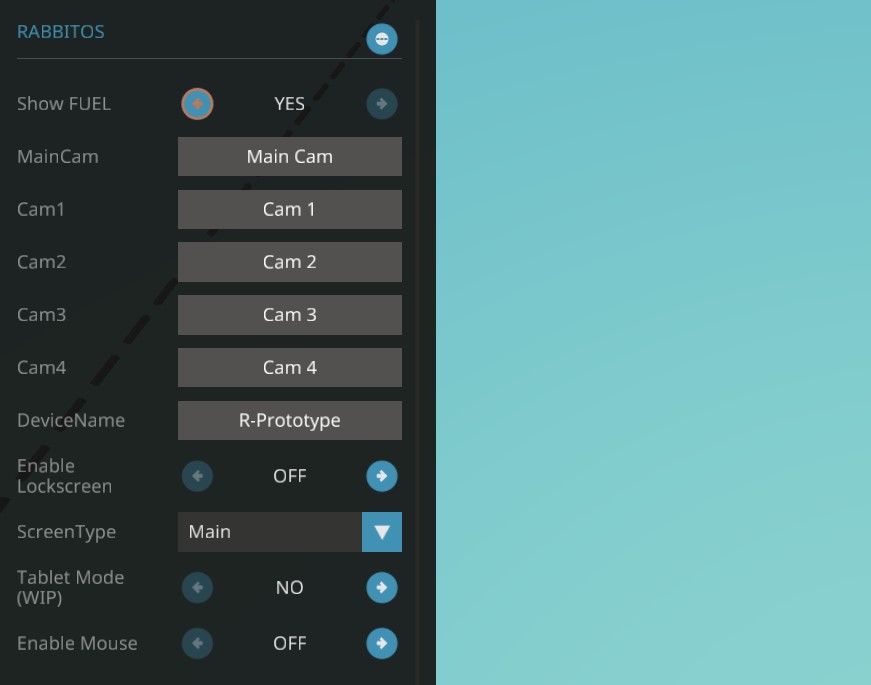
- Property setting in editor- Show Fuel: Show fuel or not in the Quick Panel
- Camera Label: For camera app, click on the [?] button to show
- Device Name: Name your device, appeared on the System app
- Enable Lockscreen: Hide screen content if player is too far away (uses player detector, range are determine by it)
- ScreenType: Determine its screen location
- Tablet Mode: WIP, currently only show a onscreen keyboard that doesn't work
- Enable Mouse: Uses WASD controling the cursor, Hotkey [1] to click, switch monitor using Hotkeys [2][3][4]
- Single monitor setup
- Connect Screen Video Out to the Monitor
- Connect Monitor Composite to Touchscreen controller
- Multi-monitor setup (Continue from Single monitor setup)
- You will need one controller for each screen. ( e.g. [Left] [Main] :2, [Left] [Main] [Right] :3 )
- Set ScreenType in property dropdown, "Main", "Left", "Right" mentioned below are ScreenType
- Connect "Main" Multi-Monitor Data Sent to Multi-Monitor Data Receive to "Left" / "Right"
- Connect "Left" / "Right" Multi-Monitor Data Sent to Left Screen or Right Screen according which side its on
- Setup individual monitor touch like how single monitor setup does it
- Starup
- Get a Button Toggle connected to the monitors and ON/OFF on the controller, also connect them on the side monitor controller
- Optional Start-Up Sound, Hook the button up to a music controller or some buzzers and delays to make some funny sounds.
- Data Module
- Apps needs data from Data Module to work
- Both Data Module are located at the back of the desk
- Connect them according the name of the nodes
- Keyboard (Optional, only for Notepad)
- Connect Keyboard Video Out to a 3x2 Monitor
- Connect 3x2 Monitor Composite to "ALL" screen's Keyboard Composite on the controller
- Mouse (For Mouse Control)
- Get a seat with composite output and connect to ALL mouse composite
- Turn on "Enable Mouse" in ALL property toggle
- Set the sensitivity of the WASD to 100% or else it will act funny (You don't want that)
- Set Hotkeys[1-4] to Push mode
- Camera (For Camera App)
- Connect the video input to the camera video nodes (Connect to the same node on side monitor node for consistency)
- Quick Toggles
- Music Player: Connect Music ON/OFF to External Music Player
- Heater: Connect Heater ON/OFF to Heater
Using in Your Creation
Go ahead, just credit me.You might tweak the code a little bit to fit your creation if you can read my spaghetti code, lol.
- Credits -
Windows XP wallpaper from Windows XP - Wallpaper by T-UerellSoviet Anthem from Soviet Anthem Radio by Padraig, Duke of Florida
Weather icons from Weather Widget by » p i x x e l «
Map are modified from *LUA* navigation map (touchcontrol) by Tajin
Як завантажити моди?
Натисніть на кнопку вище та завантажте обраний мод з файлового сховища.Як встановити мод?
Див. секцію "Як встановити".Чи безпечний завантажуваний файл?
Моди перезаливаються нами з оригінального джерела, без жодних змін. Ми лише запаковуємо їх в звичайний архів. Додатково можете перевірити архів на наявність загроз за допомогою будь-якого антивірусу або онлайн-сканеру на кшталт virustotal.com. Також рекомендуємо робити резервні копії ваших сейвів, про всяк випадок.
For vehicle mods
- Download the .zip archive containing the vehicle mod files.
- Locate your game's root folder.
- Navigate to
rom\data\preset_vehicles_advancedand extract the files there. - Rename both files to something recognizable, ensuring they share the same base name but different extensions.
- Launch the game and go to the Workbench's Presets tab to see the new vehicle mod.