

SeaSniffer - Off-Shore Drilling Vessel
Vehicle, Sea, Exploration, Delivery, Technical, Underwater, Mechanical, Advanced, v1.7.1
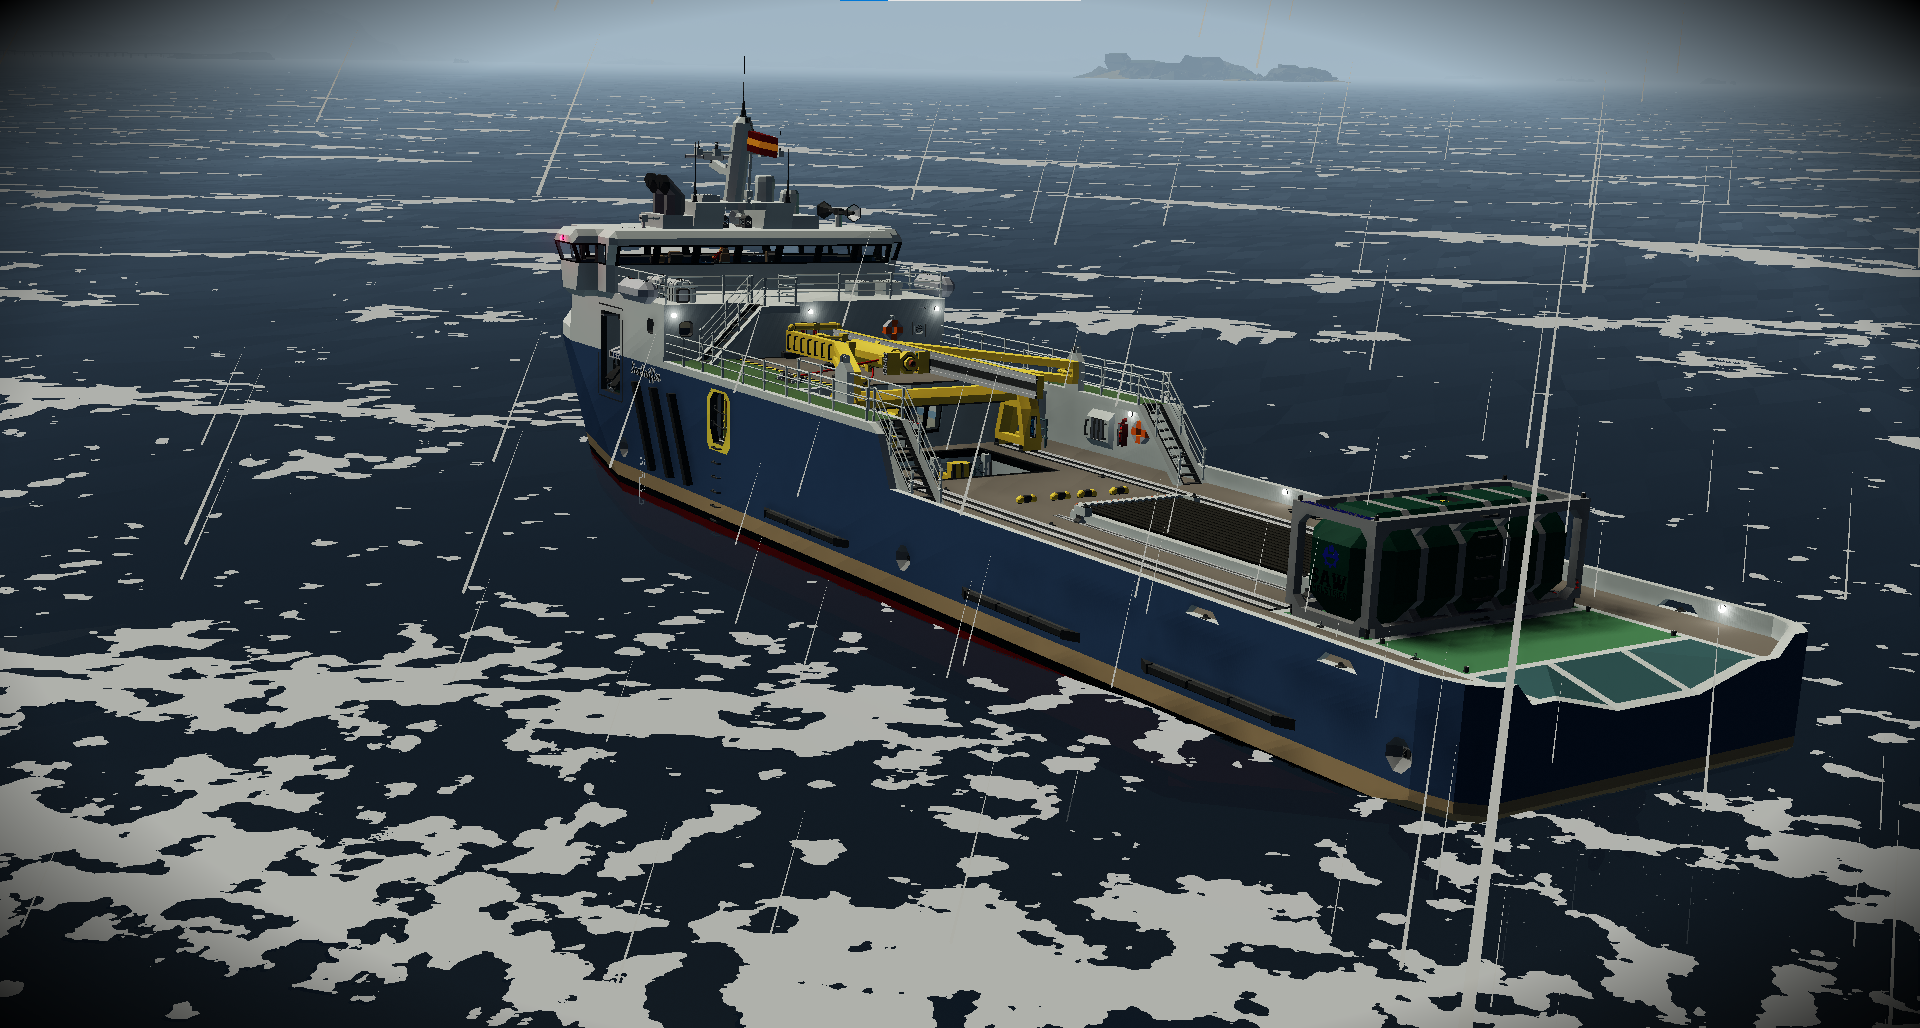
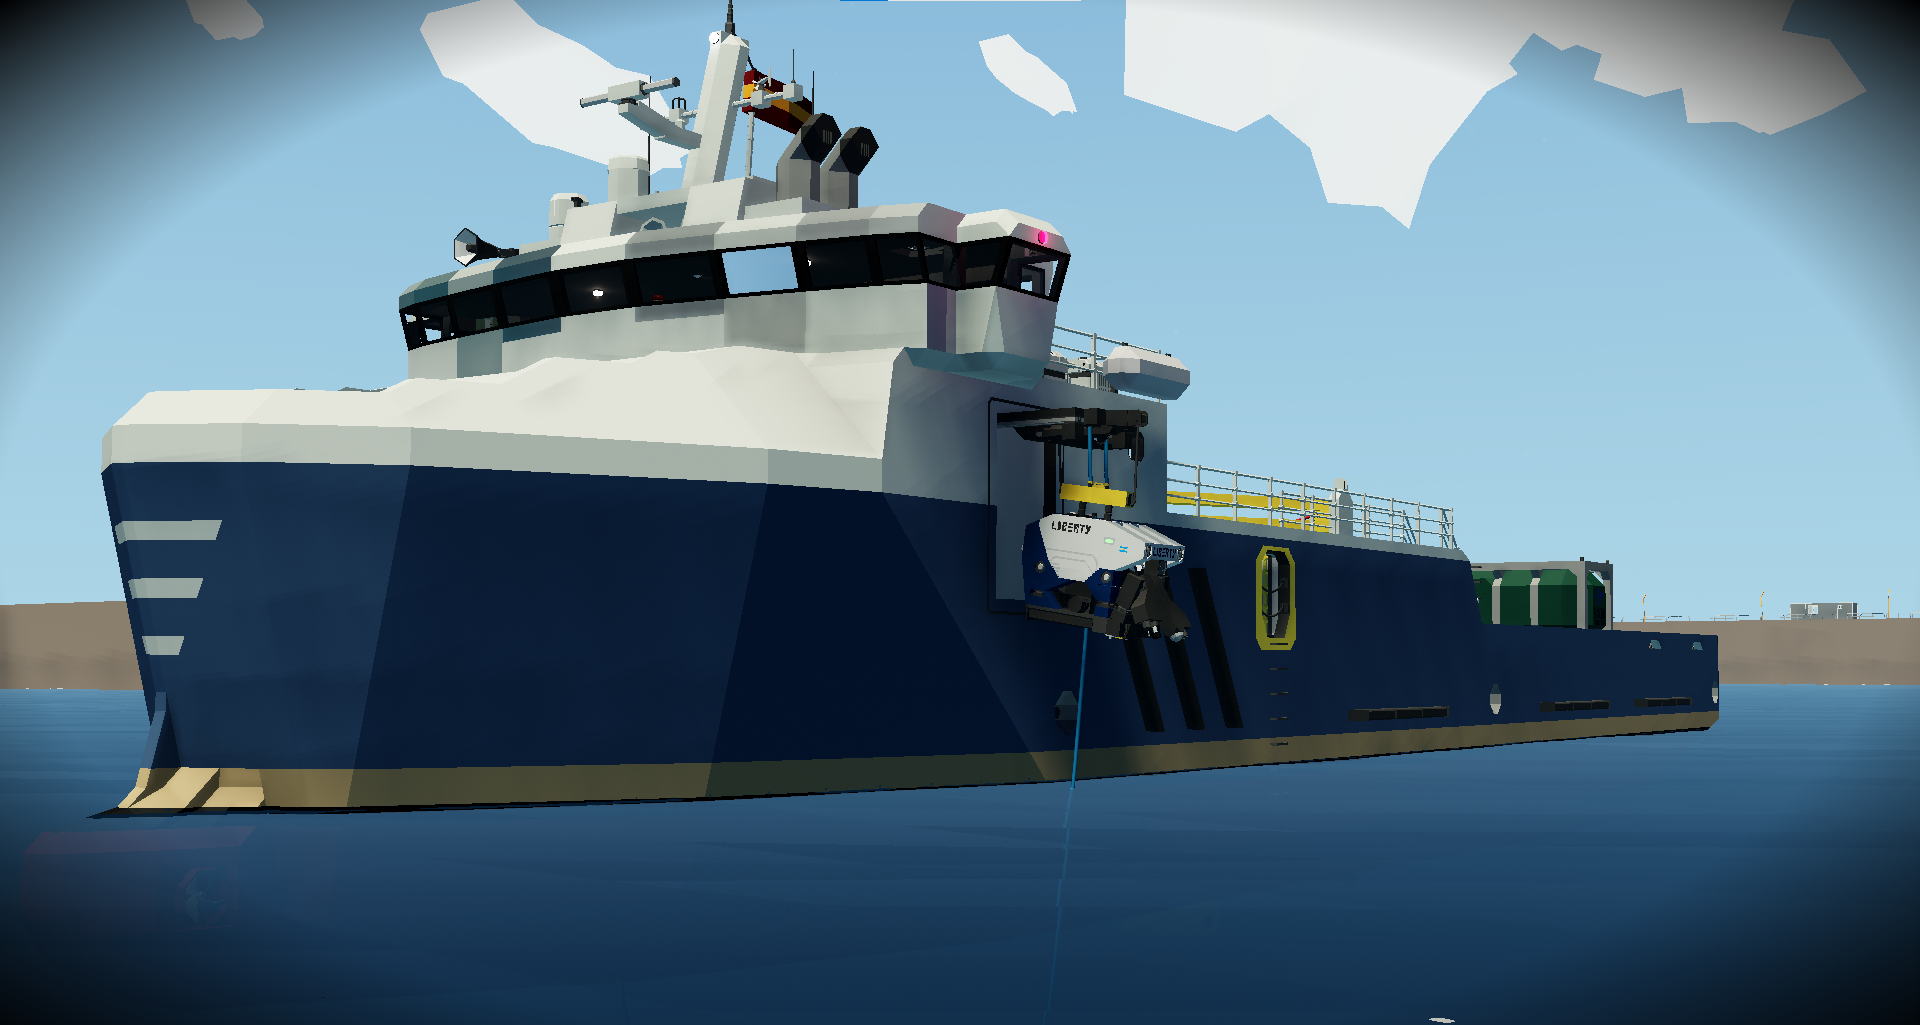
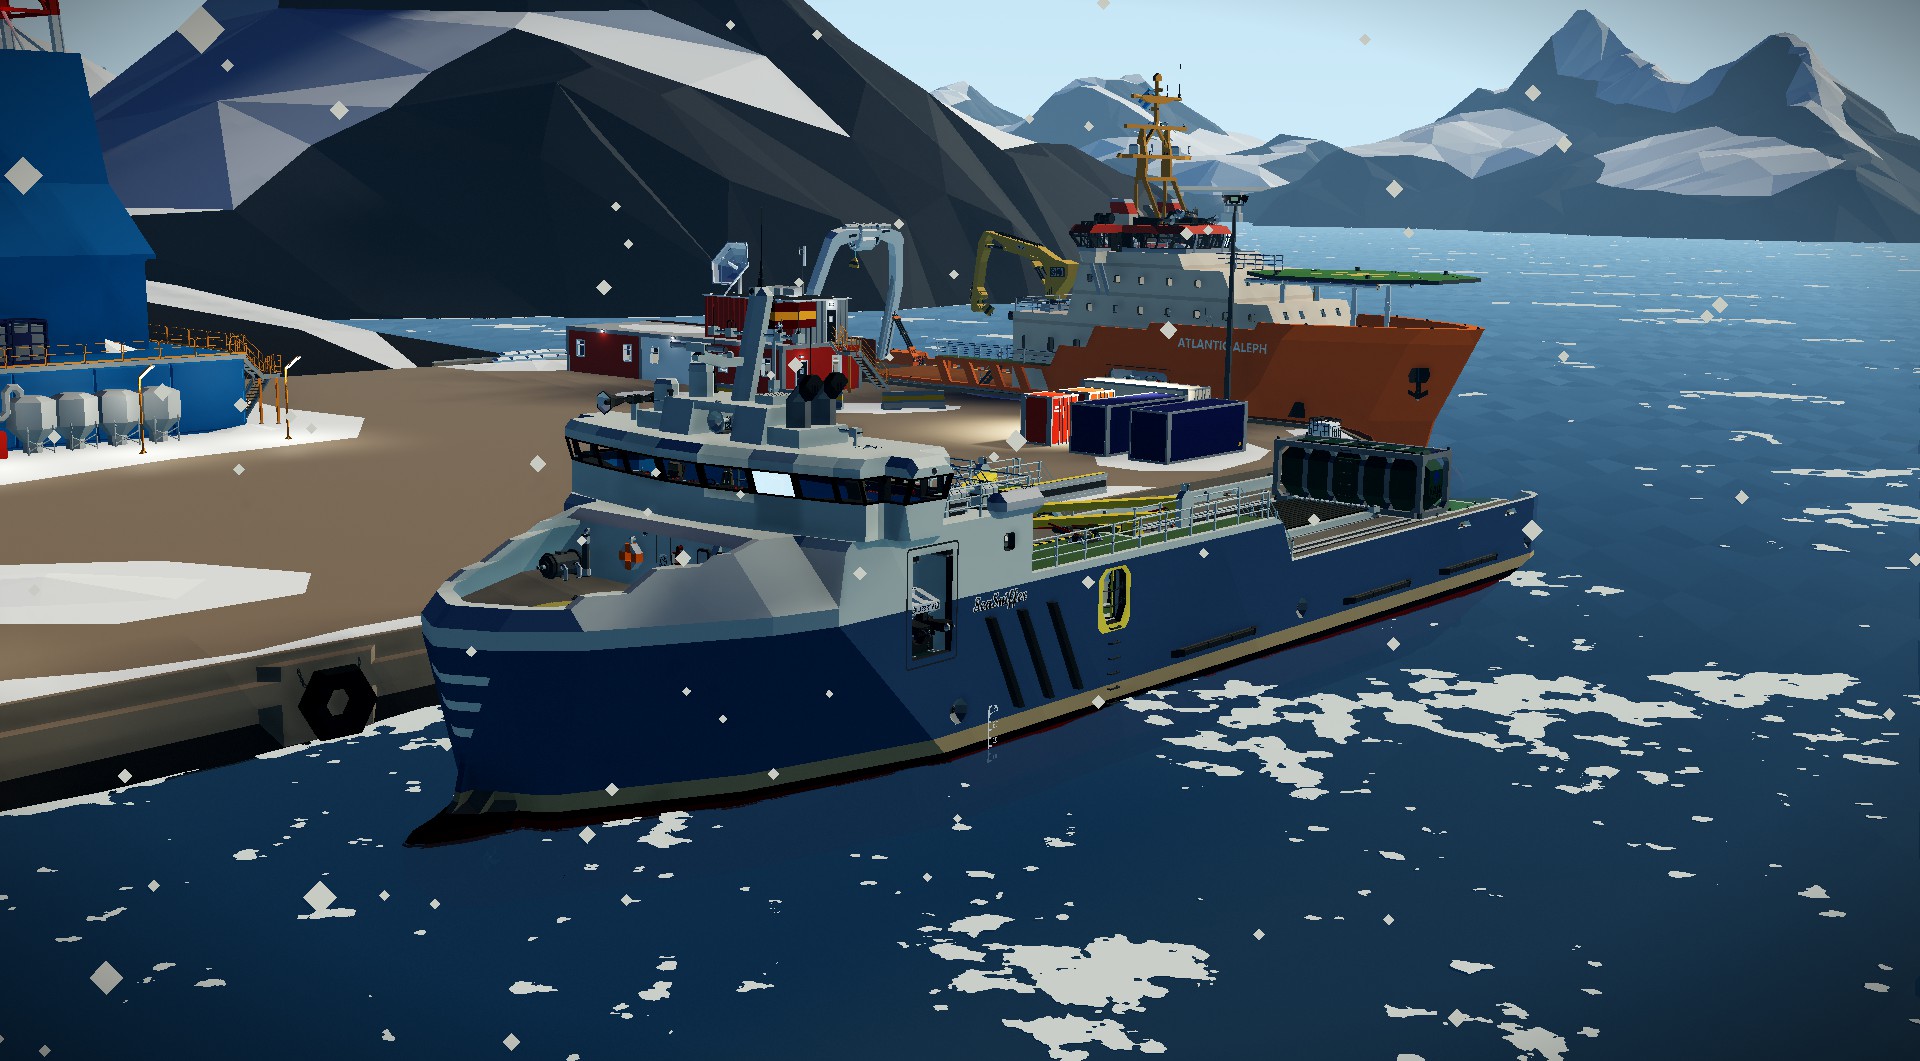
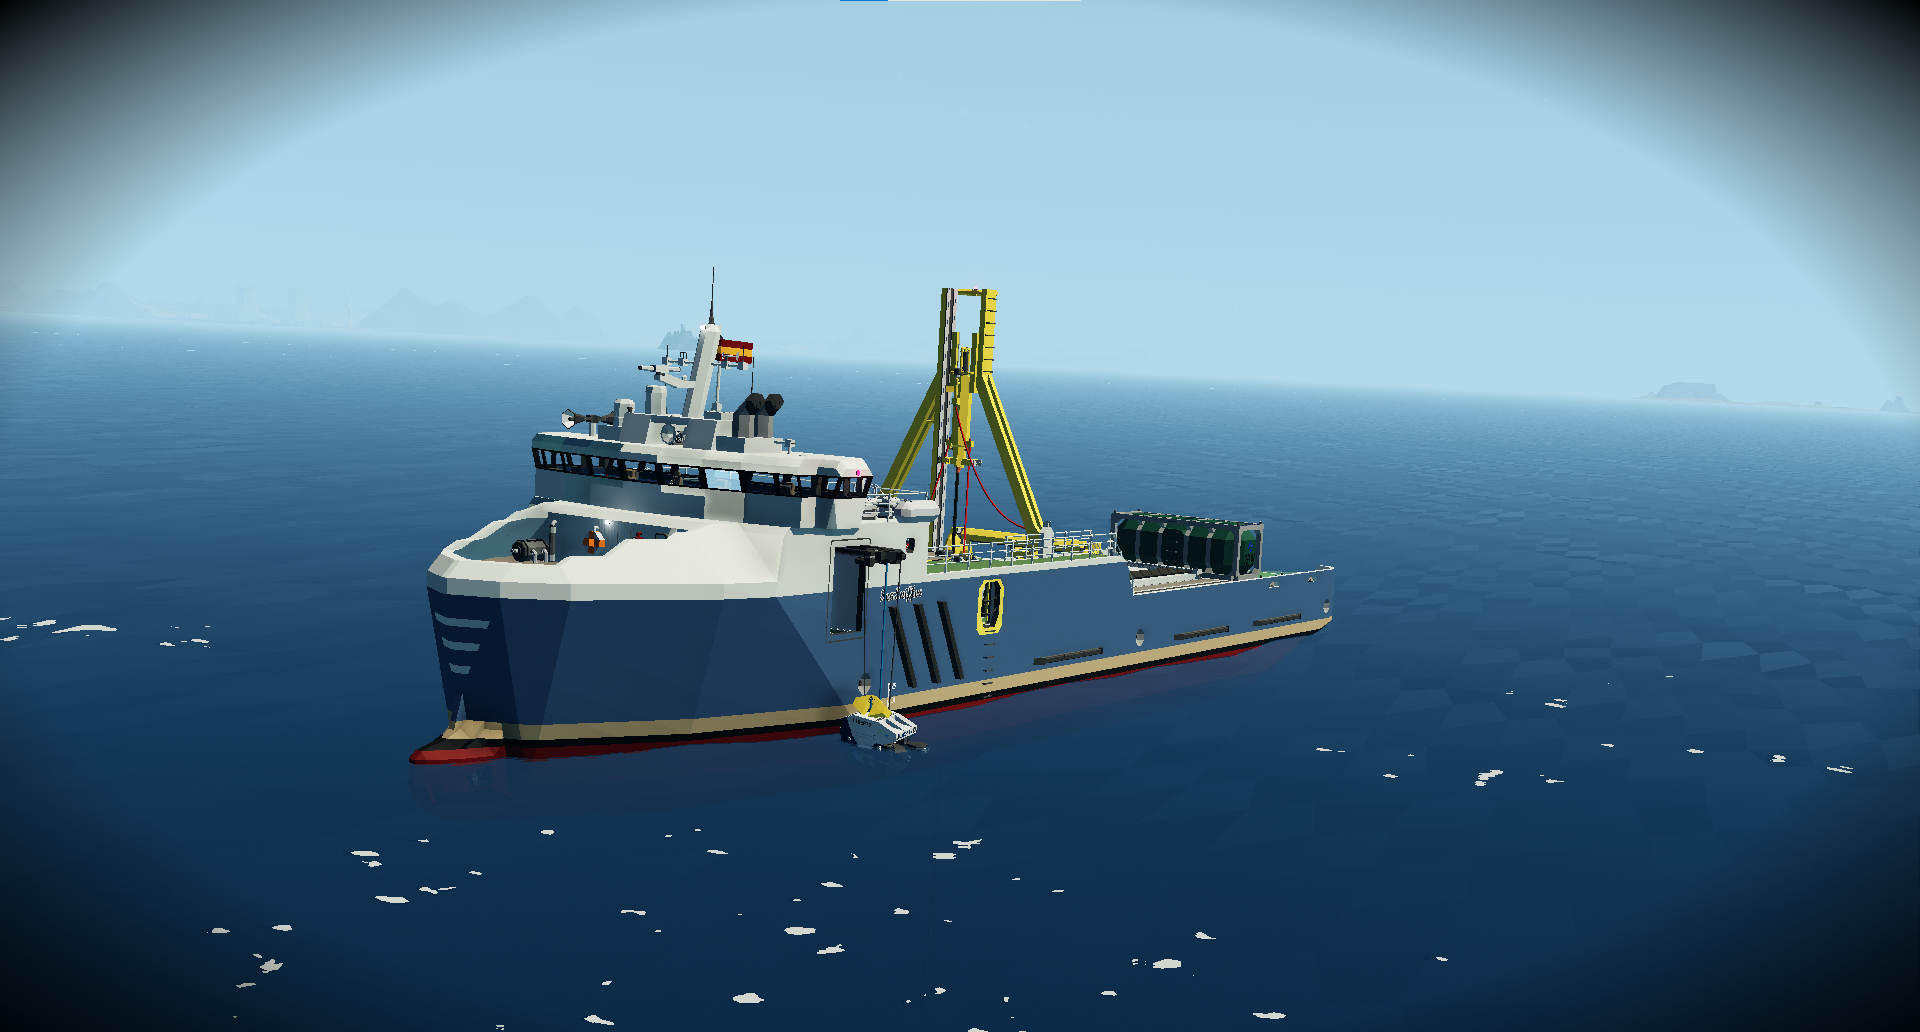
SeaSniffer | Off-shore Drilling Vessel
SeaSniffer is a state-of-the-art drilling vessel designed for deep-sea oil and gas exploration. Equipped with advanced drilling technology and dynamic positioning systems, SeaSniffer can operate in harsh offshore environments, ensuring safe and efficient drilling operations. With a length of 56 meters and a beam of 11.75 meters, this vessel can acc...
Розробник: Teniente Vlaskovich
Дата створення: 25 Mar, 2023 @ 1:37am
Оновлено: 28 Mar, 2023 @ 7:40am
Підписників: 20640
Розмір (розпакований) : 9.332 MB
SeaSniffer is a state-of-the-art drilling vessel designed for deep-sea oil and gas exploration. Equipped with advanced drilling technology and dynamic positioning systems, SeaSniffer can operate in harsh offshore environments, ensuring safe and efficient drilling operations. With a length of 56 meters and a beam of 11.75 meters, this vessel can accommodate up to 15 crew members and has a drilling depth capacity of 10,000 meters. Its modern amenities include comfortable living quarters and recreational areas. The SeaSniffer is a reliable and capable drilling vessel that can take on even the most challenging offshore drilling projects, especially when using the new top of the line ROV´s in the market.
S.O.D.S. Collection Including all our builds and projects
- Dynamic Positioning
- AutoPilot
- Sonar
- Transponder & Transponder Locator
- ROV
- Slurry filtering system
- 19 Knots maximum Speed
- 88.000 Liters of fuel
Video that explains every part of the Operators Manual | Sorry for the poor quality, i will make a better one if needed
- 1-Head to the Bridge
- 2-In the engineer zone, turn on Generator and Engine Pumps
- 3-Hold Start until the green light appear in both engines
- 1-Activate Dynamic Positioning once in position
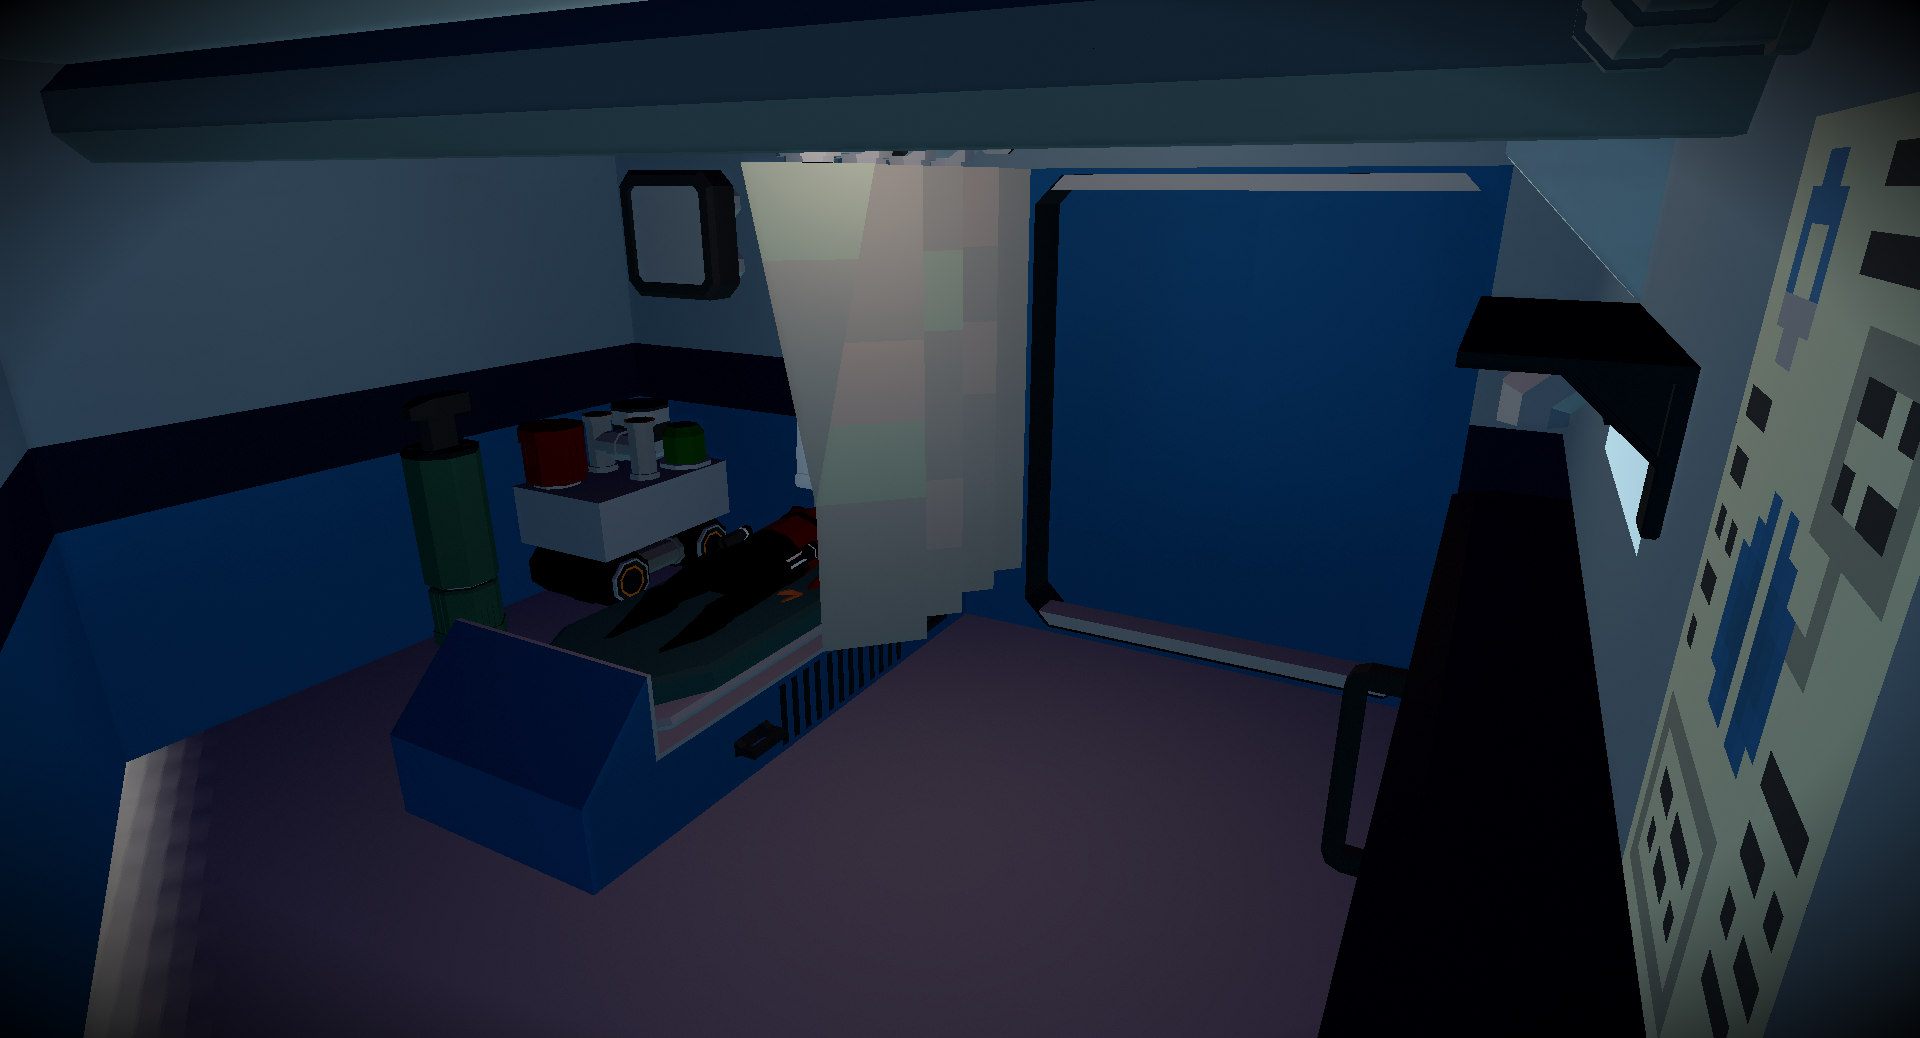
- 2-Head to the Drilling Operator cabin located at the entrance to the Super Structure
- 3-Disconect Secure Conectors (at your left) and press Winch Down
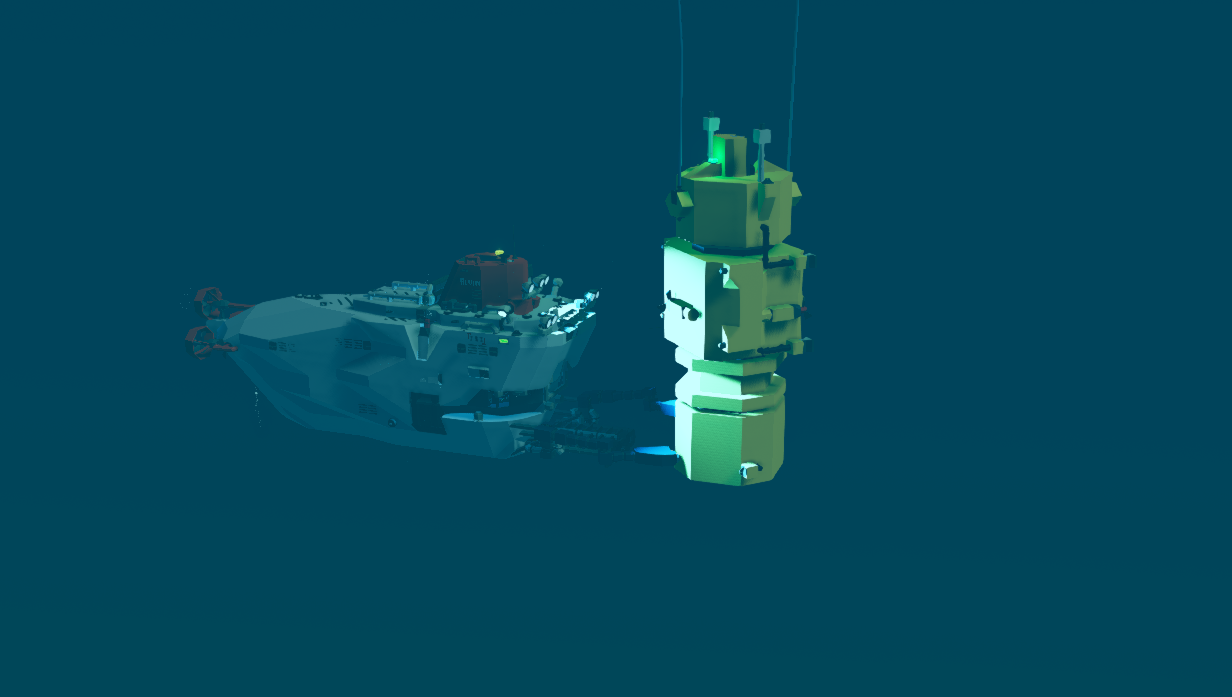
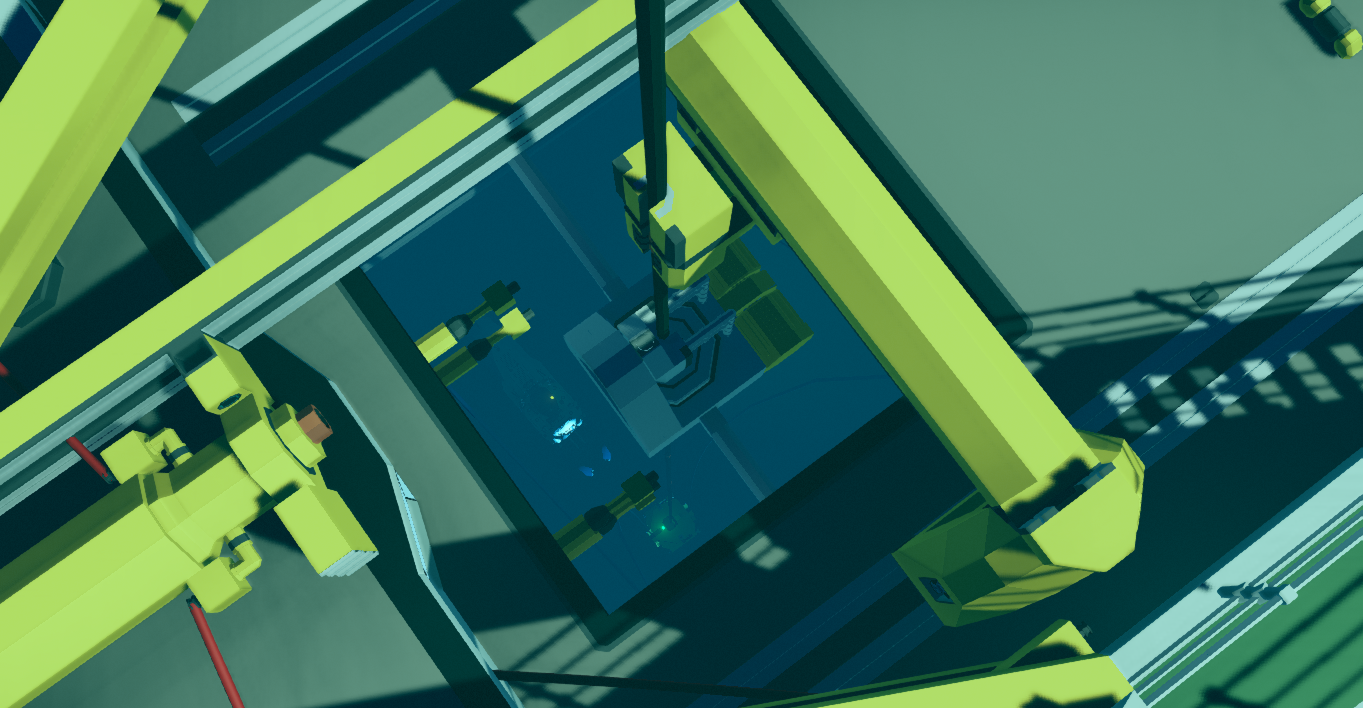
- 4-Deploy the Turning Table and Winch up until you connect the Drill (see picture) to the Turning Table

- 5-Use the crane (WASD) to get the rods inside the drill | Use hotkey 3 and press Crane Slider -> then use left/right. Note: Use Space to clamp the rods to the crane. Remember to disconnect the rods from their base to make it easier
- 6-Once the rod is inside the drill, make sure to Clamp the rod using the clamp from the Drill. Then Disconnect Secure Conectors from Rotatory Table
- 7-Lower the rod using the Winch buttons, to get it into a position where the welder from the Gantry can weld 2 rods. Continue this procedure until your drill is 0.5 meters (or a bit more) above the seabed
- 8-Once the Drill is a little bit above the seabed press the key button Connect Well Head to Ground. If you leave the drill touching the seabed it will break!
- 9.-Deploy the PumpJack while pressing the button PumpJack Up. If you think the Jackpump is going to hit the rod, feel free to press and release the button of deploying the Pumpjack until its completely deployed
- 10.-Enable the Swivel Clamp and press the PumpJack Down Button
- 11.-Below the Drilling Operator, you have the Slurry Filtering room. Conect with a rope a Slurry Tank and conect it in the Slurry Injection Anchor
- 12-In the other side of the Slurry Injection Anchor you have the Slurry Filter key, turn it on
- 13-In the Drilling Operator, turn the Rotatory Table Clamp and give the system some power
- 14-Congrats! Know you should be drilling your first well with the Sniffer. Check this in the Drilling Operator Room in the instrument panel of the Well Depth
- 15-In case you need to drill more, stop the PumpJack from coming down, disconnect the Swivel Clamp and set the PumpJack into its upper position, then insert another rod and repeat the procedure
- 16-In the image below, you have the connector from where the oil will come from. Make sure to connect it to the container provided in the deck for you to be able to store your Oil

- Any form of reupload
- Any modification without our permission
- Do not fill the comment section with suggestions/critics with lack of arguments
- Dynamic Positioning
- GPS Autopilot
- Sonar
- Fish Tank
- Chess
- Weather Screen
- Map
- ROV
- Erc Man for the amazing thumbnail :D
- MrEdd for helping testing the drilling systems
 [discord.com]
Як завантажити моди?
Натисніть на кнопку вище та завантажте обраний мод з файлового сховища.Як встановити мод?
Див. секцію "Як встановити".Чи безпечний завантажуваний файл?
Моди перезаливаються нами з оригінального джерела, без жодних змін. Ми лише запаковуємо їх в звичайний архів. Додатково можете перевірити архів на наявність загроз за допомогою будь-якого антивірусу або онлайн-сканеру на кшталт virustotal.com. Також рекомендуємо робити резервні копії ваших сейвів, про всяк випадок.
For vehicle mods
- Download the .zip archive containing the vehicle mod files.
- Locate your game's root folder.
- Navigate to
rom\data\preset_vehicles_advancedand extract the files there. - Rename both files to something recognizable, ensuring they share the same base name but different extensions.
- Launch the game and go to the Workbench's Presets tab to see the new vehicle mod.