
Vehicle Cart for Airbus A400M
Vehicle, Air, Rescue, Multi-vehicle, Exploration, Delivery, Technical, Creative, Subassembly, Advanced, v1.0.9

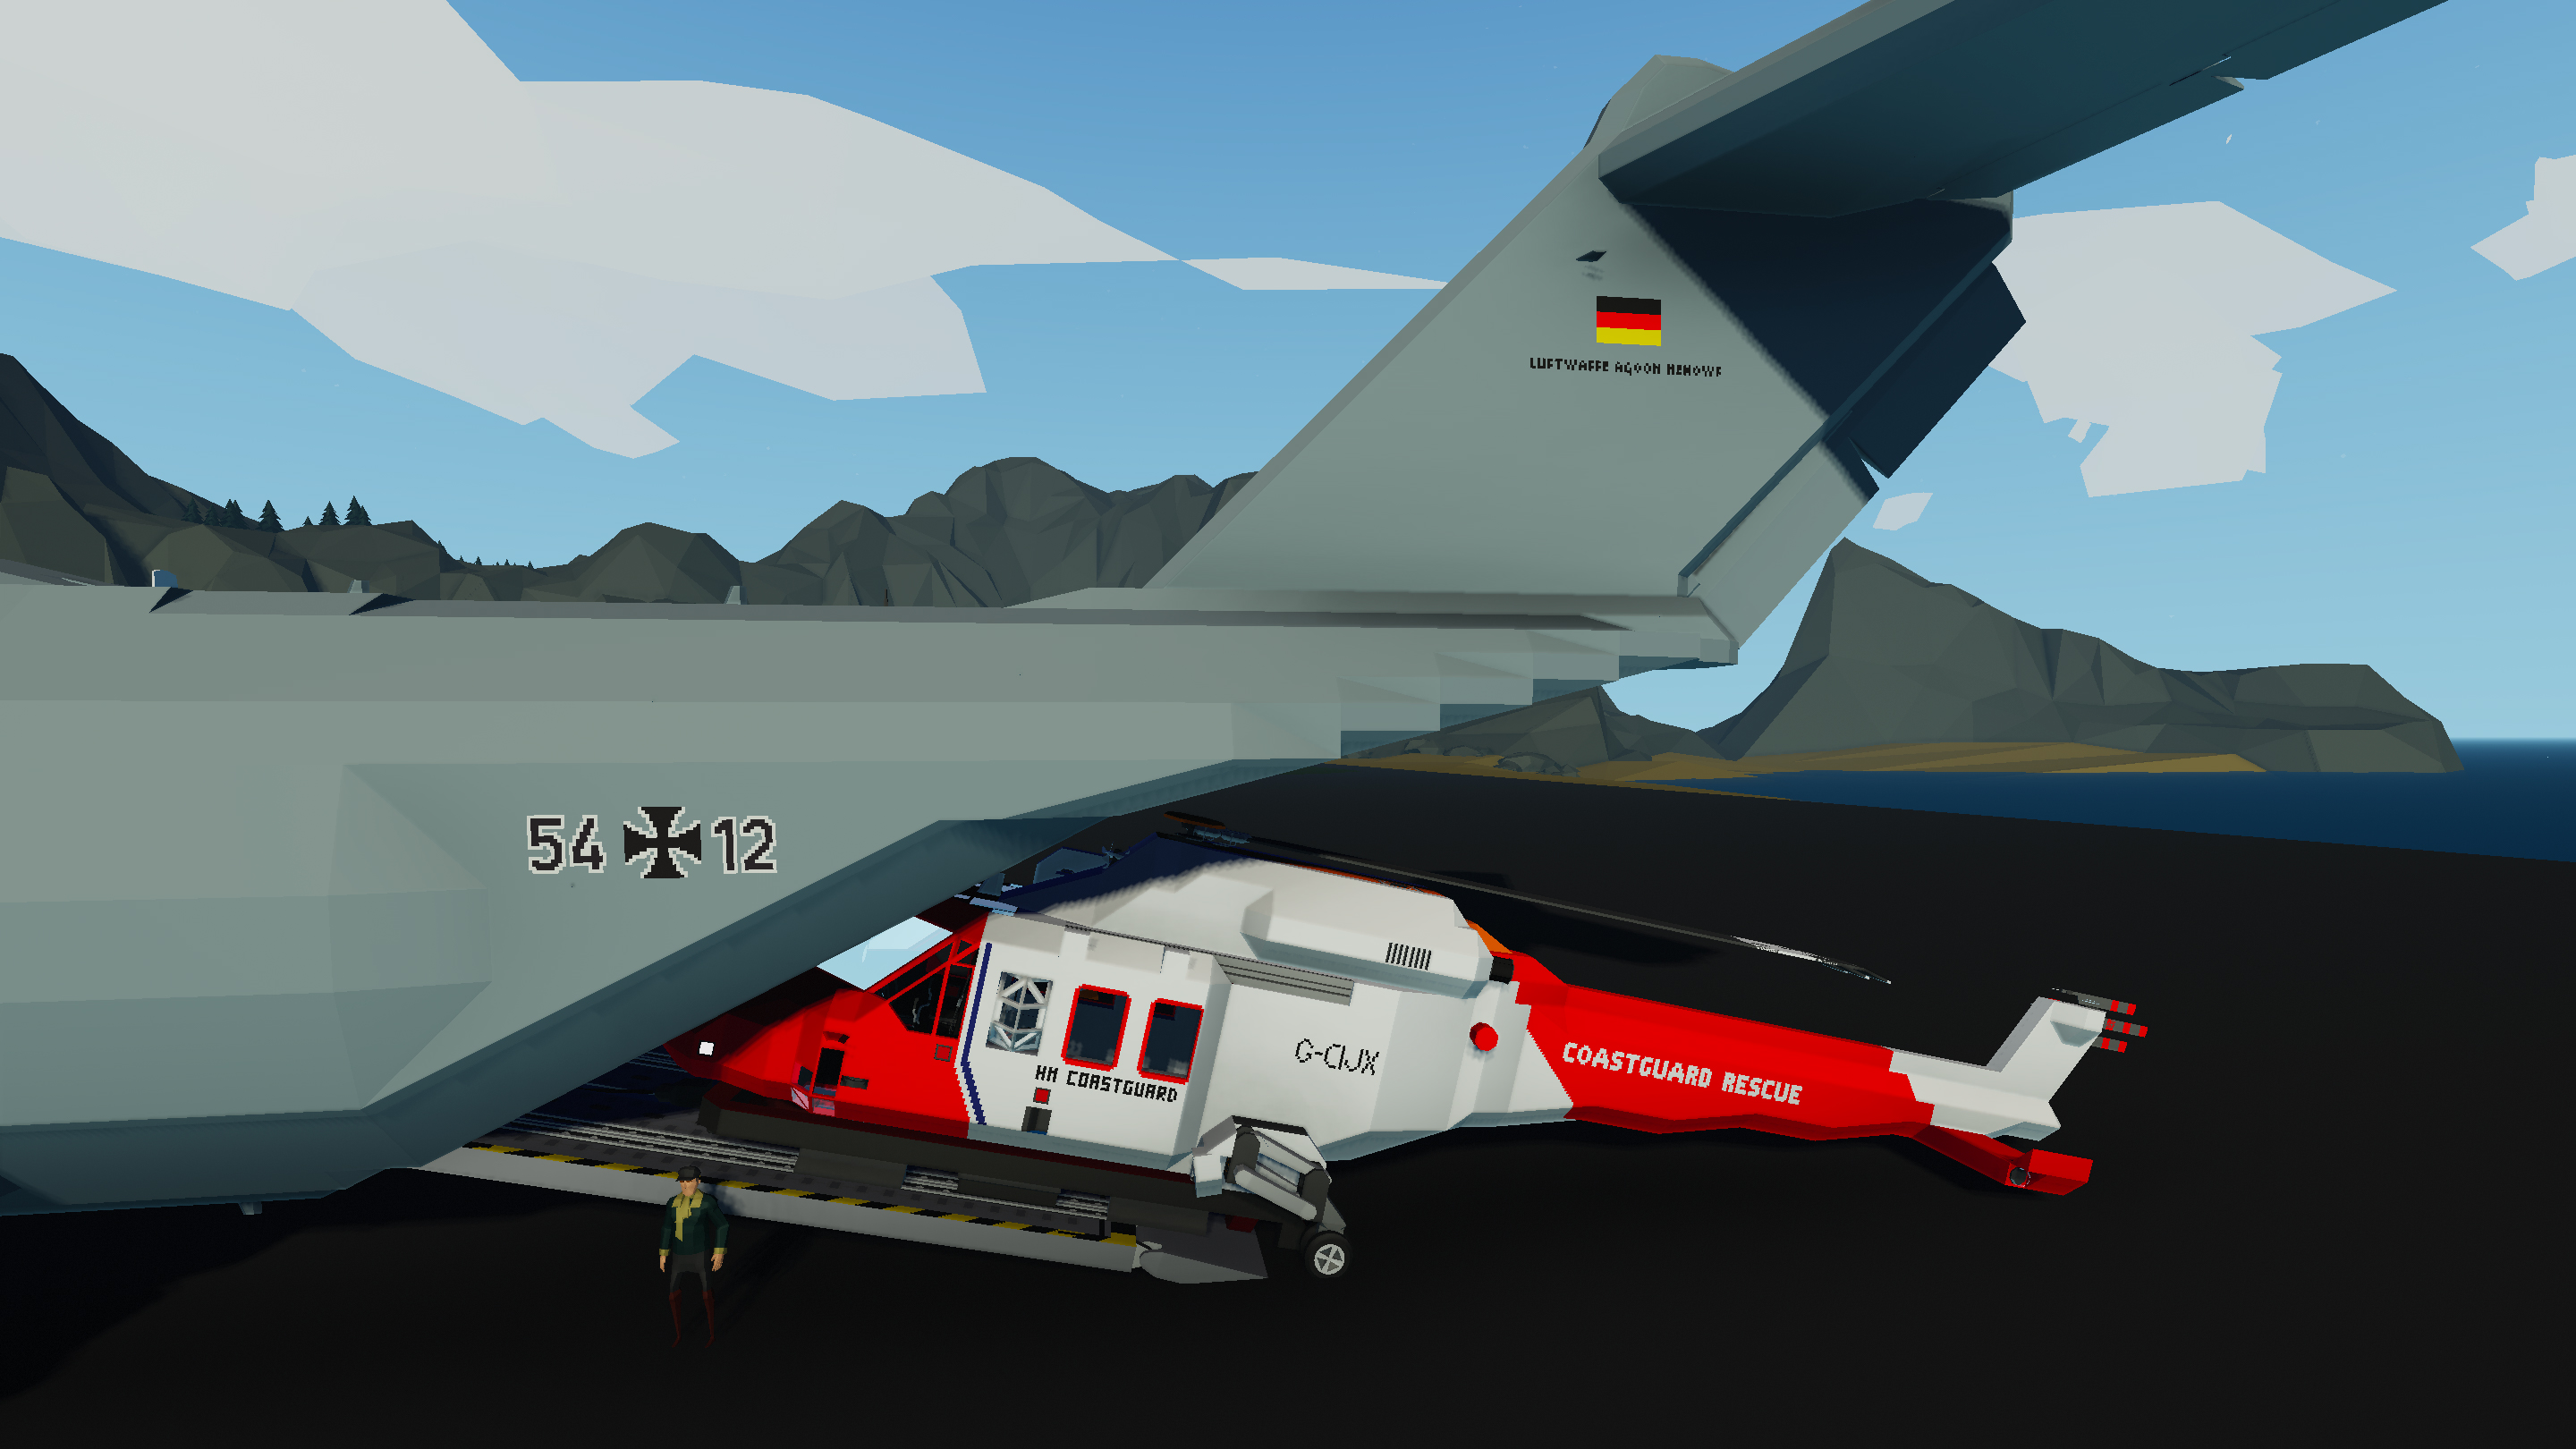
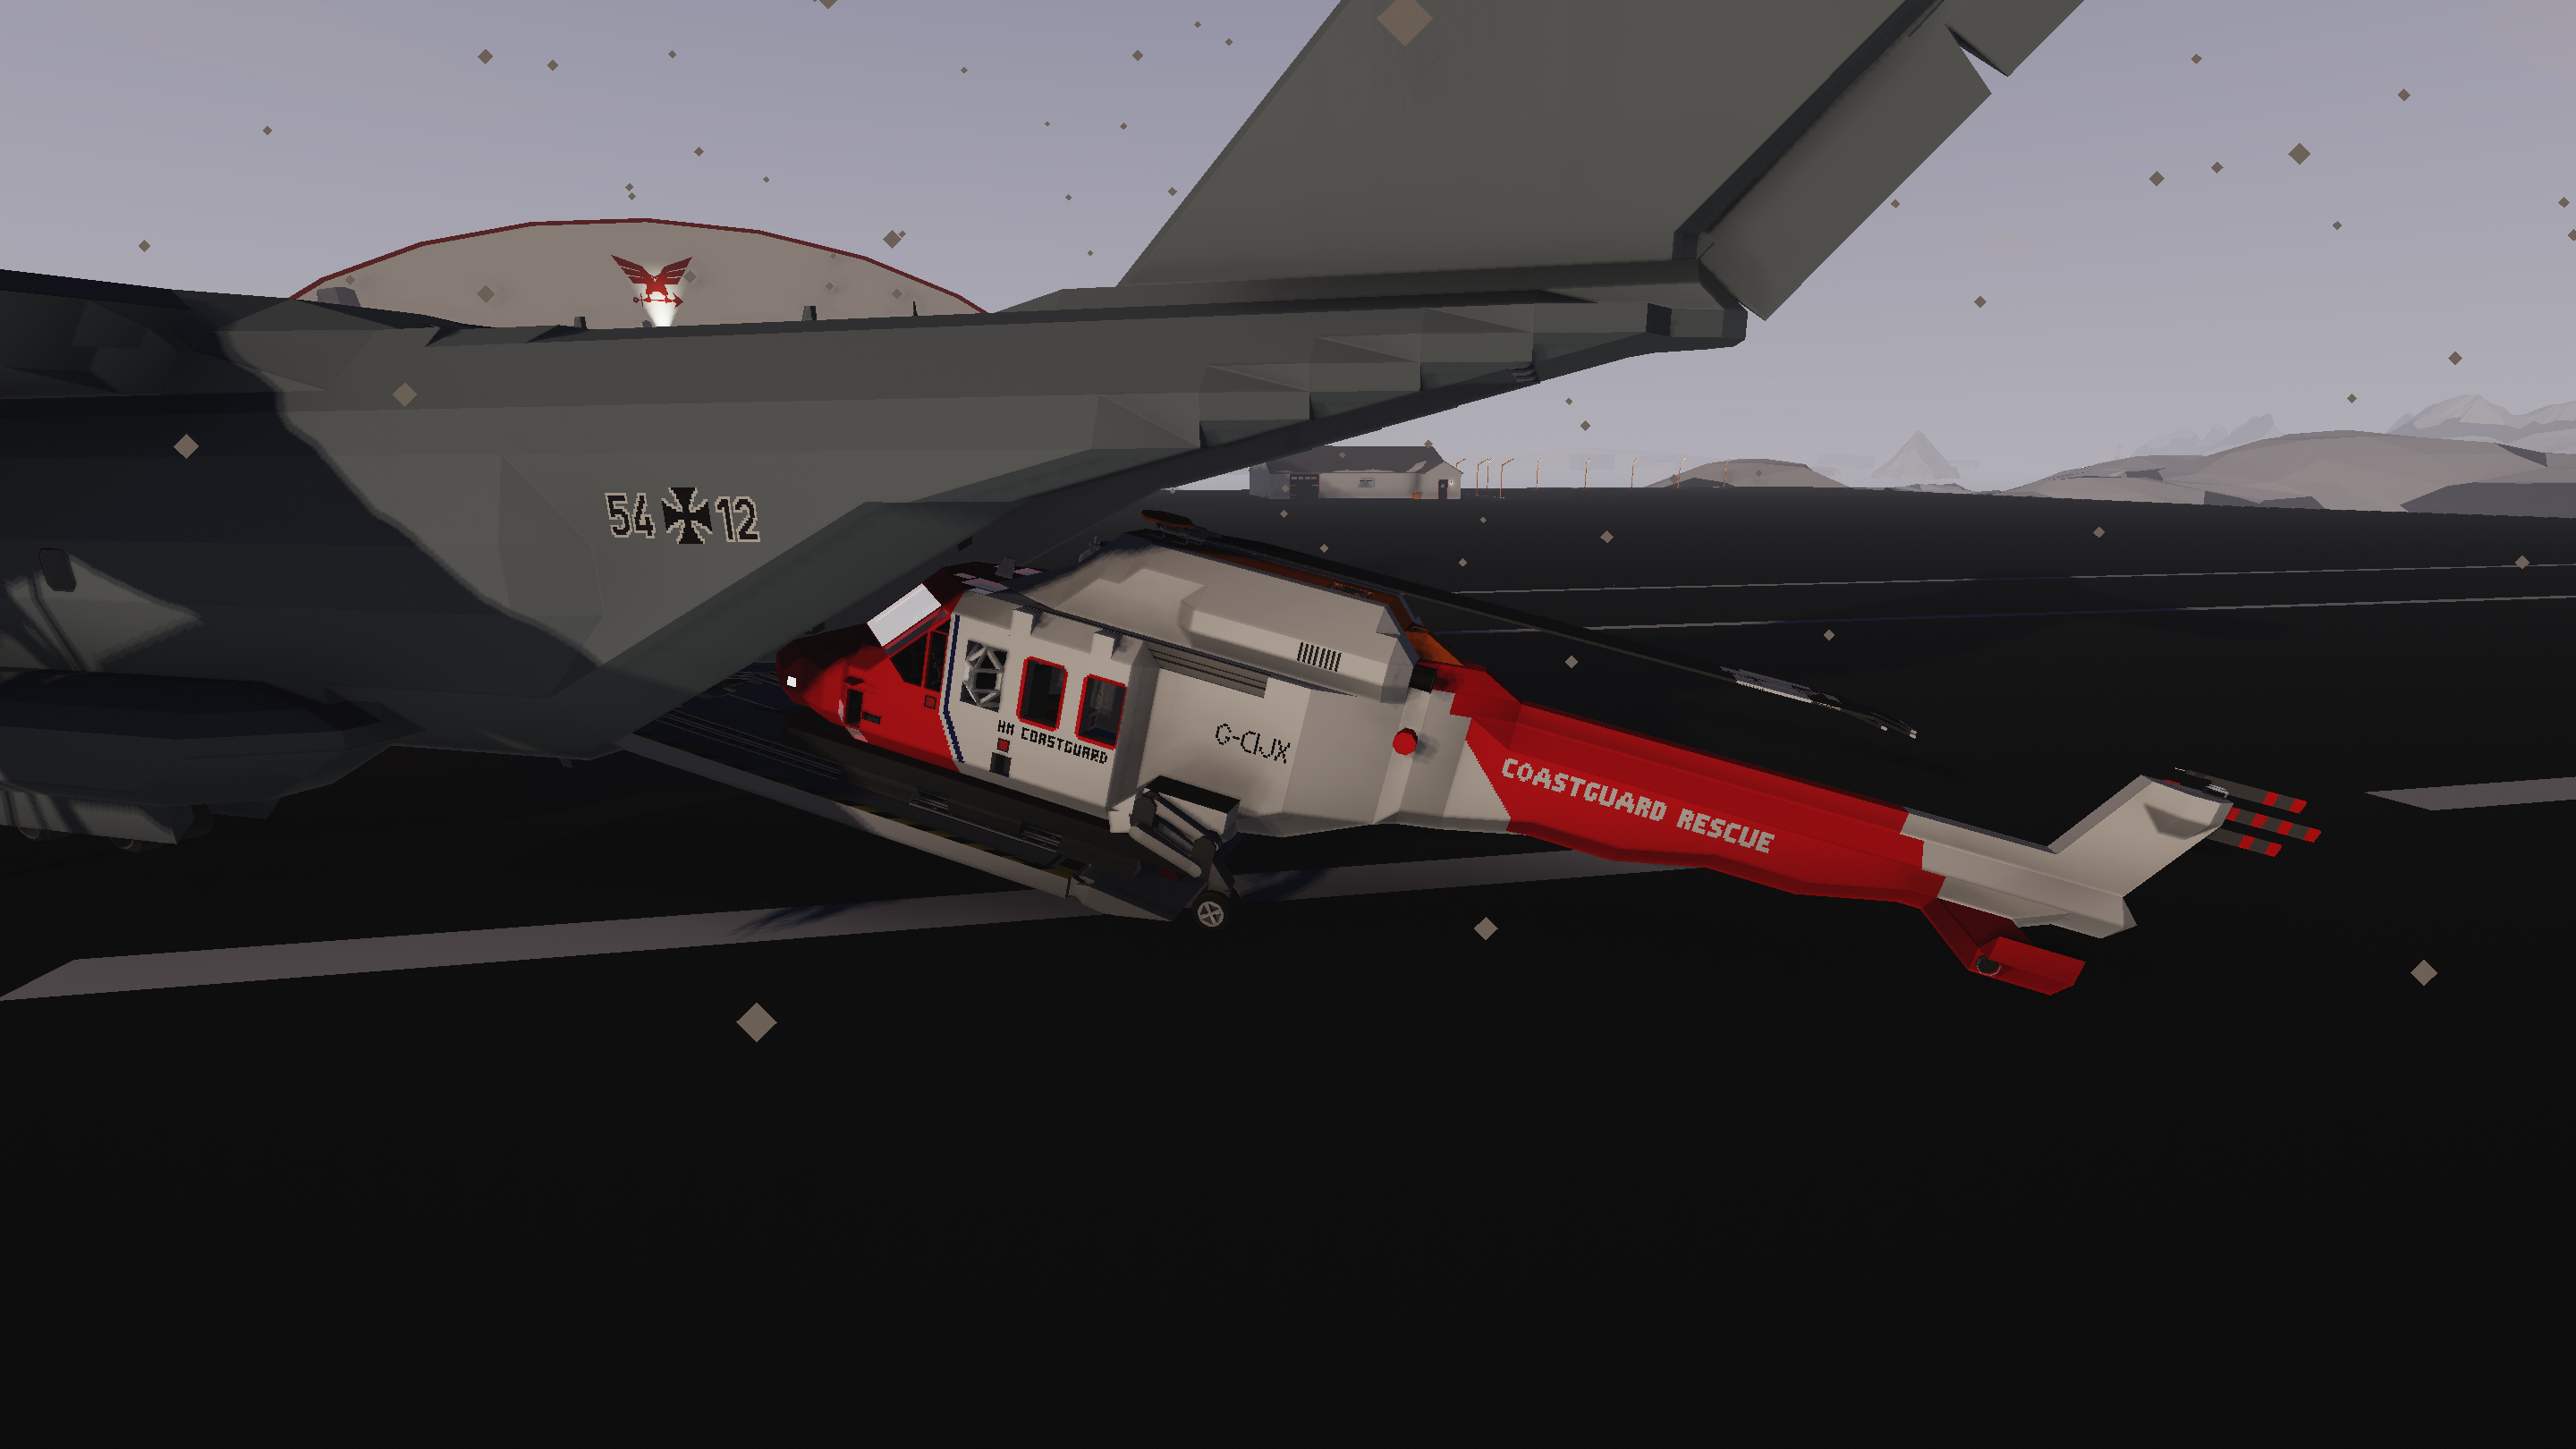
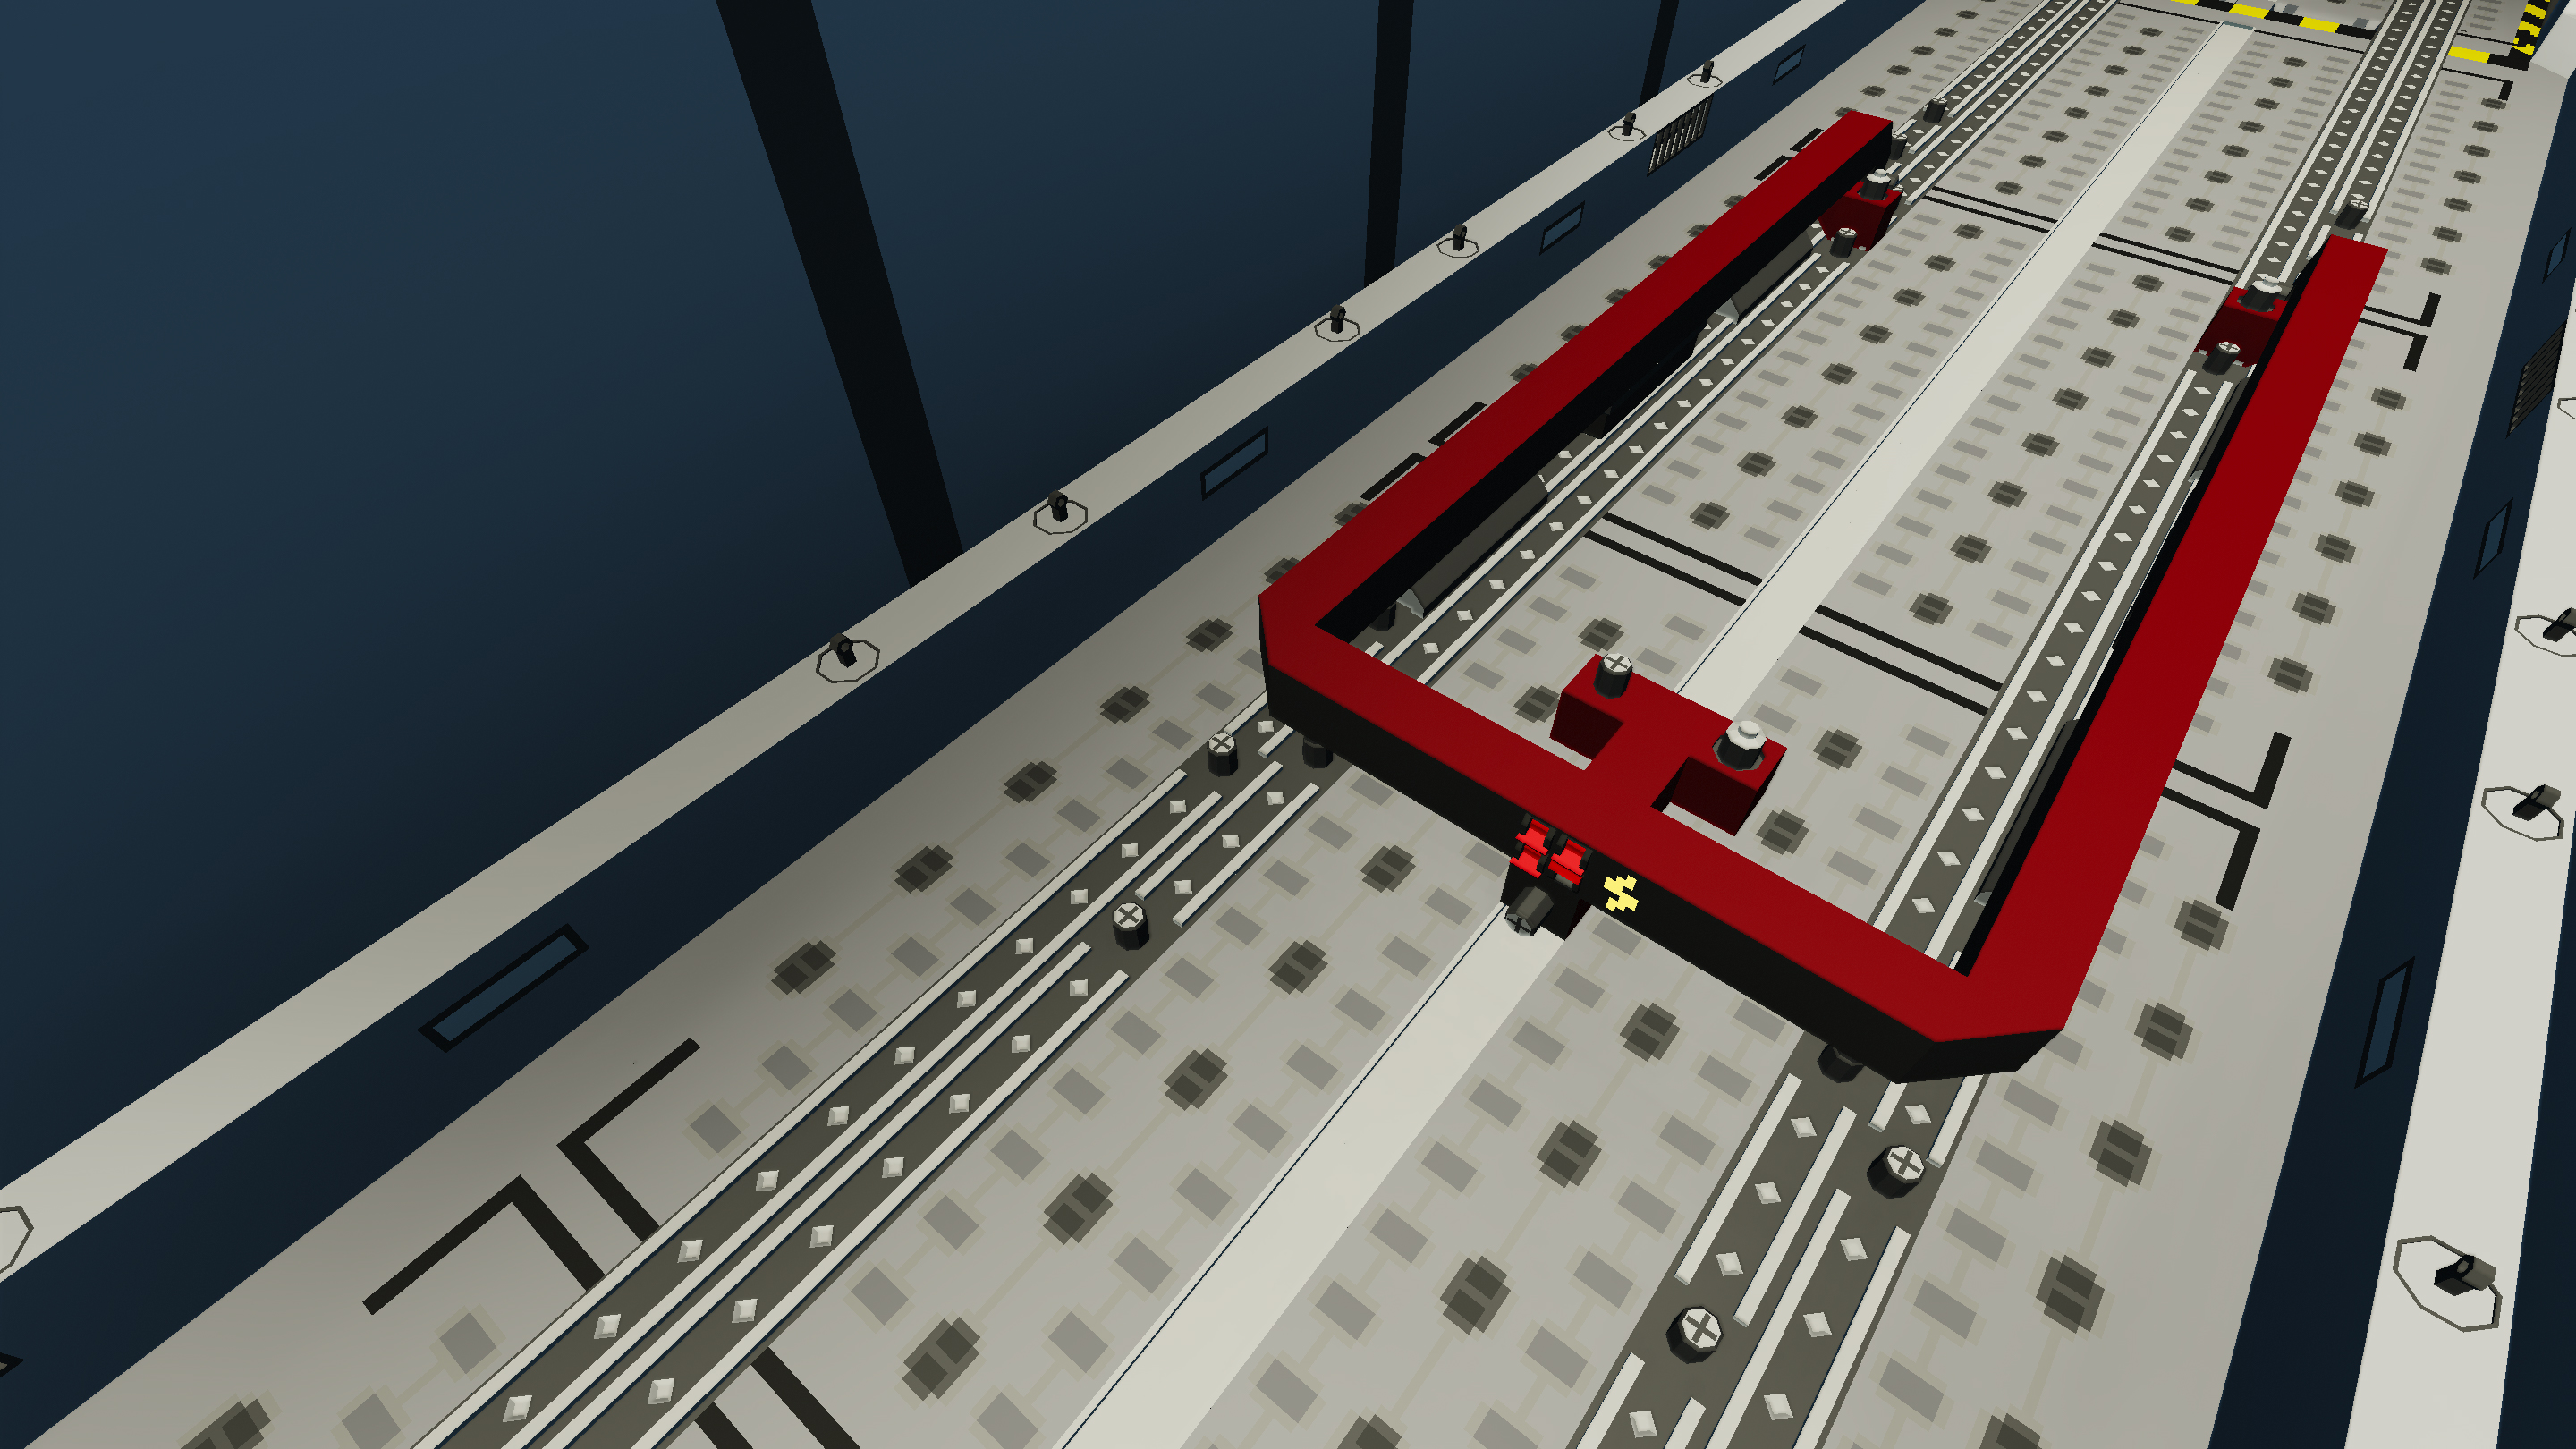
Versatile Vehicle Cart used to attach and secure any kind of vehicle inside the Cargo Bay of my Airbus A400M Cargo Plane
Instructions:1. Open the Lower Ramp and Upper Ramp of the A400M with their relative push buttons
2. Connect the Electric Connector on the Left Winch to the front of the Cart
3. Lower the Secondary Ramp and Lower Ramp to the ground
4. Activate the Connec...
Розробник: C4RB0N
Дата створення: 29 Apr, 2020 @ 2:45pm
Оновлено: 22 Sep, 2020 @ 2:24pm
Підписників: 23869
Розмір (розпакований) : 0.384 MB

2. Connect the Electric Connector on the Left Winch to the front of the Cart
3. Lower the Secondary Ramp and Lower Ramp to the ground
4. Activate the Connectors on the Cart with the relative flip switch
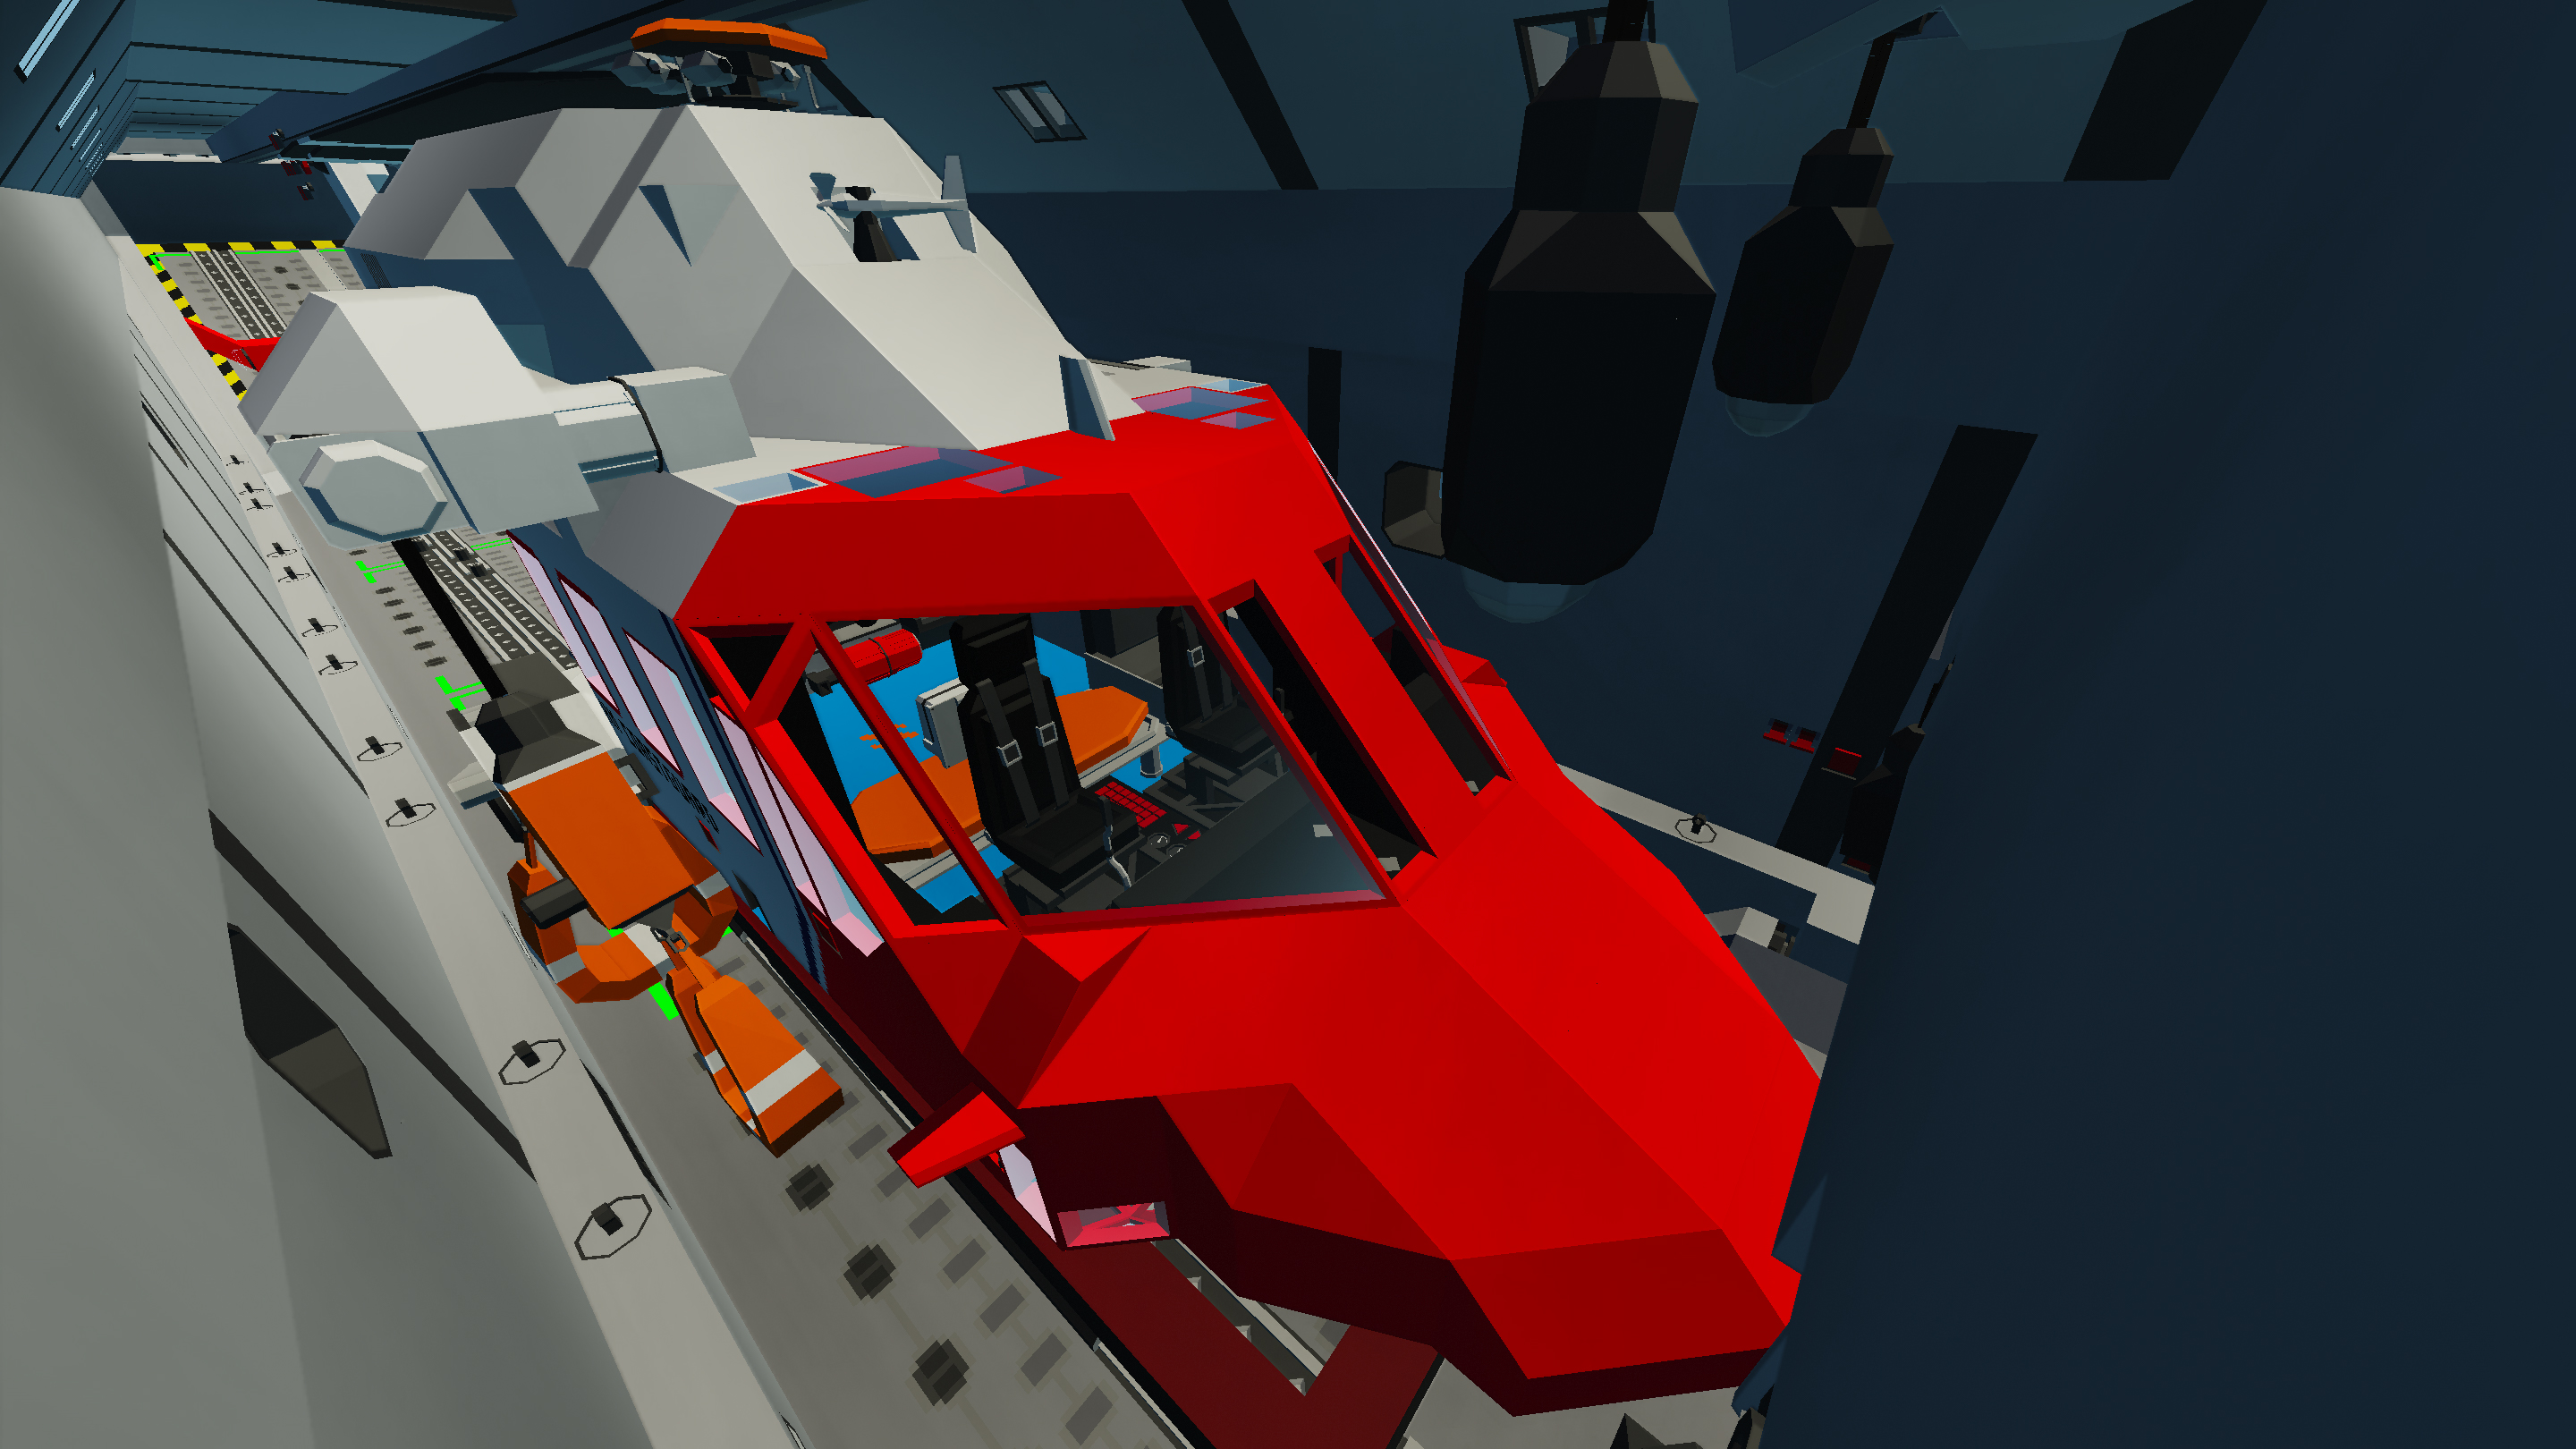
5. Bring the Vehicle to be loaded onto the Cart (either with the Ceiling Crane or by driving it over the Cart)
6. Activate the Bottom Connectors on the Vehicle, so that it is locked to the Cart
7. Raise the Lower Ramp to horizontal position with its Up Arrow Button
8. Pull the Cart into the Cargo Bay by retracting the Left Winch
9. Lock the Cart on either one of the 2 ISO9x24 Zones, by activating it on the Touch Screen and turning on the Cart's Bottom Connectors with the relative flip switch
(If you want to lock the Cart in a position different from one of the ISO9x24 Zones, you can use the "Lock Cart" flip switch on the Cart, but be aware that this locking method is less strong than the Electric Connectors of the iSO Zones)
To adapt the cart to the vehicle you need to load, just move the connectors with the Selection Tool in the workbench, and add the corresponding connectors to the bottom of your vehicle.
For those interested, the Heli in the pictures is this AW139 Coastguard Helicopter
━━━━━━━━━━━━━━━━━━━━━━━━━━━━━━━━━━━━━━━━━━━━━
New Electric Connectors have been added to the Cargo Bay of the Airbus A400M.
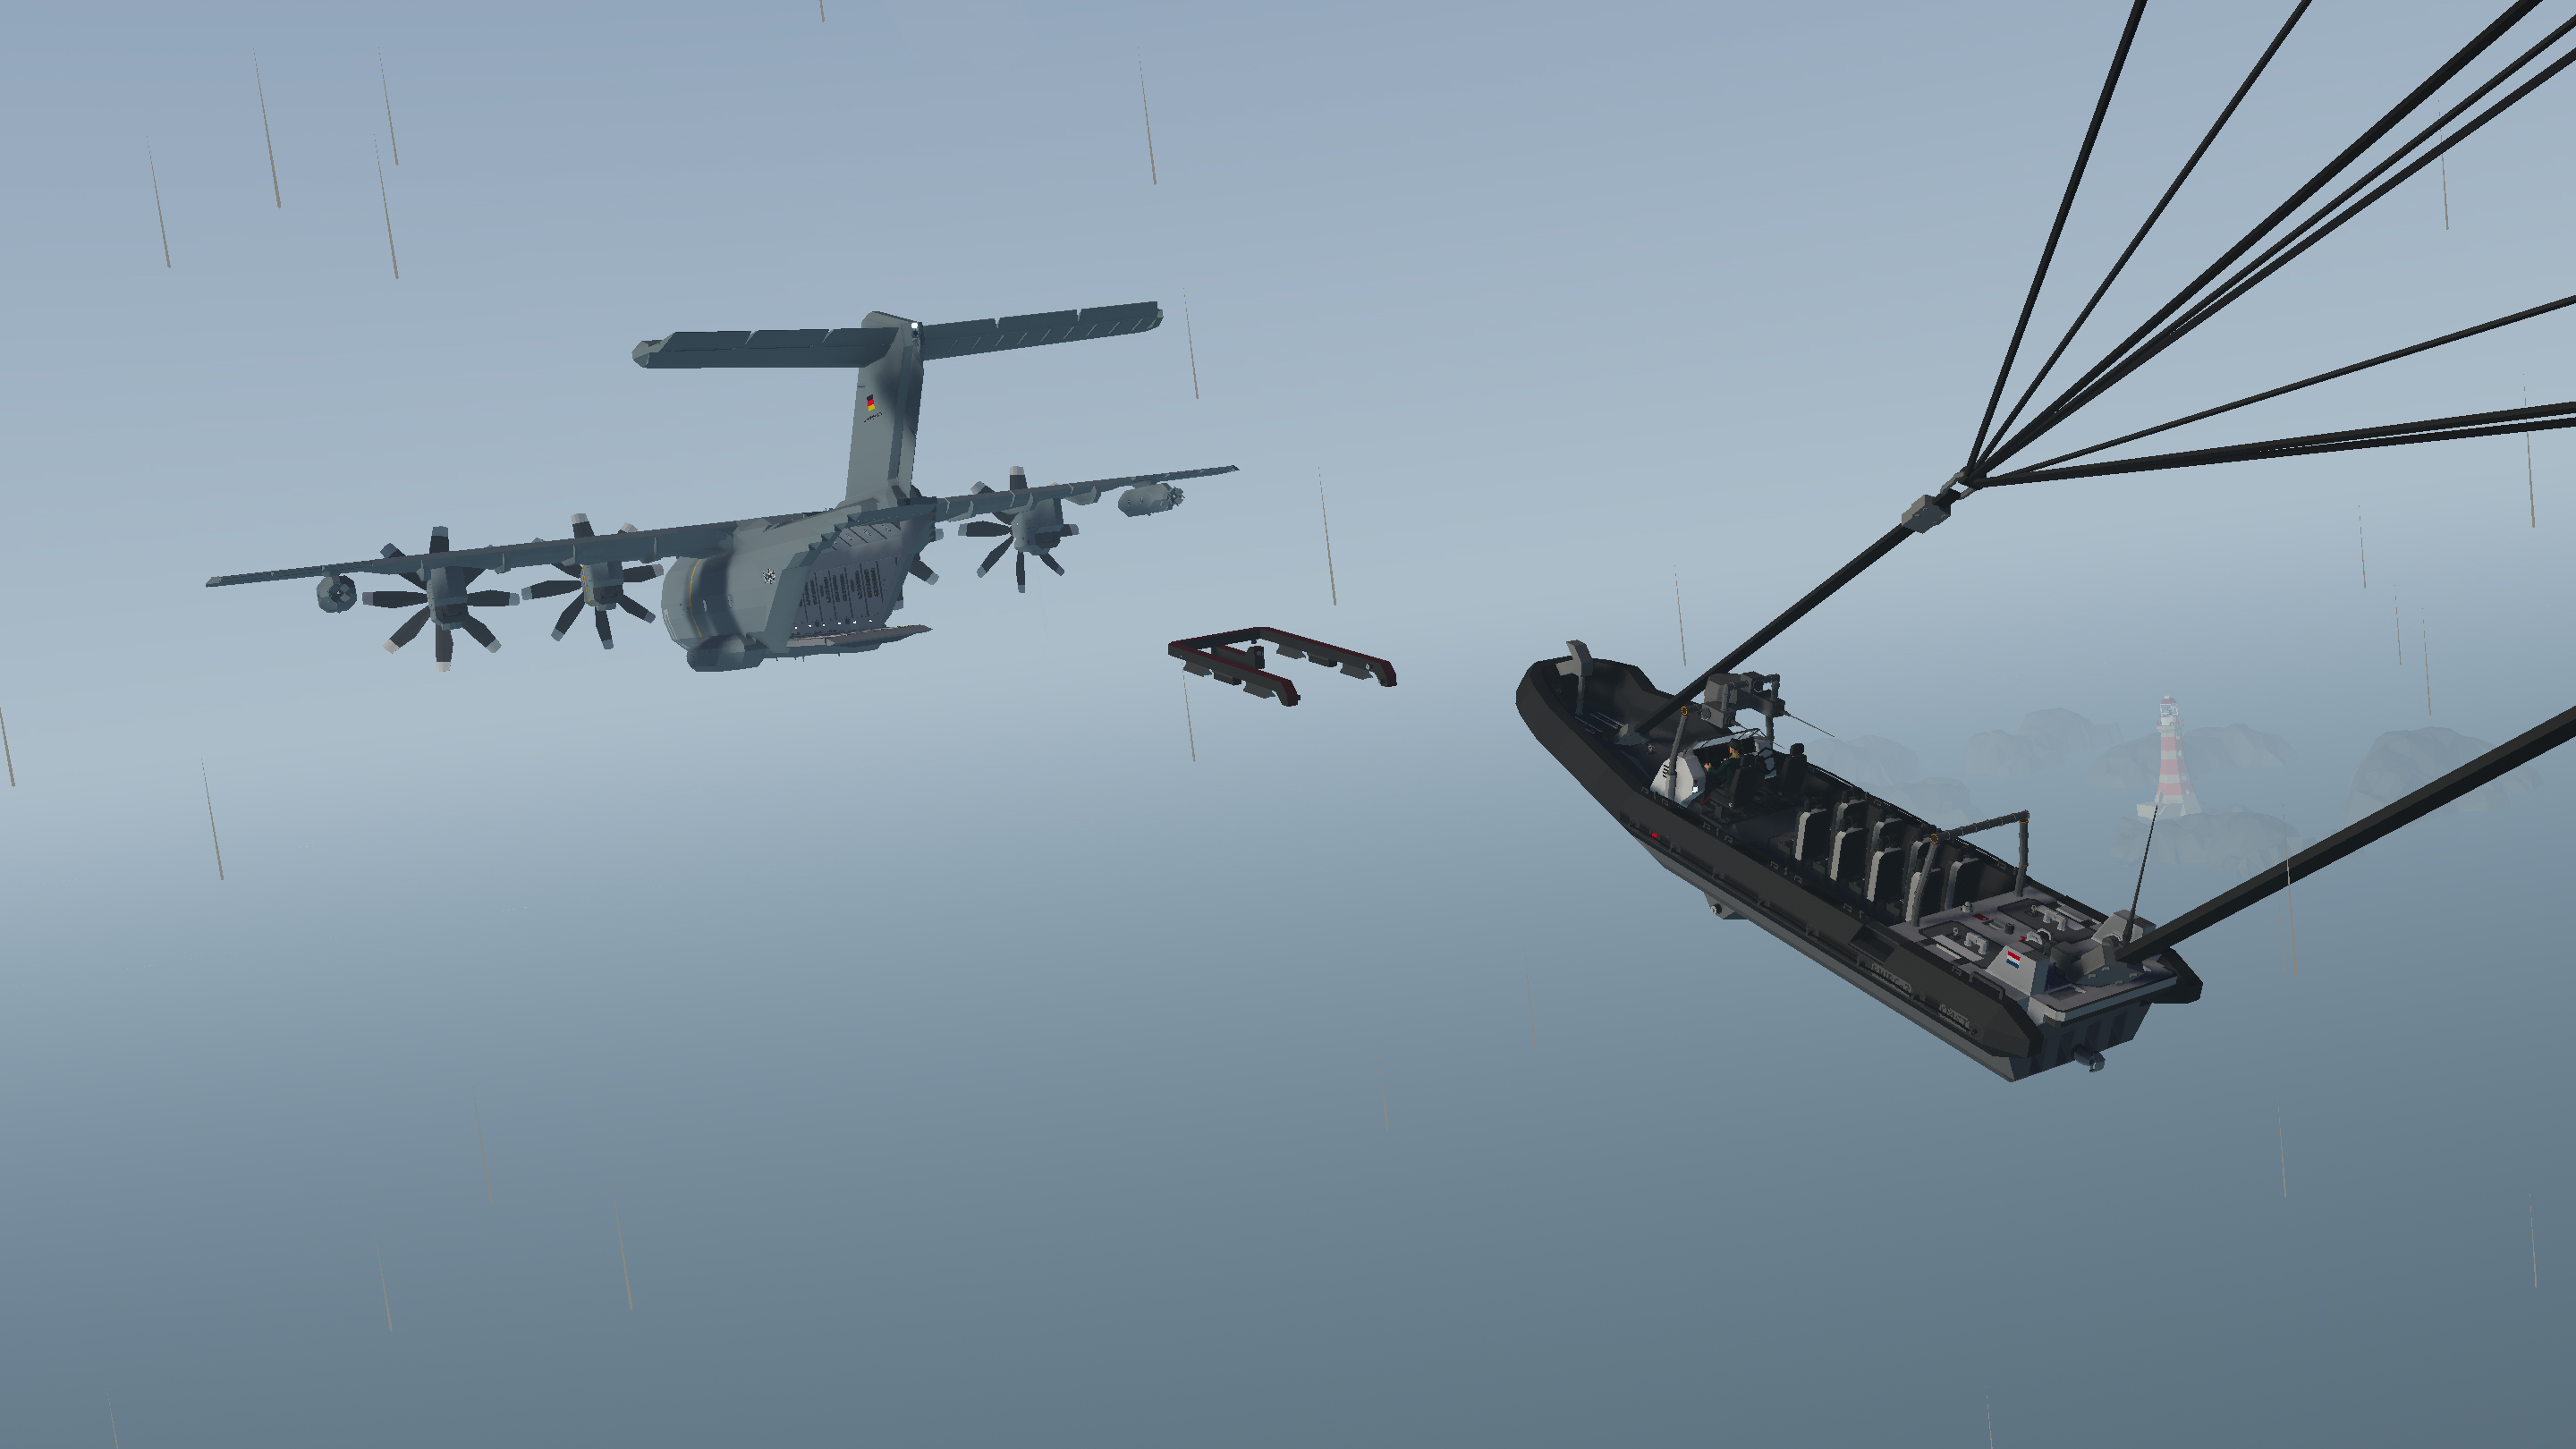
These Electric Connectors allow to do Staggered Air-Drops (each Crate/Vehicle is slightly delayed from the previous one, see GIF), by adjusting the “Delay” Property Slider of the Air-Drop Microcontroller on each Crate/Vehicle Cart (0.5 sec delay works well).
To start the Staggered Air-Drop just press the “Toggle Air-Drop Connectors” Push Button (in Cockpit, Loadmaster’s Station and Ramps Panel).
Moreover, all the ISO Electric Connectors can now be used to do Staggered Air-Drops as well (use the same Push Button to initiate the Staggered Air-Drop).
This means any Cargo you attach to these Connectors can be air-dropped with this new System: you just need to add this Microcontroller to control the Electric Connectors on your Cargo
All the Carts (Vehicle Cart v2.0, Wide Vehicle Cart v2.0, Cart for RHIB v2.0, Cargo Platform v2.0) have been updated to integrate the new Air-Drop System, so they can be used to perform Mixed Air-Drops (both Crates and Vehicles at the same time, see GIF).
━━━━━━━━━━━━━━━━━━━━━━━━━━━━━━━━━━━━━━━━━━━━━
Enjoy! Please consider leaving a Rating and a Comment. Feel free to write any Suggestions or Issues you might have in the comments below.
Як завантажити моди?
Натисніть на кнопку вище та завантажте обраний мод з файлового сховища.Як встановити мод?
Див. секцію "Як встановити".Чи безпечний завантажуваний файл?
Моди перезаливаються нами з оригінального джерела, без жодних змін. Ми лише запаковуємо їх в звичайний архів. Додатково можете перевірити архів на наявність загроз за допомогою будь-якого антивірусу або онлайн-сканеру на кшталт virustotal.com. Також рекомендуємо робити резервні копії ваших сейвів, про всяк випадок.
For vehicle mods
- Download the .zip archive containing the vehicle mod files.
- Locate your game's root folder.
- Navigate to
rom\data\preset_vehicles_advancedand extract the files there. - Rename both files to something recognizable, ensuring they share the same base name but different extensions.
- Launch the game and go to the Workbench's Presets tab to see the new vehicle mod.