

ENDAIR A350-900 [Synthwave Livery] [Stormlink Compatible]
Vehicle, Air, Rescue, Multi-vehicle, Exploration, Delivery, Technical, Creative, Land, Mechanical, Advanced, v1.2.28
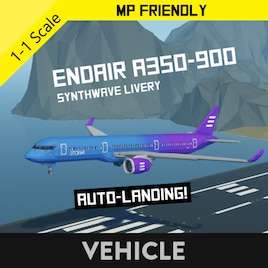
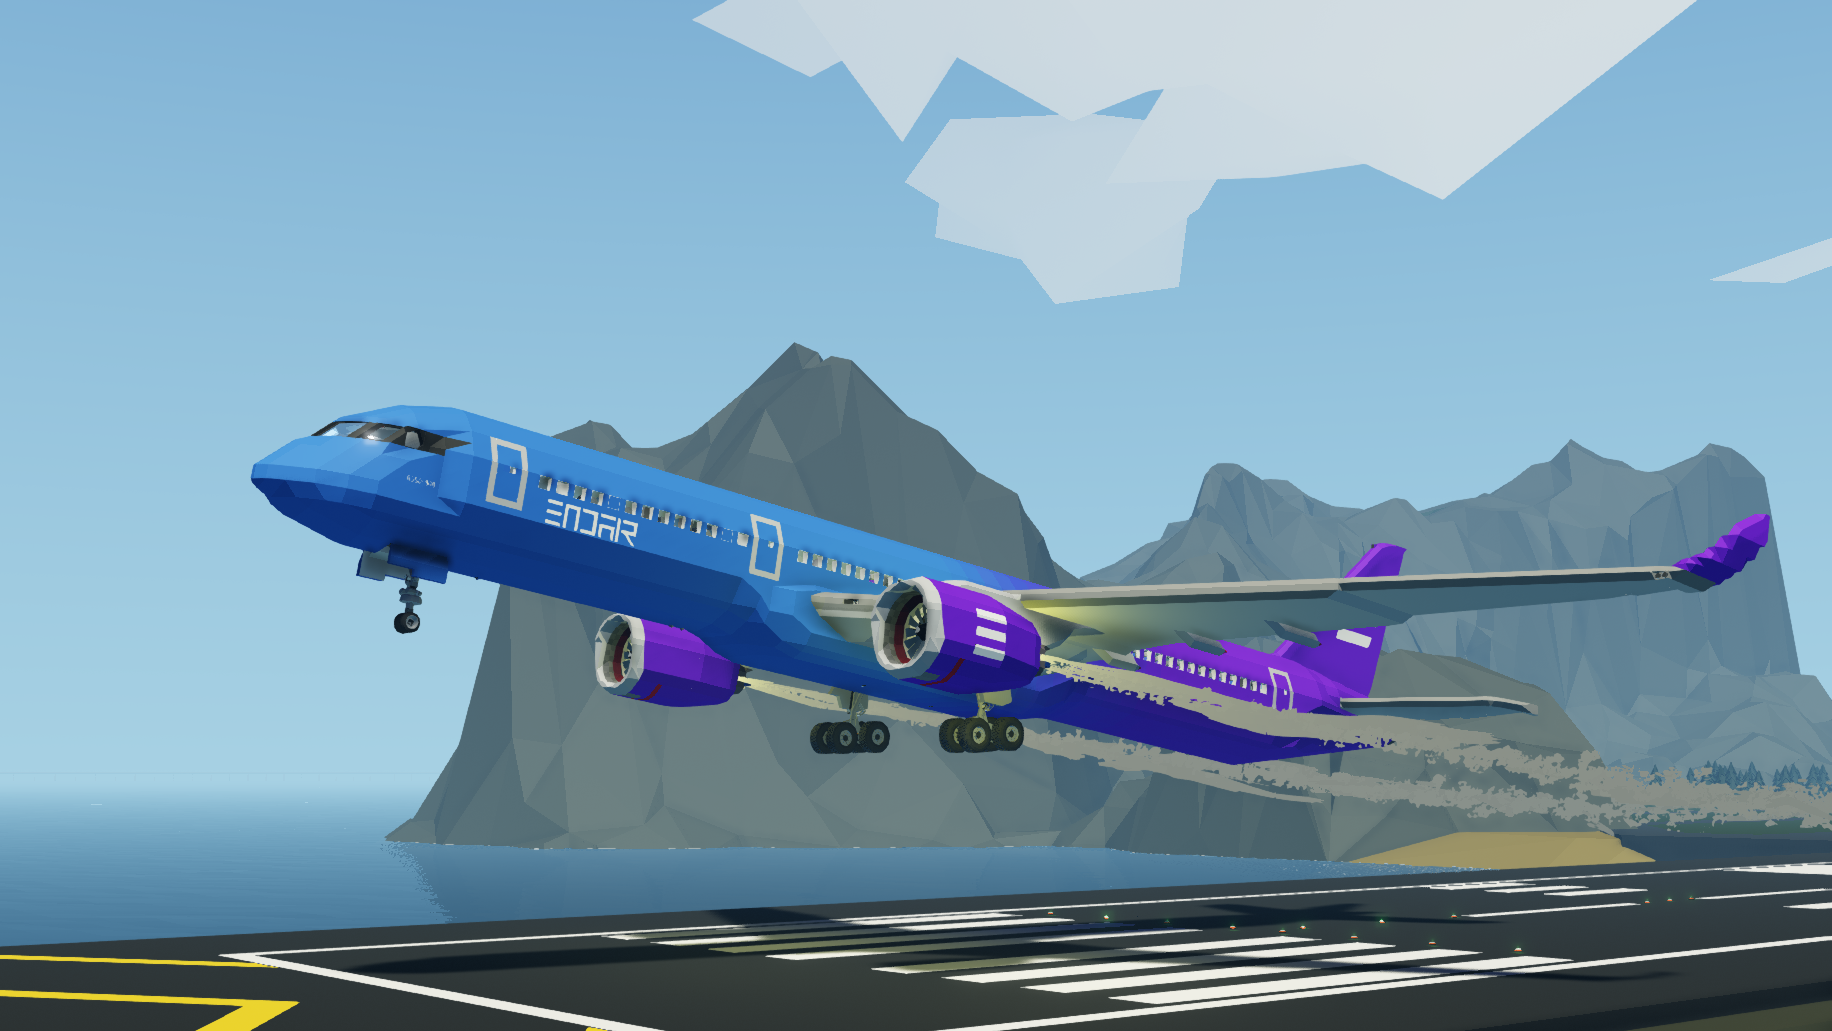
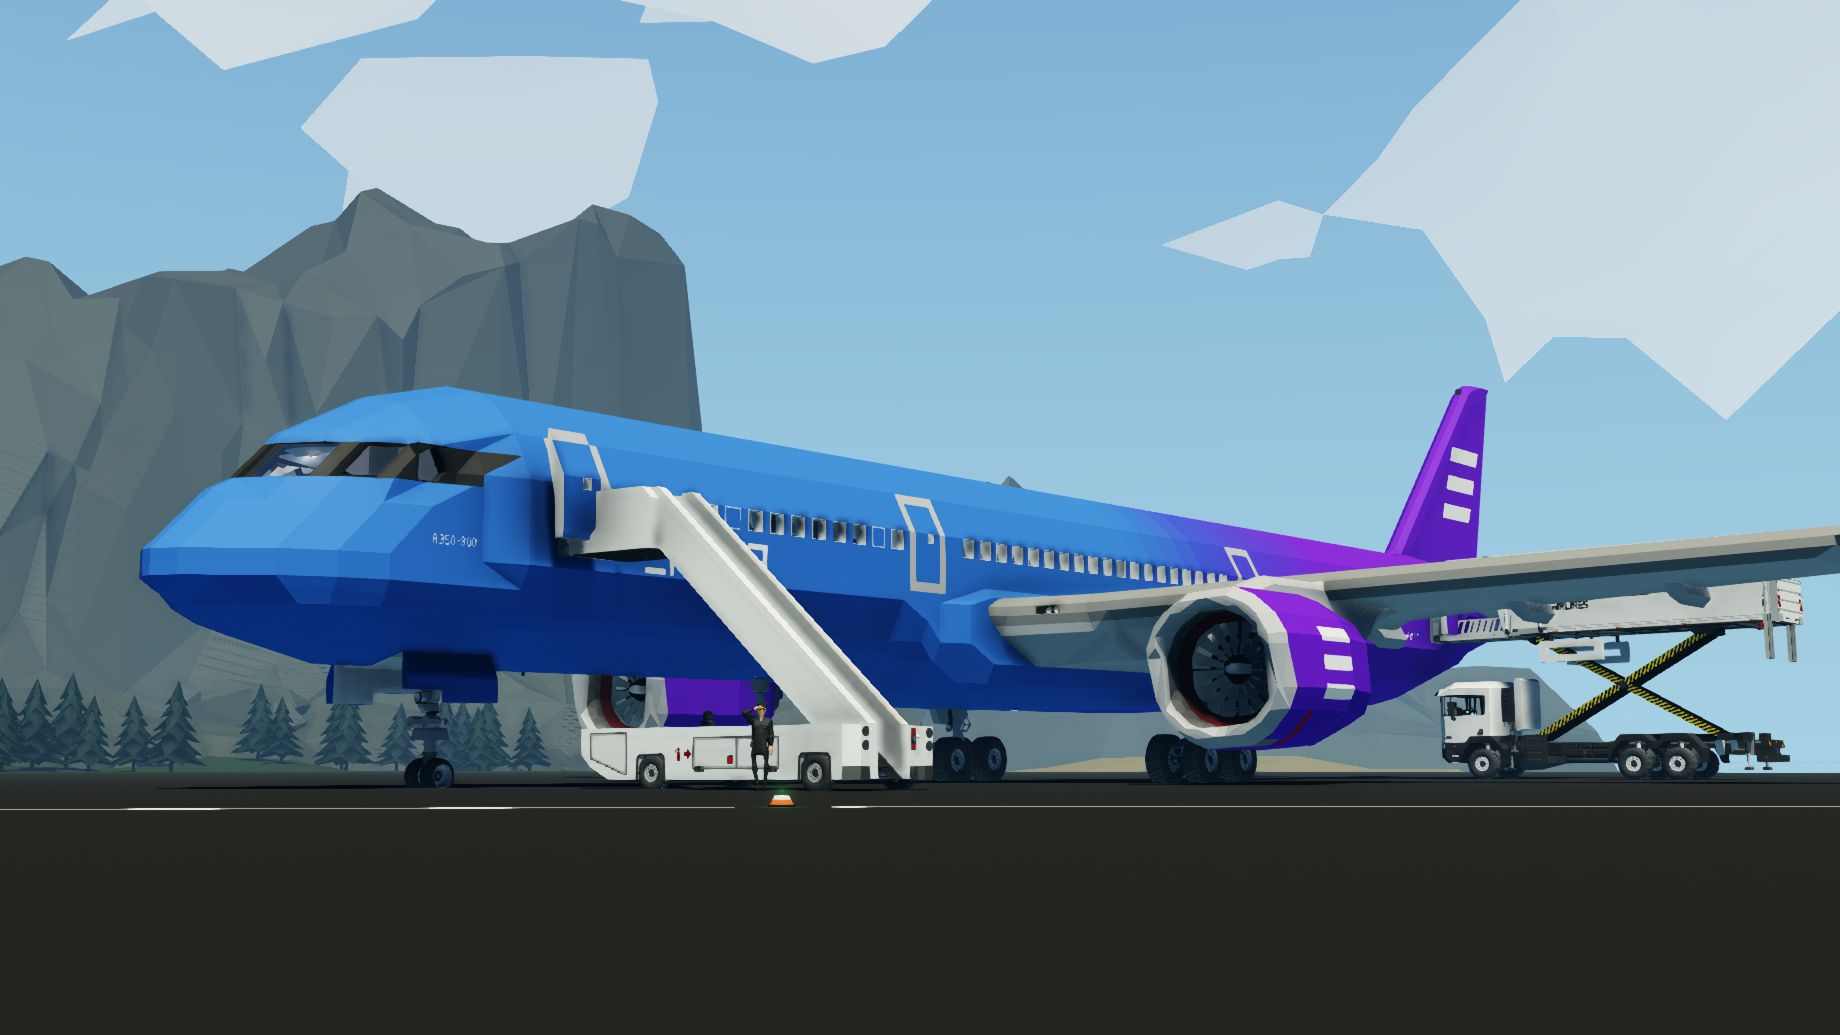
ENDAIR A350-900 The ENDAIR A350-900 is by far the most advanced plane i have created in every aspect
Auto-Landing It has All the autonomy you will ever need! As well as Auto-landing capability!
which you can activate in the cockpit! [Instructions Further in Description]
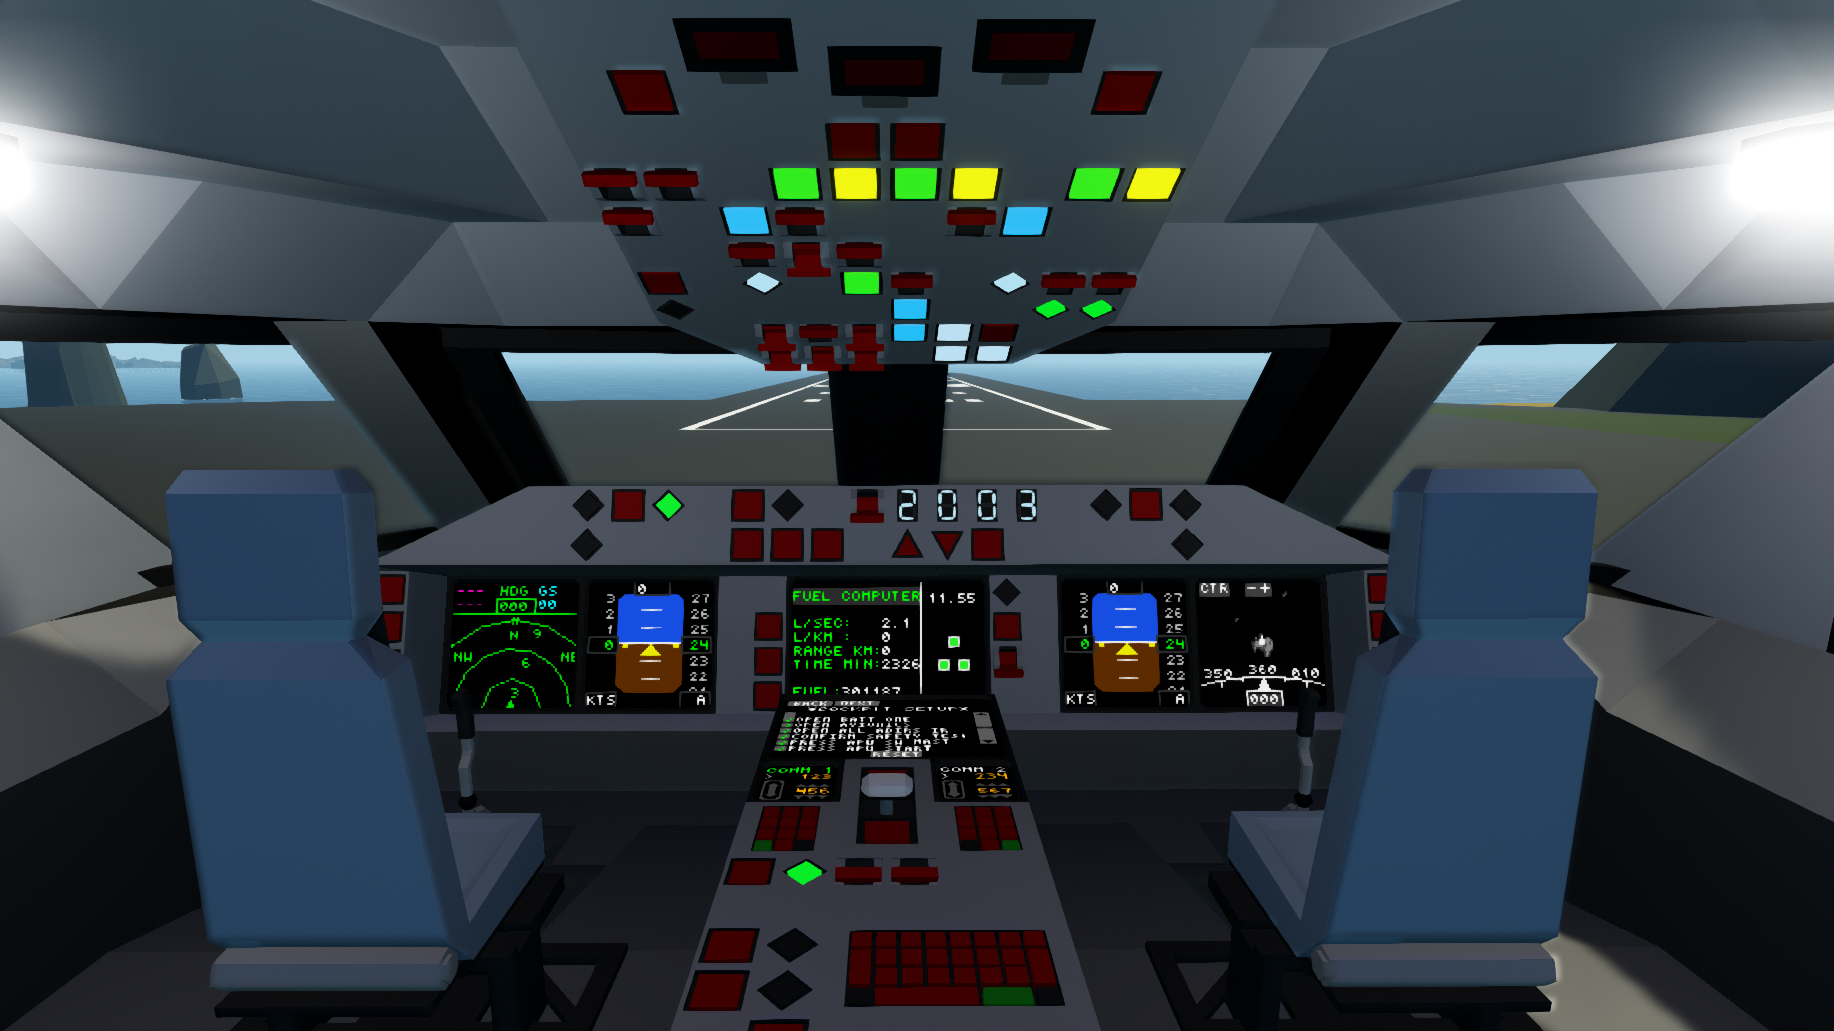
It has a Top speed of 260Knots, has a range of over 2000KM. Also features a realistic cockpit!
As well as 3 ...
Author: EnderPilot
Created: 17 Sep, 2021 @ 10:17am
Updated: 19 Sep, 2021 @ 3:33am
Subscribers: 23741
Size (unpacked) : 11.612 MB
which you can activate in the cockpit! [Instructions Further in Description]
It has a Top speed of 260Knots, has a range of over 2000KM. Also features a realistic cockpit!
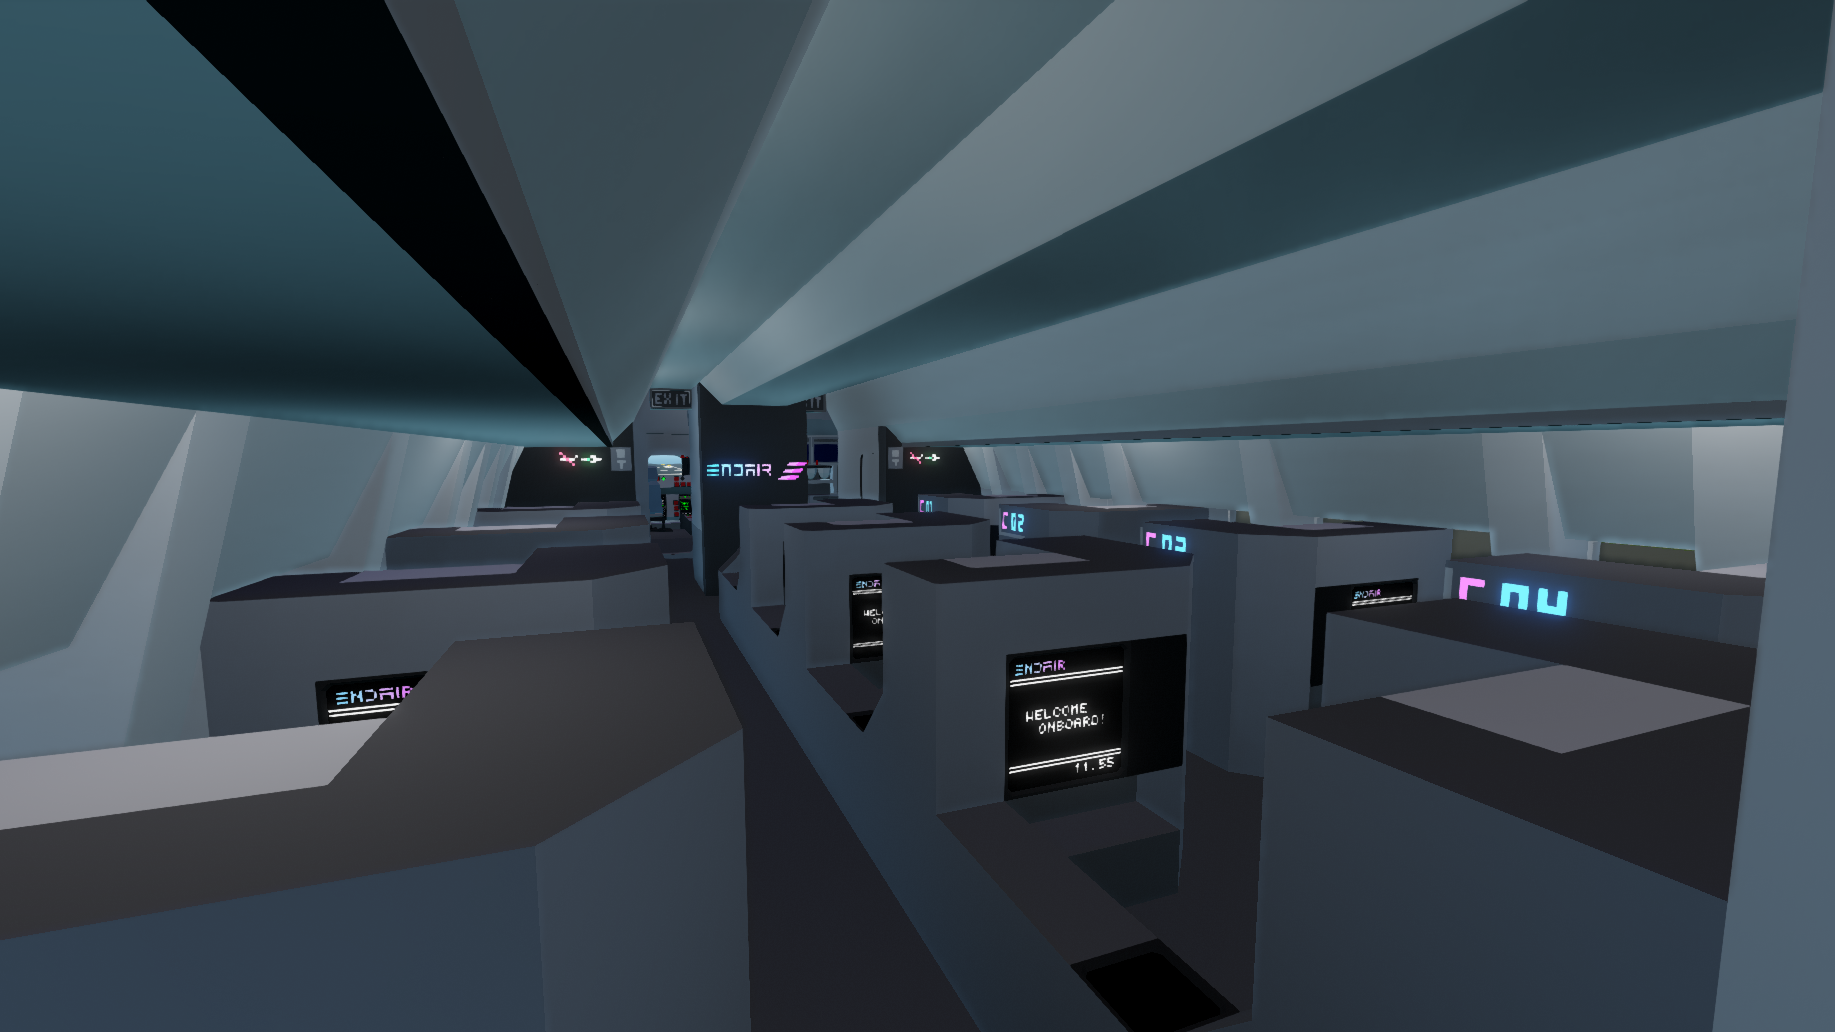
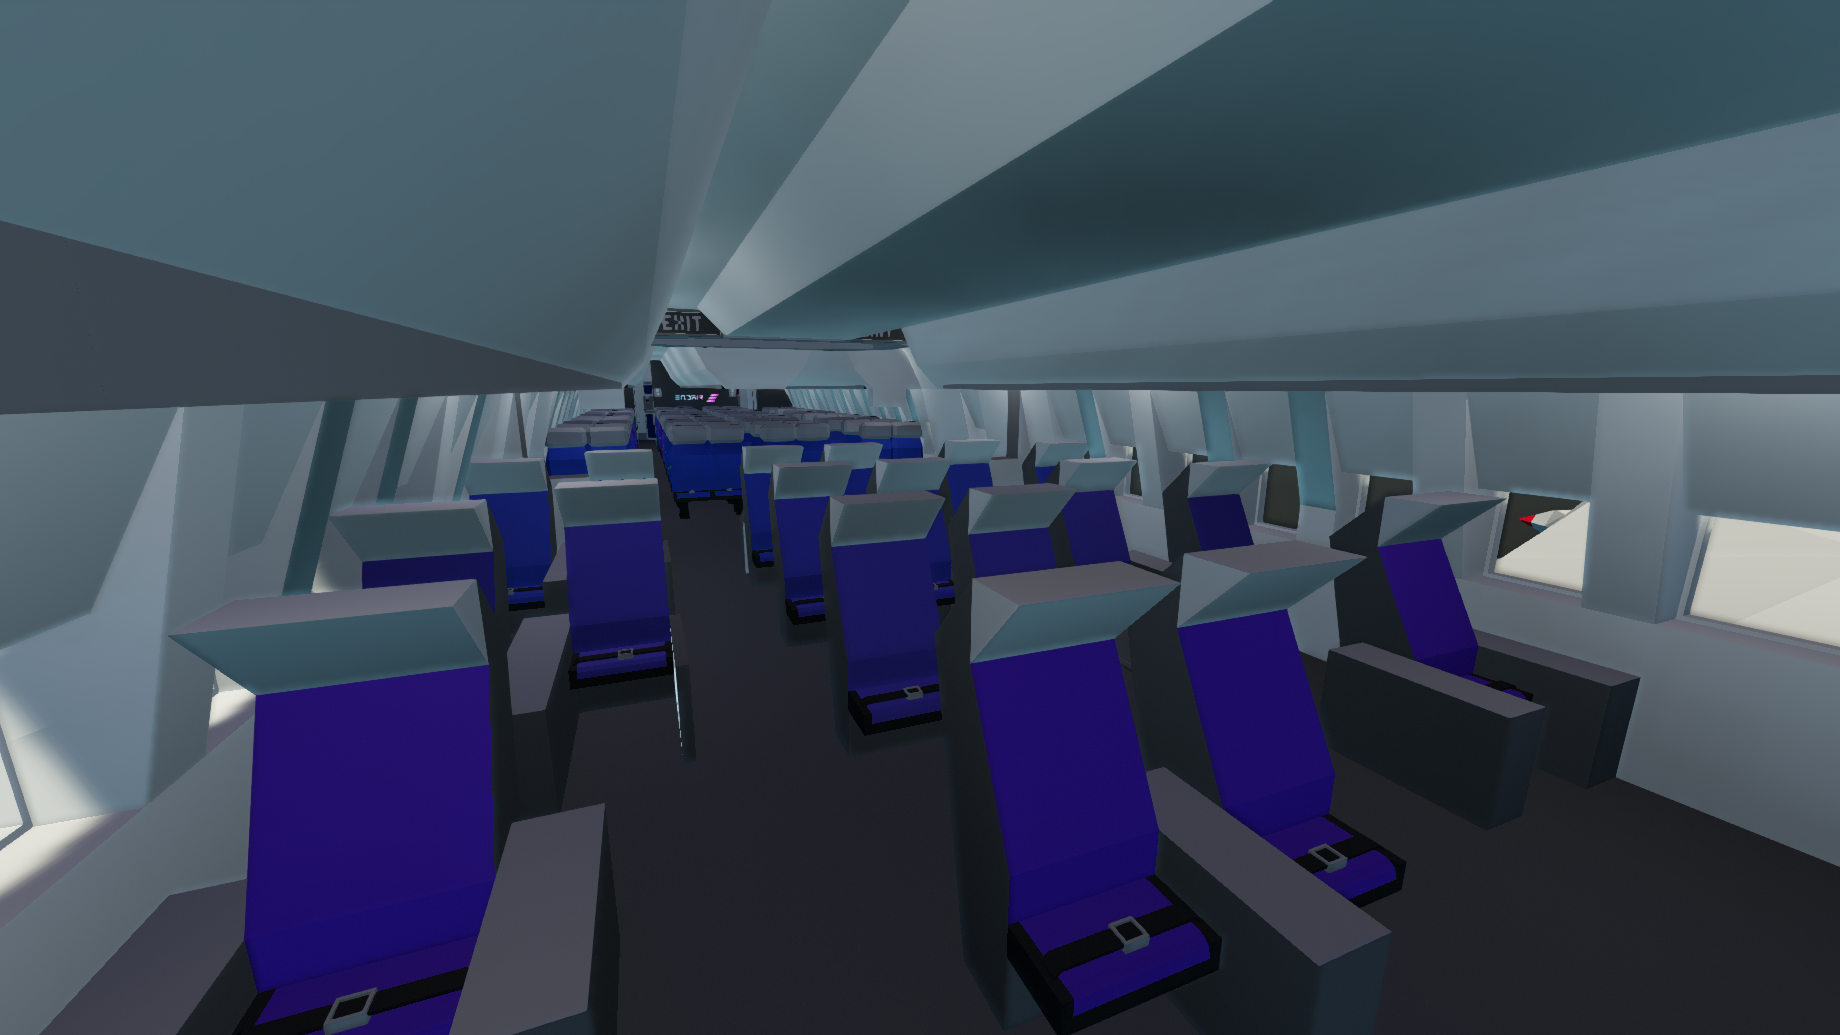
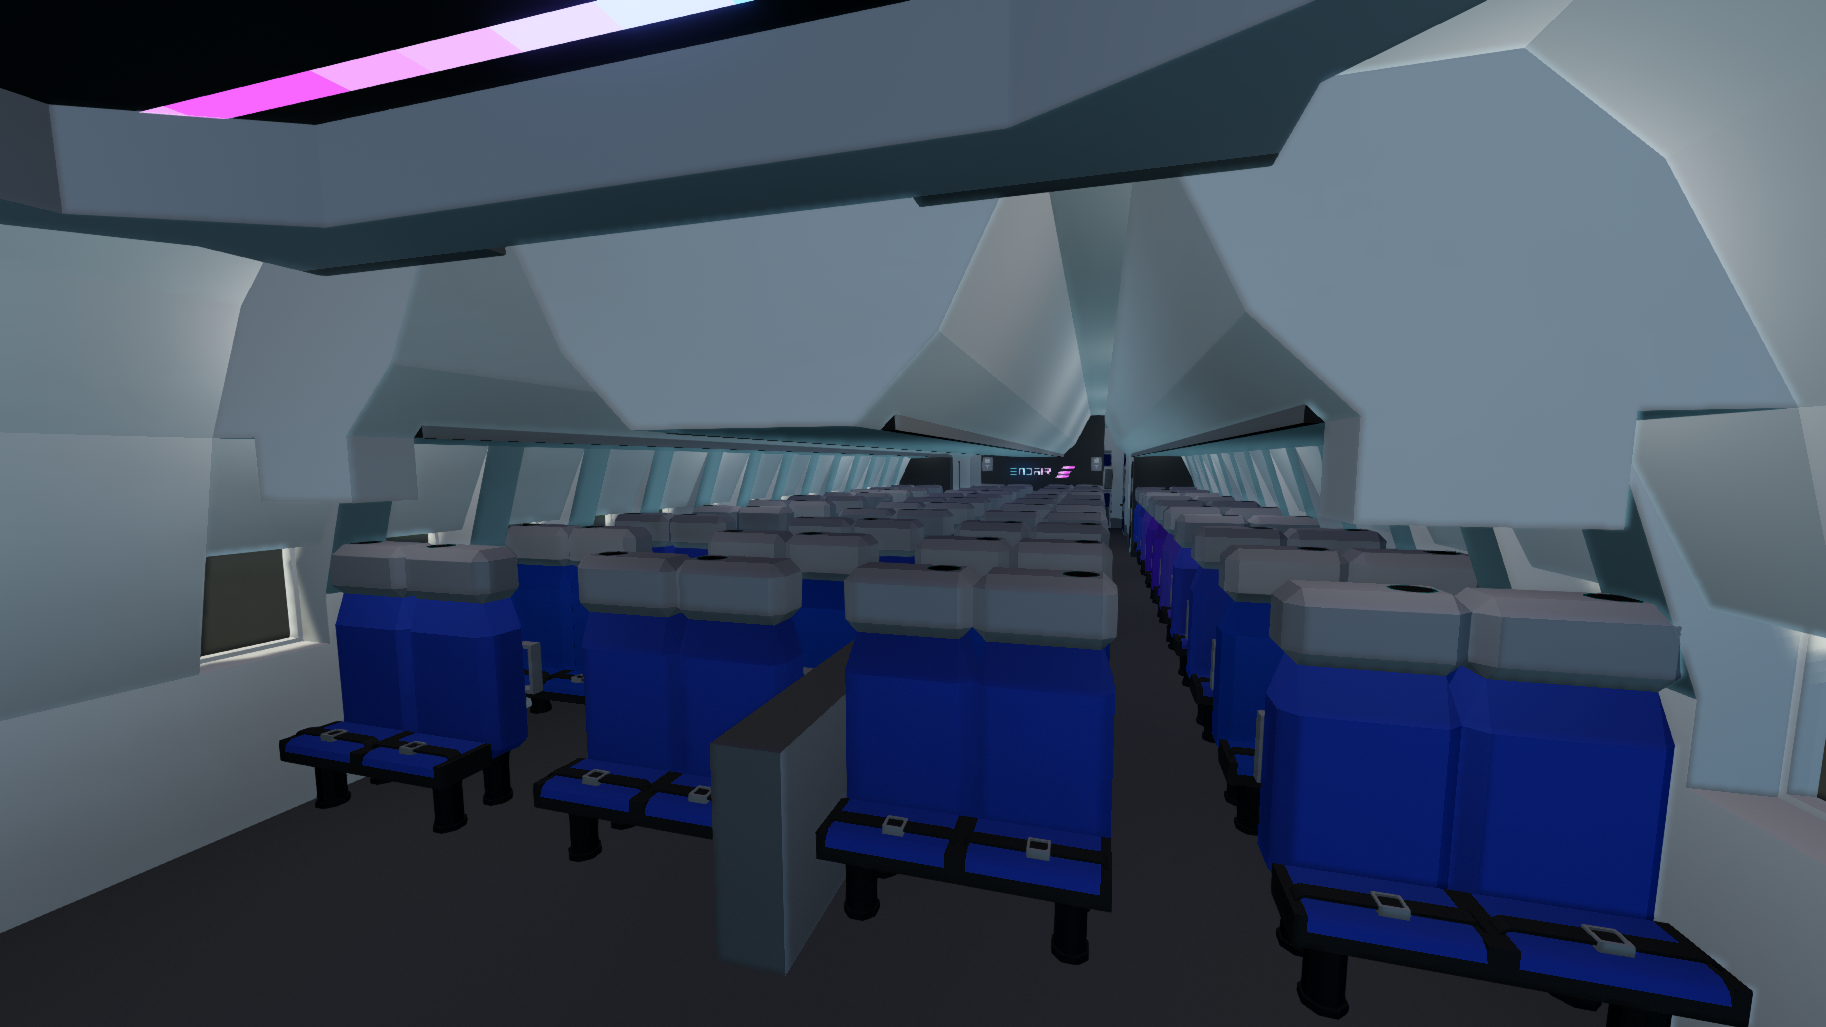
As well as 3 different classes!
First Class also features fully factional entertainment system!
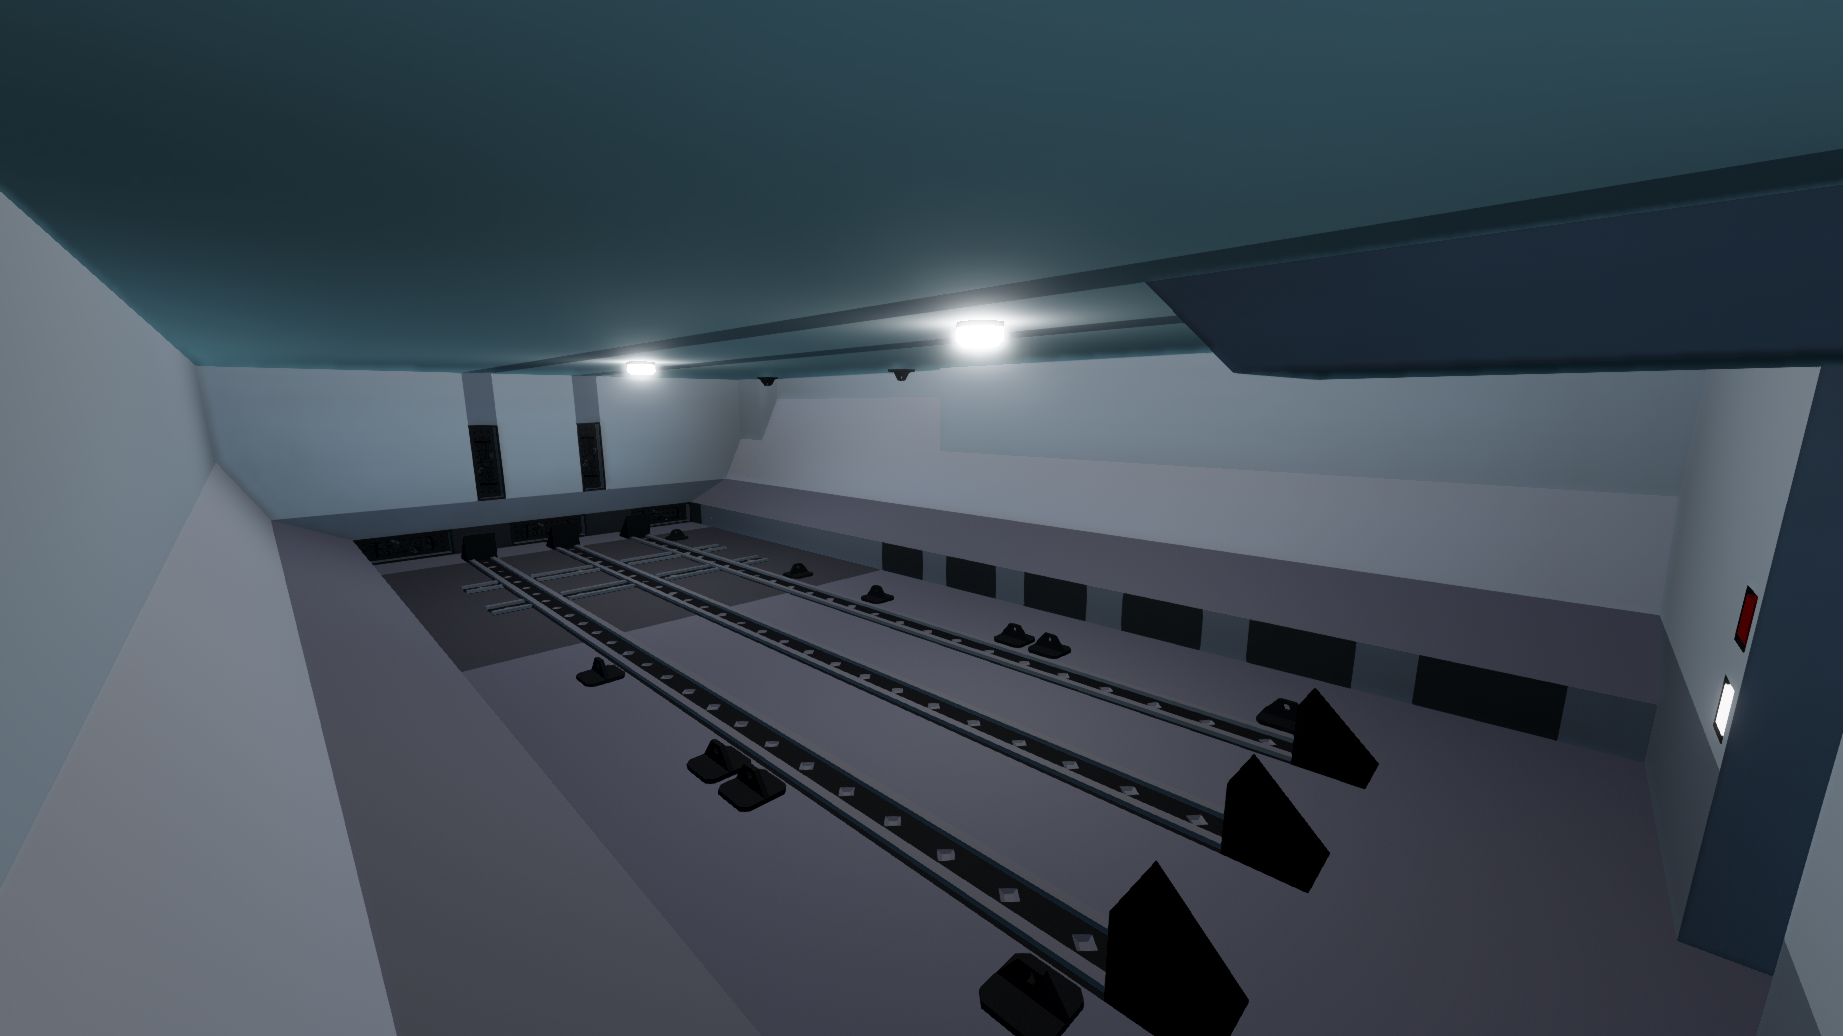
And also features a cargo bay under the real galley!
- [Passenger Capacity for Stormlink is 100]DiscordGet the latest updates about my plane projects on my discord server! : https://discord.gg/8YrrV9YJHMNOTE: PLEASE DO NOT MODIFY OR RE-UPLOAD THIS VEHICLE
[Requires modded workbench or custom mission to spawn]STARTUP PROCEDURE: - You can read the startup instructions from here
OR
For more realism you can read the checklist that is in the cockpit!
1. Open Battery 1
2. Open avionics
3. Open all ADIRS IR
4. Confirm That the screens are self testing
5. Open APU SW Master
6. Open APU Starter
7. Open ECAM Screen
8. Press and Hold the Fire test button
9. Confirm that all 3 Fire warnings are displayed in the Center Screen
10. Open all GND Hydraulics
11. Open beacon Light
12. Open all ENG Hydraulics
13. Open all ENG Fuel Pumps and Fuel Cutoffs
14. Open APU Bleed and X Bleed Auto
15. Open EICAS Screen
16. Start EN1 and Confirm it stabilizes on the Center Screen
17. Start EN2 and Confirm it stabilizes on the Center Screen
18. After Takeoff, Shutdown the APU
How to use the PFD screens:
there are some buttons next to all of the screens with labeled:
1. EICAS = Which displays the engine status
2. Fuel Computer = Which displays the fuel computer and range calculato
3. ECAM = Which displays all aircraft messages or errors
4. HSI = Which displays a diagram of a conventional heading indicator
5. NAV = Which displays a MAP, heading and position of the aircraft
6. CAM = Which displays a tail mounted camera for better navigation
You can select either one by pressing the button next of the screen!AUTOLAND SETUP:
Tip Take a moment before takeoff to input your desired coordinates and Altitude to the aircraft!
1. Set a waypoint on the START of the desired runway
2. Insert the Waypoint into the AUTOLAND Keyboard and press ''Import Starting Point Of The Runway''
3. Set a waypoint on the END of the desired runway
4. Insert the Waypoint into the AUTOLAND Keyboard and press ''Import Ending Point Of The Runway''
5. Enable the F/D
5. Enable Autoland
[You DO Need to lower the landing gear]AUTOPILOT SETUP:
1. Set up your waypoint coordinates on the Autopilot Coordinates Panel
2. Enable FD
3. Enable AutoPilotALTITUDE SETUP:1. Set up your desired Altitude on the Altitude Hold Panel
2. Press the ALT HOLD Button
3. Enable FDBLACKBOX AND FLIGHT TRACKING:On channel: 19 there is a composite signal transition that holds flight informationTHROTTLE:*1 Takeoff
*1 - 0.8 Cruise [Its most efficient at 0.9]
*0.5 - 0.45 Landing
*0.11 TaxiingCREDITS
https://steamcommunity.com/sharedfiles/filedetails/?id=2374729163 : HSI by Hally
https://steamcommunity.com/sharedfiles/filedetails/?id=2092441495 : Modified AH by markers622
https://steamcommunity.com/sharedfiles/filedetails/?id=2229865932 : Inspiration for the AH from AirStrikeOnLine
https://steamcommunity.com/sharedfiles/filedetails/?id=1799889445 : 3D Maps by Buunuu
https://steamcommunity.com/sharedfiles/filedetails/?id=2028815133 : Coms by PenguinO
https://steamcommunity.com/sharedfiles/filedetails/?id=1761878368 : Custom dials by WH1T3_No1SE
https://steamcommunity.com/sharedfiles/filedetails/?id=2392720367 : F.C by moonoom
https://steamcommunity.com/sharedfiles/filedetails/?id=2471096948 : Checklist by MrNJersey
https://steamcommunity.com/sharedfiles/filedetails/?id=2562145559 : Modified AL by khhobbsConsider leaving a Rating and a Comment if you like the creation.
If you find any Bugs please report them down below
How do I download and install mods?
Simply click the blue button above. It will open the file hosting page with the mod repacked by us from the official source.How do I install this mod?
See the 'How to install' tab.Is this mod safe to use?
The mods are repacked as is, without any additional software, malware, or bloatware added. To check for viruses, use a reliable antivirus or upload the archive to a website like virustotal.com. Anyway, It's always a good practice to keep backups of your saves in case of mod incompatibility .
For vehicle mods
- Download the .zip archive containing the vehicle mod files.
- Locate your game's root folder.
- Navigate to
rom\data\preset_vehicles_advancedand extract the files there. - Rename both files to something recognizable, ensuring they share the same base name but different extensions.
- Launch the game and go to the Workbench's Presets tab to see the new vehicle mod.