ENDAIR AN-225 Mriya
Vehicle, Air, Rescue, Multi-vehicle, Exploration, Delivery, Technical, Creative, Land, Mechanical, Advanced, v1.4.11

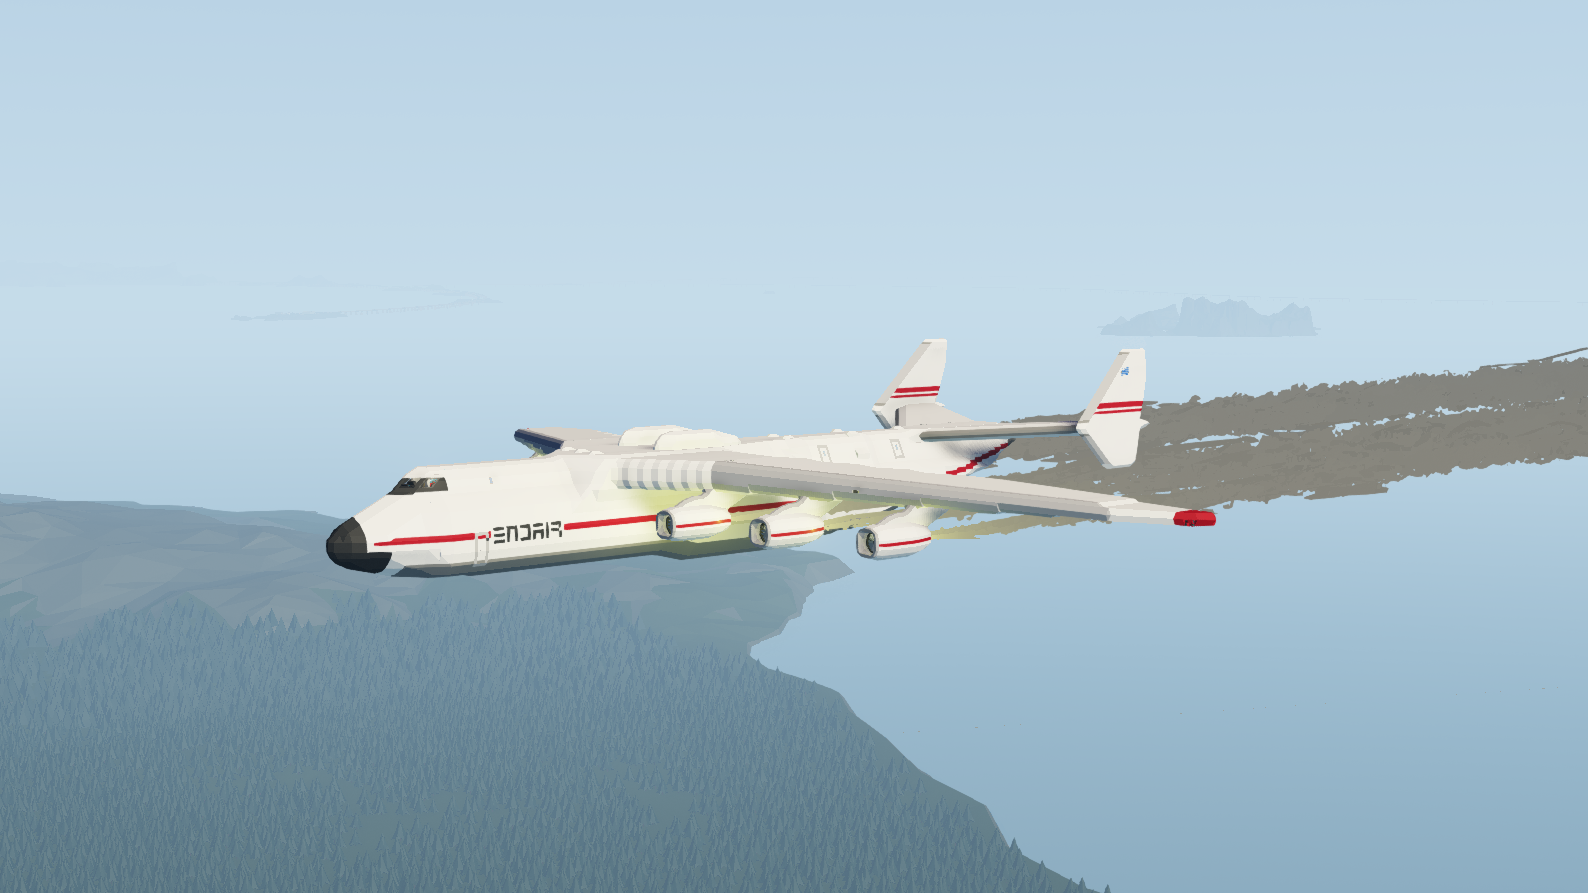
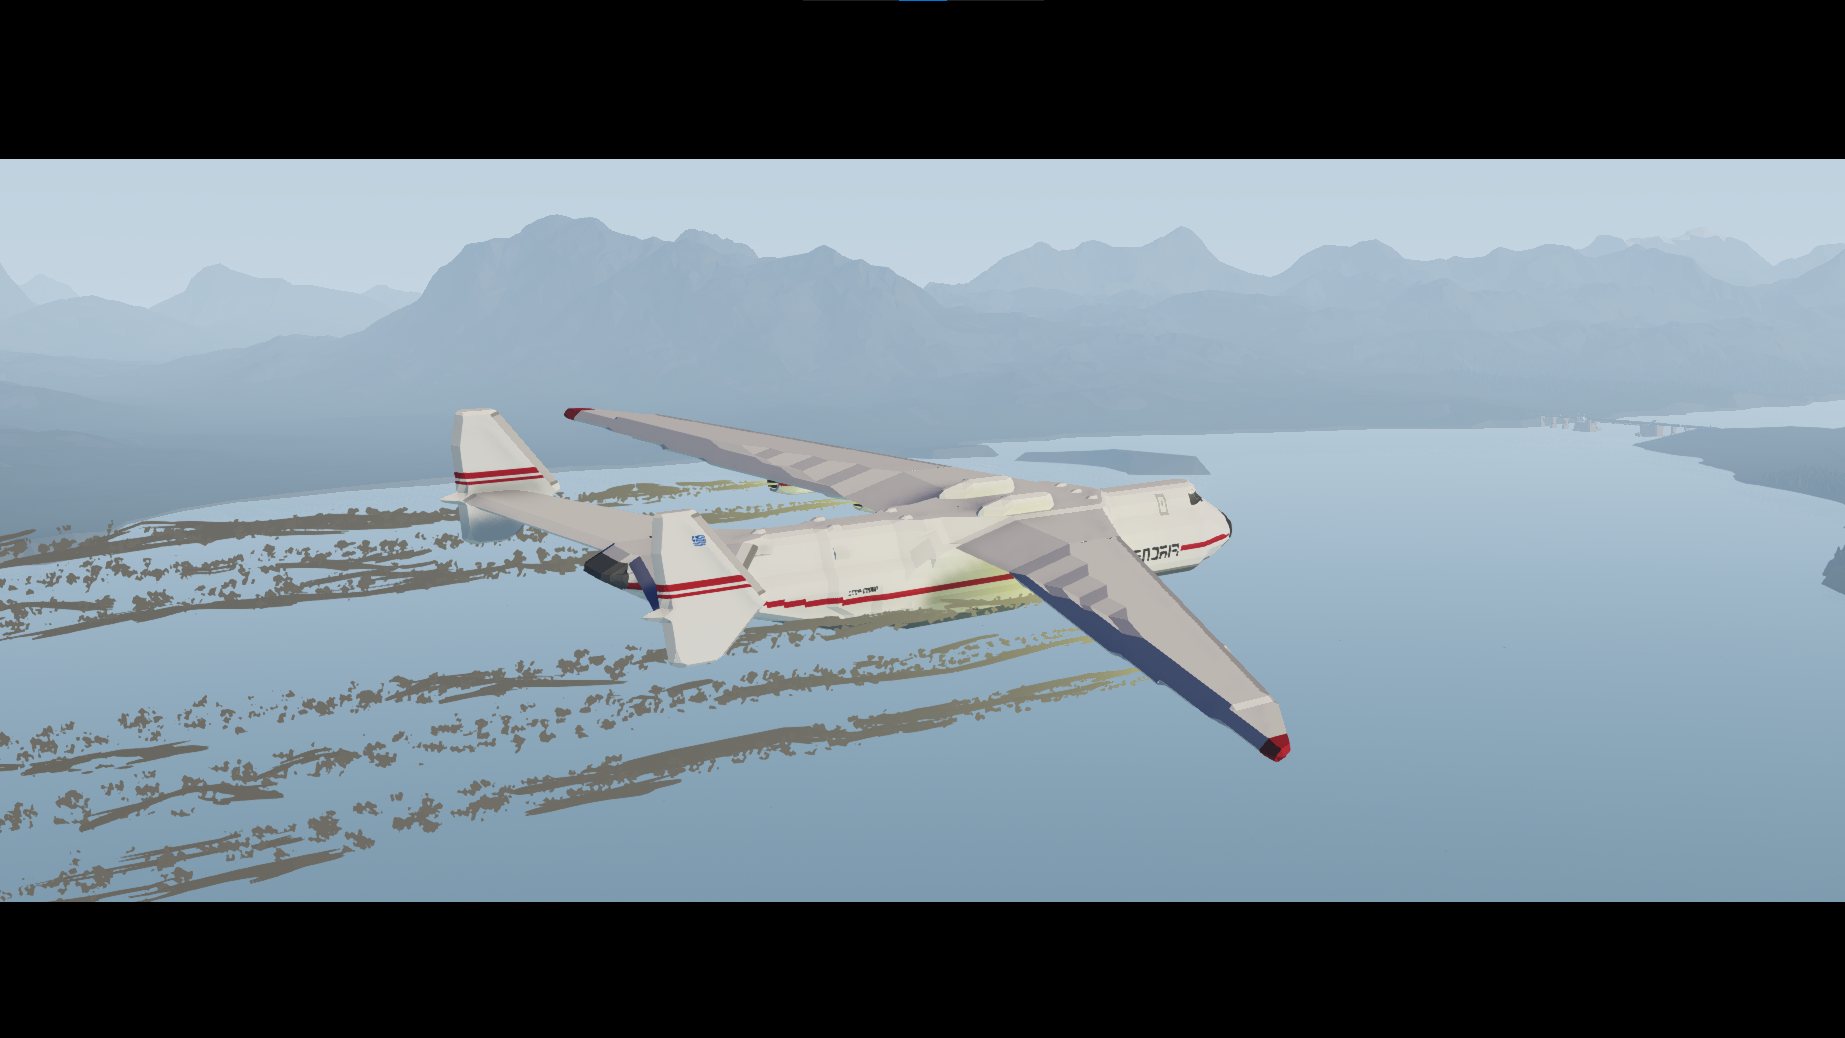
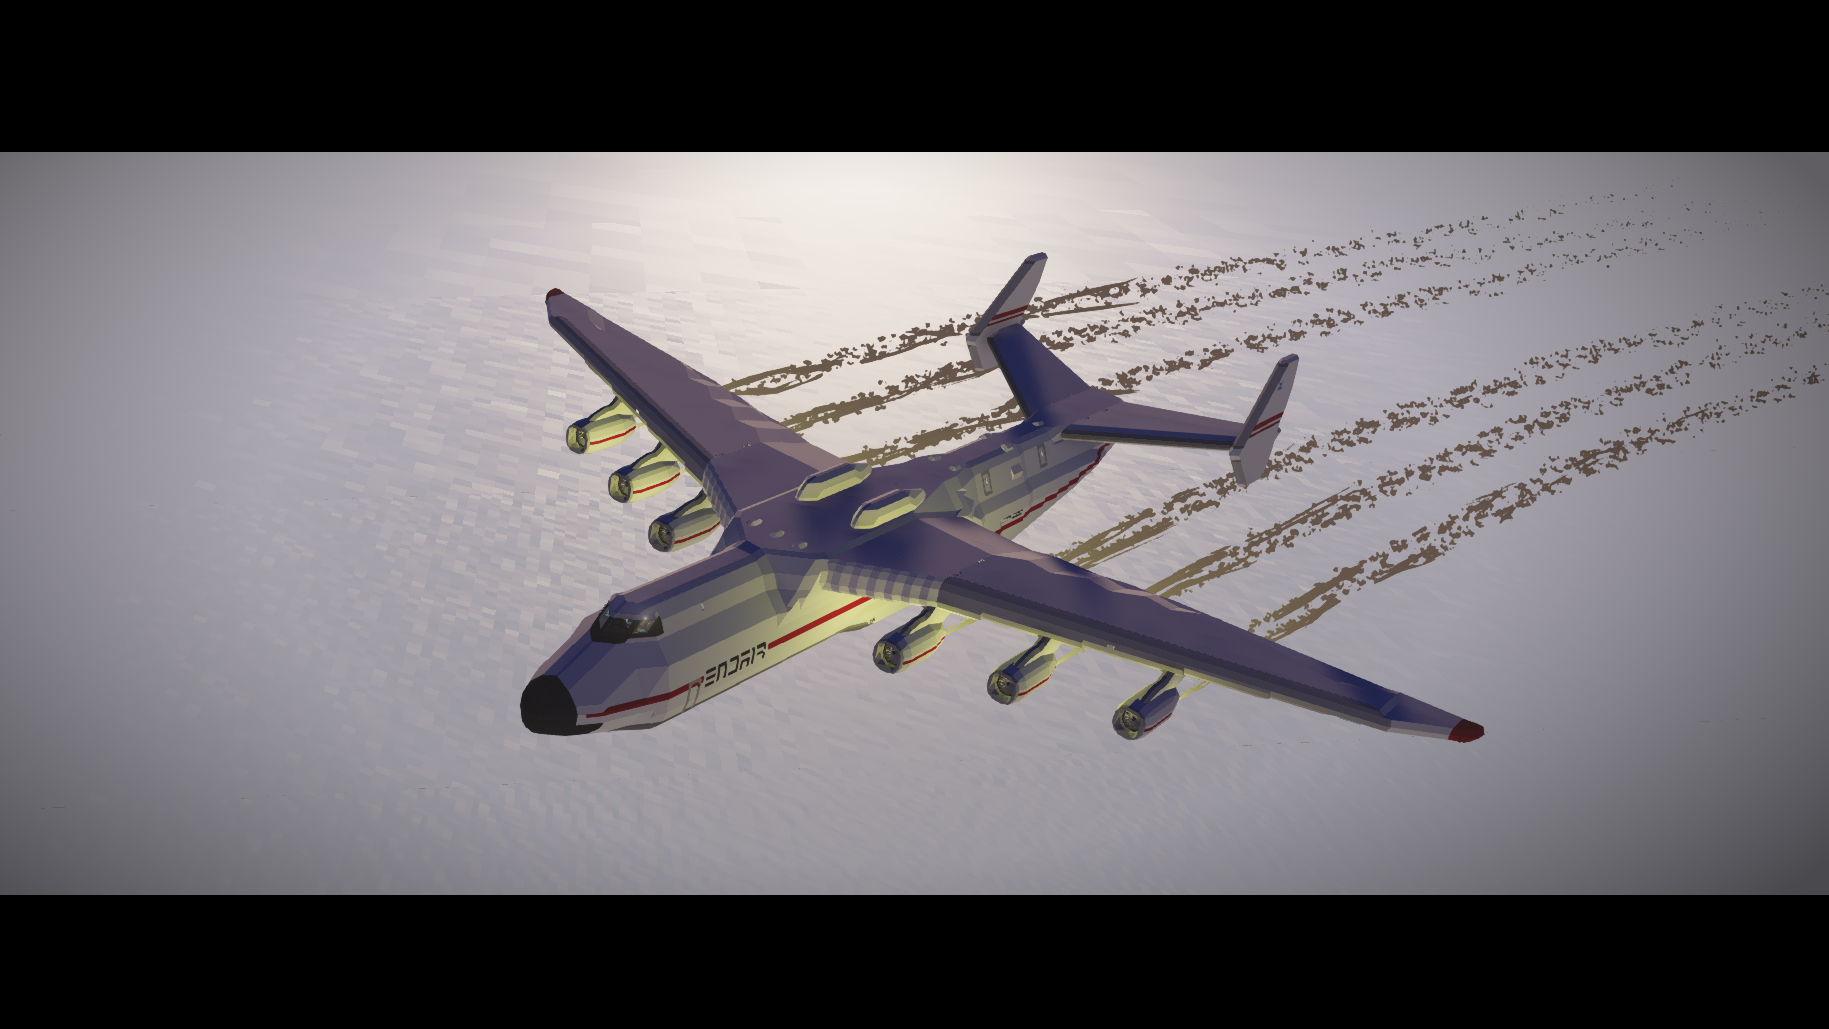
ENDAIR AN-225 Mriya The AN-225 Mriya was the biggest aircraft in the world!
It recently was destroyed by the Russians in the missile strike that took place at its home airport...
it had 214 national and 124 world records, including the transportation of the heaviest payload ever airlifted, at 253,820 kg!
has a Top speed of 260Knots, has a range of over 2000KM and can lift up to 300.000 Kg...
Author: EnderPilot
Created: 4 Feb, 2022 @ 3:27pm
Updated: 21 Mar, 2022 @ 2:00pm
Subscribers: 22246
Size (unpacked) : 8.712 MB
It recently was destroyed by the Russians in the missile strike that took place at its home airport...
it had 214 national and 124 world records, including the transportation of the heaviest payload ever airlifted, at 253,820 kg!
has a Top speed of 260Knots, has a range of over 2000KM and can lift up to 300.000 Kg!
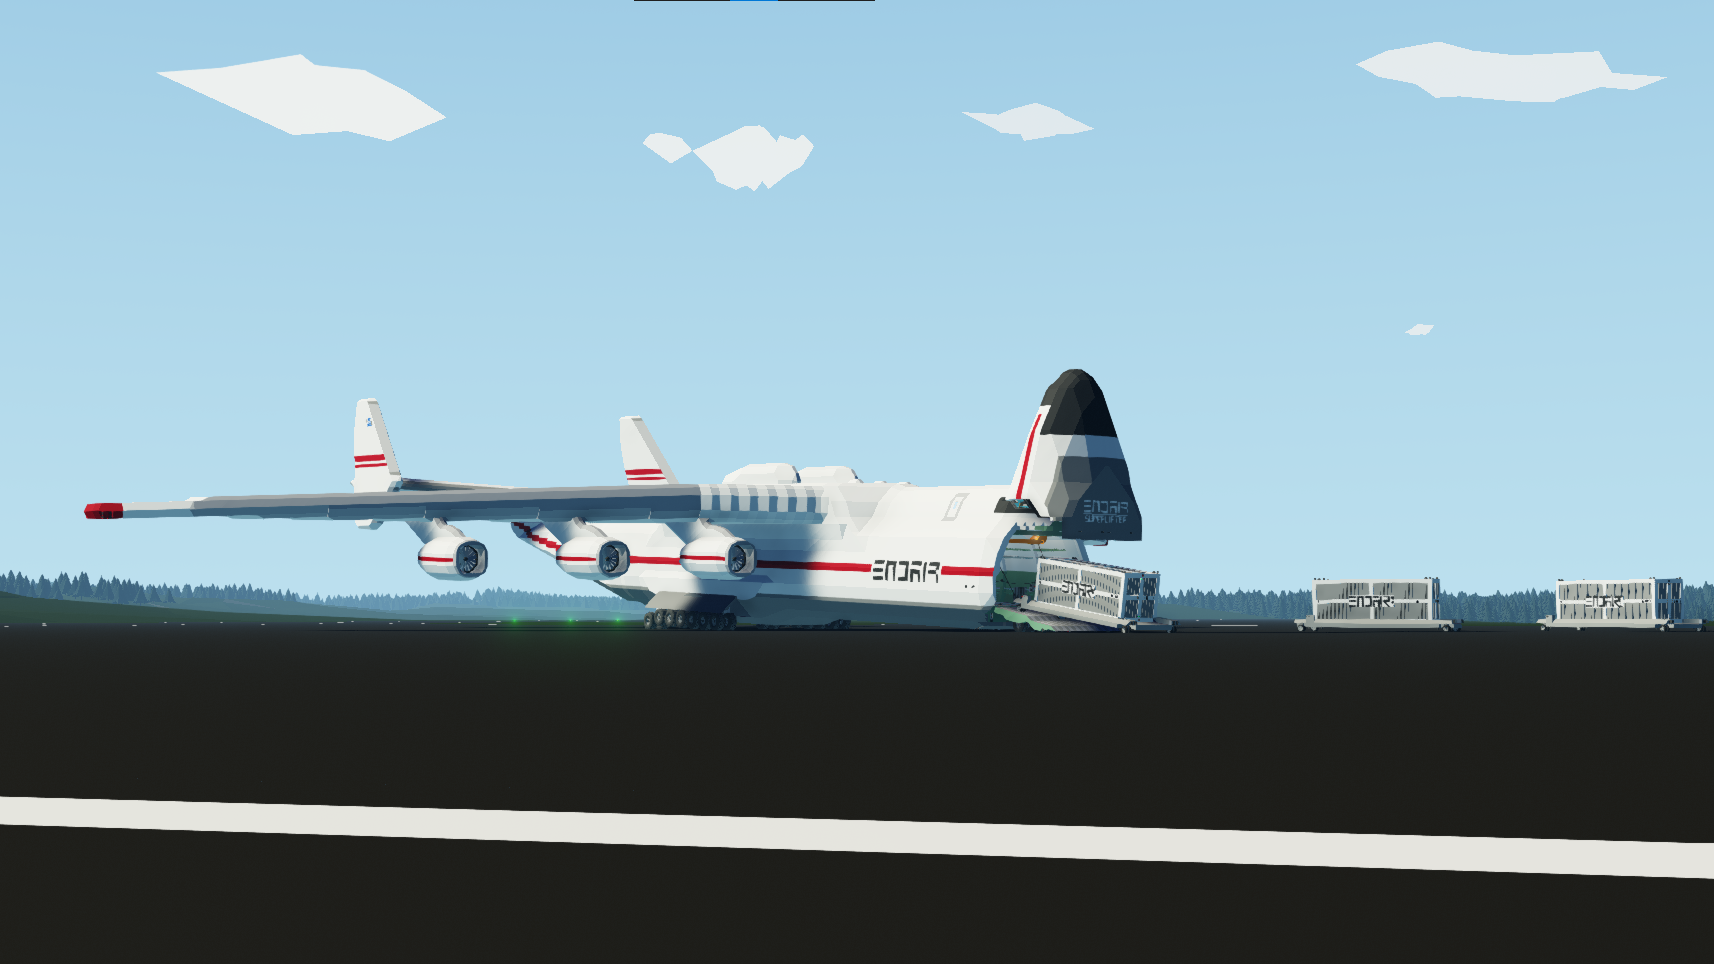
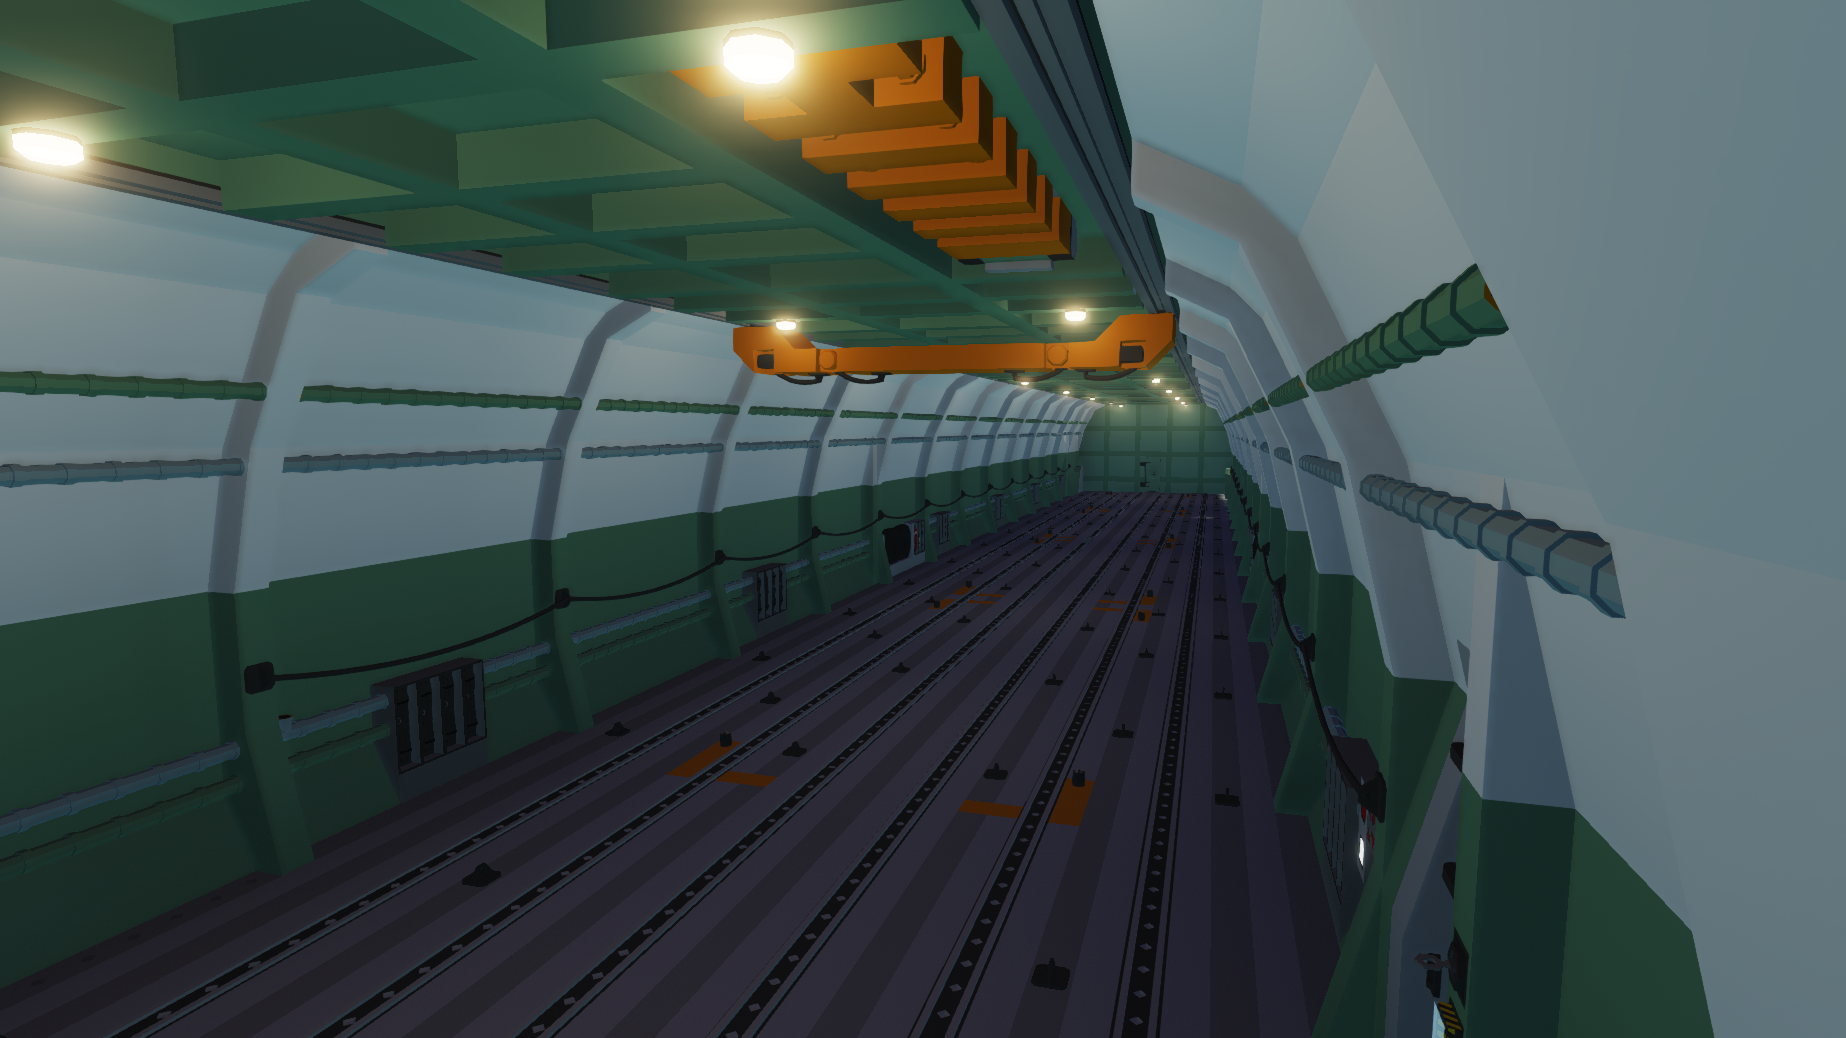
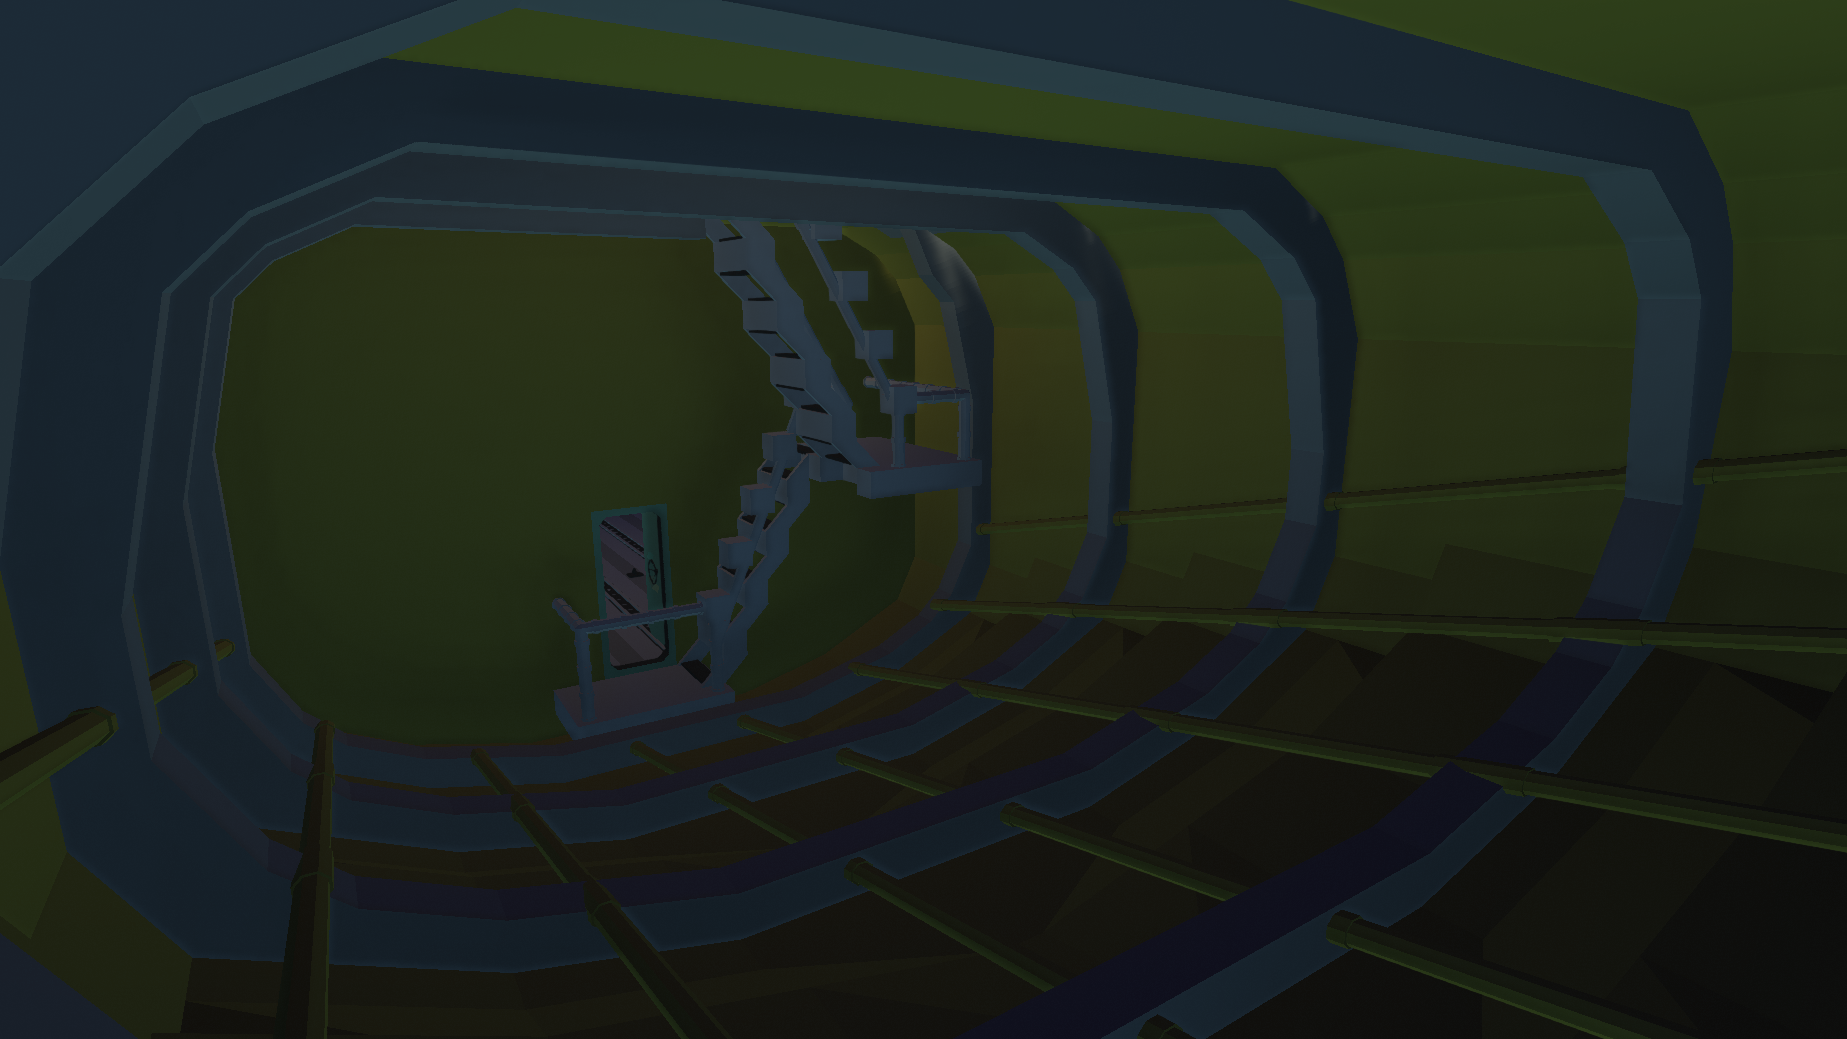
it has a huge cargo hold for Cargo Transport that can hold up to 4 EndairCargo Containers!
or you can make your own 4 modules to load the plane with the Custom Pallet!
url=https://discord.gg/8YrrV9YJHM
If you are using the existing pallets just attach the ropes to the aircraft's crane and pull it into the aircraft
Once its positioned on top of the orange lines you can activate the containers magnets and secure it
OR
You can bring whatever vehicle you want!
But make sure it has rope connectors on all of its sides so you can secure it with ropes on the floor!
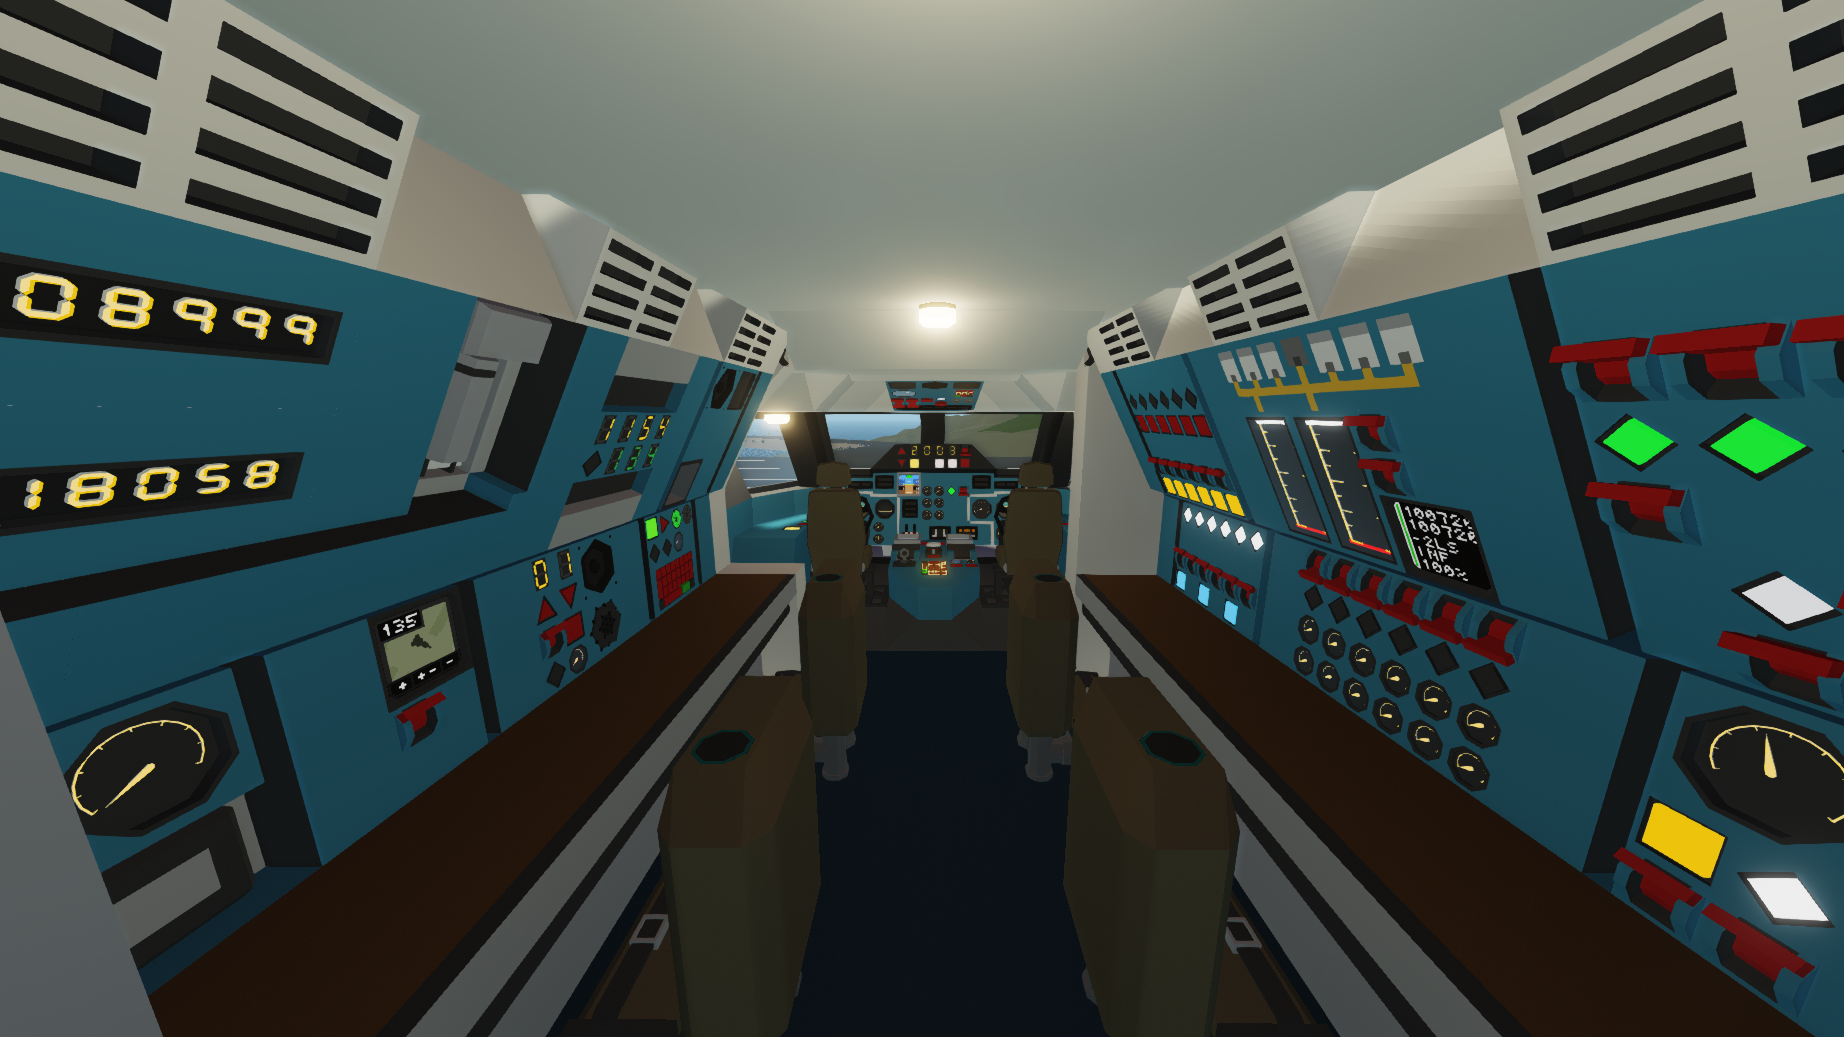
1. Open Navigators Panel Electrical
2. Open Engineers Panel Electrical
3. Open Flight Deck Electrical
4. Open Electronic Avionics Power
5. Open Engineers/Navigators Backlights (If needed)
6. Open APU Fuel Pump
7. Open APU Fuel Cutoff
8. Open APU Starter
9. Confirm APU is starting up
10. Open all ENG Fuel Cutoffs
11. Open all ENG Fuel Pumps
12. Open all ENG Electrics
13. Open Hydraulic systems : A, B, C
14. Open APU Bleed
15. Open ENG 1 Starter
16. Confirm it stabilizes on the Dial panel
17. Repeat for ENG 2, 3, 4, 5, 6
18. After Takeoff, Shutdown the APU
a small gps minimap with the Y and X position of the aircraft
Along with an interceptor!
Tip Take a moment before takeoff to input your desired coordinates and Altitude to the aircraft!
1. Set up your waypoint coordinates on the Autopilot Coordinates Panel
2. Press Instert a Waypoint
(If you want you can add up to 8 waypoints)
3. Enable F/D
4. Engage AP
(To increase altitude faster press: Switch Alt to 100 Increase)
2. Enable F/D
3. Press the ALT HOLD Button
Shairo-jp : 1x1 AH
Kaus Bumsen : 1x1 Fuel info Display
MrNJersey : NJ 1x1 GPS Map with Pointer
If you find any Bugs please report them down below
How do I download and install mods?
Simply click the blue button above. It will open the file hosting page with the mod repacked by us from the official source.How do I install this mod?
See the 'How to install' tab.Is this mod safe to use?
The mods are repacked as is, without any additional software, malware, or bloatware added. To check for viruses, use a reliable antivirus or upload the archive to a website like virustotal.com. Anyway, It's always a good practice to keep backups of your saves in case of mod incompatibility .
For vehicle mods
- Download the .zip archive containing the vehicle mod files.
- Locate your game's root folder.
- Navigate to
rom\data\preset_vehicles_advancedand extract the files there. - Rename both files to something recognizable, ensuring they share the same base name but different extensions.
- Launch the game and go to the Workbench's Presets tab to see the new vehicle mod.