SA-230A Coventry - Medium transport aircraft
Vehicle, Air, Rescue, Exploration, Delivery, Technical, Creative, Fire, Mechanical, Advanced, v1.8.6
Scarborough Rescue Service Vehicle Collection
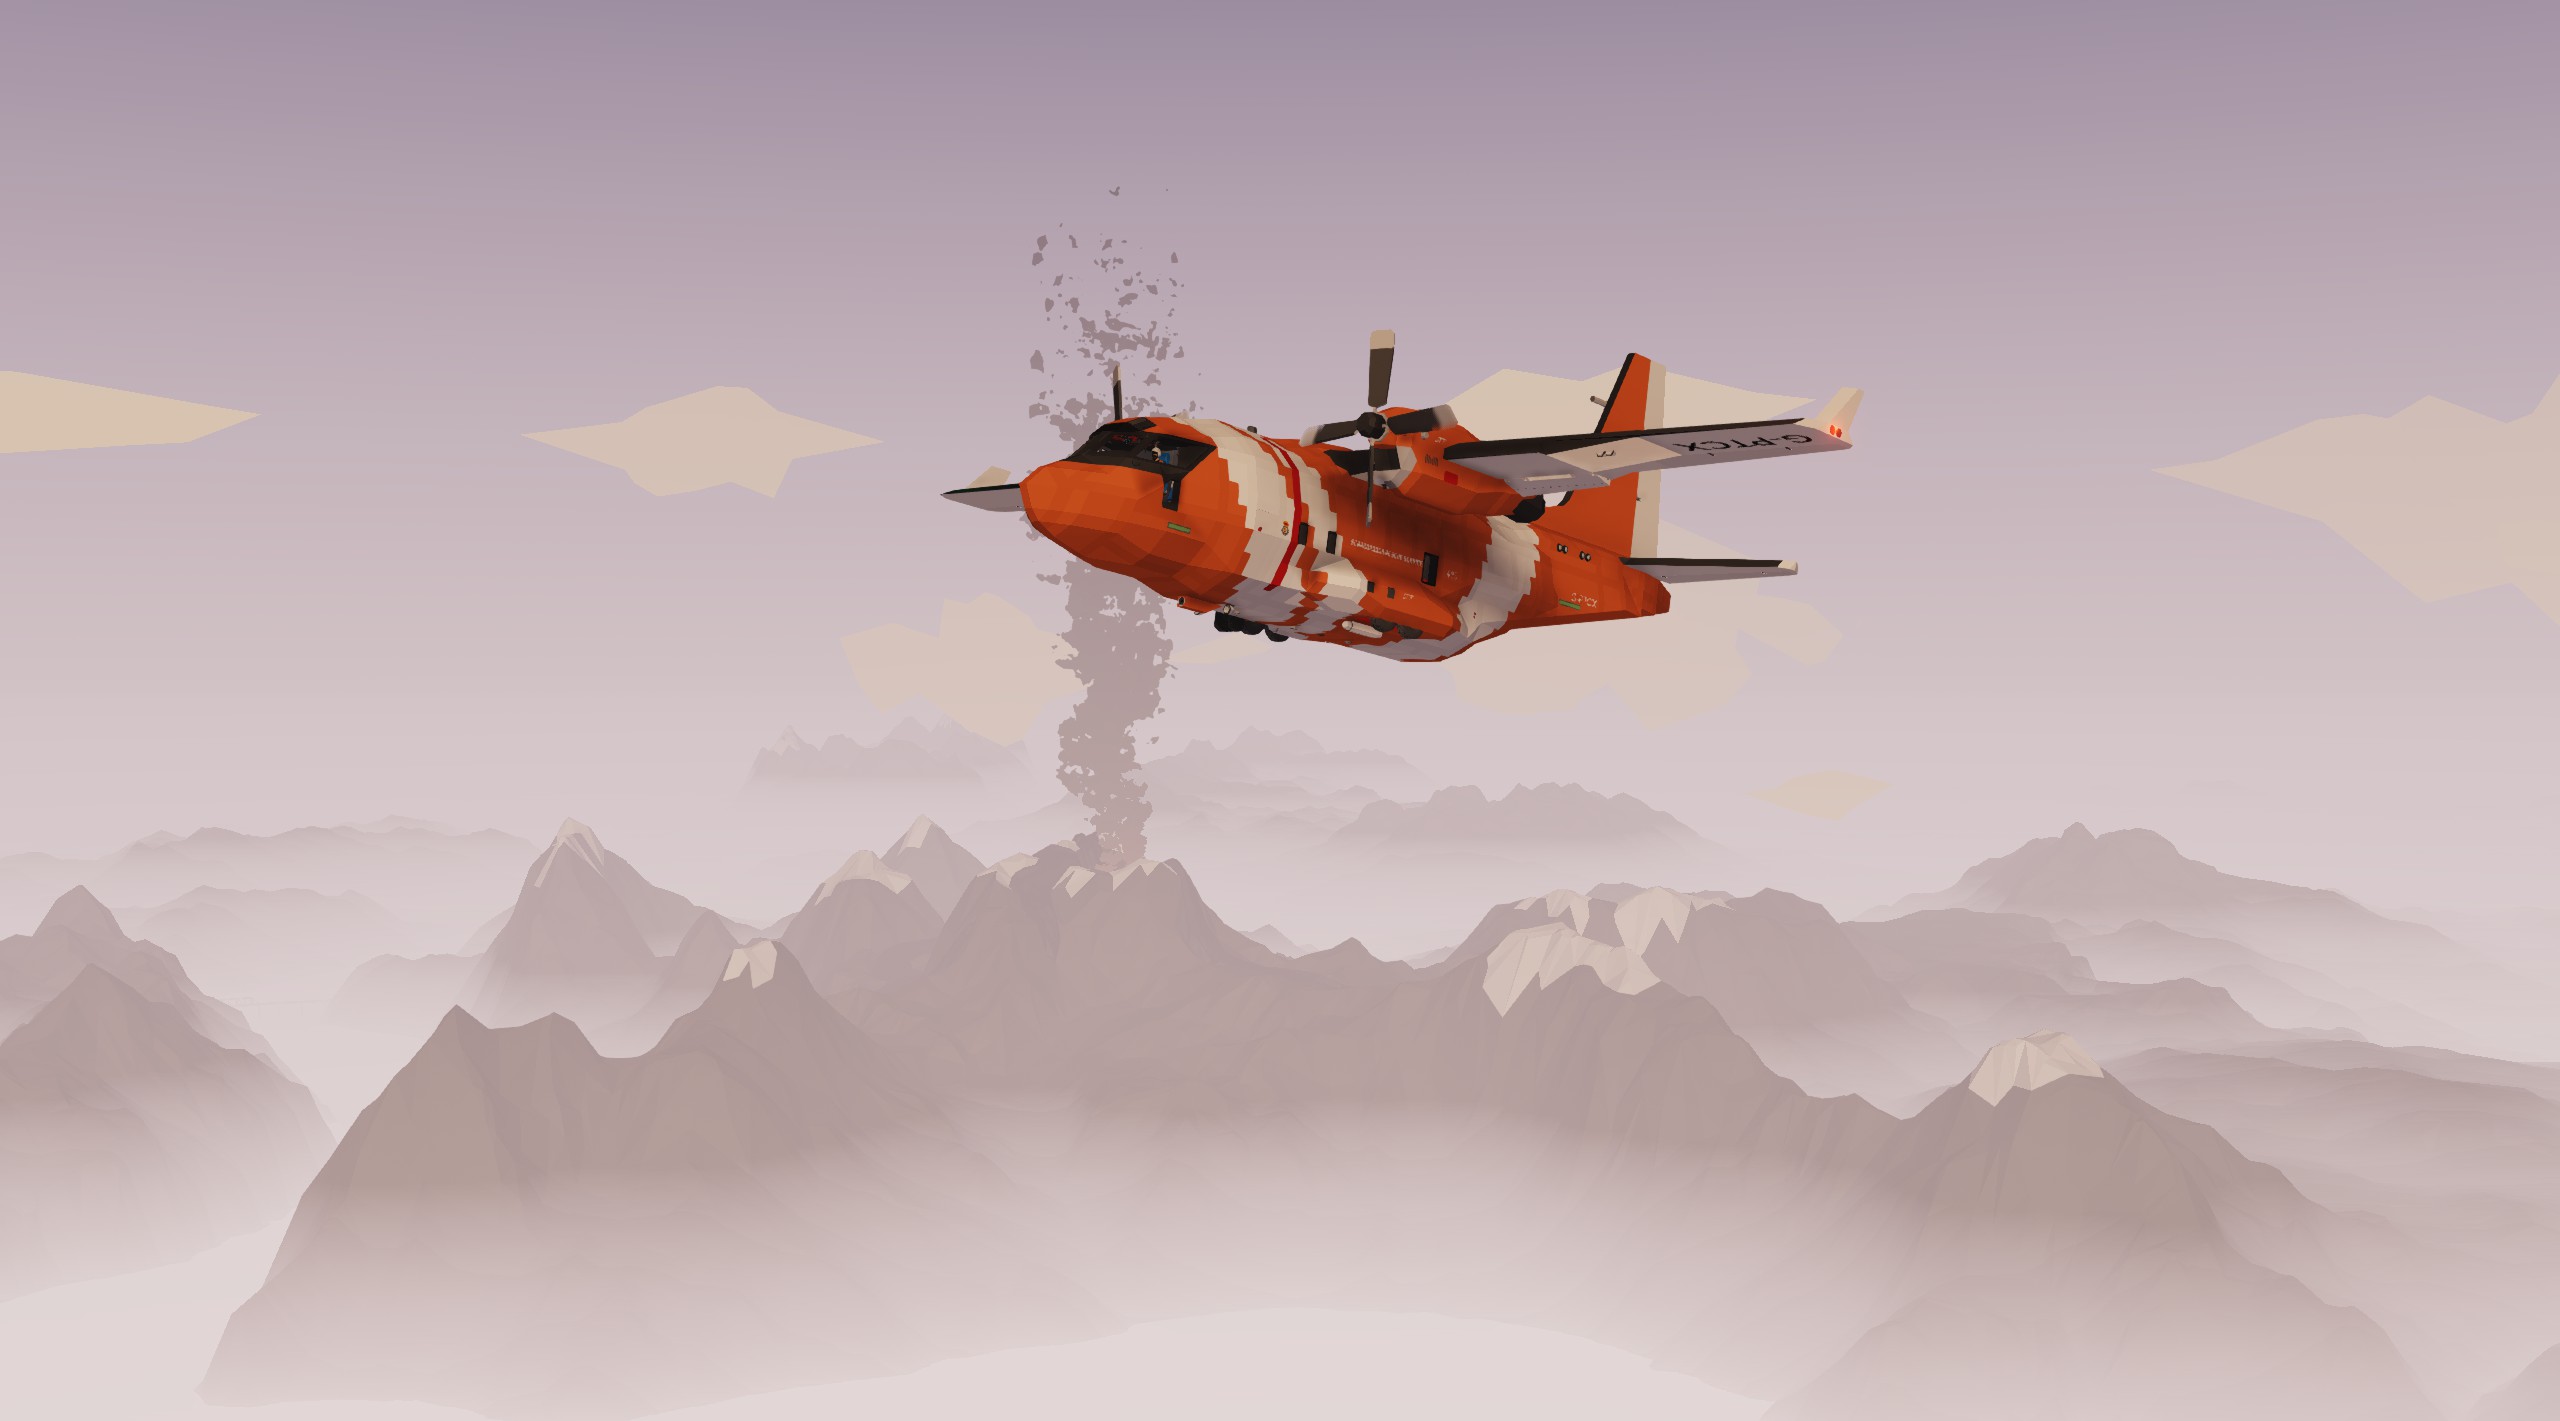
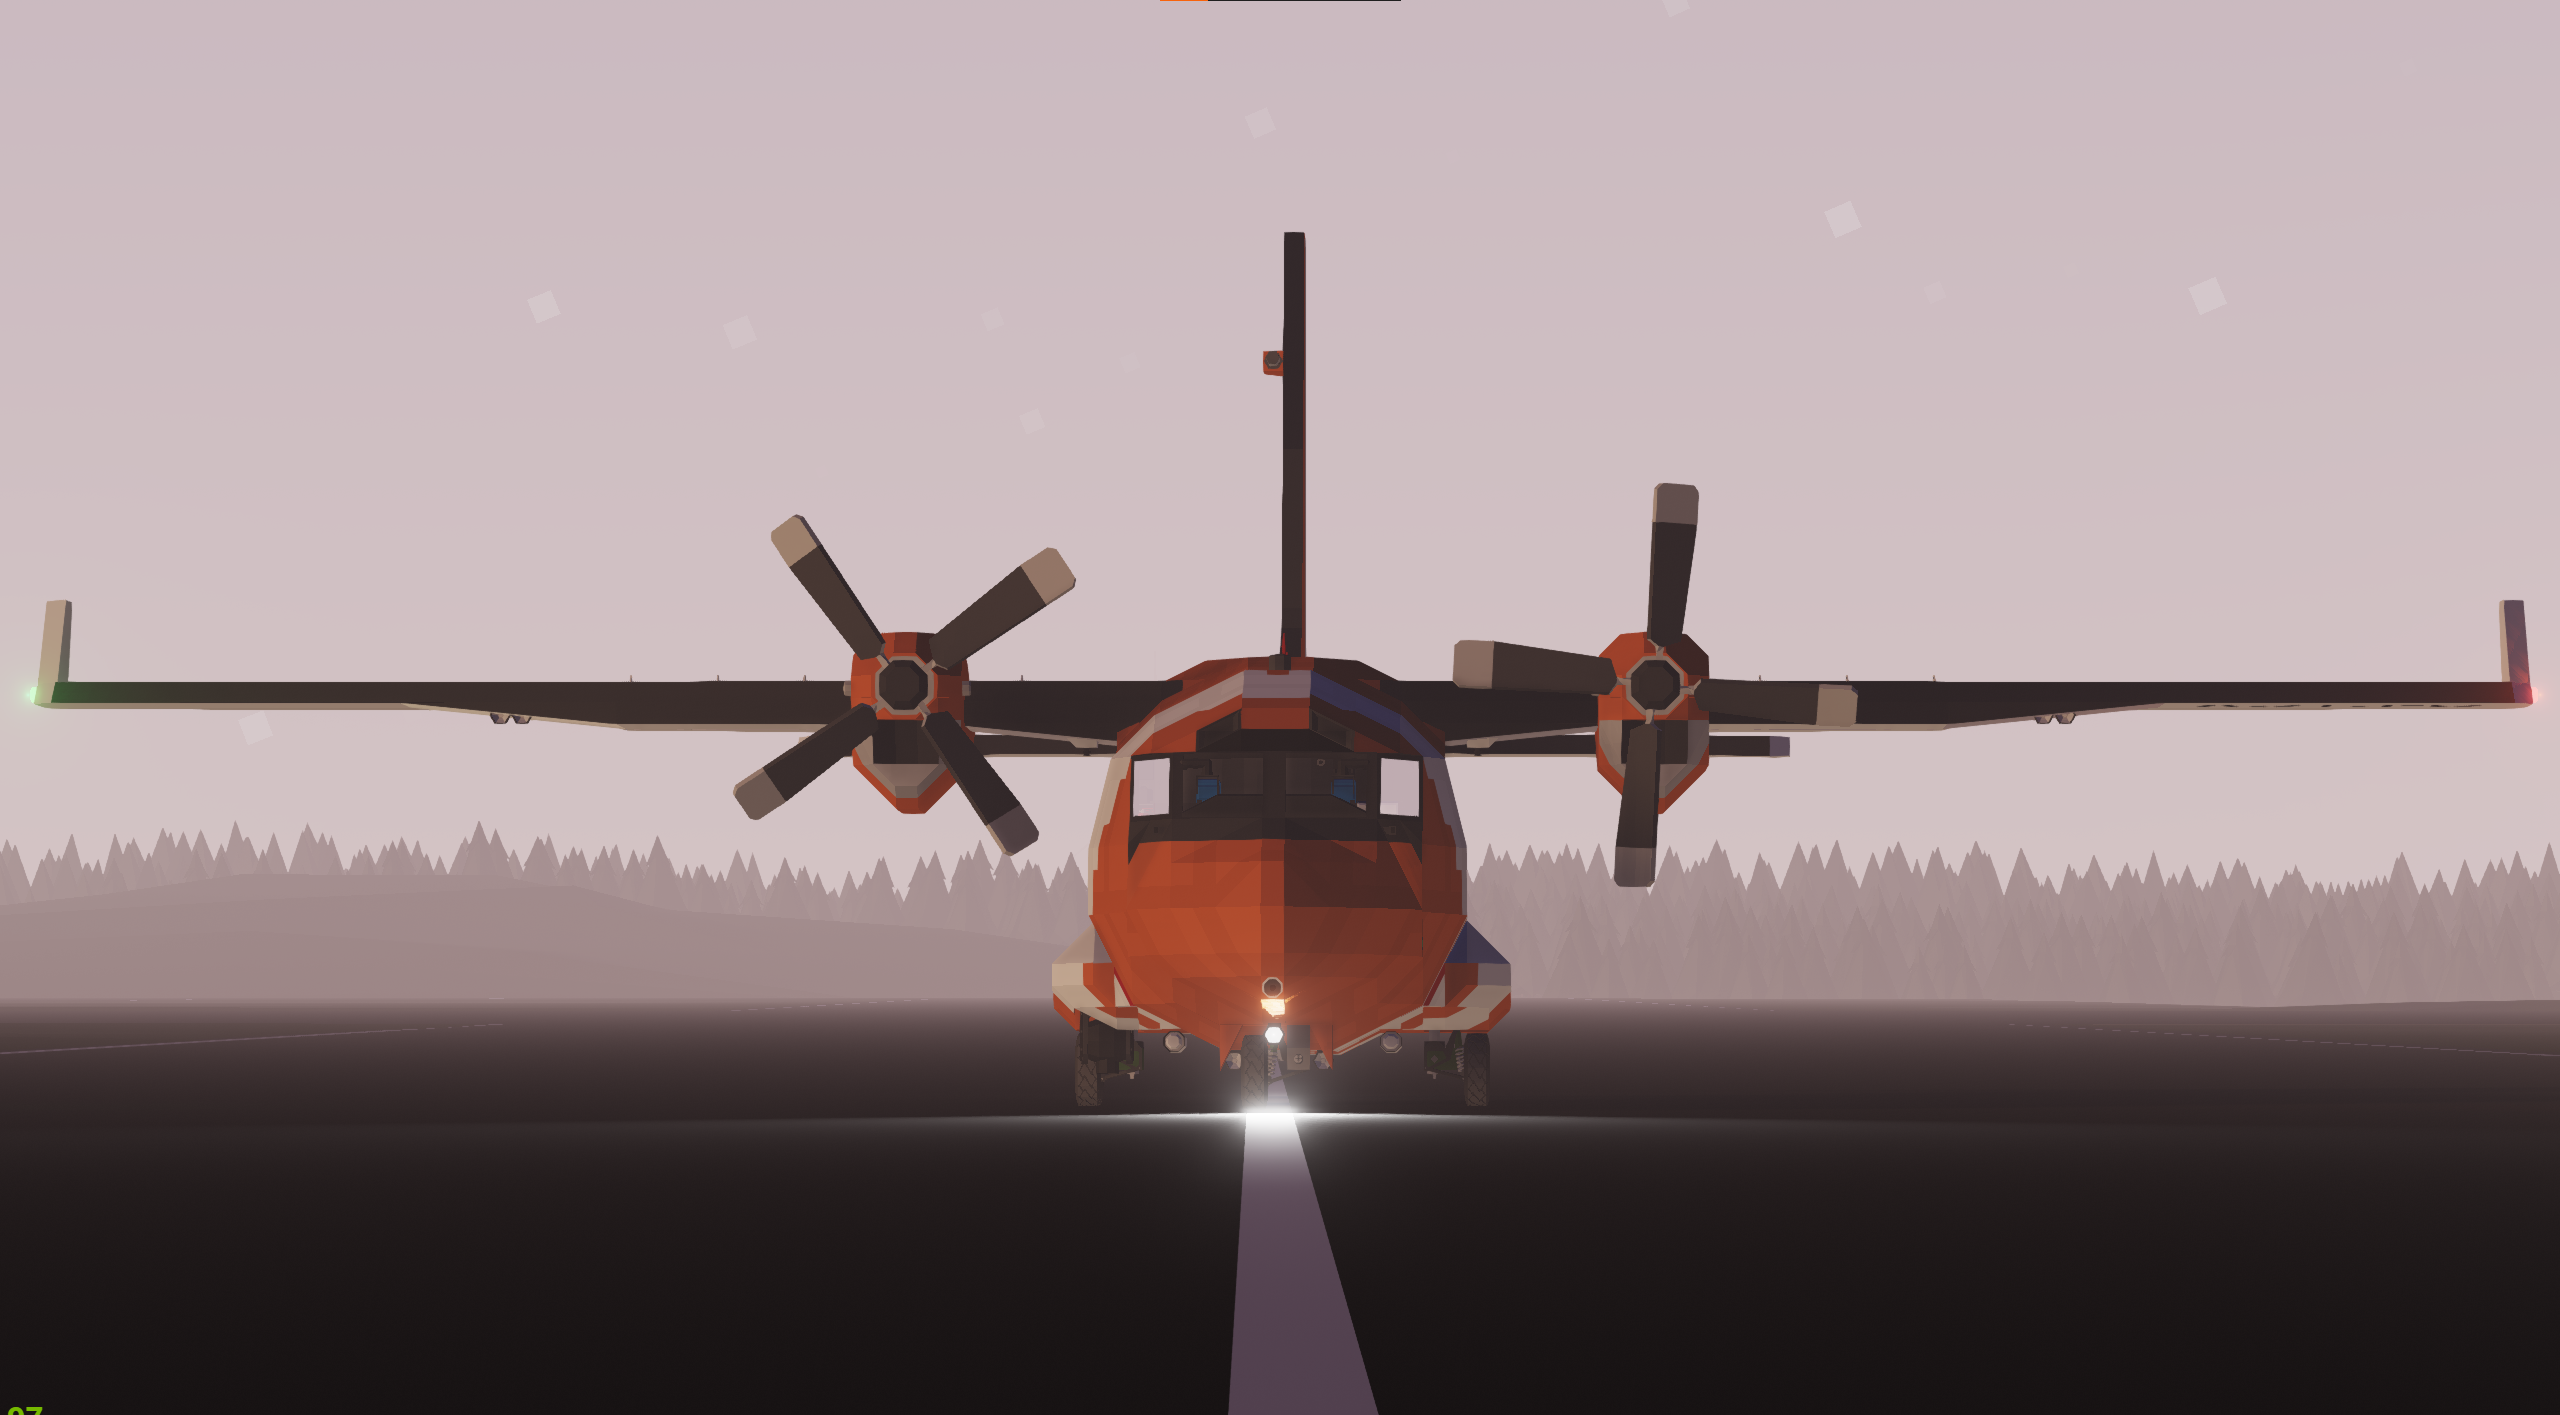
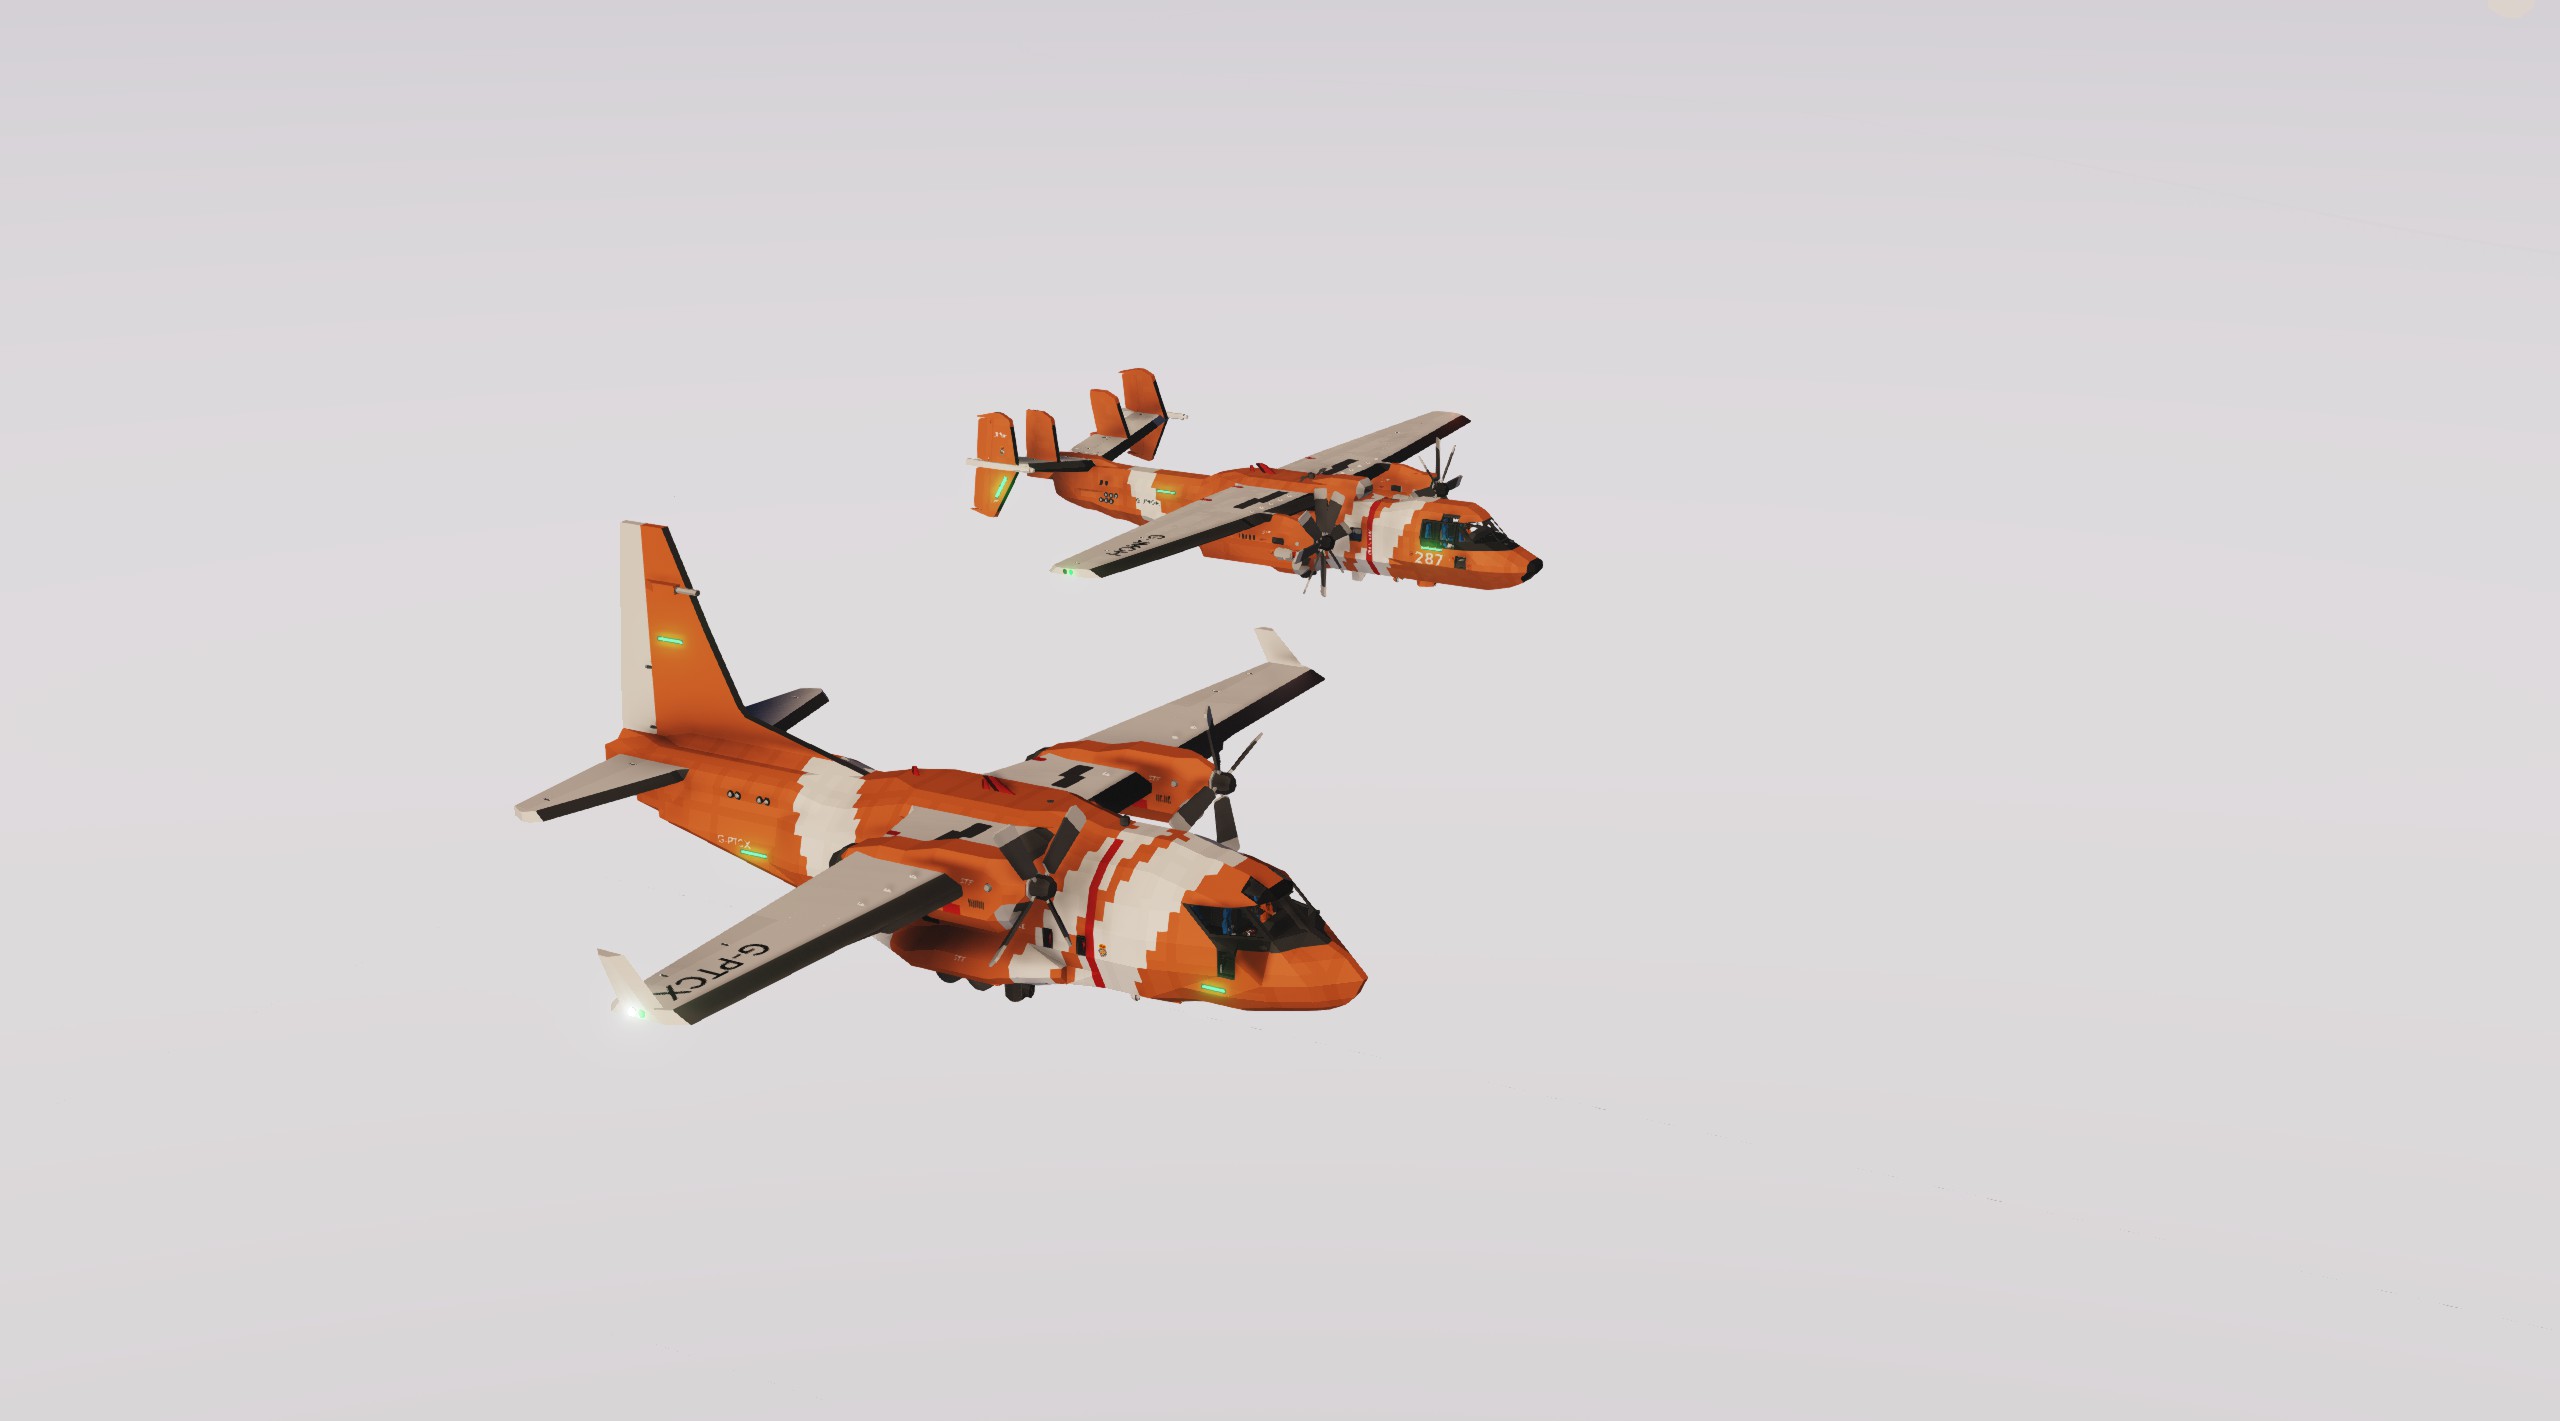
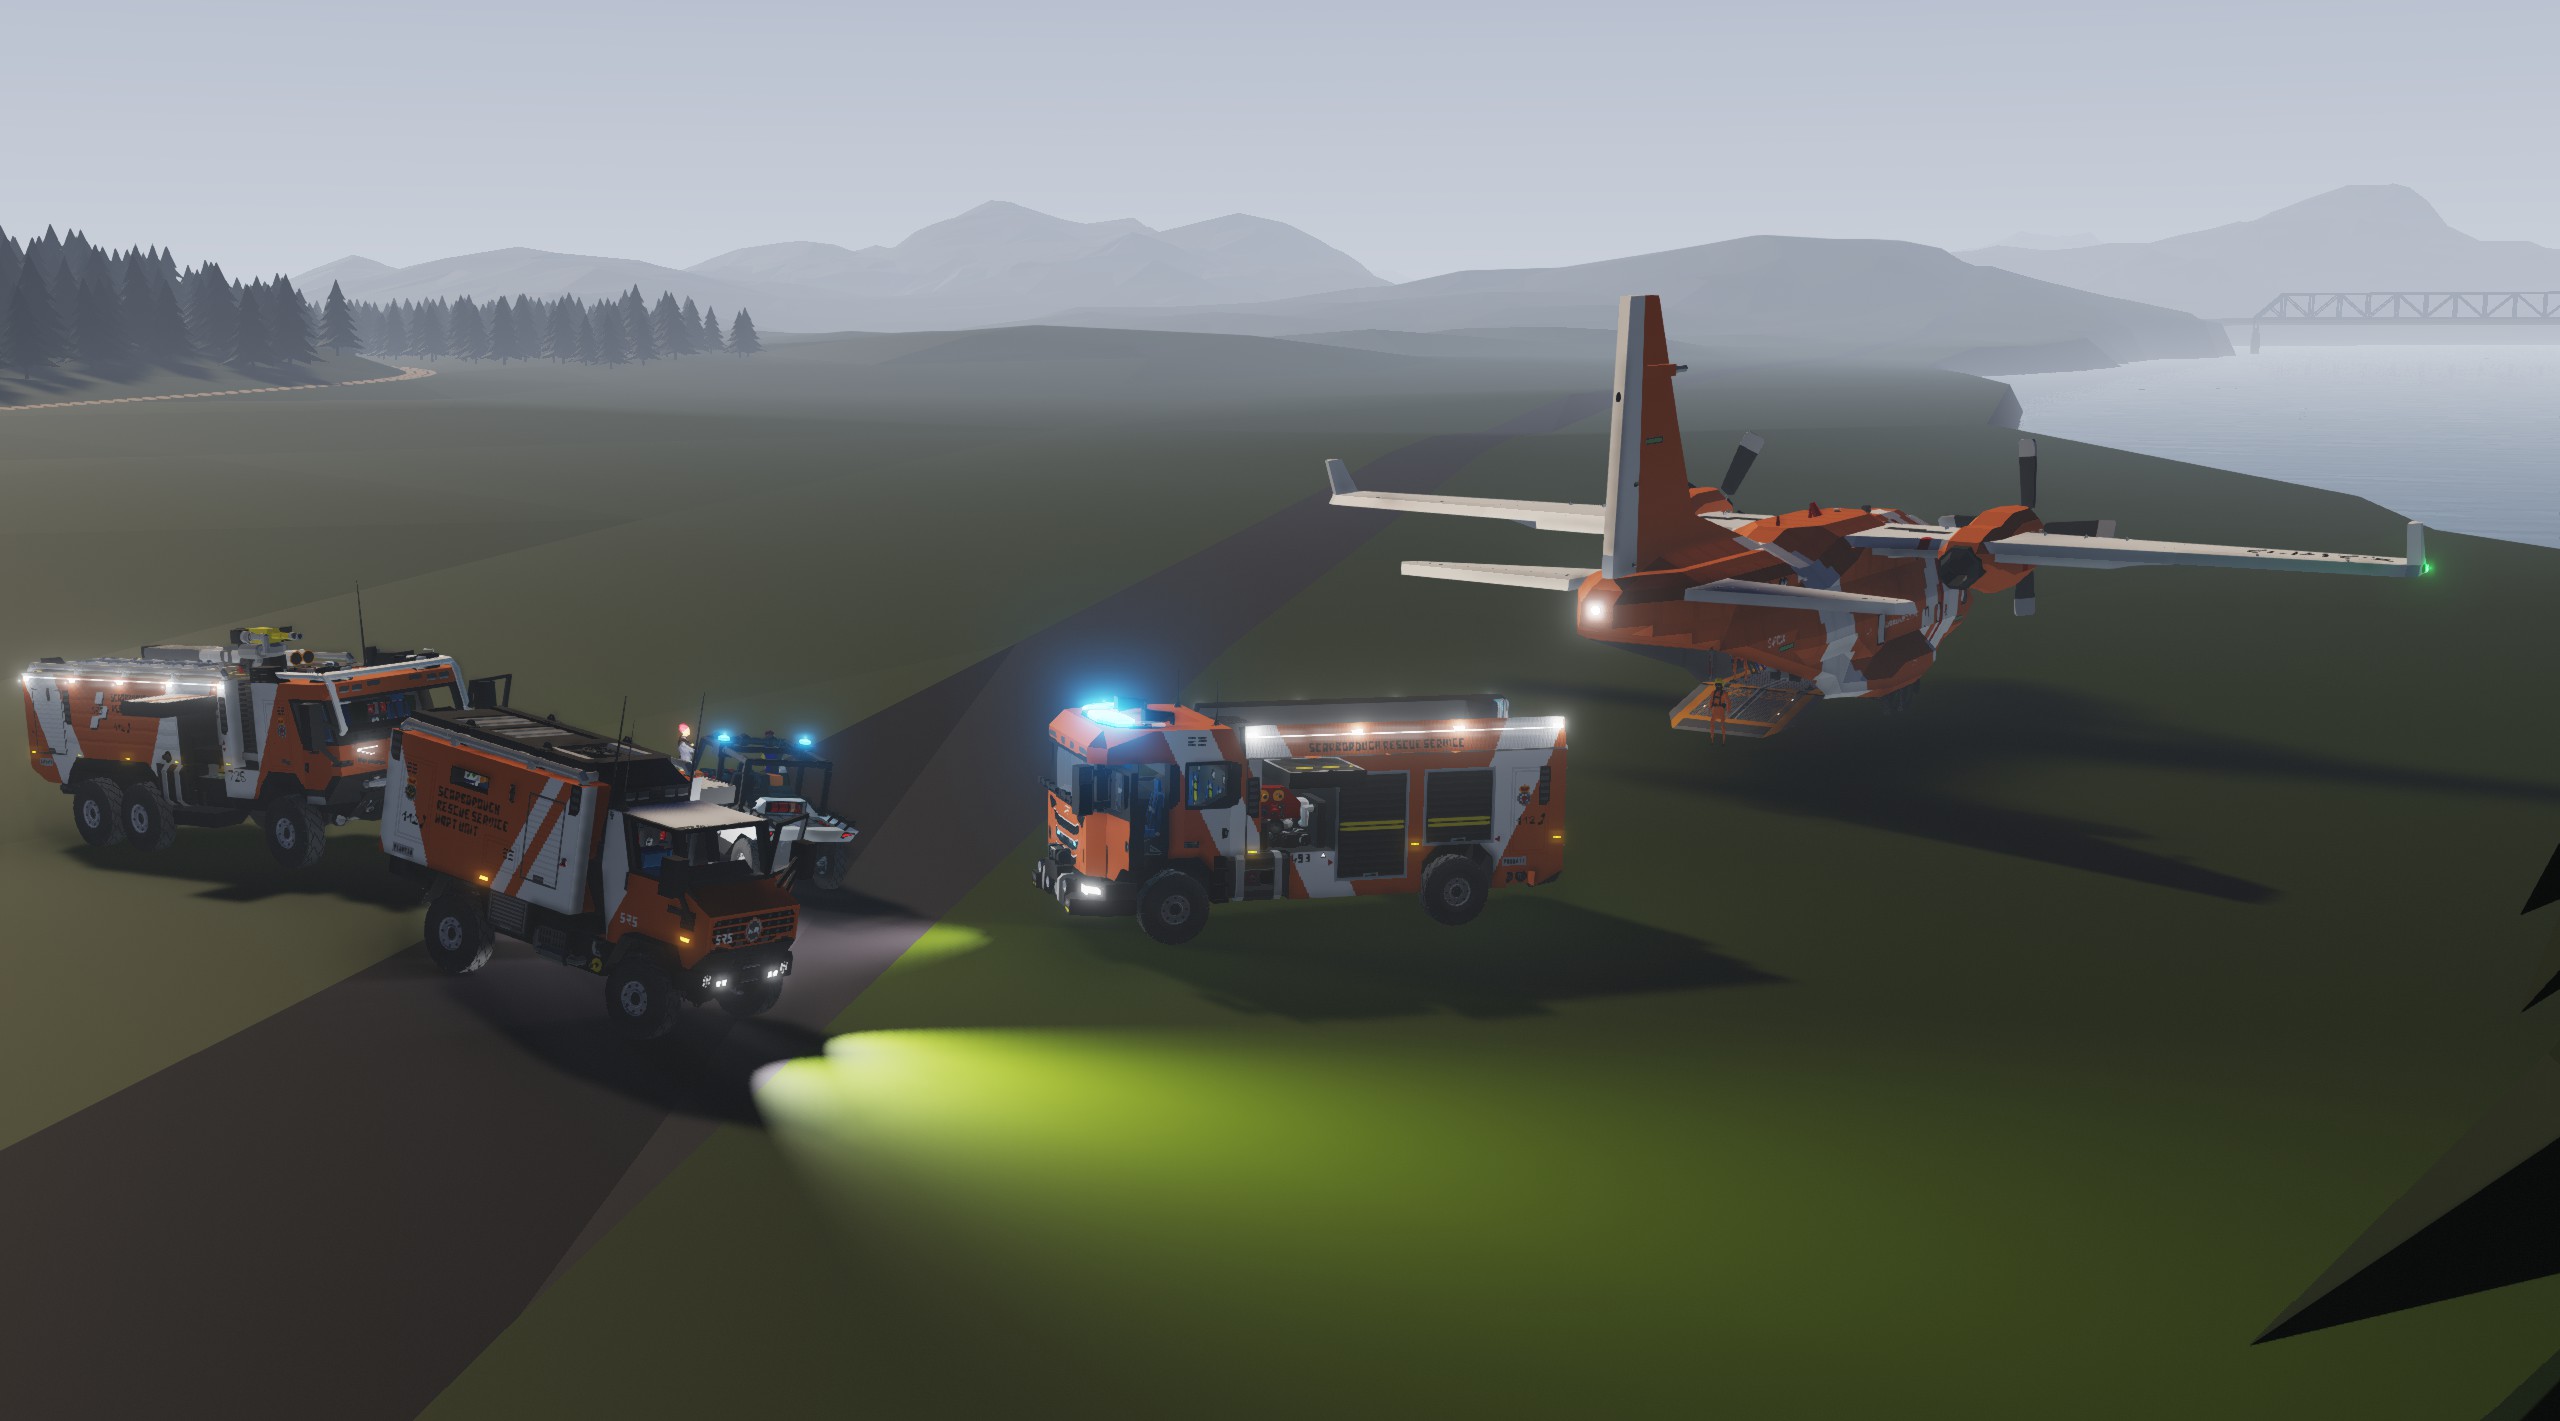
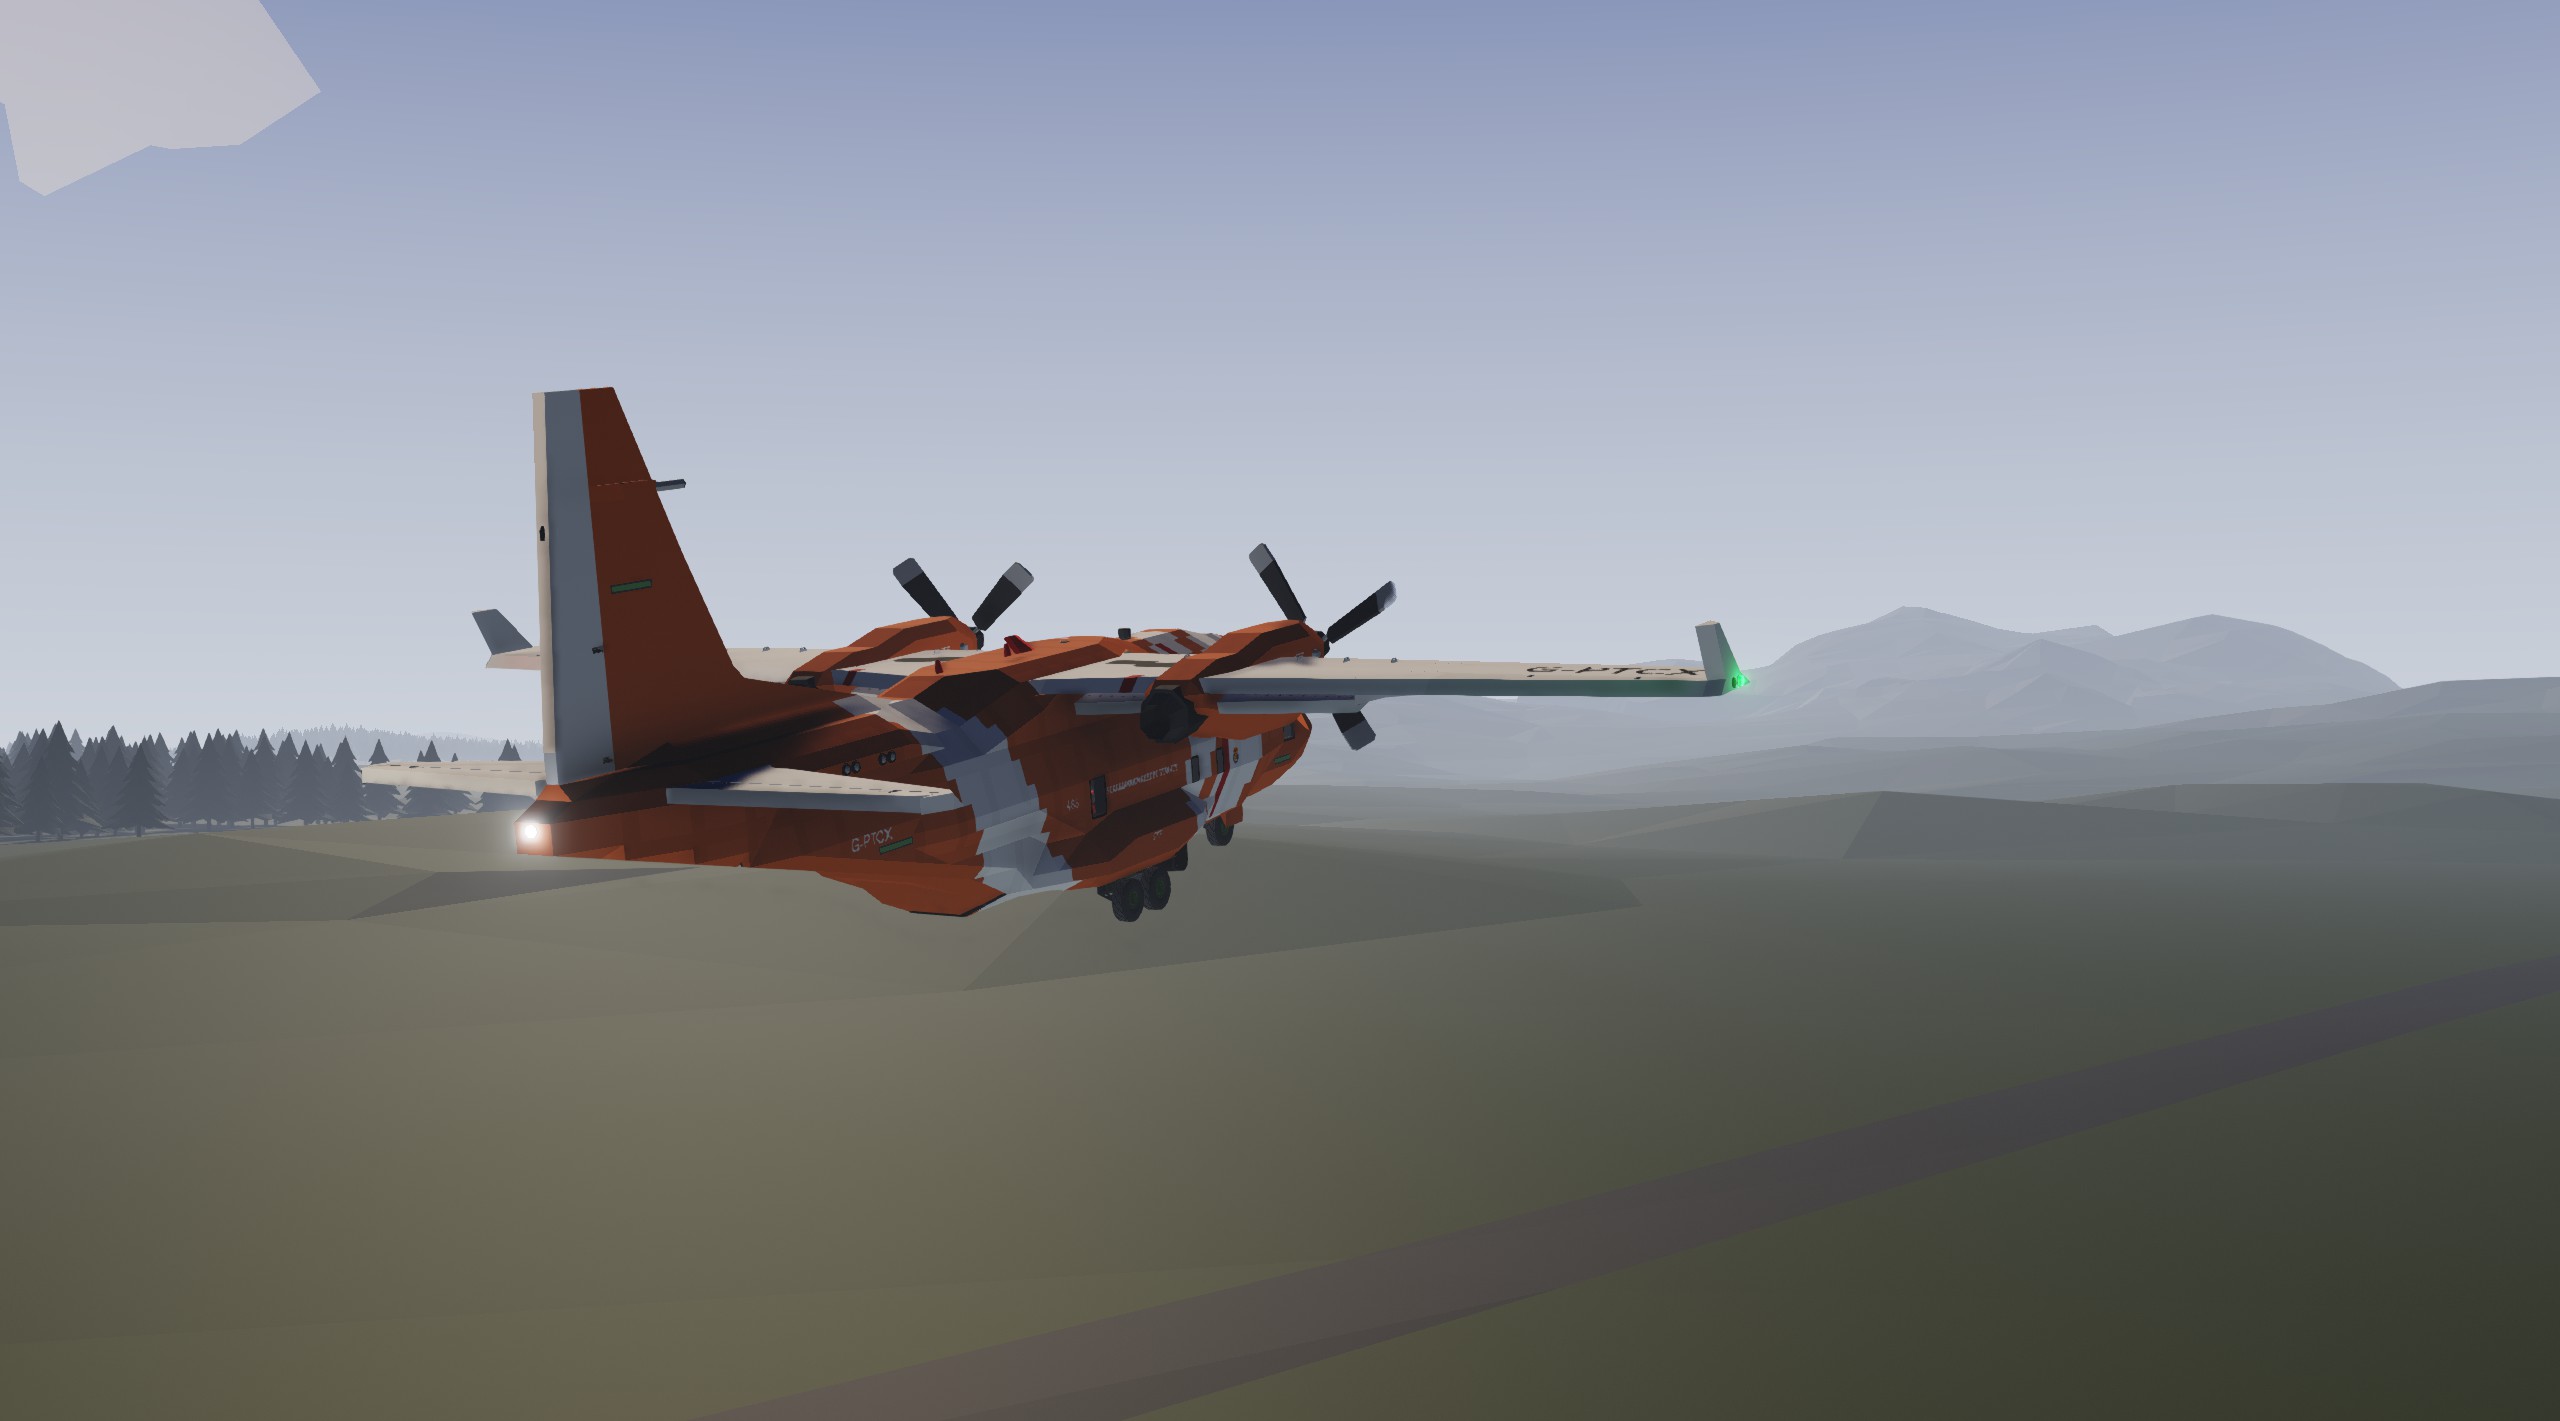
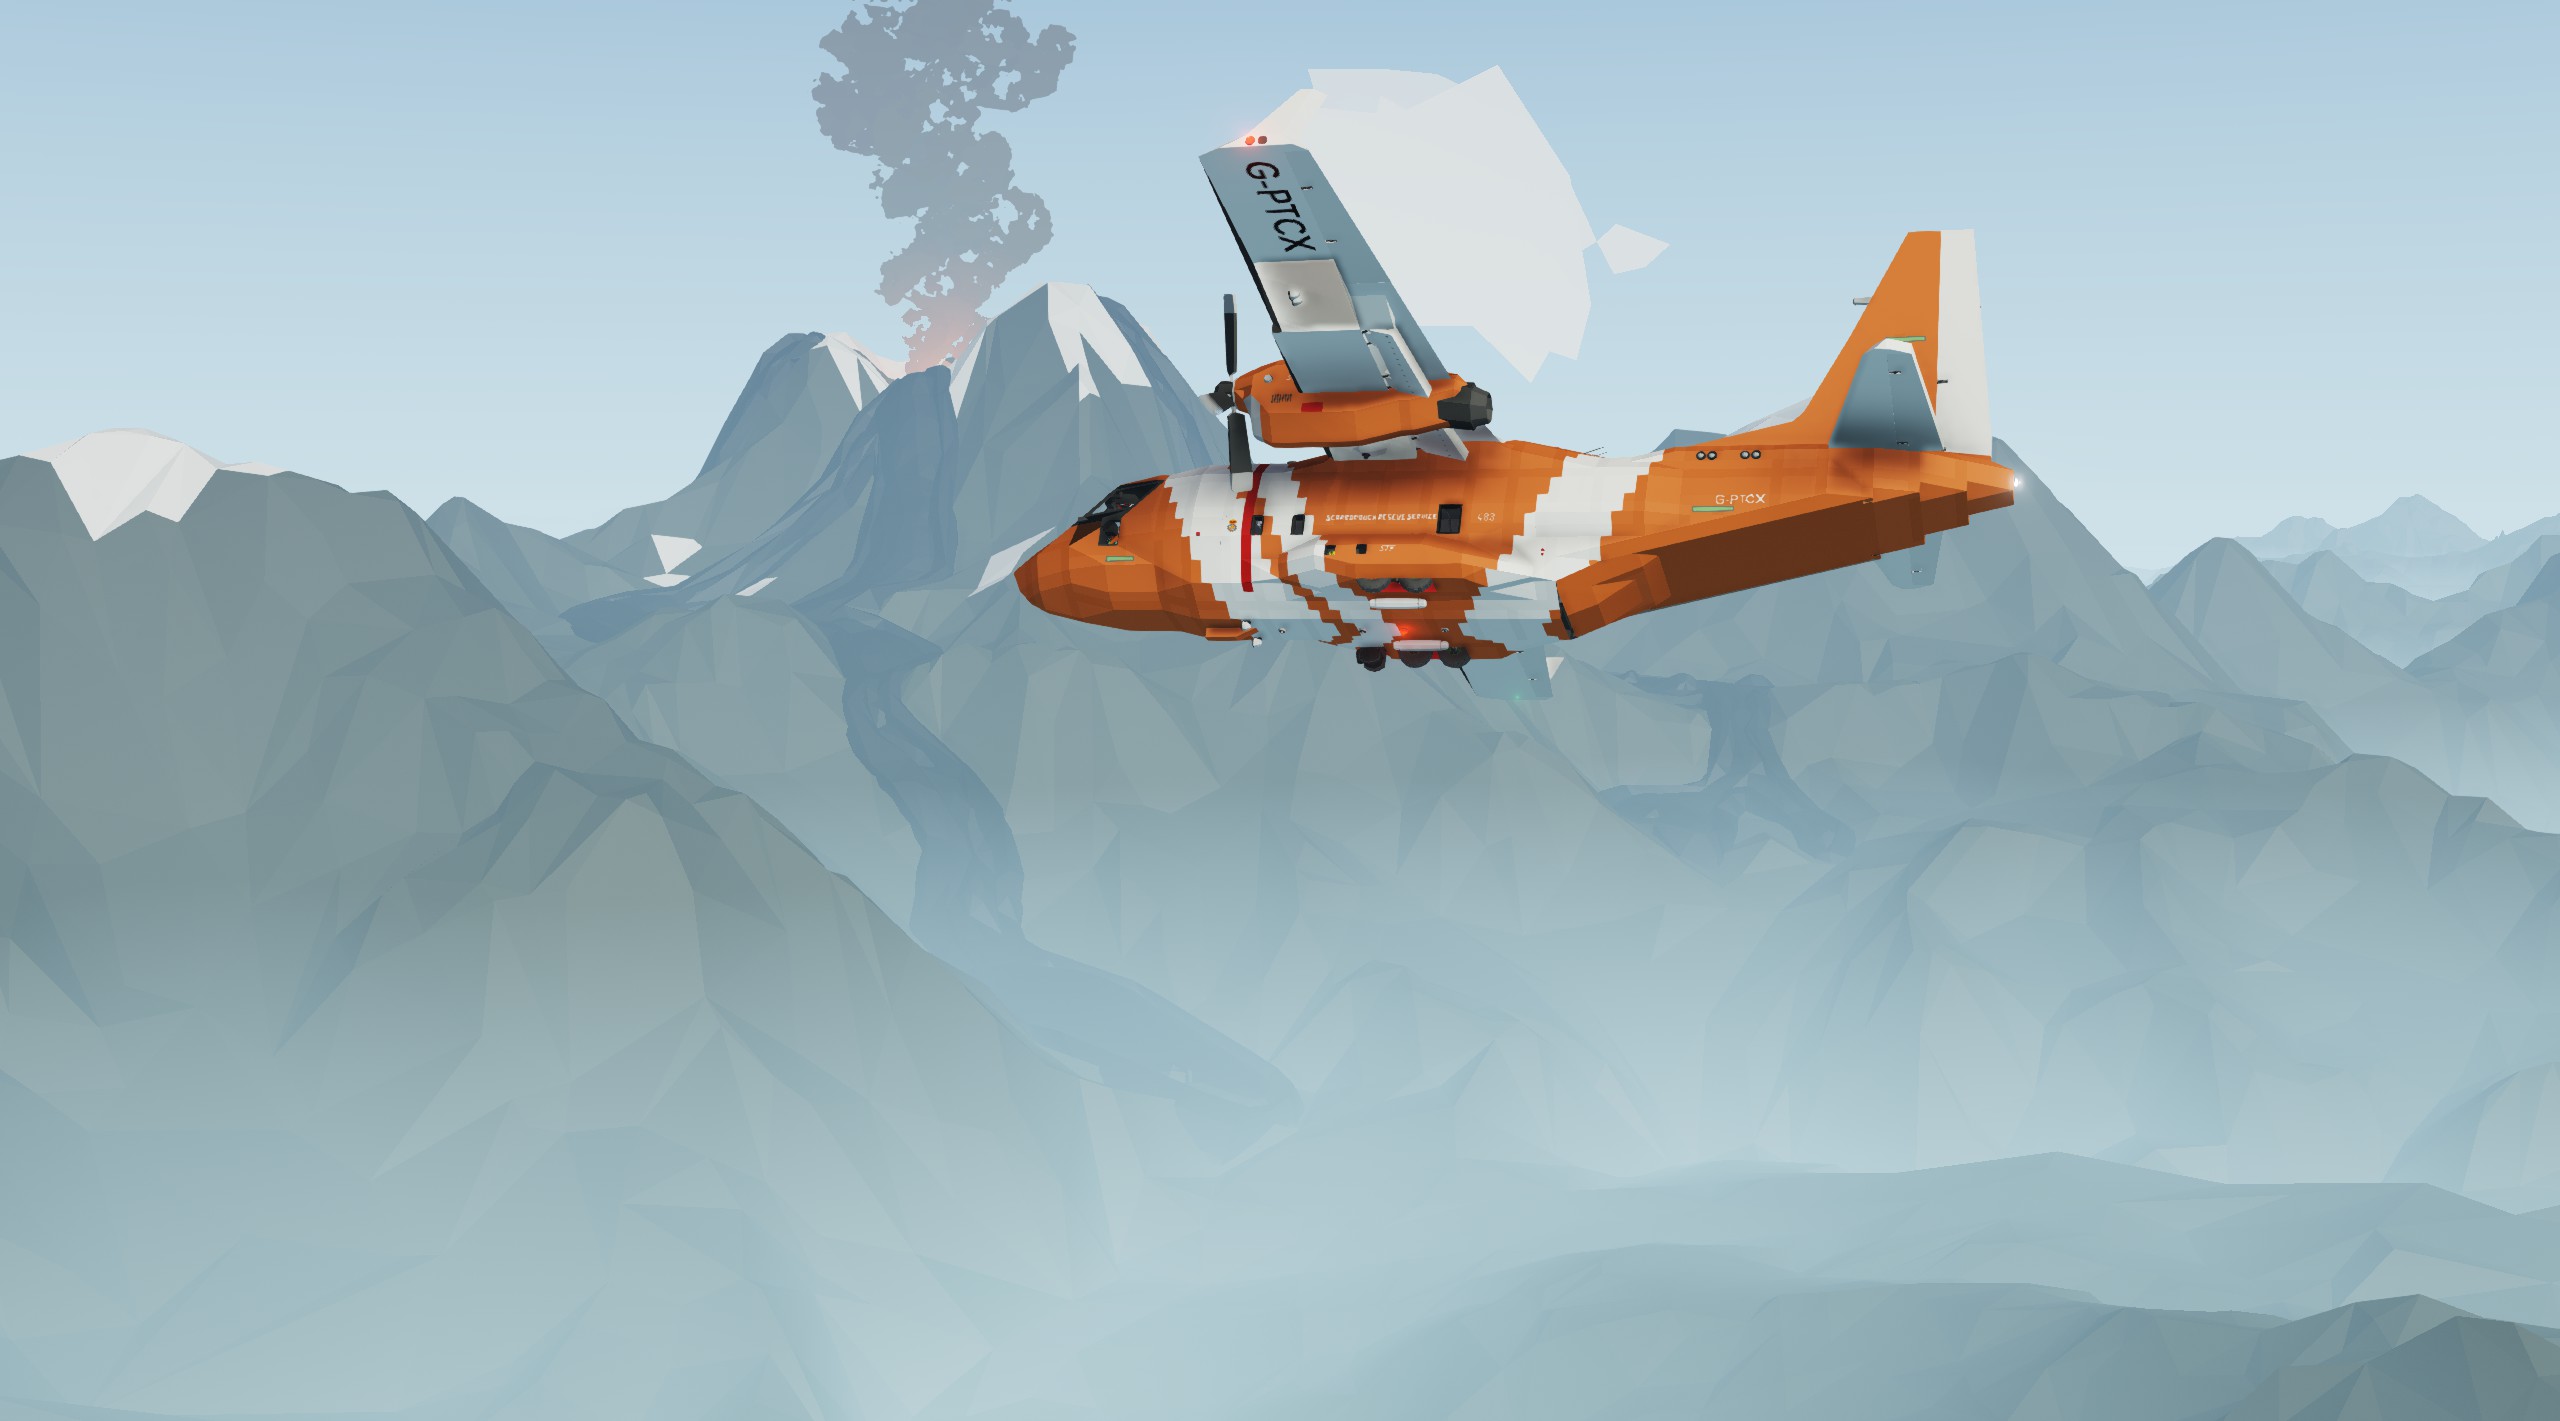
The SA230 Coventry is an all weather, STOL, long range transport and patrol aircraft designed to serve various needs of SRS. Outfitted with the top of the line autopilot and glass cockpit, as is standard on Skytech aircraft and featuring a sleek aerodynamic design combined with powerful yet efficient engines, it offers an imp...
Розробник: Jan
Дата створення: 22 May, 2023 @ 4:09pm
Оновлено: 9 Aug, 2023 @ 2:25pm
Підписників: 16541
Розмір (розпакований) : 2.203 MB

Scarborough Rescue Service Vehicle Collection


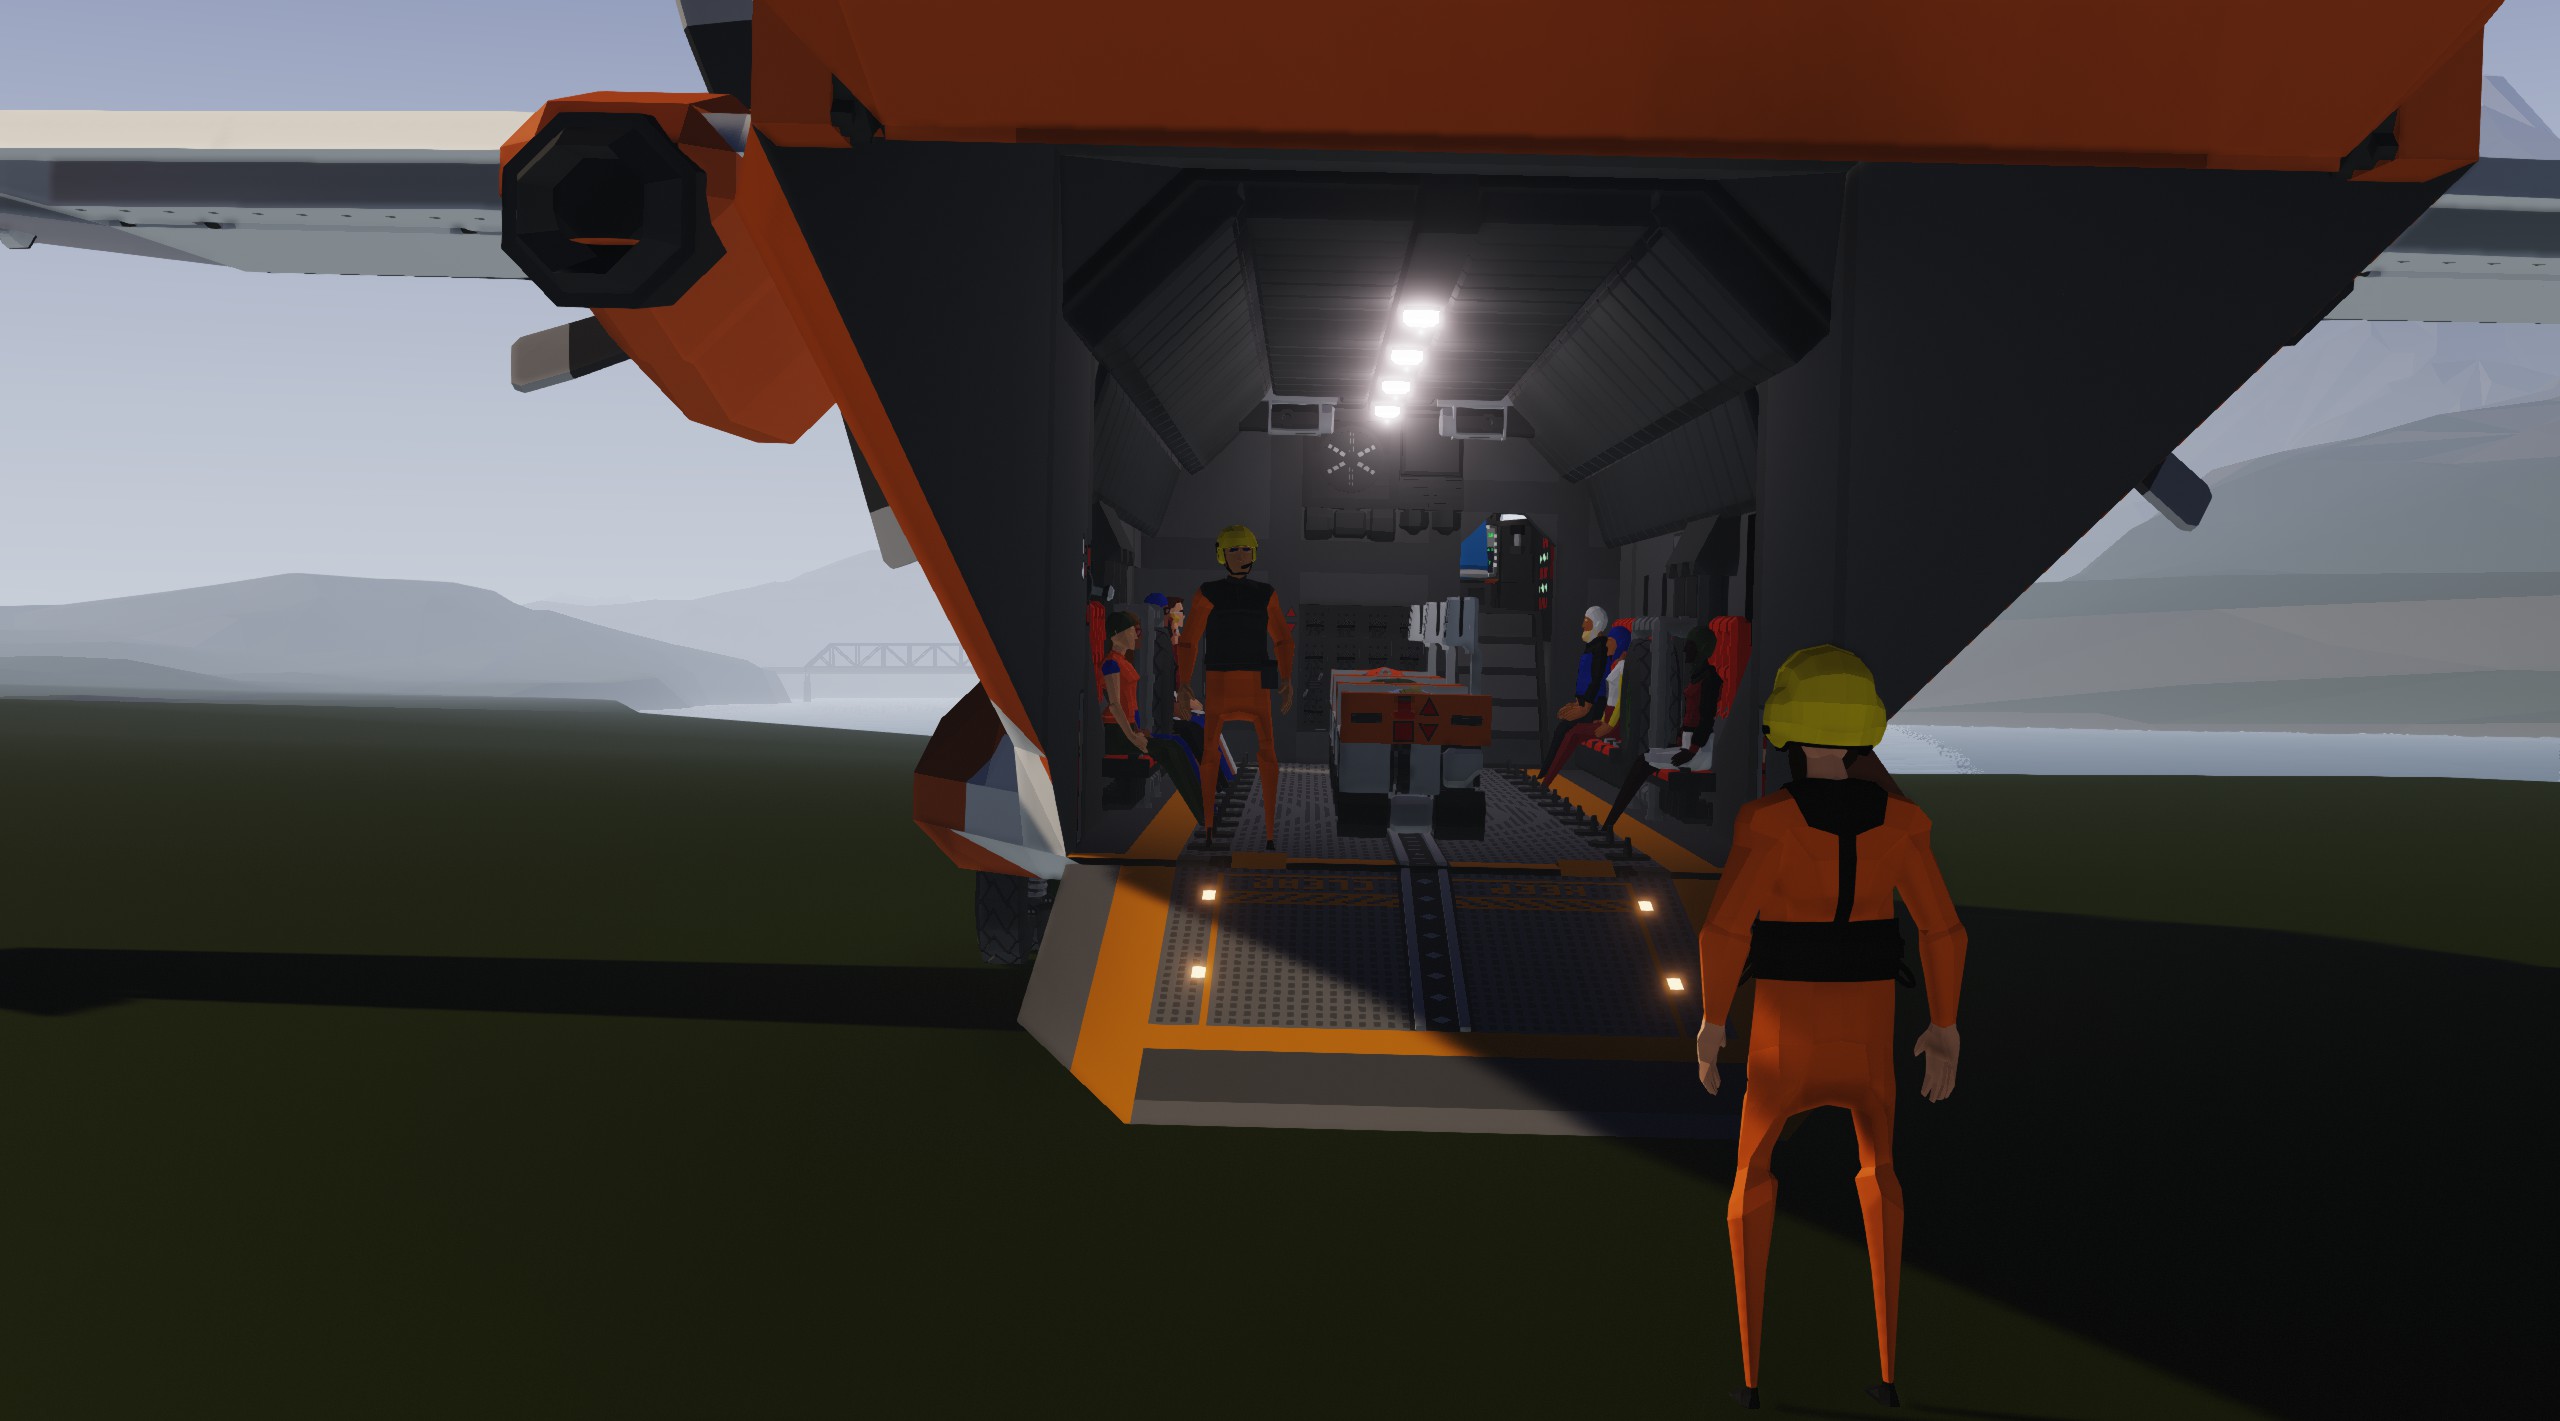
The SA230 Coventry is an all weather, STOL, long range transport and patrol aircraft designed to serve various needs of SRS. Outfitted with the top of the line autopilot and glass cockpit, as is standard on Skytech aircraft and featuring a sleek aerodynamic design combined with powerful yet efficient engines, it offers an impressive performance for it's size with up to 8 hours loitering time. When it comes to the main deck it doesn't disappoint either, being capable of carrying two small support vehicles or 6 stretchers or seat extensions, great for mass evacuation.

- - MAIN BAT - ON
- - Avionics - ON
- - ADIRS - ON
- - HYD A/B/C - ON
- - Engine fuel valve l/r/c - OPEN
- - Engine fuel pump 1/2 - ON
- - Parking brake - set check
- - Lights as required - NAV, beacon, strobes
- - follow a) or b):
a) APU start
- APU fuel pump - ON
- APU - ON
- APU air bleed - ON
when APU status green -
- ENG 1/2 MAIN - ON
when ENG 1/2 status green -
- APU air bleed - OFF
- APU - OFF
- APU fuel pump - OFF
b) crossbleed start
if one engine is running
- Air crossbleed - ON
- ENG 1/2 - ON
when ENG 1/2 status green -
- Air crossbleed - OFF - - Transponder - ON (default squawk - 7000 - VFR in Europe if not provided with different squawk)
if OAT <0°C - - ANTI-ICE ENG1/ENG2/WINGS/PROBE - ON
- - taxi lights - ON
- - Parking brake - OFF
Additional notes:
The aircraft has a simulated dynamic thrust, meaning a position of the lever doesn't equal the thrust level. This means you can control the accelaration of the aircraft, but it also means you need to actually use the runway.
- - Flaps - 0.2
- - Hydraulics - no warning
- - Throttle - FULL
- - Vr - 100-110kts
- After takeoff - - positive rate
- - Gear - UP
- - Flaps - 0
- - Throttle - 60-80%
- - Gear - DOWN
- - Flaps - 0.7-1
- - Airbrake as needed -> 110kts
after landing - - Flaps - 0
- - Airbrake - 0
after ILS landing - - ILS - OFF
- - ILS reset
- - Autopilot master - OFF
- - Airbrake - 0
- - Flaps - 0
- - APU fuel pump - ON
- - APU MAIN - ON
- - maintain speed > 120kts
- Altitude hold
- Vertical speed hold
- Heading hold
- ADF heading hold
- Waypoint heading hold
ADF & ILS Out of the box the ILS and ADF works for all airports on Sawyer, Meier and in the Arctic. For this to work on moving islands (Multiplayer, Creative, etc..) you need the addon. To select ADF waypoints choose the HSI screen (1st screen on the MFD), press "T" in the upper left corner and select a waypoint from the list, if you now return to the HSI by pressing "T" in the left upper corner you will see the target heading to your selected waypoint. To use the ILS autoland feature, follow the same steps as for the ADF heading selection and select any runway approach for example RWY 32.. then you can enable the ILS overlay on the PFD by pressing the grey rectangle in the left upper corner and see the glideslope/localiser there. When landing with the ILS extend your approach to at least 15km from the airfield and enable the ILS autoland feature, roll stabiliser and toggle the autopilot. It will automatically intercept the localiser and maintain glideslope. If you enable the autoland at closer distances at "awkward angles" the autopilot may not have enough time to properly align with the runway. It can reliable land up to about 25-30kts of crosswind. After landing turn off the ILS autoland and press reset ILS. IMPORTANT: Some approaches have ground obstacles, these are marked with "GRN" tab on the HSI. These approaches will require the pilot interfierence to avoid collision with the obstacles. If you have any issues understanding the systems, please refer to this video https://youtu.be/dAmcZhSs7-A additional notes: flaps on this aircraft are purely decorative and can be skipped in the checklist


Olli - Emotional support, testing, general help
Elite Hazard - thumbnail
 [discord.gg]
Join SRS server today![discord.gg]
Як завантажити моди?
Натисніть на кнопку вище та завантажте обраний мод з файлового сховища.Як встановити мод?
Див. секцію "Як встановити".Чи безпечний завантажуваний файл?
Моди перезаливаються нами з оригінального джерела, без жодних змін. Ми лише запаковуємо їх в звичайний архів. Додатково можете перевірити архів на наявність загроз за допомогою будь-якого антивірусу або онлайн-сканеру на кшталт virustotal.com. Також рекомендуємо робити резервні копії ваших сейвів, про всяк випадок.
For vehicle mods
- Download the .zip archive containing the vehicle mod files.
- Locate your game's root folder.
- Navigate to
rom\data\preset_vehicles_advancedand extract the files there. - Rename both files to something recognizable, ensuring they share the same base name but different extensions.
- Launch the game and go to the Workbench's Presets tab to see the new vehicle mod.