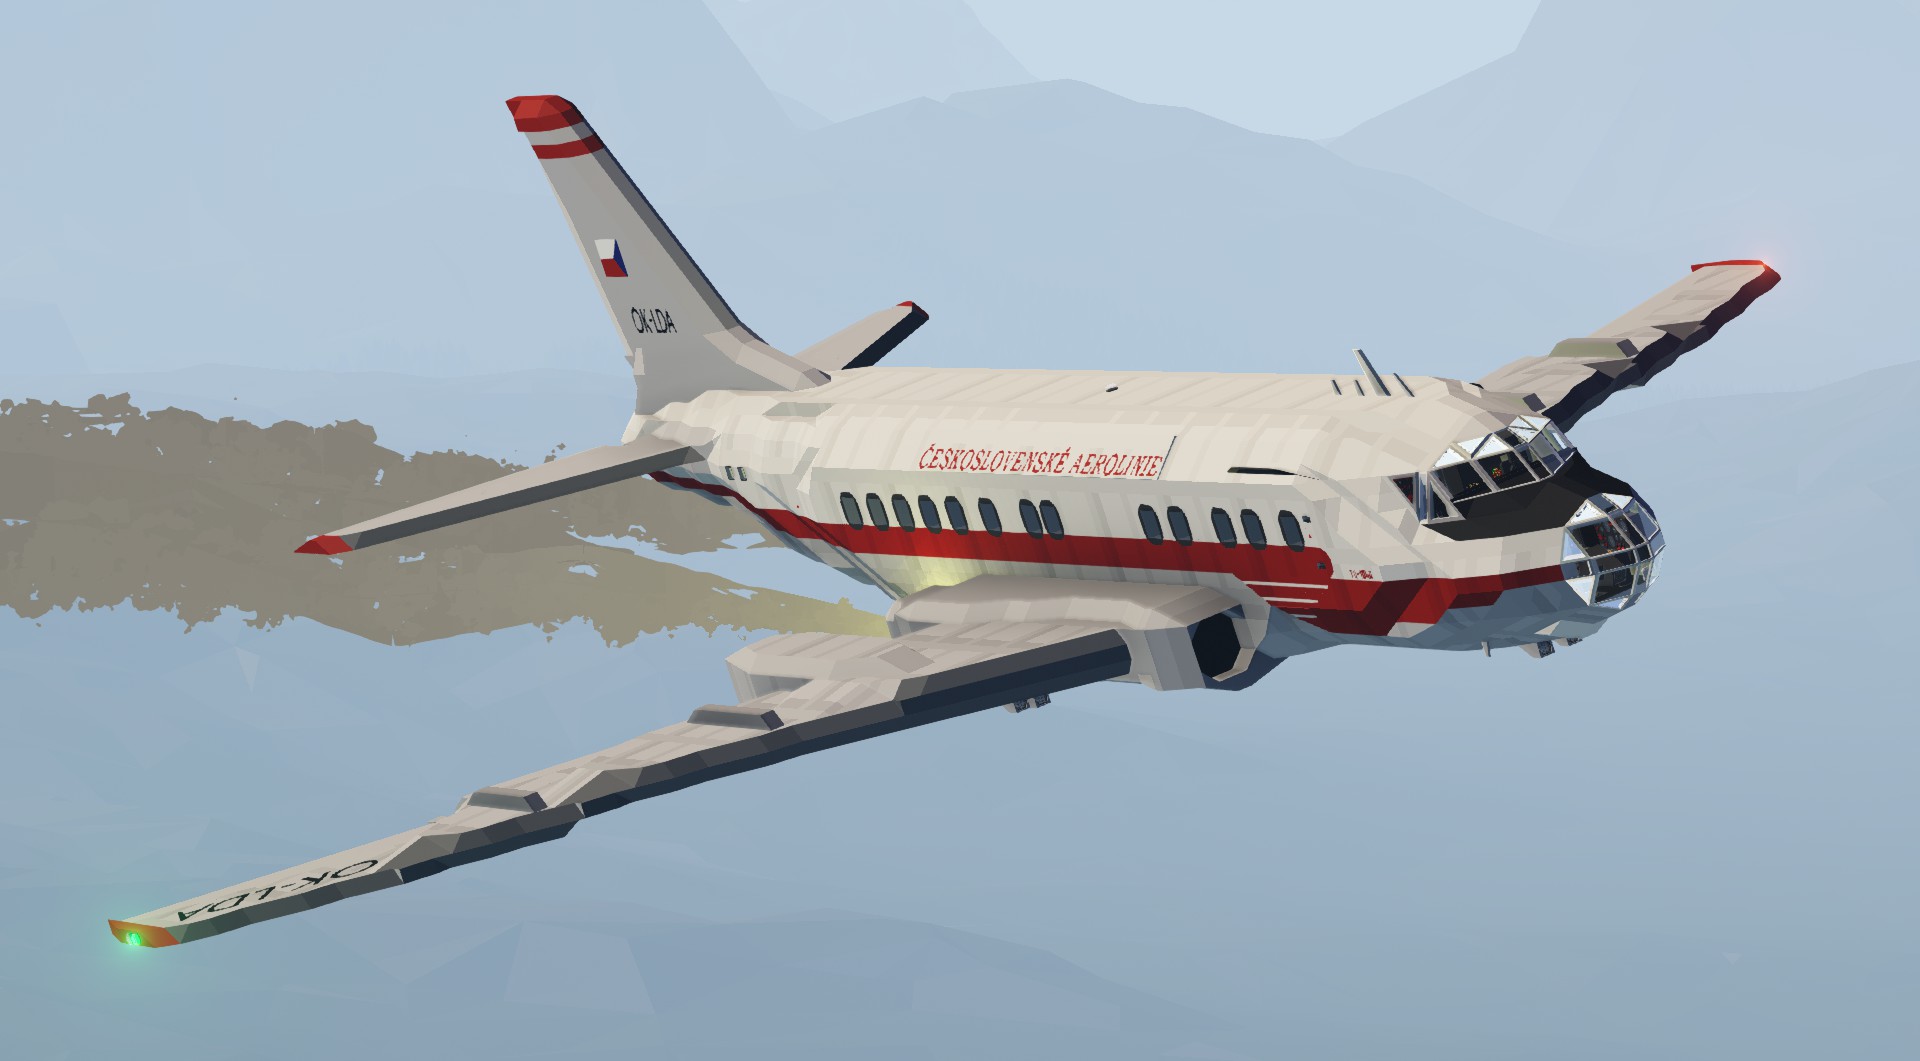
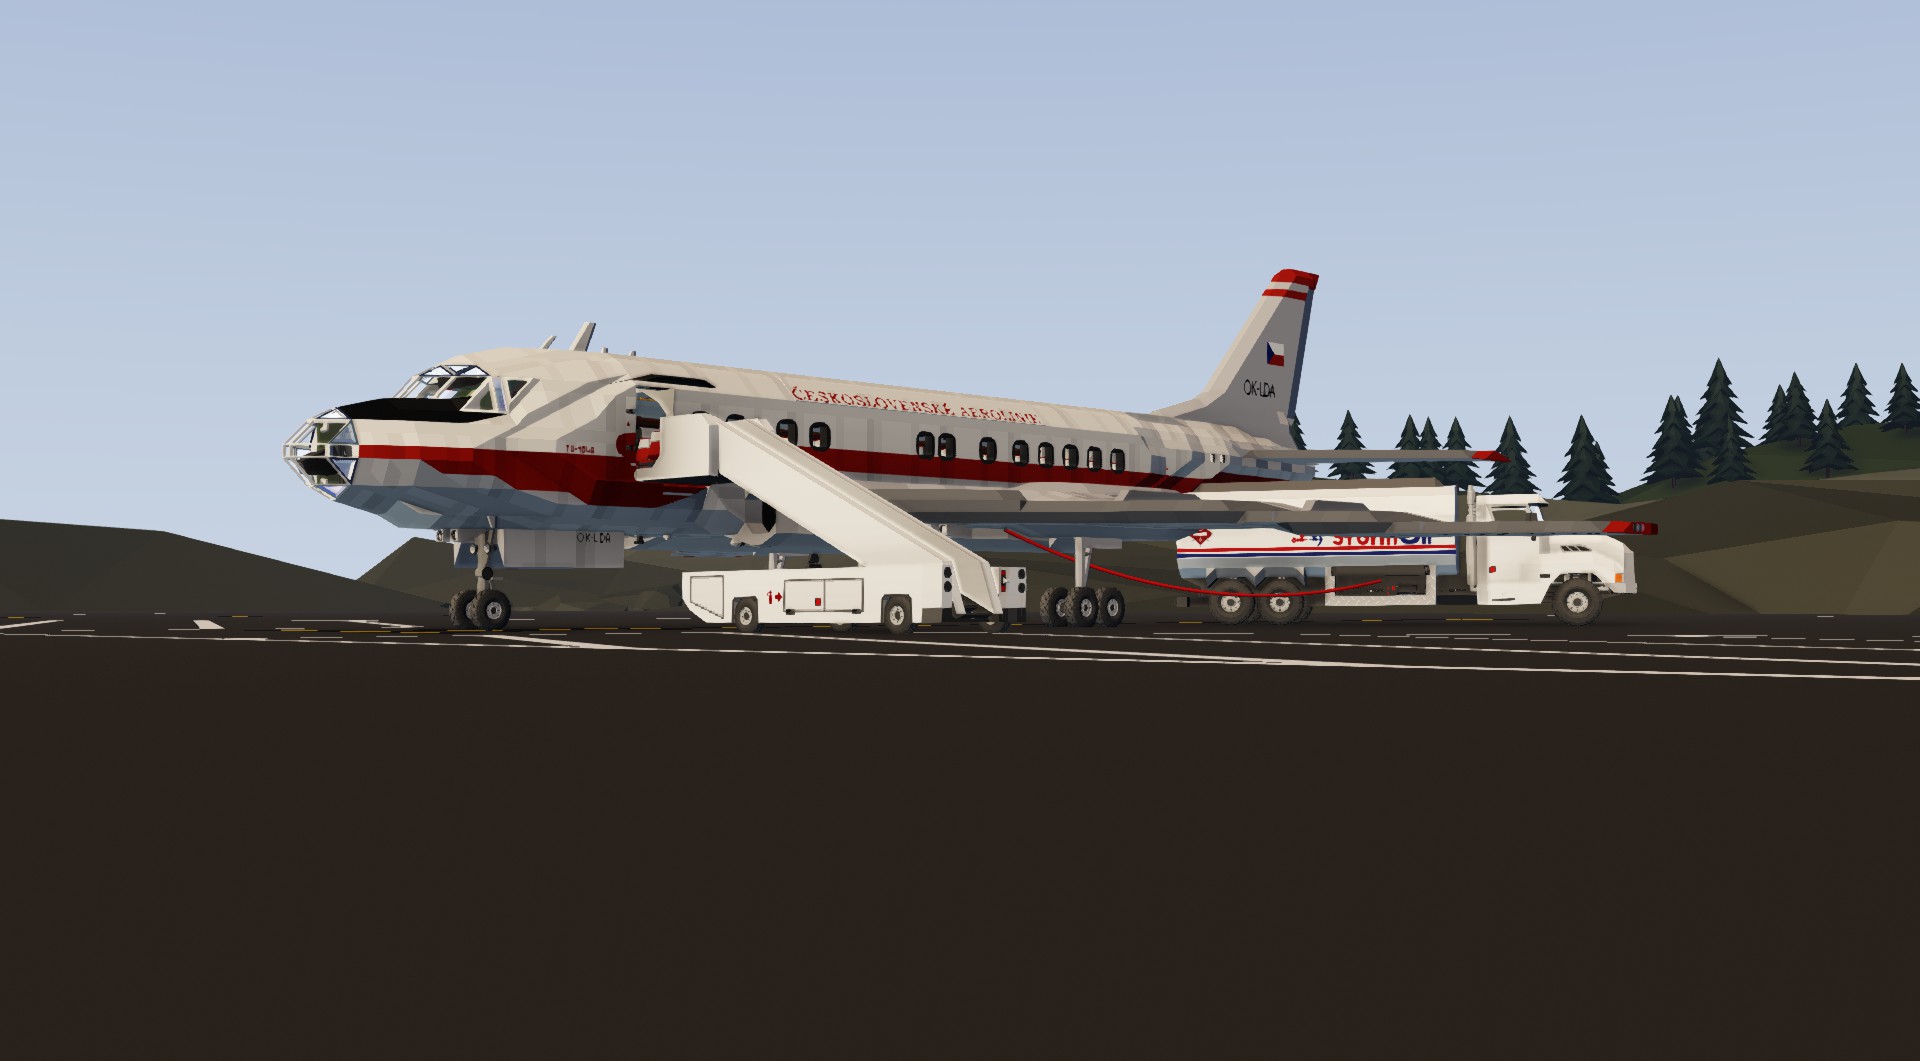
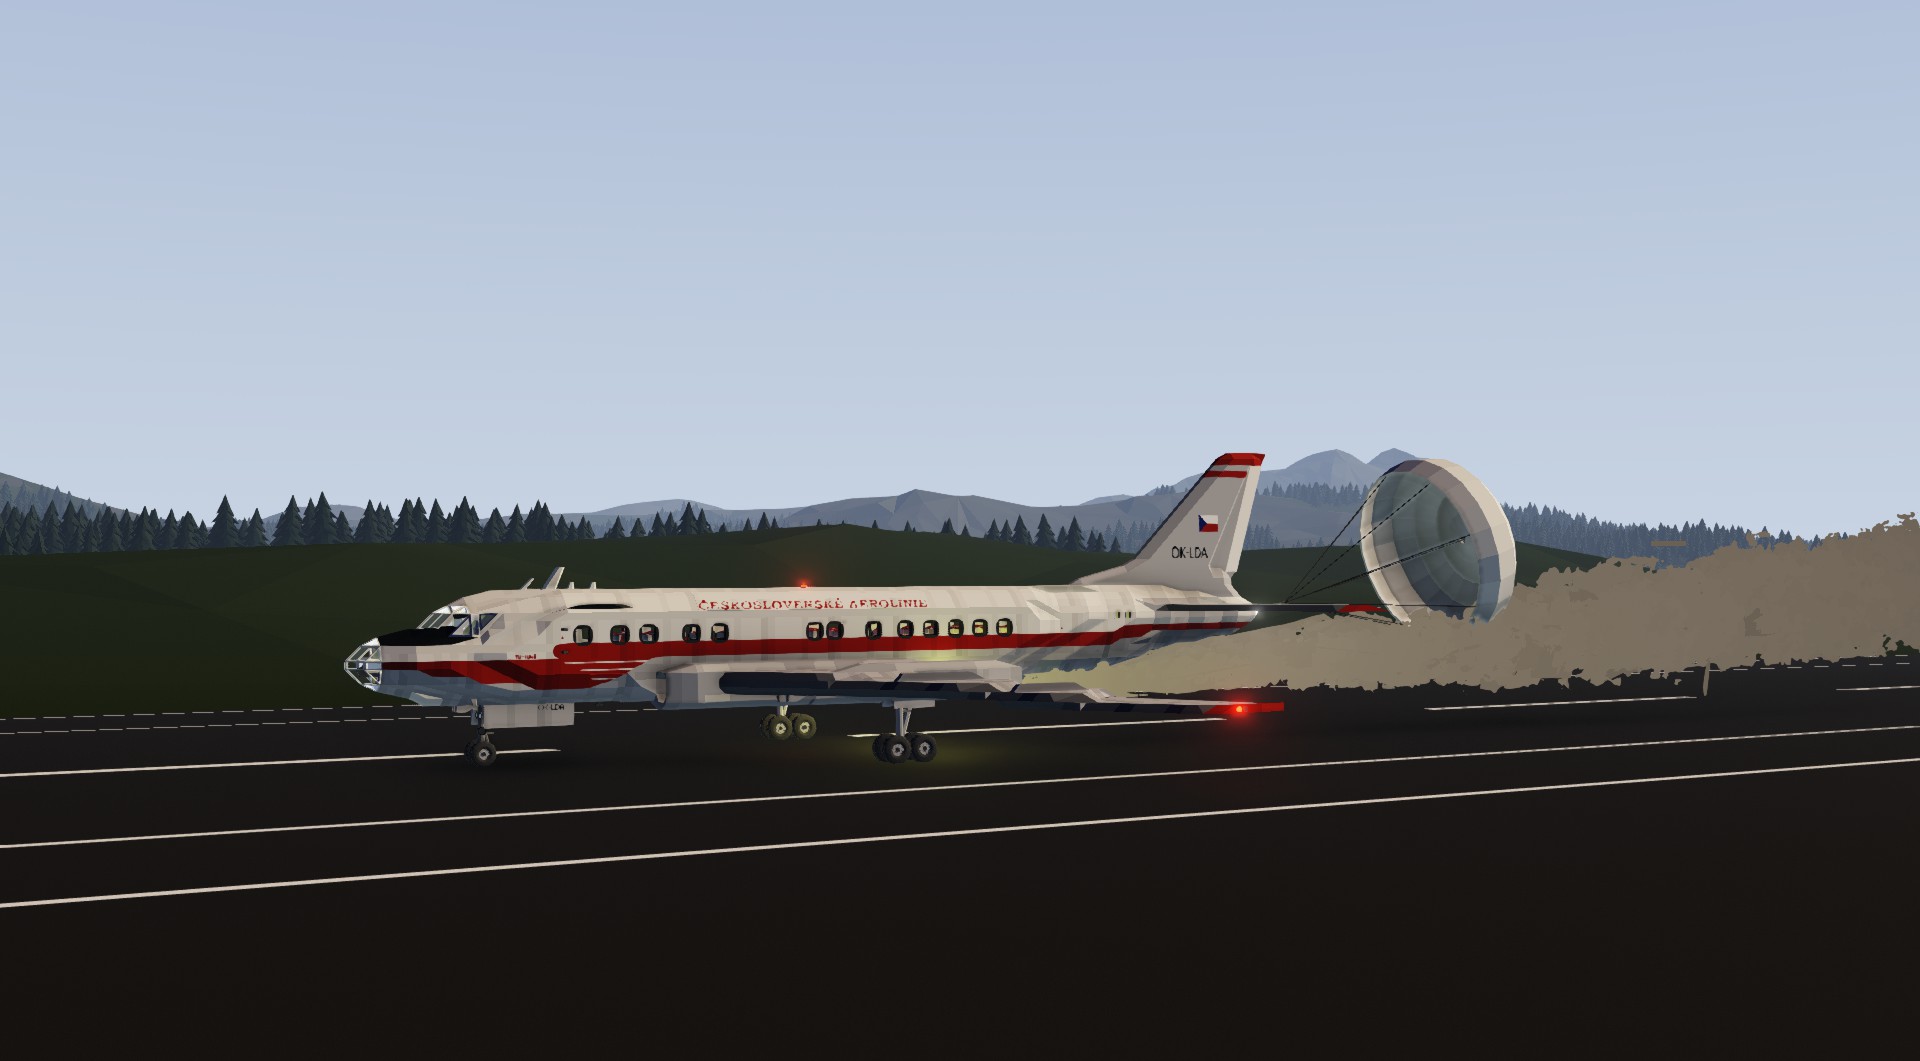
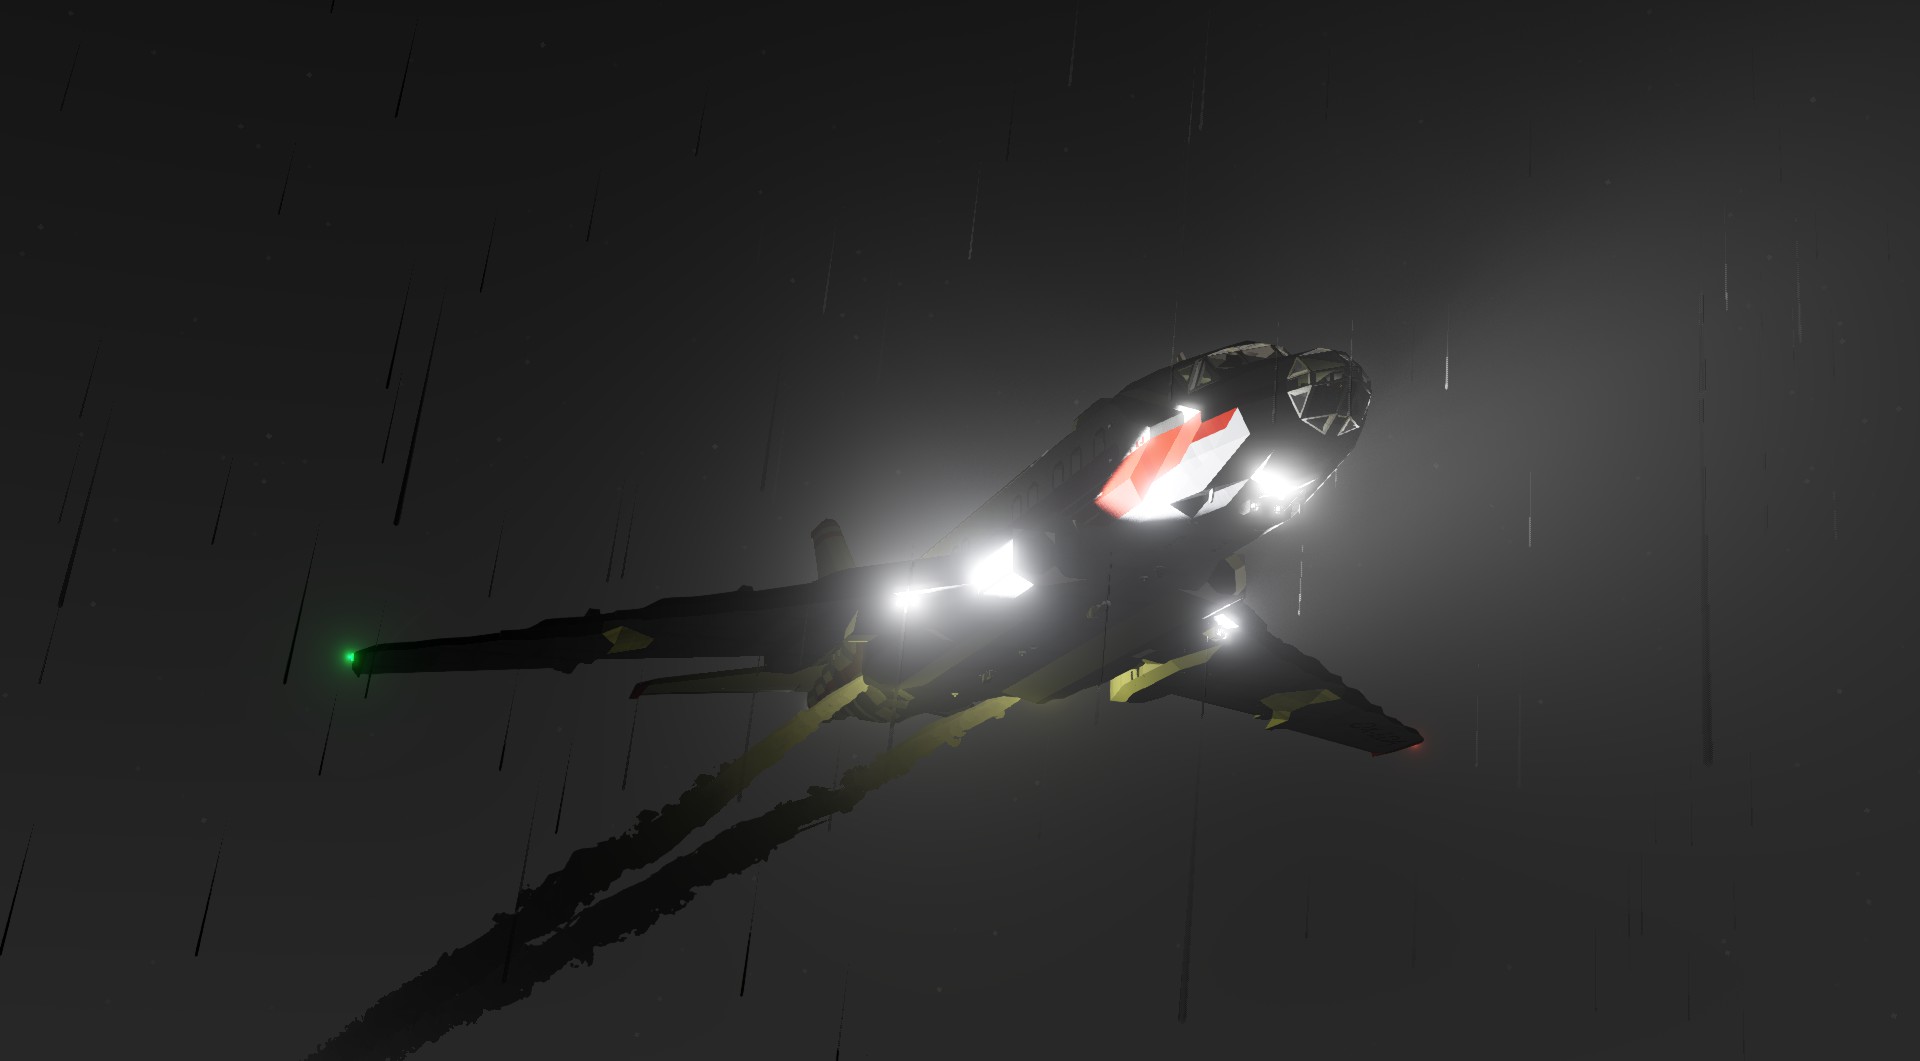
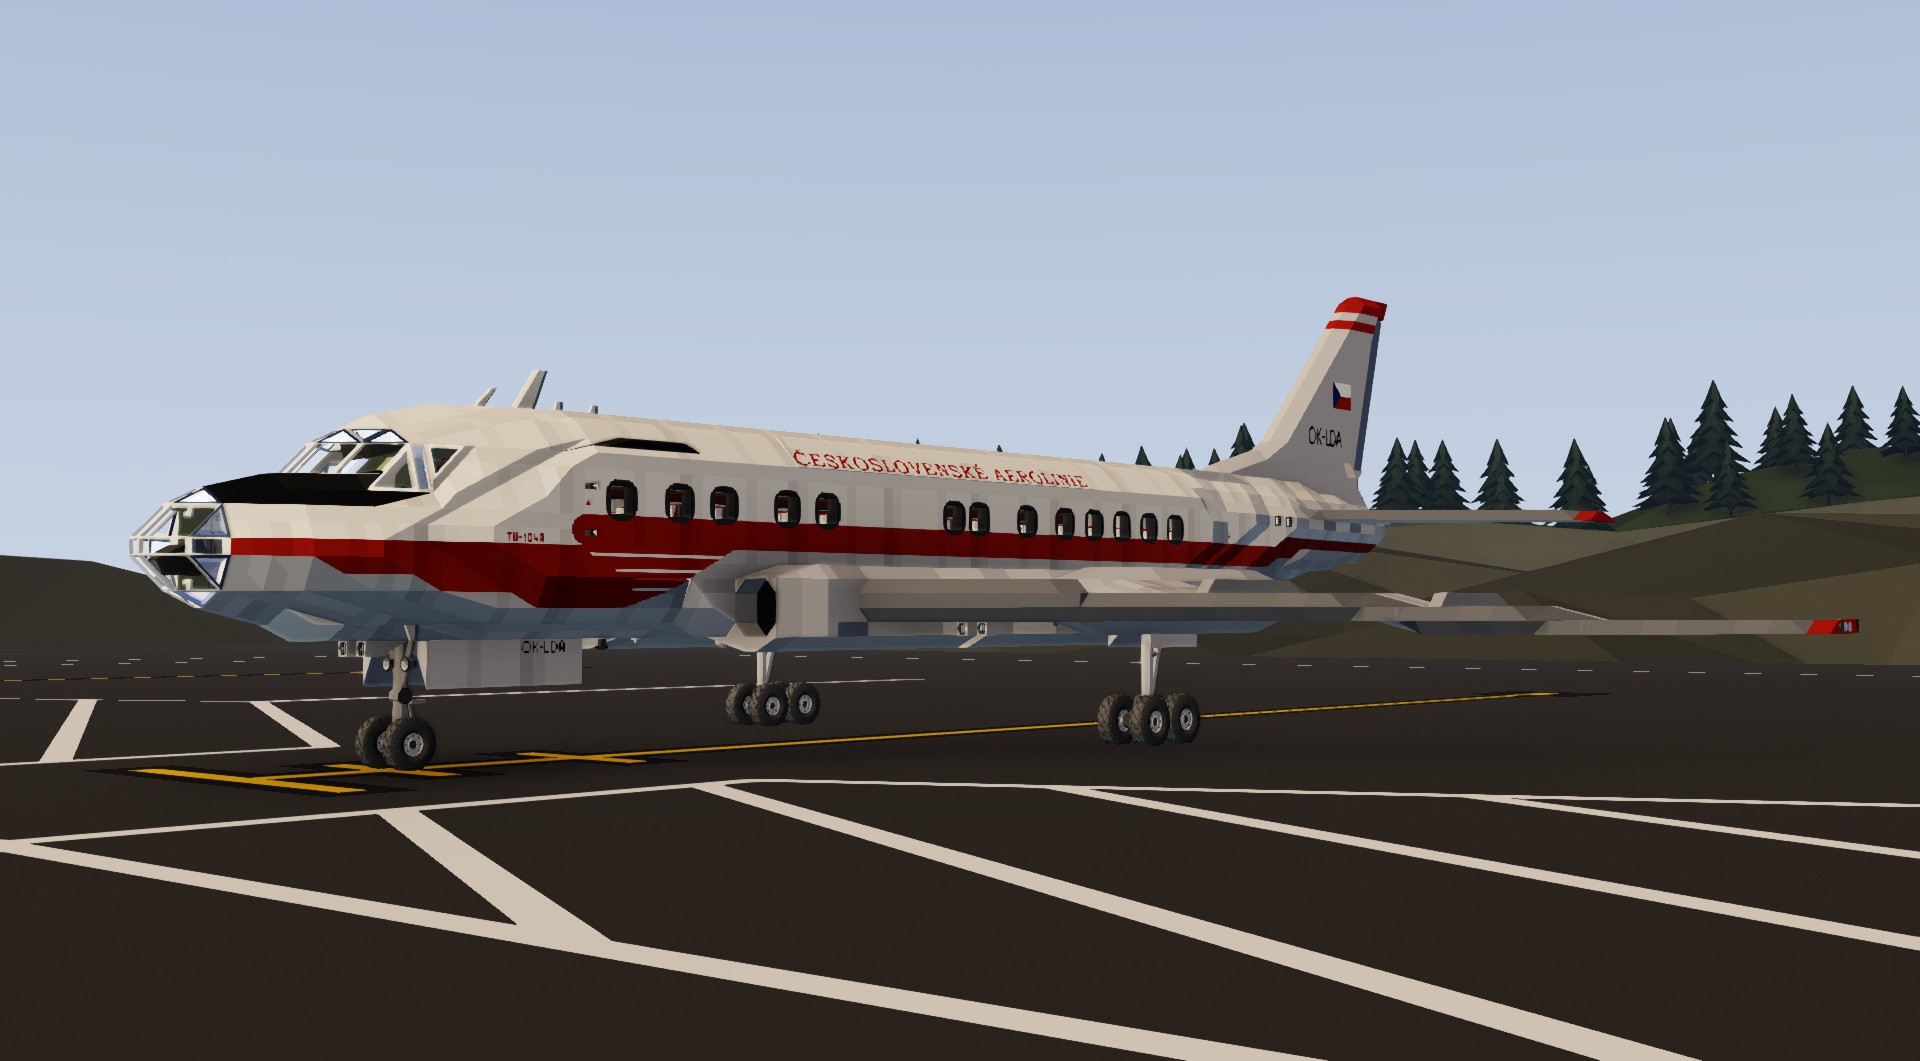
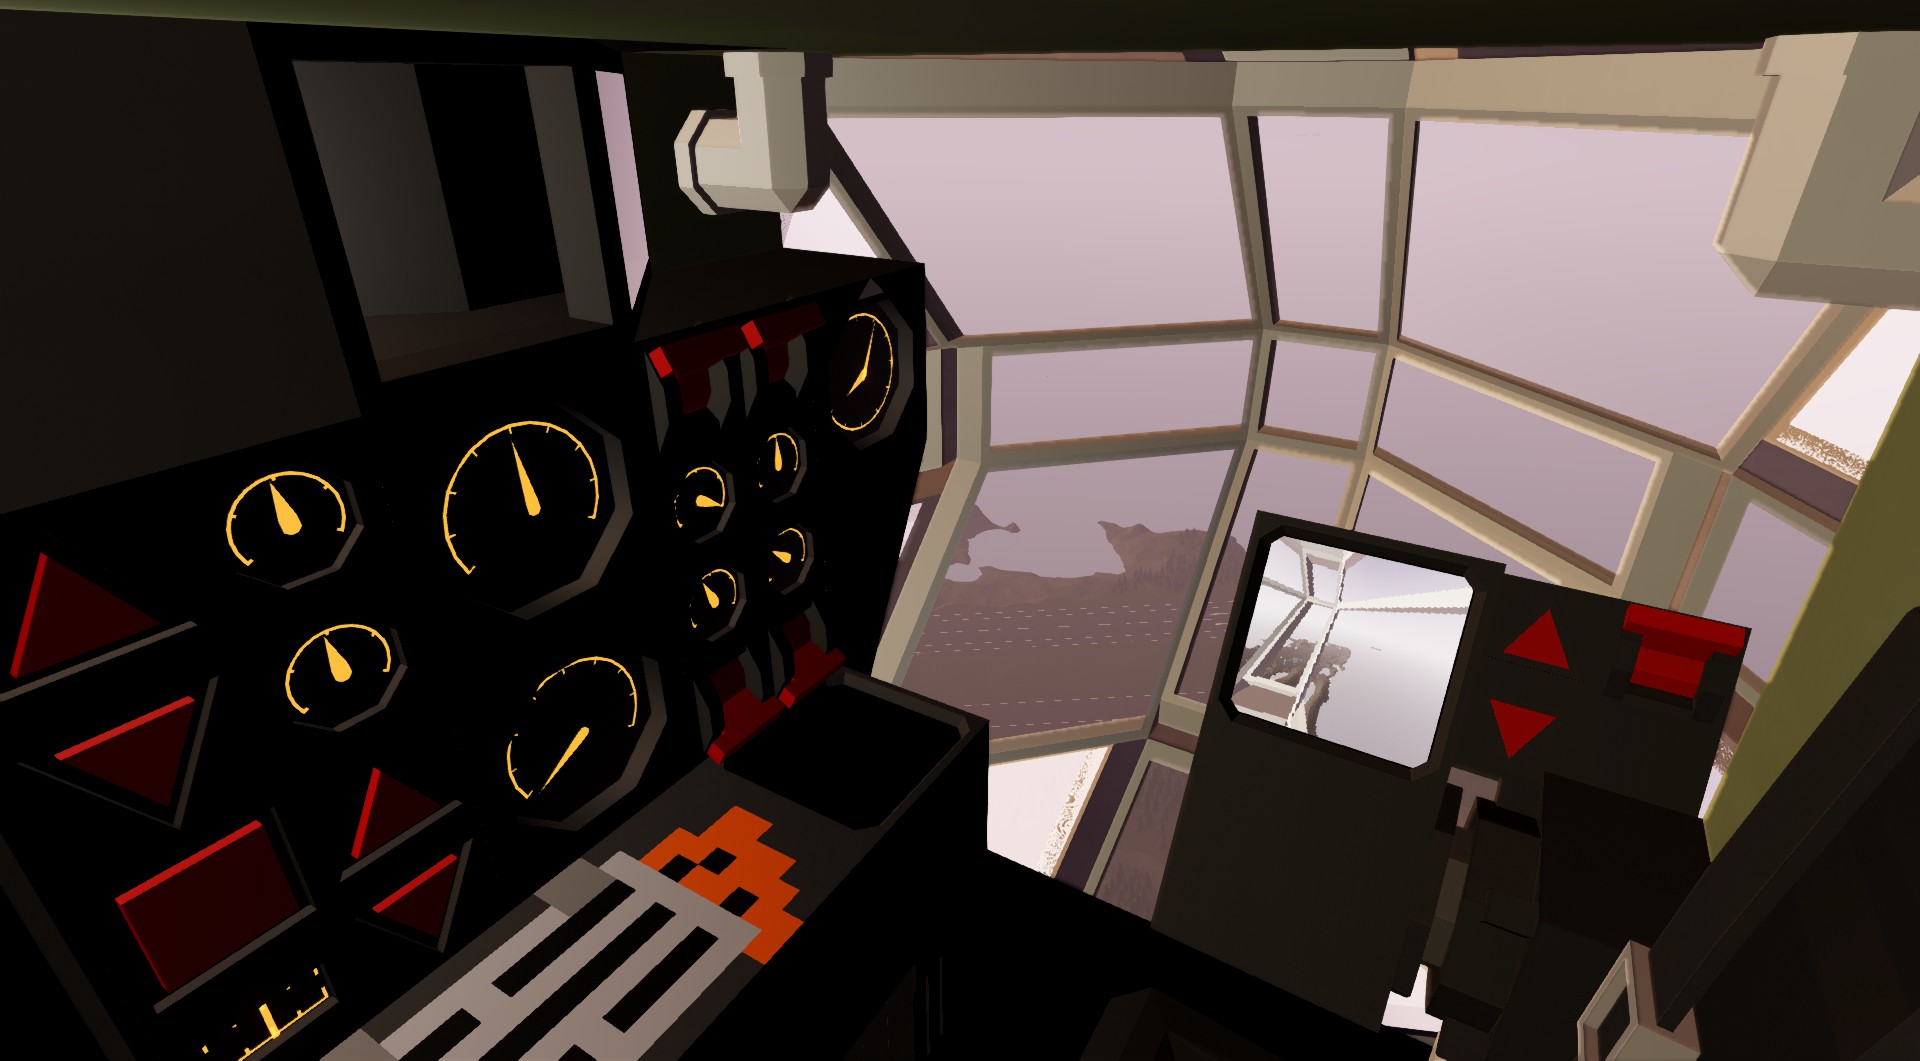
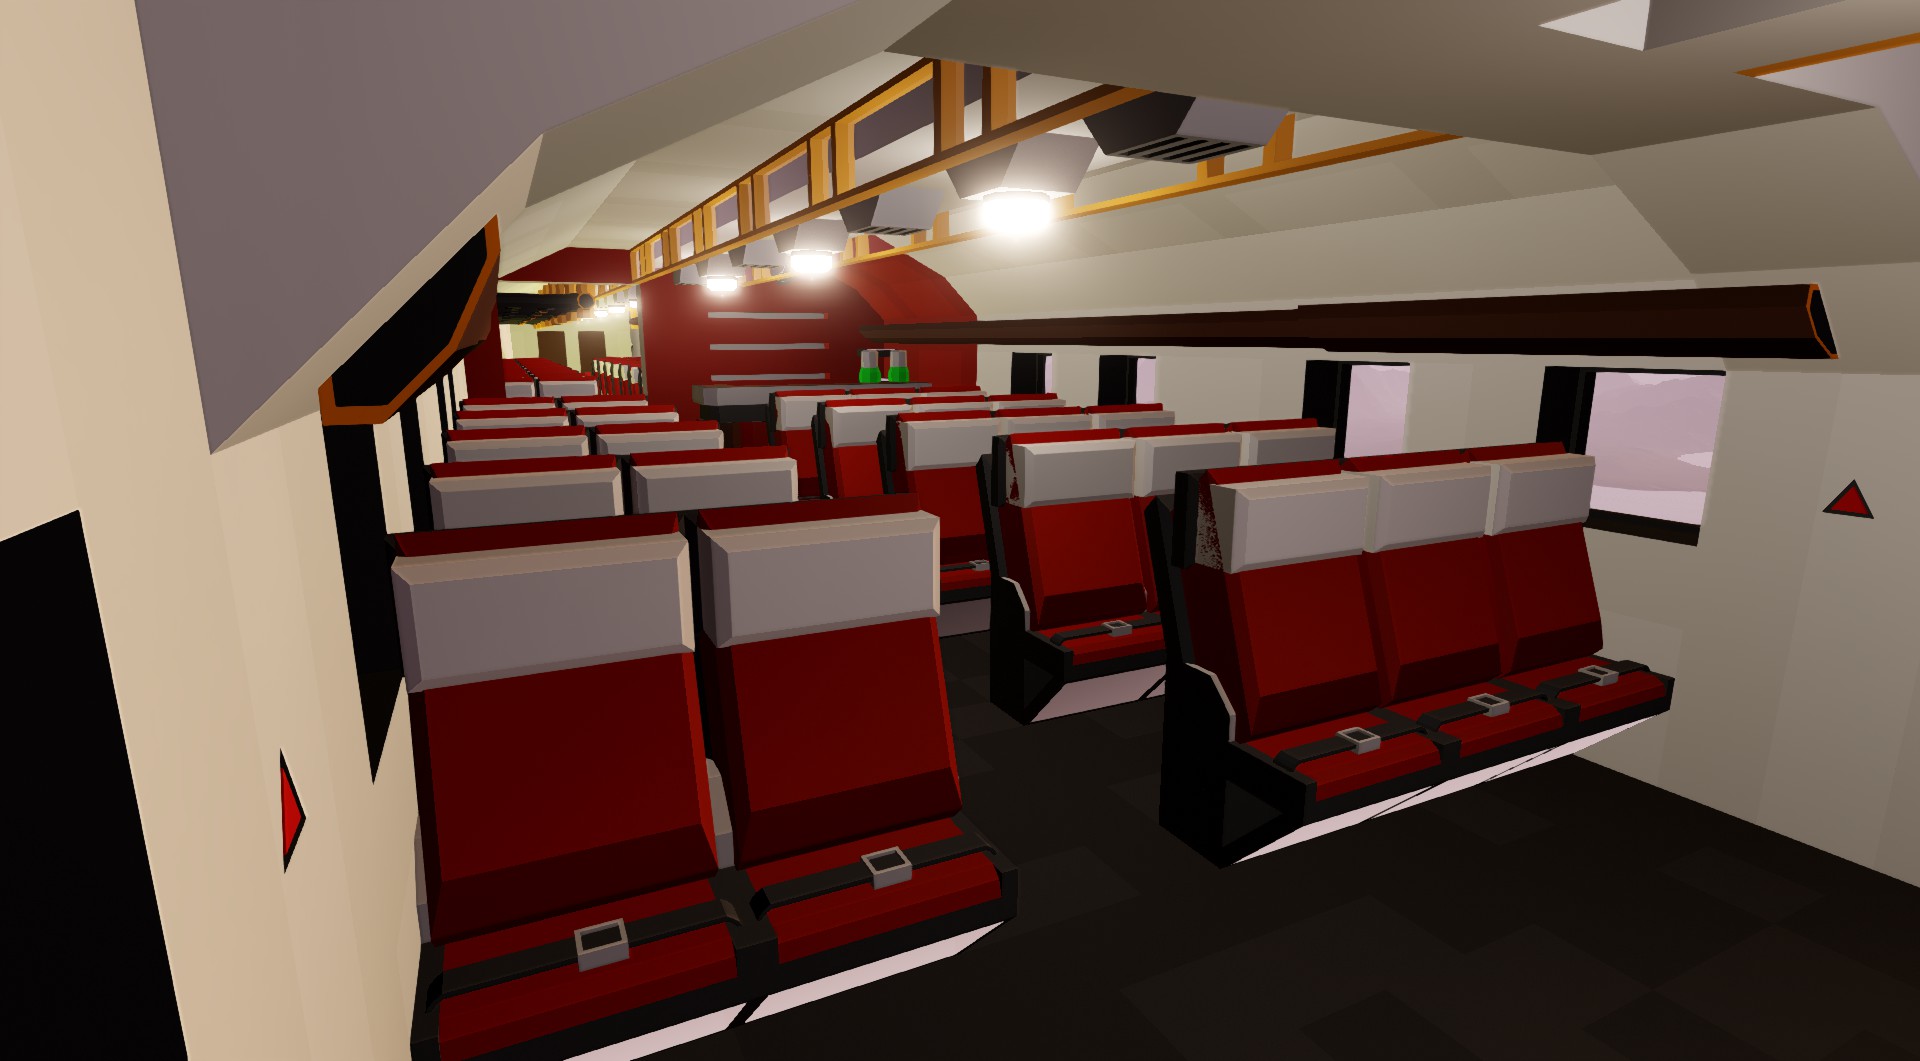
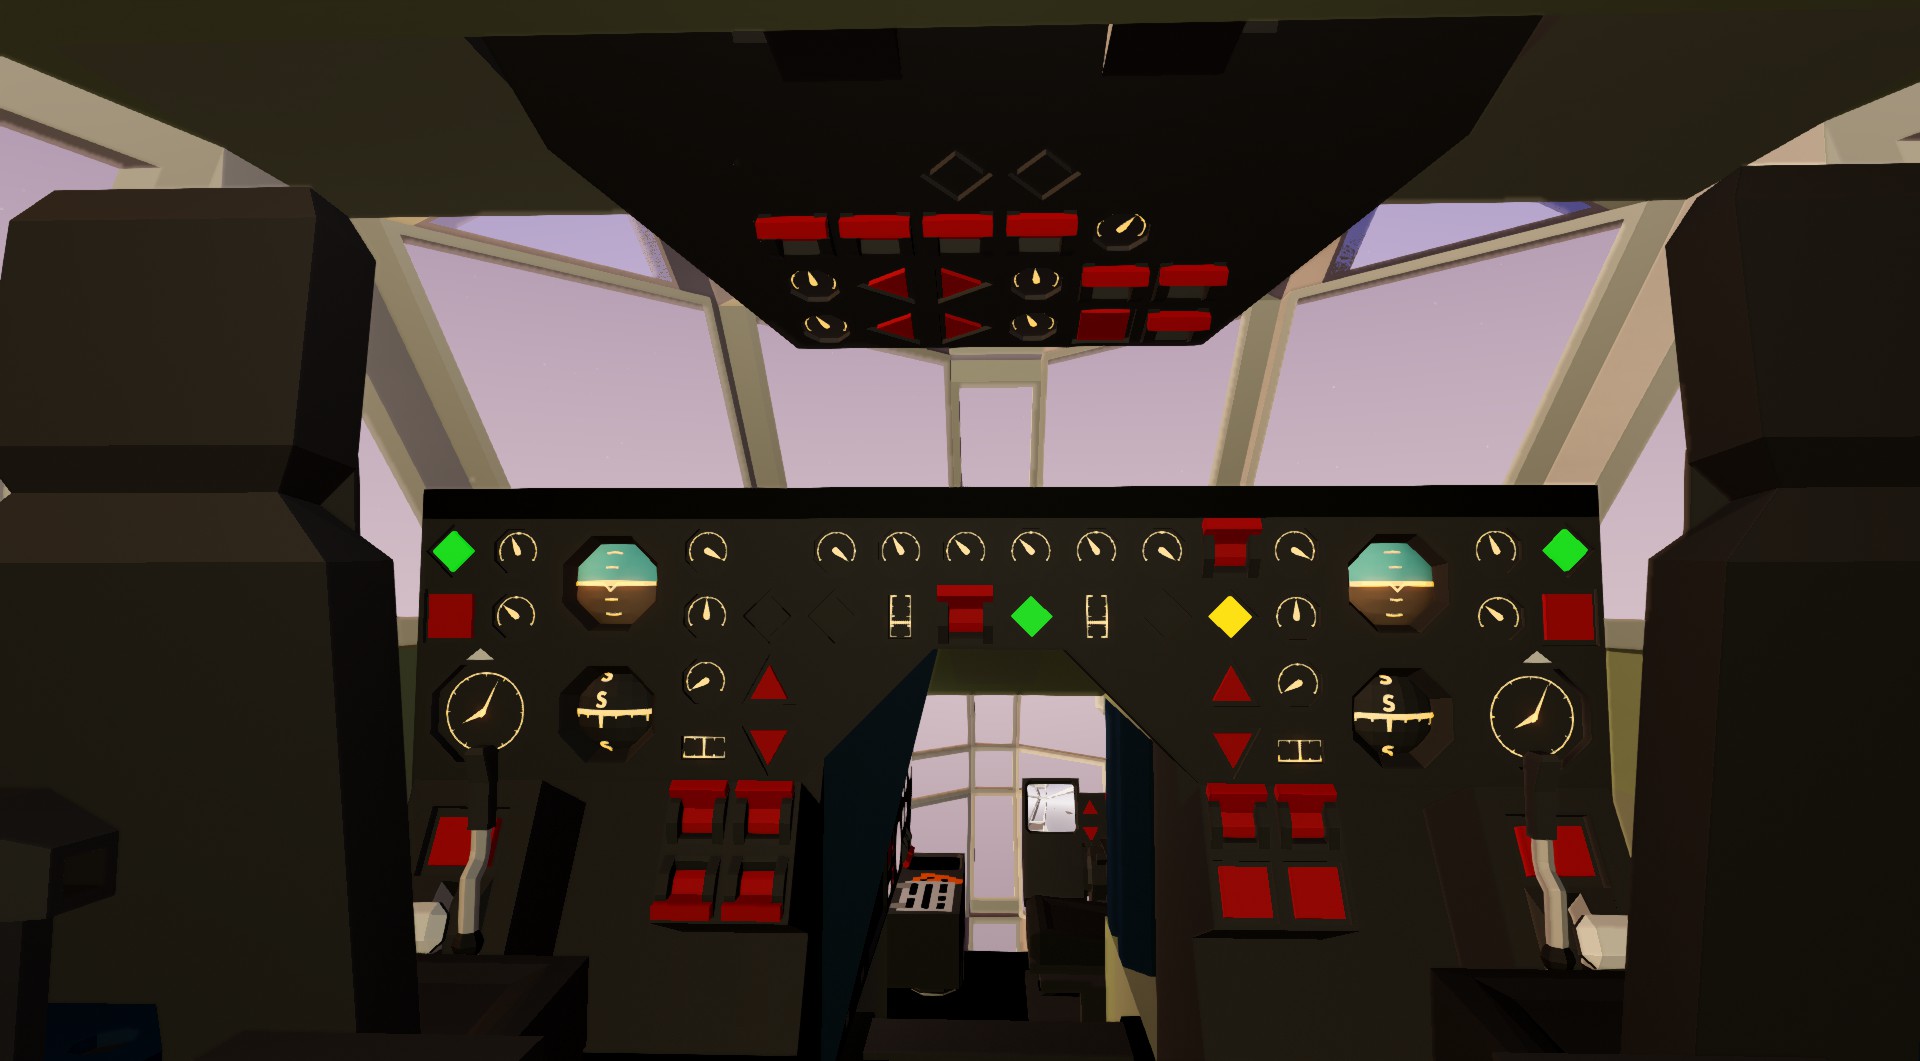
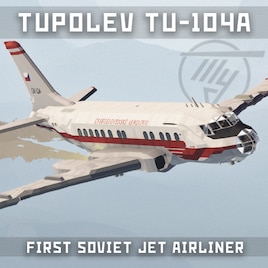
Tupolev Tu-104A
Vehicle, Air, Exploration, Delivery, Technical, Creative, Mechanical, Advanced, v1.4.18
(full explanation in the SRS discord server)
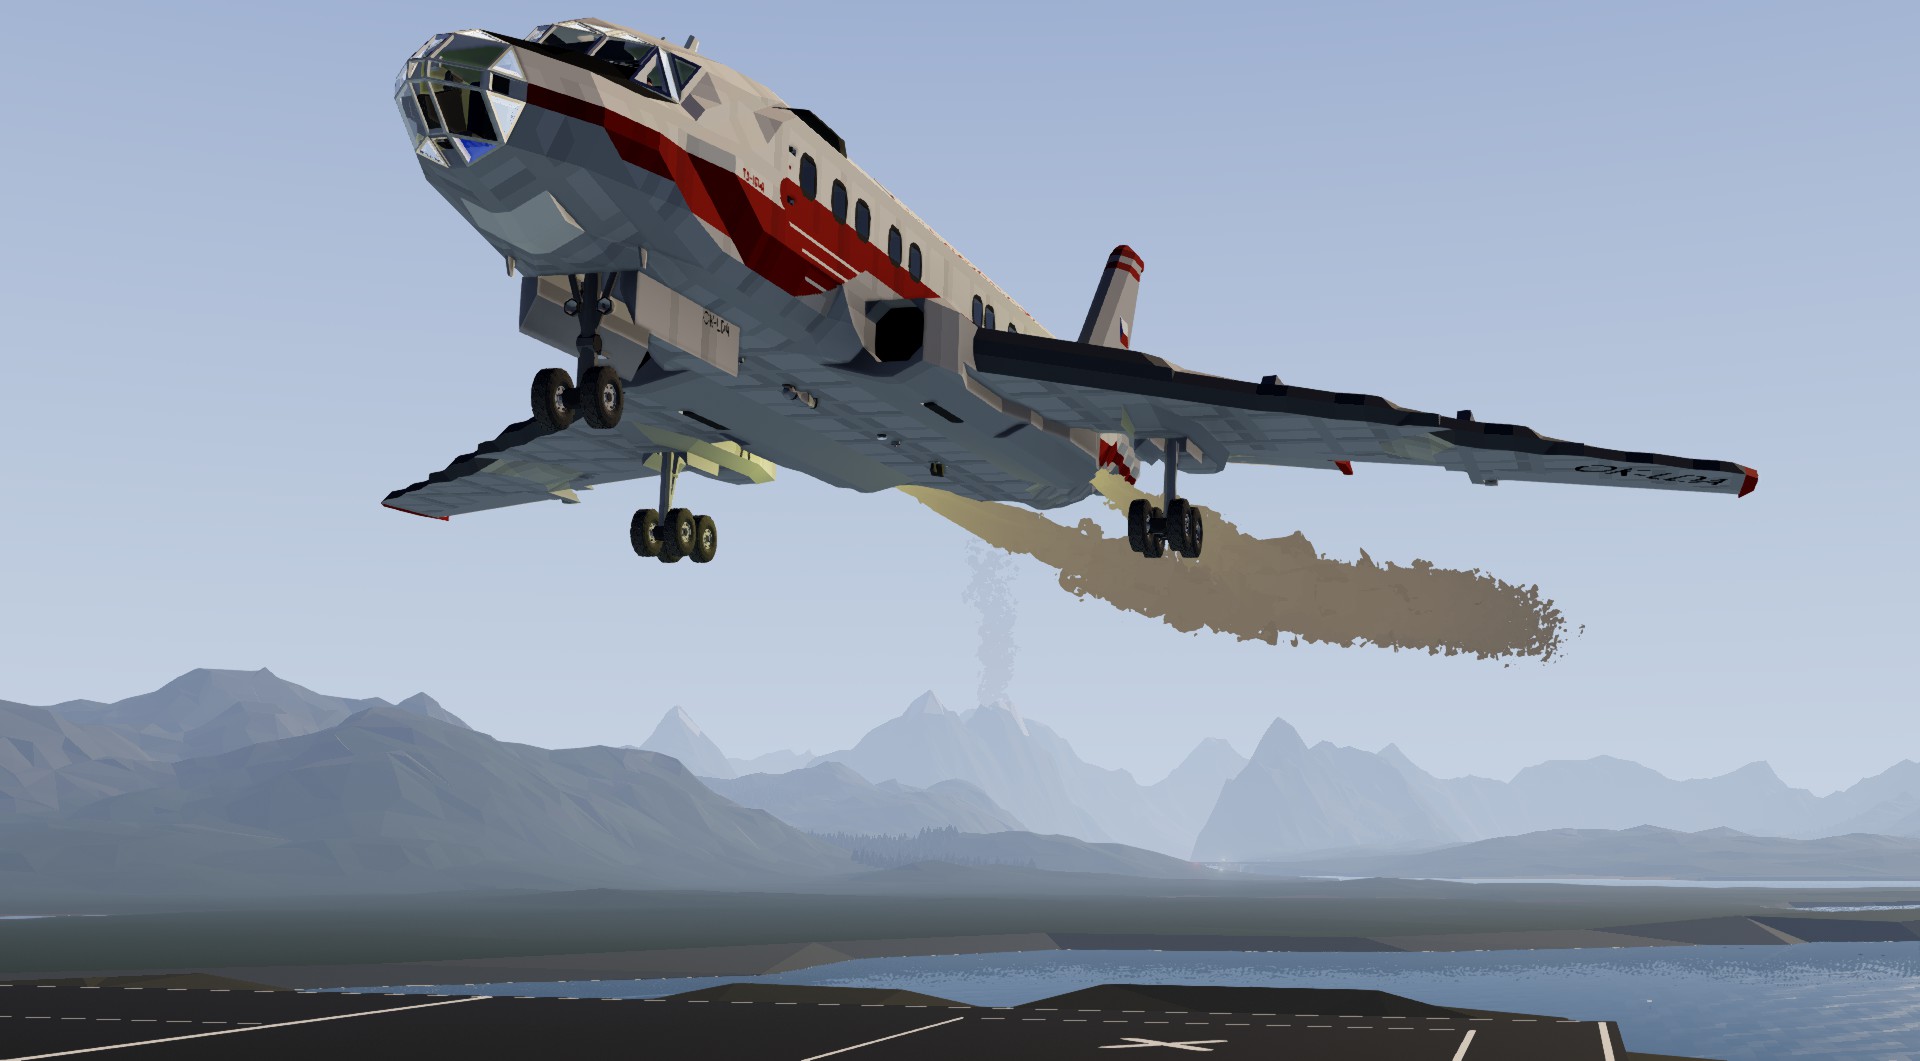
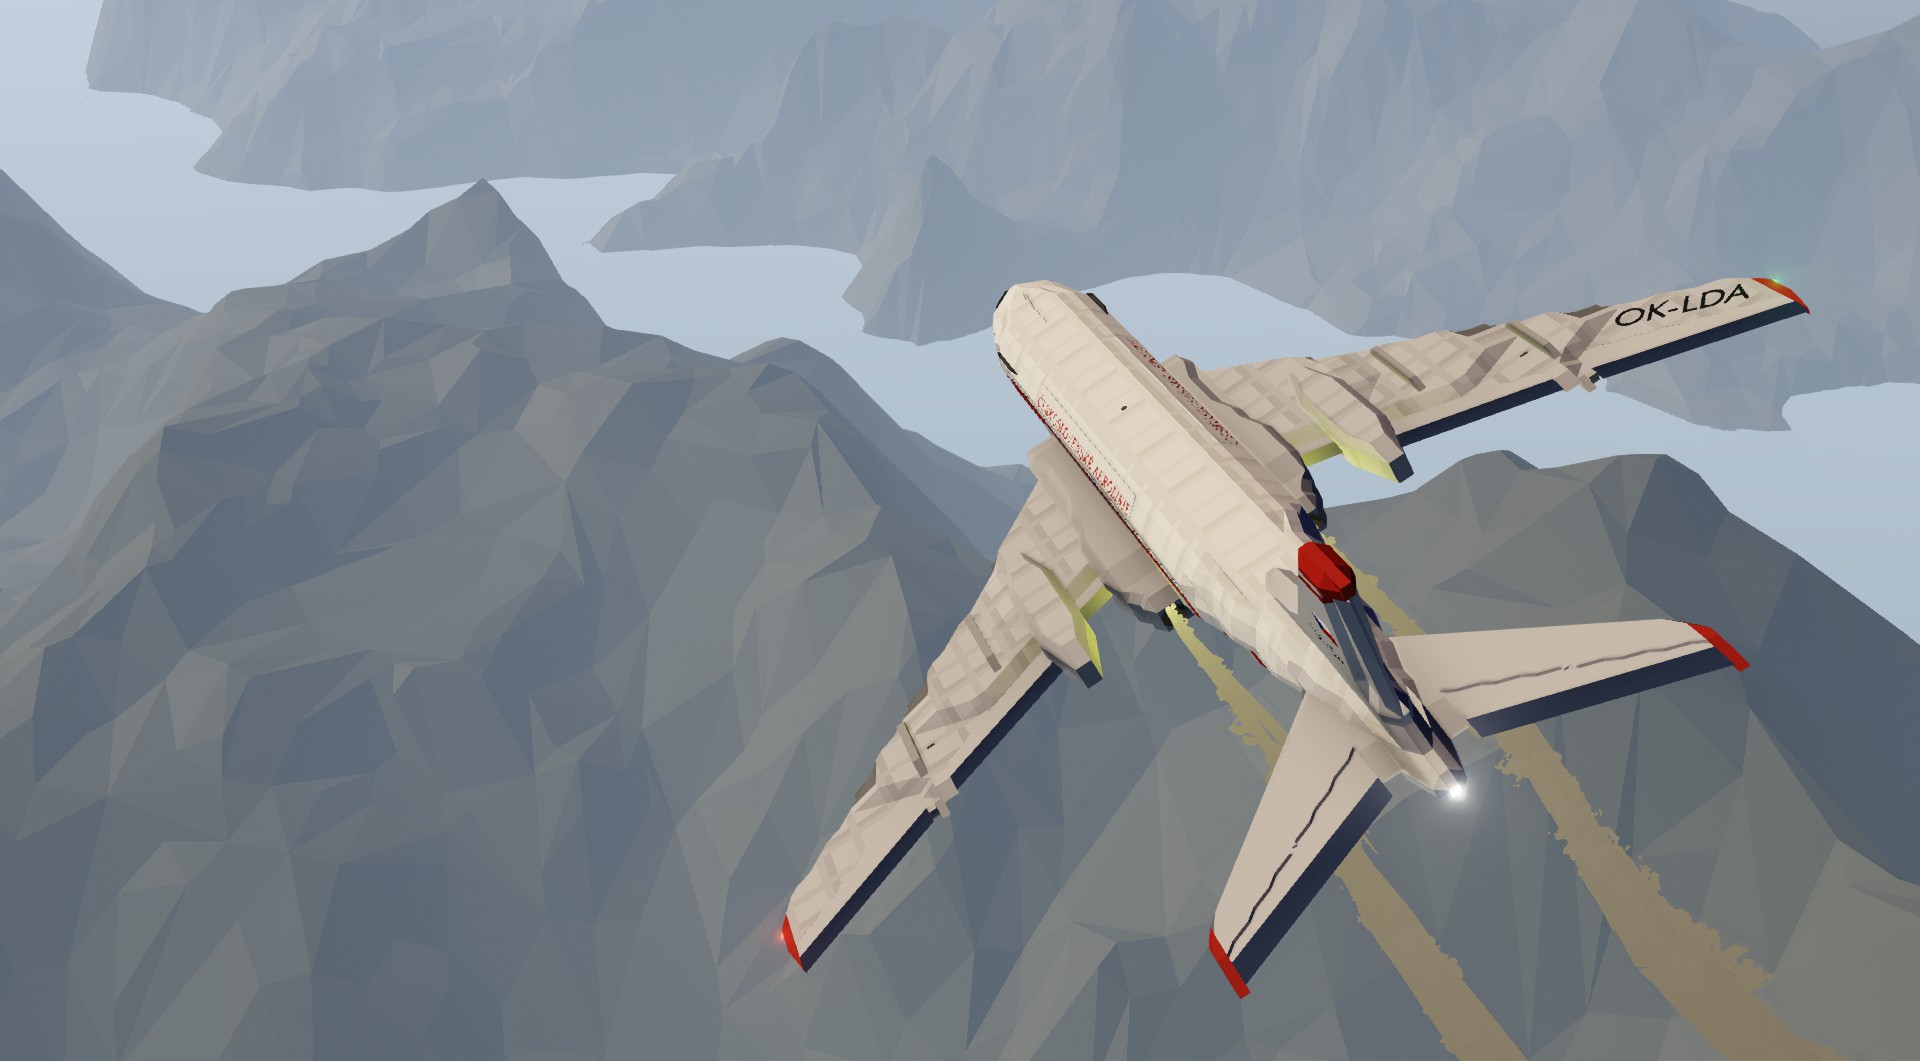
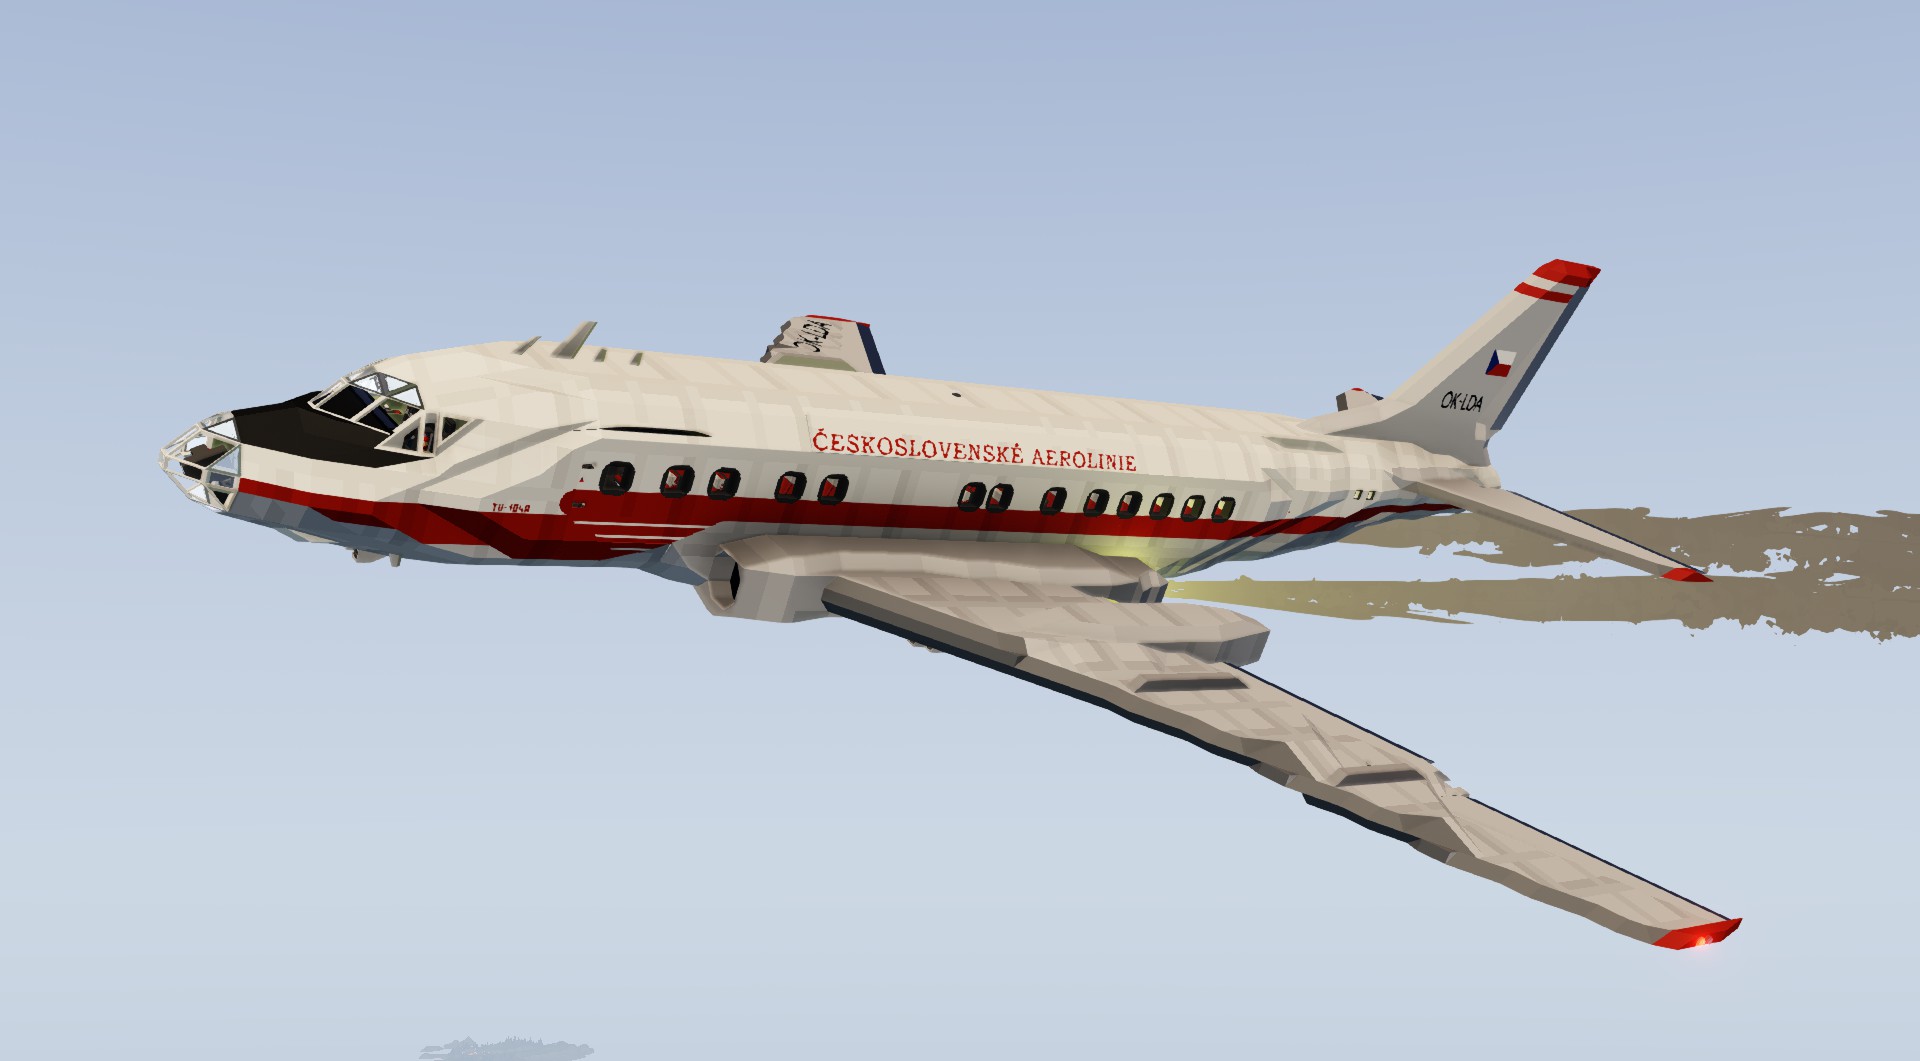
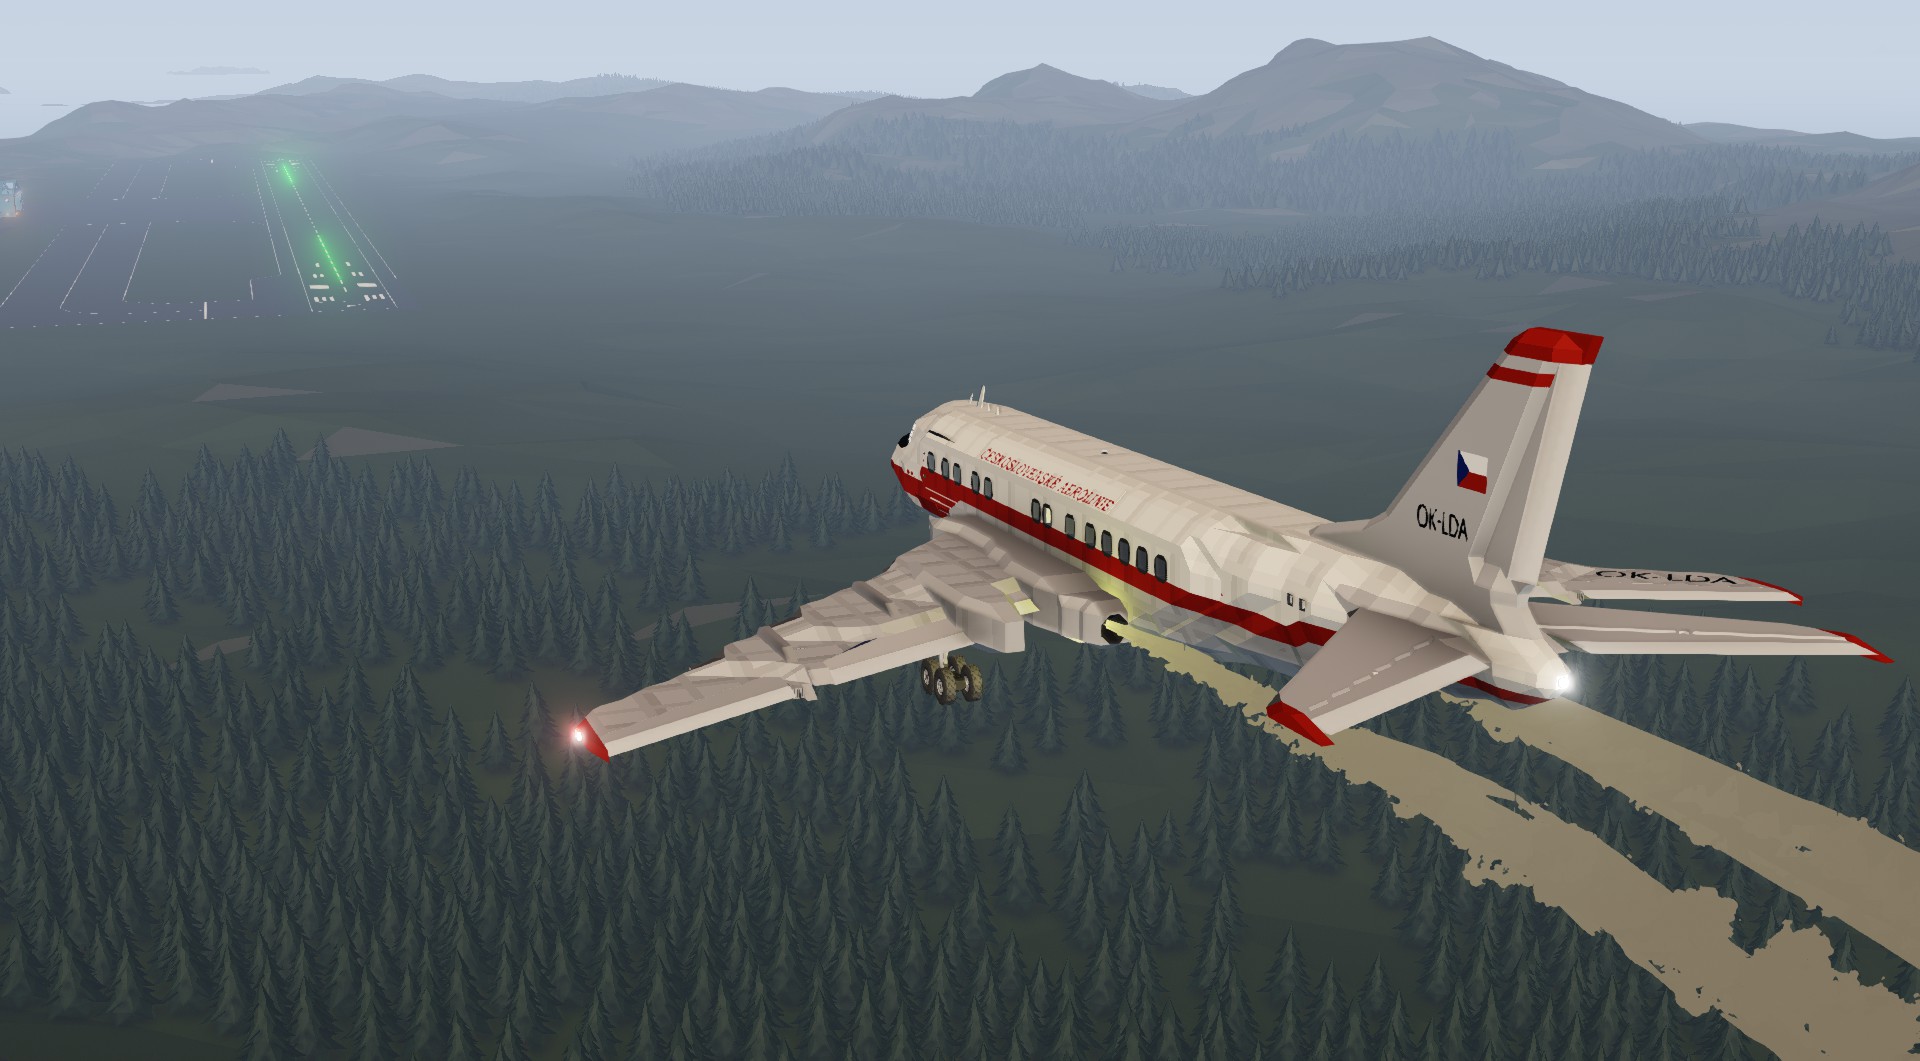
The Tupolev Tu-104A
YOU WILL NEED EDITED WORKBENCH OR MISSION TO SPAWN THIS
A bit of historyThe Tu-104, NATO reporting name "Camel", is a twin engine narrow-body soviet airliner developed in the mid 1950s. It was the 2nd jet airliner to enter service and between the years 1956 and 1958 it was the only operational jet airliner in t...
Розробник: Jan
Дата створення: 21 Mar, 2022 @ 8:43am
Оновлено: 7 May, 2022 @ 1:09am
Підписників: 15828
Розмір (розпакований) : 2.930 MB

(full explanation in the SRS discord server)
YOU WILL NEED EDITED WORKBENCH OR MISSION TO SPAWN THIS
During its 25 years long carrer (1956-1981) it carried over 90 million passangers with Aeroflot and Czechslovak airlines. It pioneered the jet age and in 1957 ČSA became the world first airline to fly a route exclusively with jets - the Tu-104.
Unfortunetly, the aircraft had a terrible safety record including design issues, it was unreliable, heavy and unstable, had inclination to Dutch roll and at low speeds could suddenly violently pitch up leading to unrecoverable stall. over the years the aircraft was part of multiple tragic accidents and after the Pushkin tragedy in 1981 where 50 people have died (17 were high ranked senior army and navy staff) it was permanently removed from service.
Despite it's issues, it helped pioneer the jet age and allowed engineers to learn from the issues present on the Tu-104.

If you like this creation please leave a like ;)
- On the flight engineers seat
- Turn on BAT 1(/2)
- Open fuel valves 1-6
- (optional) Open crossfeed valve
- Turn on mechanical fuel pumps - ENG 1 - 2
- Turn on ENG MAIN - 1 - 2
- Turn on hydraulic pumps - HYD A - B
- (optional) Turn on booster pumps
- Hold ignition until +-60rpm - ENG 1 - 2
- (if enabled) disable booster pumps
- Turn on generators - GEN 1 - 2
On pilot seat - Turn on lights as required - NAV, Strobe, backlight
- (If air temperature < 0) Turn on anti ice of all parts
- Turn off parking brake
credits:
Special thanks to DatLima25 for translating manuals for me and the general help with source information collection
Please do not reupload this aircraft without my permission
Як завантажити моди?
Натисніть на кнопку вище та завантажте обраний мод з файлового сховища.Як встановити мод?
Див. секцію "Як встановити".Чи безпечний завантажуваний файл?
Моди перезаливаються нами з оригінального джерела, без жодних змін. Ми лише запаковуємо їх в звичайний архів. Додатково можете перевірити архів на наявність загроз за допомогою будь-якого антивірусу або онлайн-сканеру на кшталт virustotal.com. Також рекомендуємо робити резервні копії ваших сейвів, про всяк випадок.
For vehicle mods
- Download the .zip archive containing the vehicle mod files.
- Locate your game's root folder.
- Navigate to
rom\data\preset_vehicles_advancedand extract the files there. - Rename both files to something recognizable, ensuring they share the same base name but different extensions.
- Launch the game and go to the Workbench's Presets tab to see the new vehicle mod.